


Do you have a Windows 10 computer and want to dual boot Ubuntu to take advantage of the best of both worlds? You are in luck. This guide will show you how to install Ubuntu on a partition alongside Windows 10.
Are you excited yet? Read on and get started!
Prerequisites
This tutorial will be a hands-on demonstration. If you’d like to follow along, be sure you have the following.
- A Windows 10 machine with enough free storage space that you can spare 20GB for the Ubuntu partition.
- A USB flash drive with at least 4GB of free storage. This tutorial assumes that you have already plugged this flash drive into the computer.
- An Ubuntu ISO file that you want to install. This tutorial uses Ubuntu 20.04 Desktop.
Preparing a Bootable USB
Now that you have all the prerequisites, you can prepare a bootable USB drive containing the Ubuntu installation files.
There are a few different ways to create a bootable USB drive, but for this tutorial, you will use the free and open-source utility called Rufus. This tool is a lightweight utility with an intuitive interface.
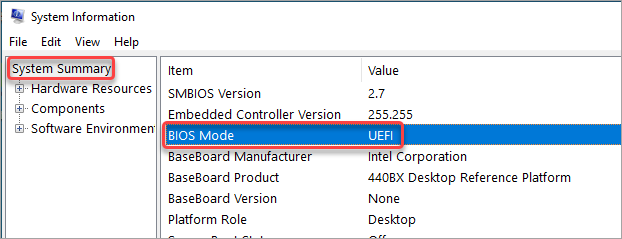
1. First, check whether your computer’s motherboard is BIOS (Legacy) or UEFI. Press WIN+R to open the Run dialog, type msinfo32, and press Enter. Confirm whether the BIOS Mode is Legacy or UEFI. In this example, the computer has UEFI.
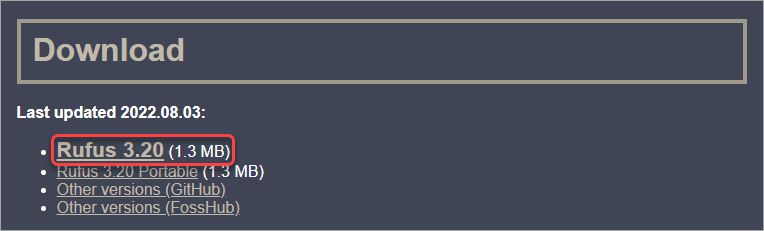
2. Open a browser and open the Rufus website. Scroll to the Download section and click the first link to download the latest version of Rufus. At this time of writing, the newest version is 3.20.
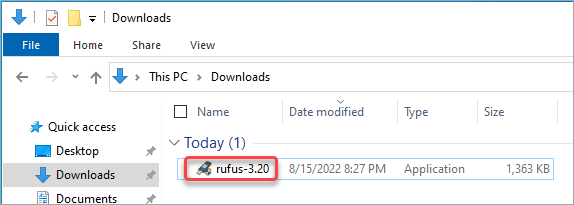
3. After downloading, locate the file and run it.
You’ll see the Rufus main window, similar to the screenshot below.
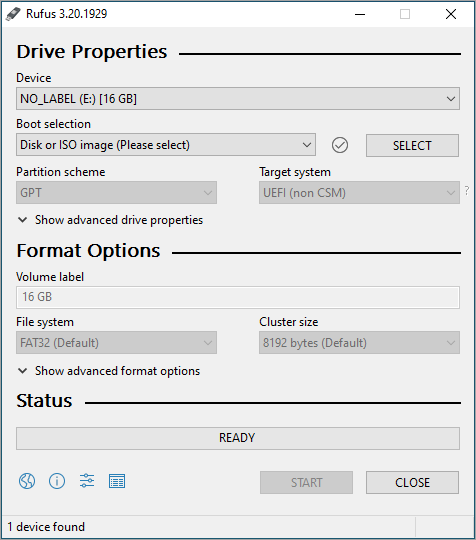
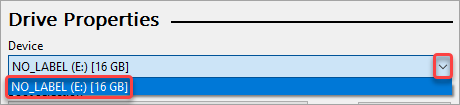
4. Under the Drive Properties section, click the Device dropdown and choose the USB flash drive you’ll flash. If you only have one USB flash drive connected, that device will already be the default selection.
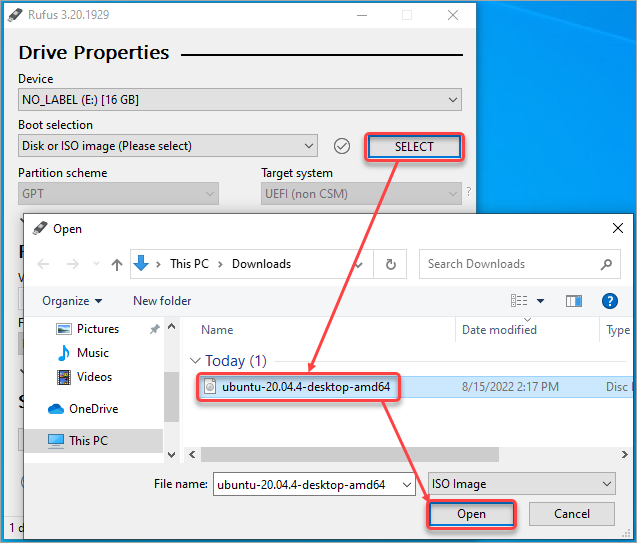
5. Click the Select button under the Boot selection. Locate the Ubuntu ISO file and click OK.
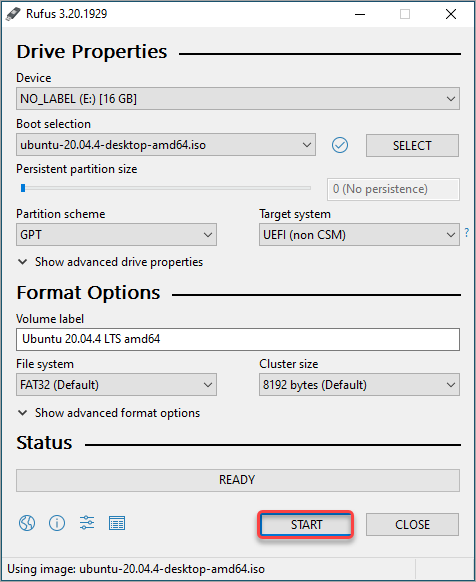
6. Click the Partition scheme selection box and choose the suitable partition scheme for your target system (MBR or GPT). Depending on your computer’s BIOS mode, select MBR for Legacy and GPT for UEFI.
This example will choose GPT since the computer’s BIOS mode is UEFI. As you can see, the Target system value automatically changes when you change the Partition scheme.

7. Leave all other settings to their default values, and click Start.
8. If you see the message, ISOHybrid image detected, select Write in ISO Image mode (recommended), as shown below, and click OK.

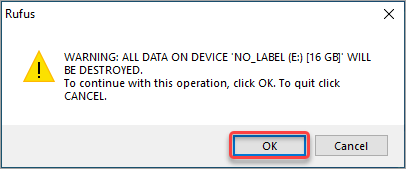
9. A warning pop-up shows, asking you to confirm that it is ok to destroy all data on the USB flash drive. Click OK to continue.
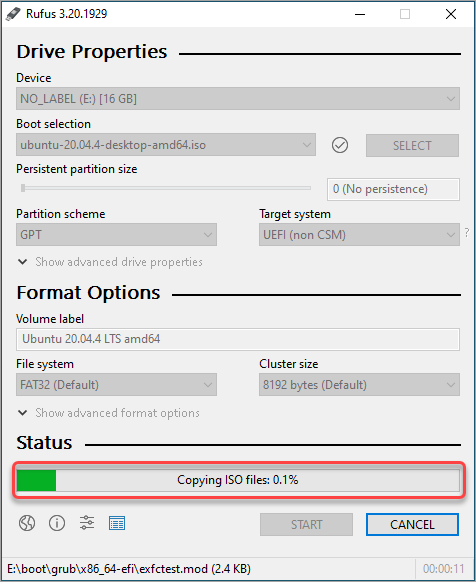
Rufus starts processing the bootable USB drive. Depending on your system and USB drive speed, this process could last several minutes.
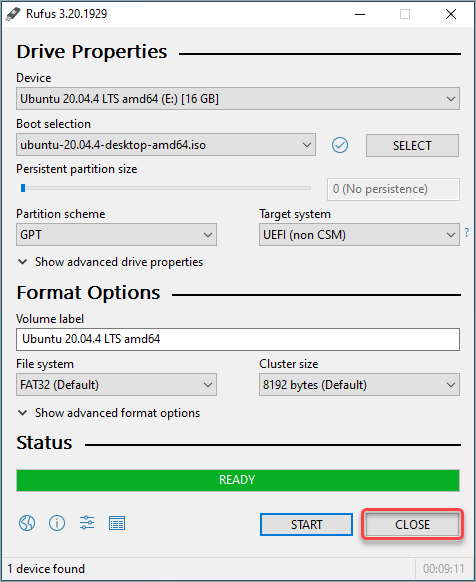
10. Once Rufus finished writing to the bootable USB, the Status changes to Ready. Click CLOSE to exit Rufus.
Disabling Secure Boot
Before you install Ubuntu on a partition alongside Windows 10, you must first disable the Secure Boot in your computer’s UEFI firmware settings. Why? When Secure Boot is on, you cannot install Linux or older versions of Windows.
To disable secure boot, follow these steps.
1. Open an elevated PowerShell window.
2. Run the below command.
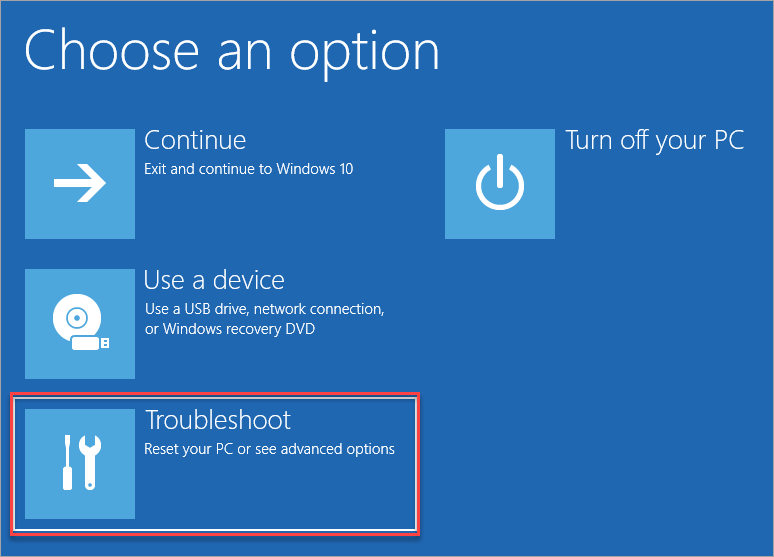
shutdown.exe /r /o /f3. The computer restarts and shows you the advanced boot menu. Click Troubleshoot.
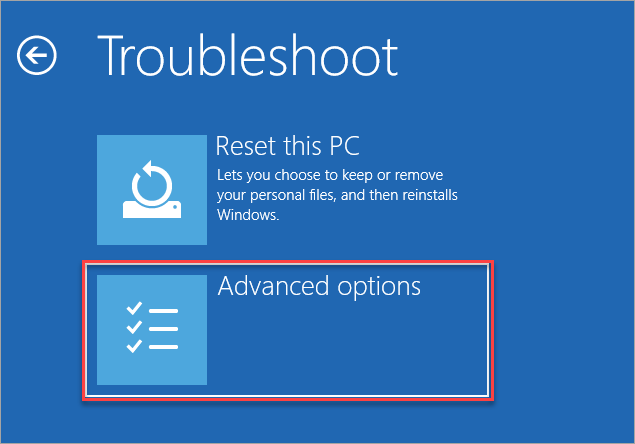
4. Next, click Advanced options.
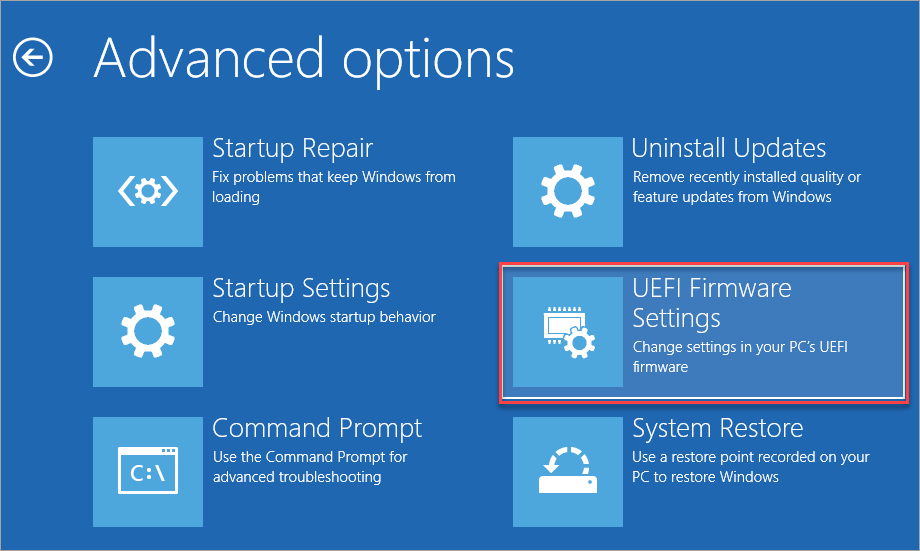
5. Under Advanced options, click UEFI Firmware Settings.
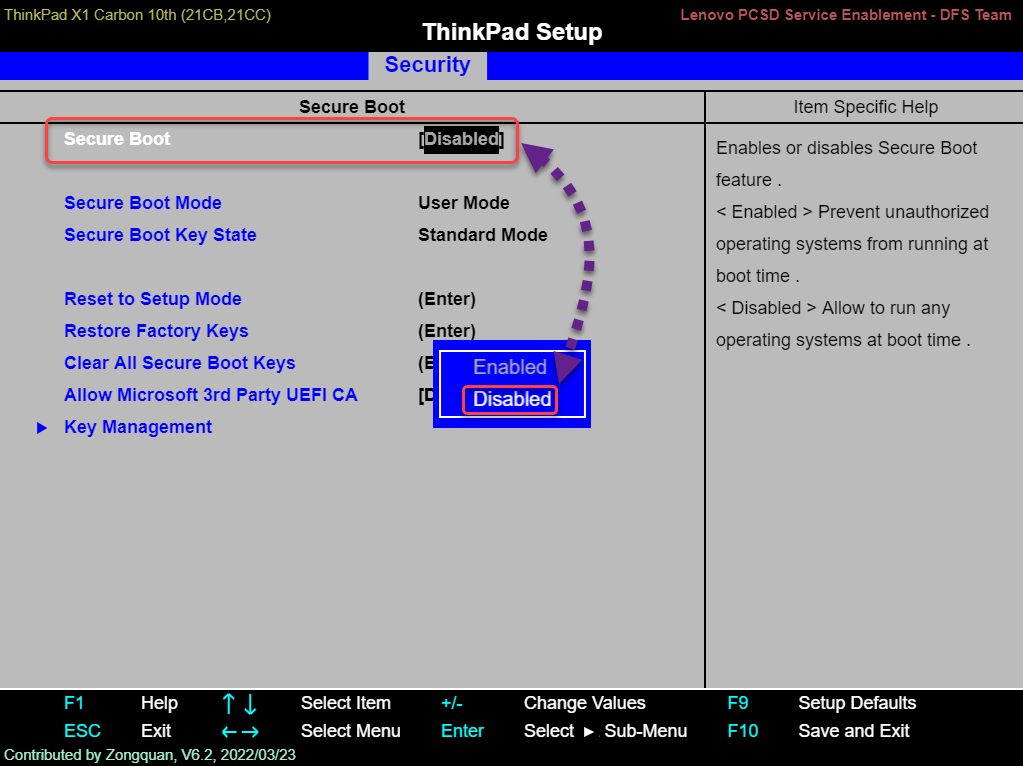
6. Once you’re in the BIOS interface, locate the Secure Boot setting and set it to disabled. This process is different between computer brands and models.
The screenshot below shows how to disable secure boot on a Lenovo ThinkPad X1 computer.
7. Once you’ve disabled secure boot, save the changes and exit the BIOS. At this point, the computer should reboot to Windows 10.
Booting to USB and Install Ubuntu on a Partition Alongside Windows 10
You’ve disabled the secure boot and are ready to install Ubuntu on a partition alongside Windows 10. Ensure that the bootable USB drive you created is still attached to the computer and follow the below steps to boot to USB and install Ubuntu on a partition alongside Windows 10.
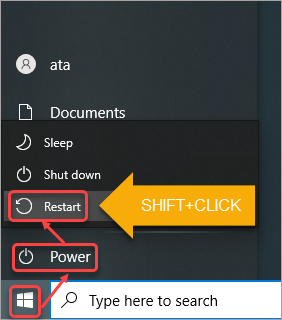
1. Click Start → Power and SHIFT+CLICK on Restart.
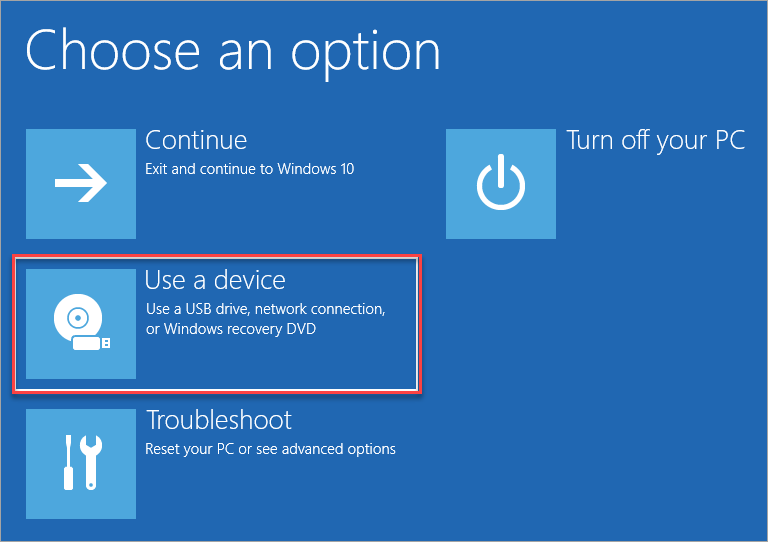
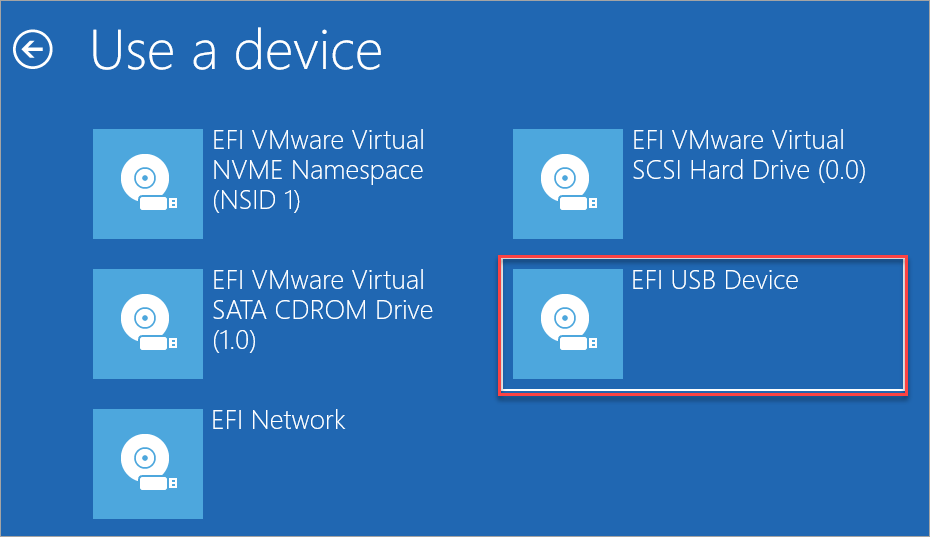
2. On Choose an option page, click Use a device.
3. Next, click the USB device from the list. In this example, the bootable USB is the UEFI USB Device.
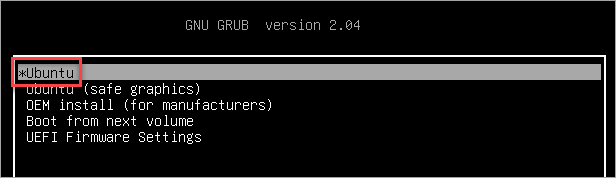
4. The computer reboots into the bootable USB device and shows you the GRUB bootloader, as shown below. Press Enter to boot to Ubuntu.
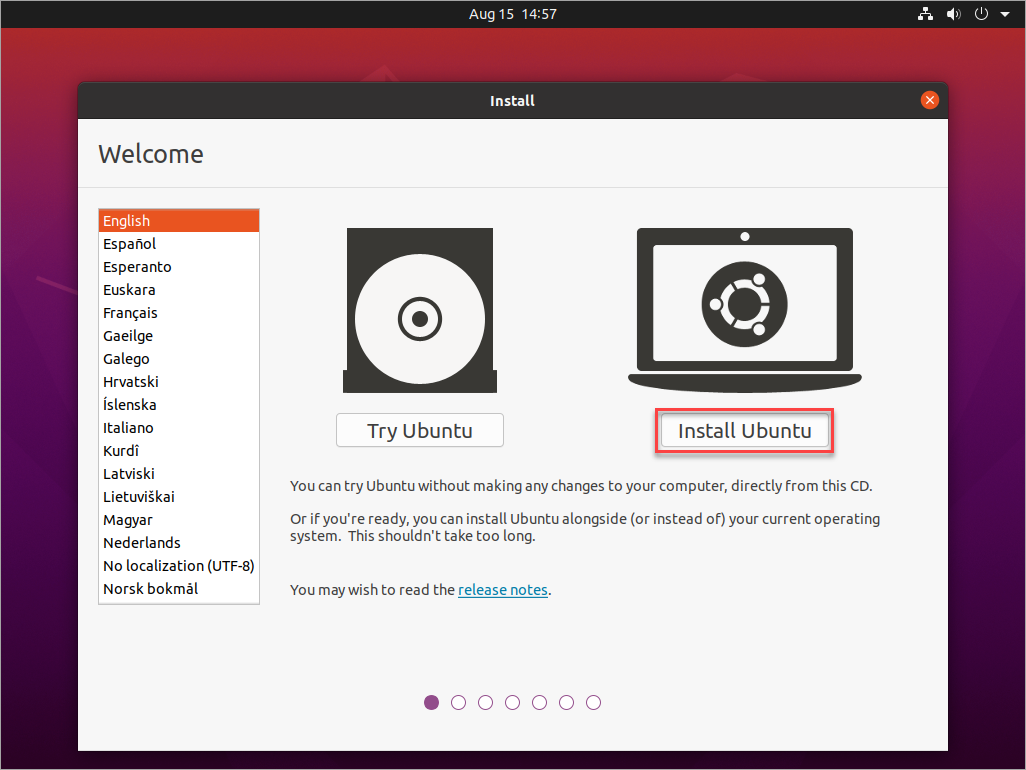
5. Next, click Install Ubuntu.
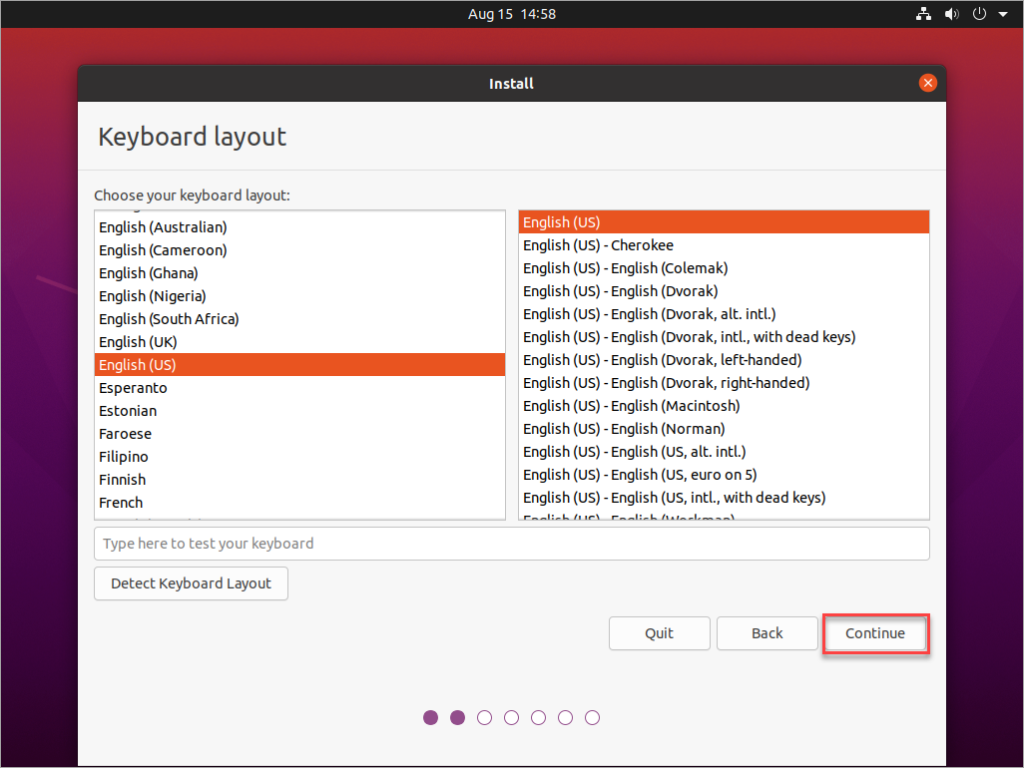
6. Select your keyboard layout and click Continue.
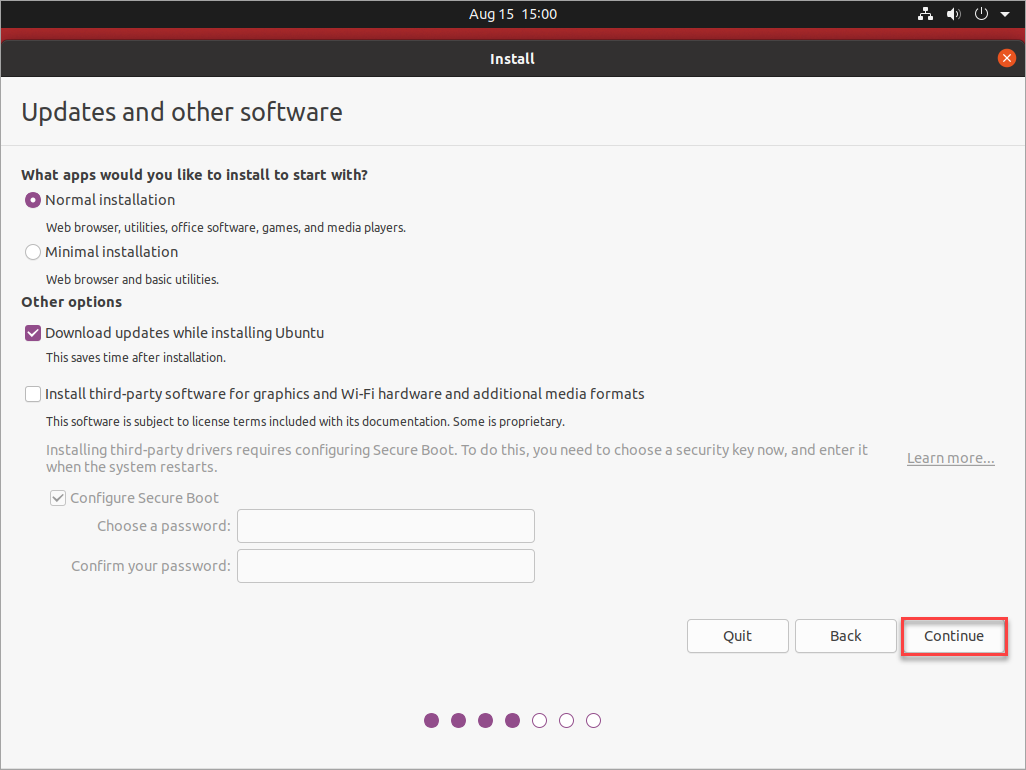
7. Choose your installation options. This example leaves the default selections. Click Continue.
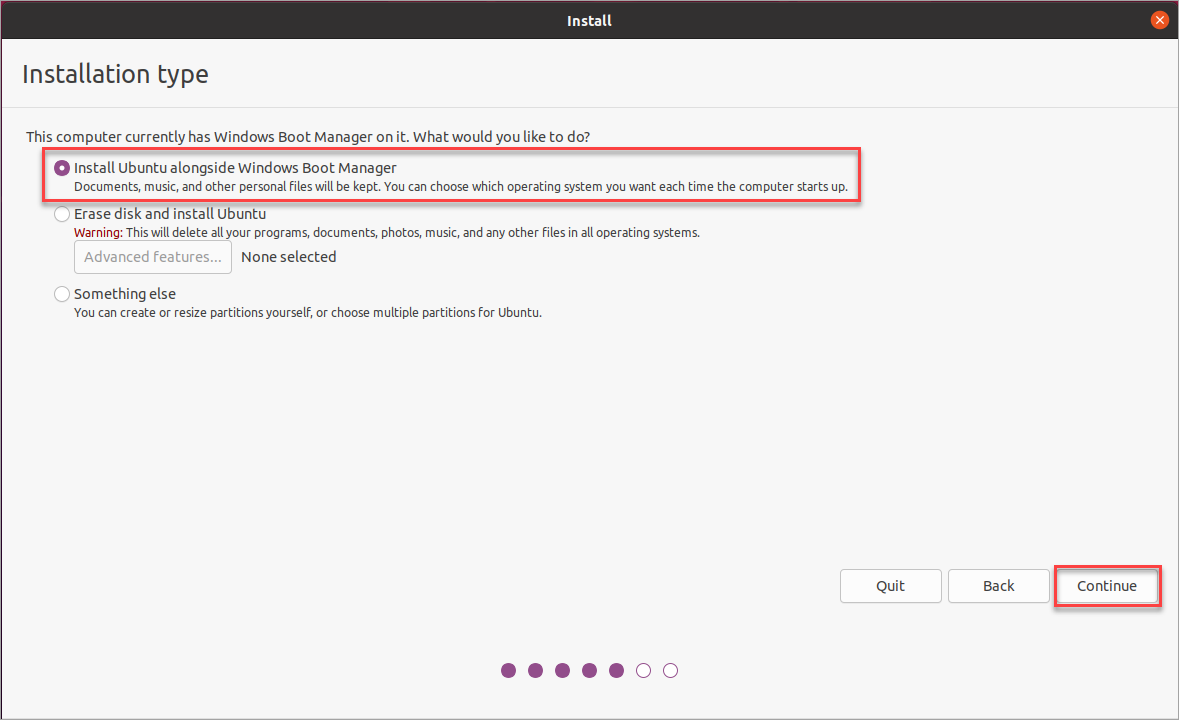
8. On the Installation type page, select Install Ubuntu alongside Windows Boot Manager and click Next. This option is what you must choose for dual-boot scenarios.
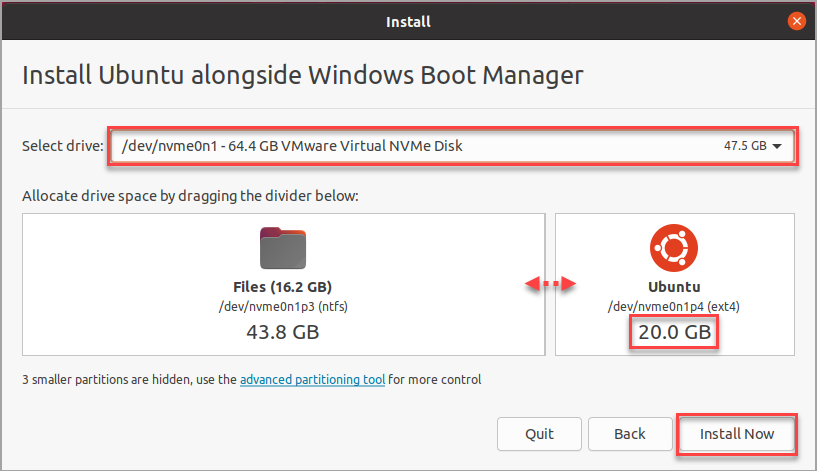
9. Next, select the drive where you’ll install Ubuntu on a partition alongside Windows 10. In this example, there is only one drive in the system. Click and drag the divider until the Ubuntu partition (on the right) space shows at least 20.0 GB, and click Install Now.
10. At the confirmation prompt that appears, click Continue. This step allows the installer to commit any previous partition changes.
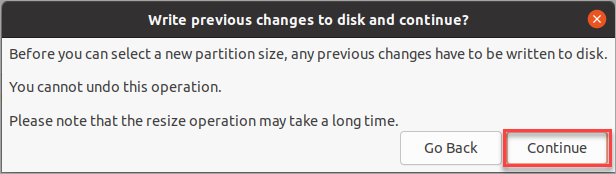
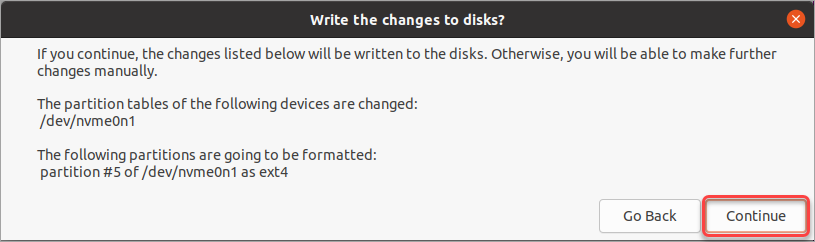
11. Click Continue to confirm writing the new partition changes. The Ubuntu installer will create the new partition and format it using the ext4 filesystem.
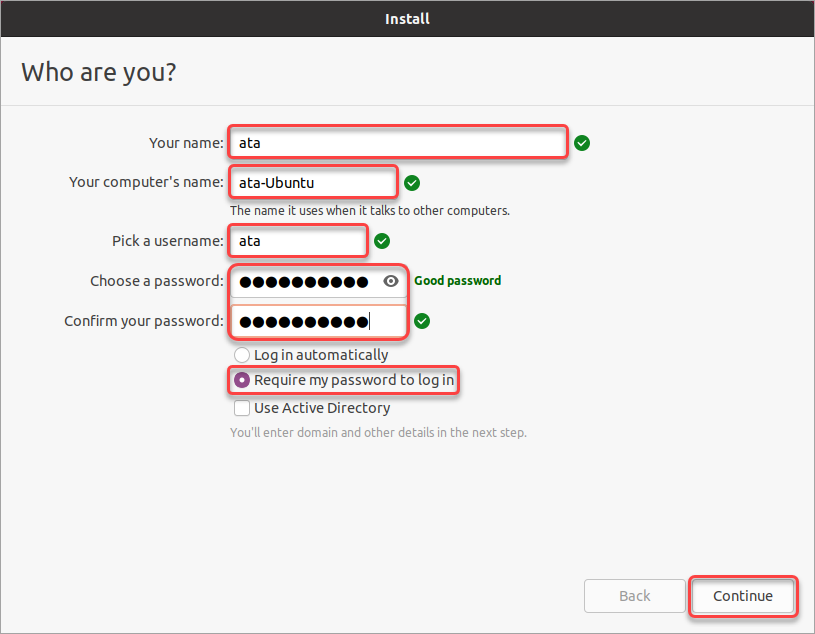
12. Next, enter your name, computer name, username, and password, and click Continue.
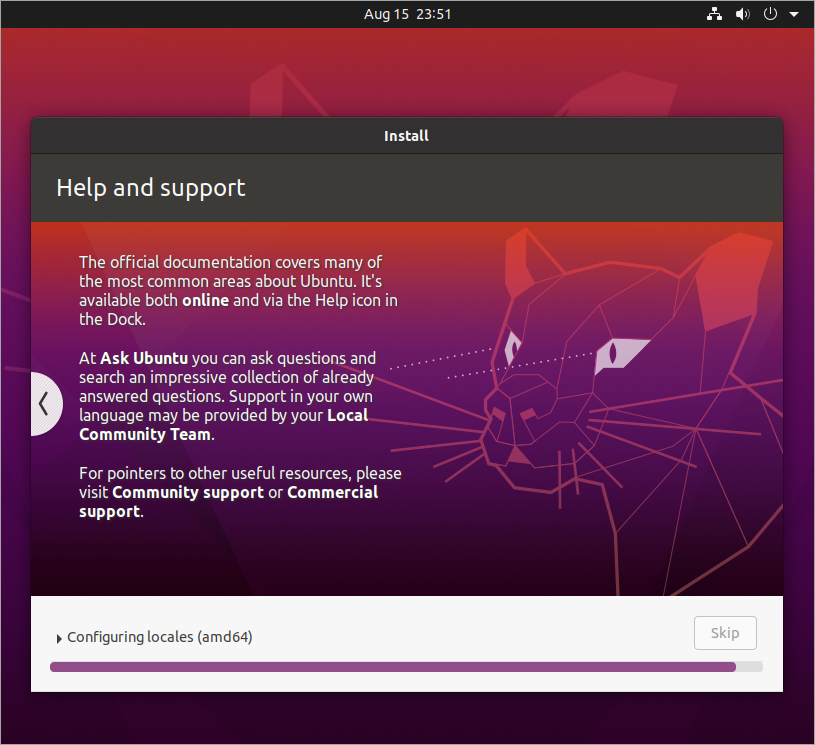
At this point, the process will install Ubuntu on a partition alongside Windows 10, and you only need to wait for the setup to finish.
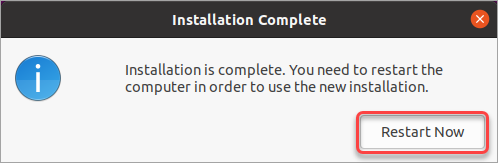
13. Click Restart Now after the installation.
Dual-Booting to Ubuntu and Windows
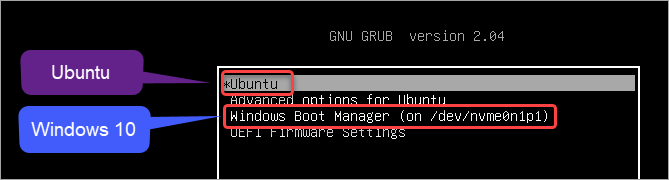
After the restart, you will see the GRUB boot menu that lists Ubuntu and Windows. In this example, you’ll boot to Ubuntu first.
1. Highlight Ubuntu from the list and press Enter.
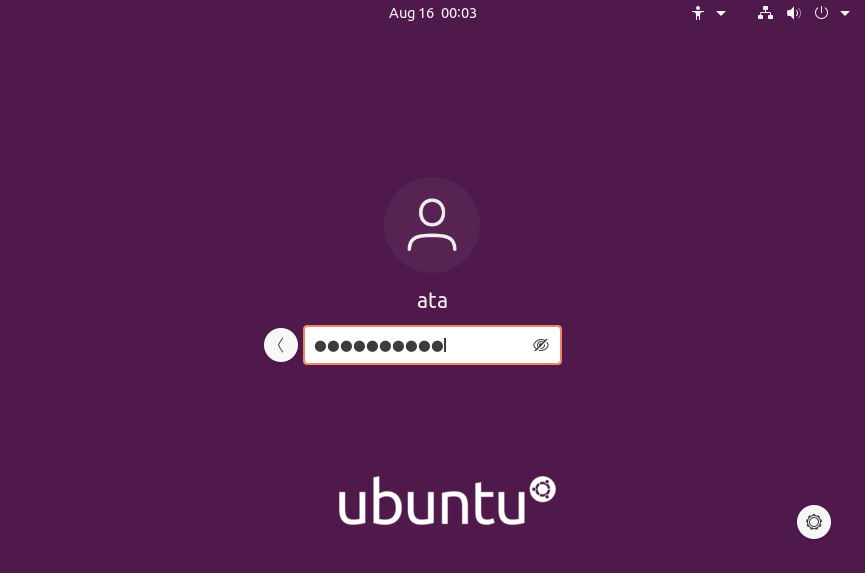
2. Click your username, enter your password, and press Enter to log in.
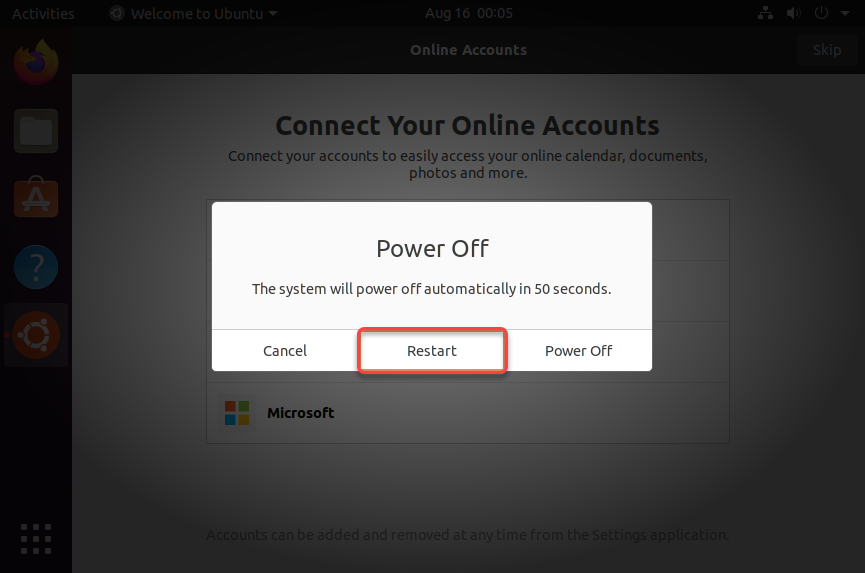
3. After successfully signing in to Ubuntu, you must test whether your computer can still boot to Windows, your primary operating system. To do so, restart the computer.
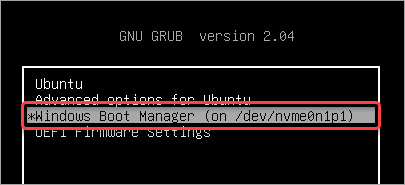
4. On the GRUB menu, highlight the Windows Boot Manager and press Enter.
5. Log in to your Windows 10 account and confirm that Windows is still working.
Conclusion
That’s it! You’ve successfully configured your computer to dual-boot Windows and Ubuntu!
In this article, you have learned how to install Ubuntu on a partition alongside Windows 10. You have also learned how to disable secure boot to install Ubuntu. Finally, you’ve installed Ubuntu on partition and logged in to your new system.
You can now boot to Windows 10 and Ubuntu on demand and enjoy the best of both operating systems on one computer.


