

Are you tired of cluttered hard drives and limited storage space? Say goodbye to those problems and get your own Raspberry Pi NAS (Network Attached Storage) Samba server!
In this tutorial, you will learn how to set up a Raspberry Pi NAS Samba Server and keep your essential documents and files safe and organized.
Ready? Read on and worry no more about lost files or running out of space!
Prerequisites
This tutorial comprises hands-on demonstrations. To follow along, you will need the following:
- A Raspberry Pi board (Raspberry Pi 3, 4, or Zero W) to serve as the main component of your NAS – This tutorial uses Raspberry Pi 4.
- A microSD card with at least 8GB of storage for your Raspberry Pi OS.
- A recent version of Raspbian installed on your microSD card – This tutorial uses Raspbian Bullseye.
- An external hard drive to store your files, a monitor, an HDMI cable, a USB keyboard, a mouse, and an Ethernet cable to connect your Raspberry Pi to the internet.
- Mounted external hard drive to the Raspberry Pi.
- A client system on the same network – This tutorial uses Windows 10.
Installing the Raspberry Pi NAS Samba Server
Samba works on the NAS protocol principle and is a reimplementation of the Server Message Block (SMB) networking protocol.
Samba is an open-source and secure network file-sharing system that allows users to quickly share files between Raspberry Pi and other devices. But by default, the Samba package is not installed on Raspbian.
To install the Samba package, follow these steps:
1. Insert your microSD card into the Raspberry Pi board, and connect your Raspberry Pi to the internet using your Ethernet cable.
2. Next, plug the additional components into the Raspberry Pi board and power on your Raspberry Pi by connecting it to a power source.
3. Open the Terminal program on your Raspberry Pi, and run the below apt update
💡 Tip: You can SSH into your Raspberry Pi from a different device and use the Terminal if you do not have access to a monitor or keyboard.
This command ensures your Raspberry Pi runs the most up-to-date version of Raspbian and verifies all the necessary dependencies are installed.
sudo apt-get update -y && sudo apt-get upgrade -y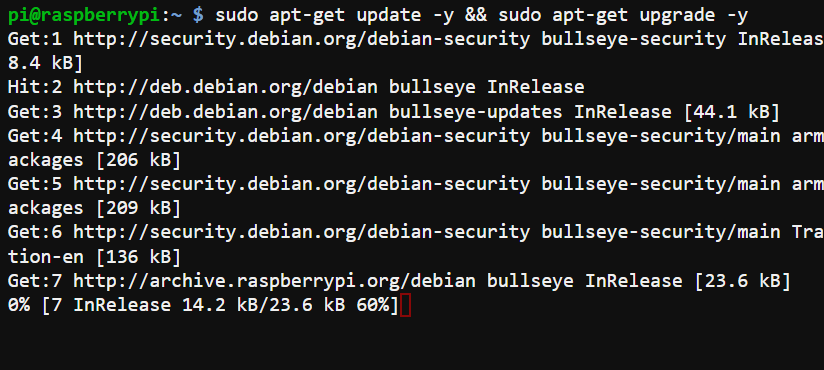
4. Lastly, run the following apt install command to install Samba, a file-sharing program, to your Raspberry Pi. Samba is one of the most popular file-sharing programs for sharing files within a local network.
The command below installs the following packages:
- The
sambapackage is the main component of the Samba software suite.
- The
samba-common-binpackage includes many utilities and scripts to configure and manage Samba. Thesmbpasswdutility, for example, lets you set passwords for samba users.
sudo apt install samba samba-common-bin -y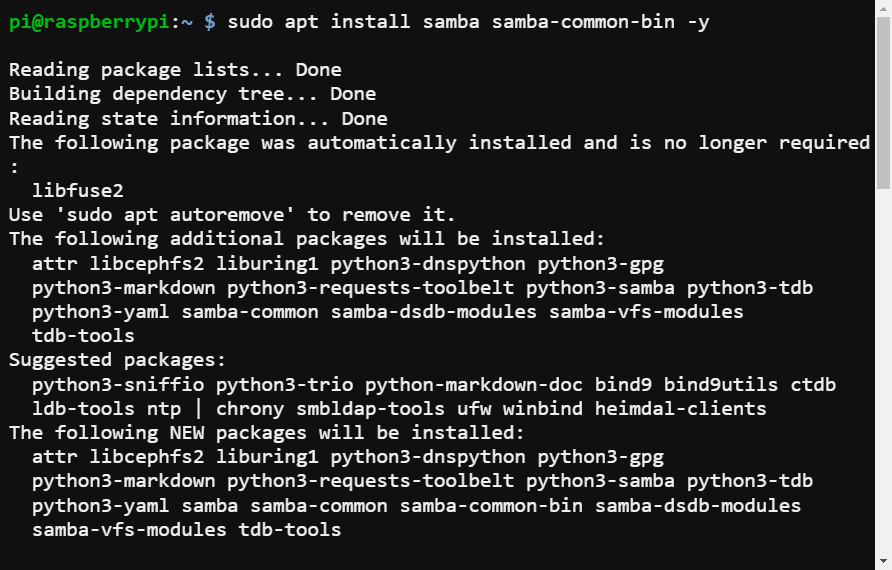
Configuring the Raspberry Pi NAS
After installing your Samba server, you must configure your Raspberry Pi NAS to ensure Raspberry Pi works correctly. Doing so ensures you can access and share files on your Raspberry Pi NAS server over the network.
Configuring your Raspberry Pi NAS involves setting up shared folders, users, and a samba password.
To configure your Samba Raspberry Pi NAS, follow these steps:
1. Run the below command, which does not produce output, but creates (mkdir) a shared folder (/home/pi/shared) for your files.
When you create a shared folder with Samba, below are a few critical pieces of information to specify:
💡 The specified folder name and full folder path in the command are arbitrary. Feel free to change them accordingly.
- A descriptive shared folder name (
shared) – This folder name is what other users will see when they browse the shared folders on your network.
- The full folder path (
/home/pi/shared) – The location of the folder on your Raspberry Pi’s file system, starting from the root directory.
mkdir /home/pi/shared2. Next, open the /etc/samba/smb.conf configuration file for your Samba shares.
The smb.conf configuration file allows you to configure the settings and parameters for your shared folder. In addition, this file contains several settings that control how samba behaves. For example, the smb.conf file specifies the following:
- The shared folders available on the machine
- The users allowed accessing those shared folders
- The permissions that are set for each shared folder.
3. Populate the configuration lines below to the end of the smb.conf file, save the changes and close the file.
Samba uses the configuration block below to set up file and printer sharing on a network.
# Specifies your Raspberry Pi NAS Share name
[raspberrypinasshare]
# Specifies the location of the shared folder (starting from the root directory).
path = /home/pi/shared
# Specifies the shared folder is writable
# Users who have access to the shared folder can make changes to the files inside.
writeable=Yes
# Specifies that the new files and directories will be readable, writable, and executable
# by the owner, the group, and other users.
create mask=0777
# Specifies permissions that are set for new directories created in the shared folder.
directory mask=0777 # Same permissions with the create mask=0777 line.
# Specifies the shared folder is not publicly accessible.
# Only users with granted access to the shared folder can access it.
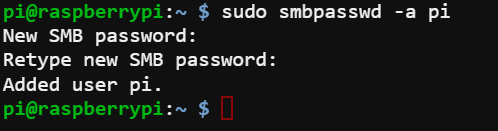
public=no4. Now, run the following smbpasswd command to configure and add (-a) a user account to the Samba password database.
This tutorial assumes you want to give the user pi access to the shared folder. But you can replace pi with the username of your choosing. But first, ensure the username exists on your system before running this command.
sudo smbpasswd -a piProvide and confirm a password for the user pi when prompted. A strong password is most recommended to secure the user account.
Save the password somewhere safe, as you will need it later to access your shared folder from another machine on your network.
5. Lastly, run the below systemctl command to restart the Samba service (smbd) for the changes to take effect.
This command does not provide output, but you will verify the changes in the following sections later.
sudo systemctl restart smbdAccessing Your Raspberry PI NAS Share Remotely (Same Network)
With all necessary configurations completed, you can now access your Raspberry Pi NAS share from other computers on your network. This tutorial uses Windows 10 for demonstrations.
To remotely access your shared folder, you first need the IP address of your Raspberry Pi:
1. Run the below command to view the IP addresses of the devices on your network.
hostname -INote down the IP address, as shown below. You will use this IP address to access your shared folder on your network.

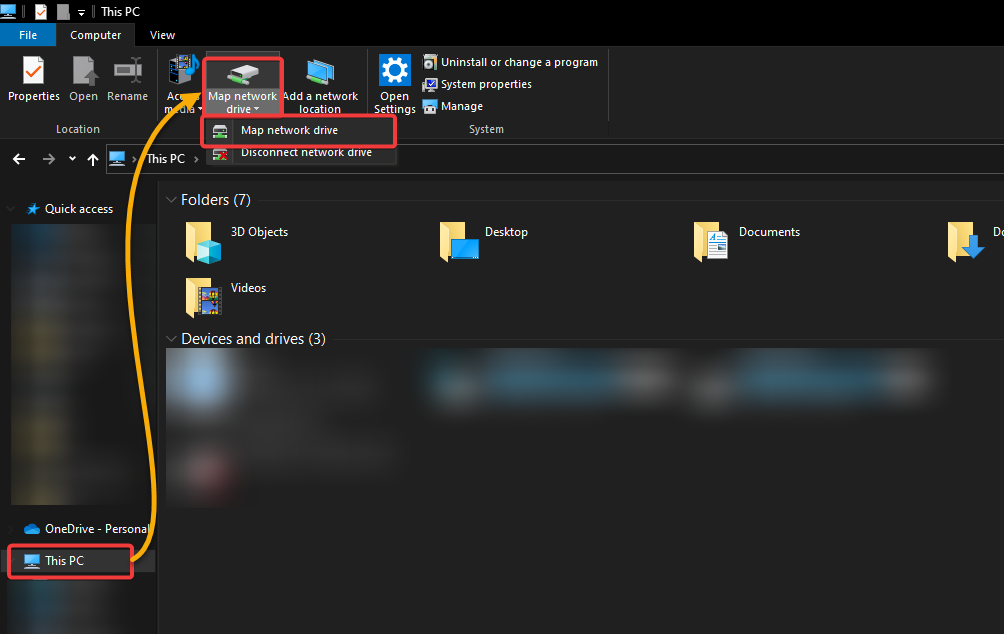
2. Next, open File Explorer, and click This PC in the navigation pane to display a list of drives and devices connected to your computer.
On the Ribbon, click Map network drive and select Map network drive from the drop-down menu. Doing so opens the Map Network Drive window, where you can map a network drive.
Mapping a network drive allows you to connect to a shared folder on a network and access its contents as if it were a local drive on your computer.
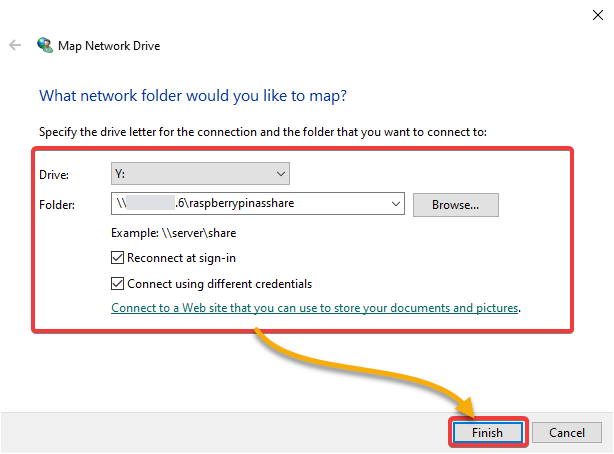
3. In the Map Network Drive window, configure the following:
- Drive – Select the drive letter to identify the shared folder on your computer and determines how you will access the shared folder from your computer.Folder – Provide the IP address of your Raspberry Pi, followed by a forward slash (\), and your Raspberry Pi NAS share name (i.e., \\192.x.x.x\raspberrypinasshare).
- Folder – Provide the IP address of your Raspberry Pi, followed by a forward slash (\), and your Raspberry Pi NAS share name (i.e., \\192.x.x.x\raspberrypinasshare).
When you specify the network location of a shared folder, ensure you include two backslashes at the beginning. If not, Windows treats the IP address as an argument, and the shared folder will not be mapped correctly. Why? A backslash stands as an escape character in Windows file paths.
- Keep other settings as is, and click Finish to complete the setup.
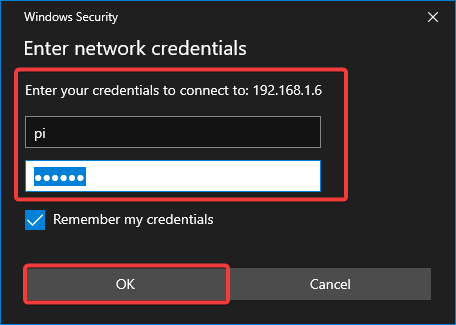
4. Now, enter the username (pi) and the password you set in step four of the “Configuring Samba Raspberry Pi NAS,” as shown below, and click OK. Doing so lets you authorize mapping the selected network drive.
This security measure is designed to ensure that only authorized users can access the shared folder.
💡 If you wish to save your credentials for easy access, tick the Remember my credentials checkbox. This option allows you to access the shared folder without entering your credentials each time.
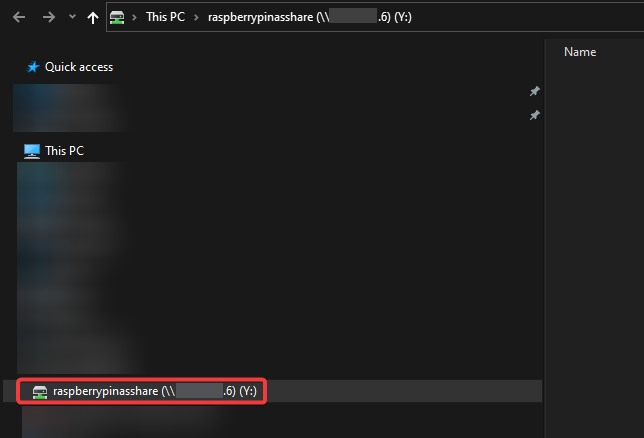
If successful, you will see your Raspberry Pi’s NAS share inside This PC in the navigation pane, as shown below.
Now, you can access, add and remove contents of the shared folder as you would in any other folder on your hard drive.
Testing the Raspberry Pi NAS Share
Successfully mapping your Raspberry Pi NAS share as another network drive does not automatically mean everything is working correctly. You must test if your Raspberry Pi NAS share works as expected.
You will send a text file to the shared folder to verify you can access the shared folder and transfer files between computers.
1. Create a text file with your preferred name and message to include in the file, and save the file.
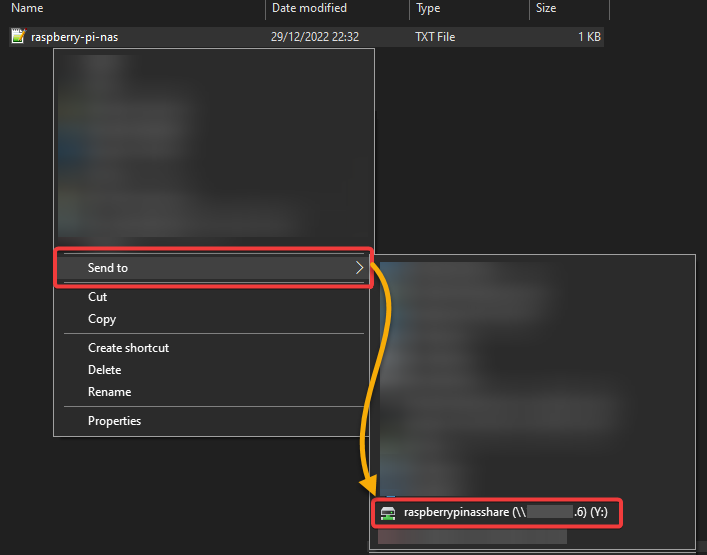
2. Next, right-click on your text file, hover Send to, and select your shared folder to send the text file.
Finally, log on to your other device (connected to the same network), and navigate to your Raspberry Pi’s shared folder.
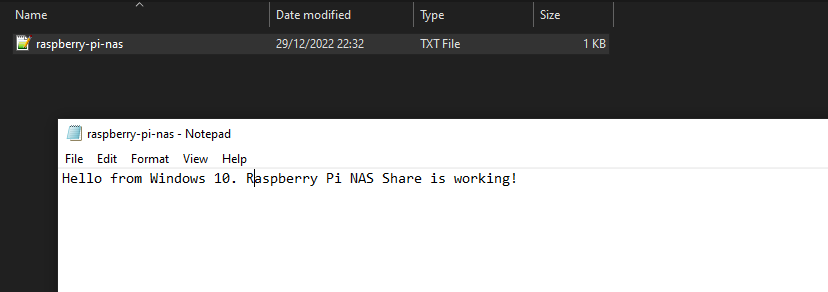
If the transfer worked correctly, you would see your text file and whatever message you included in the text is intact, as shown below.
Congratulations! You have successfully set up a Raspberry Pi NAS share and can now access it from any device connected to your network!

Conclusion
Setting up a Raspberry Pi NAS is a convenient way to share files and resources between computers on your network. And in this tutorial, you have successfully set up and mapped a Raspberry Pi NAS share as a network drive for quick file-sharing.
Now, why not try copying some of your favorite photos and videos to your shared folder? Or create a home media server to stream your favorite movies?


