


Your Raspberry Pi is a treasure trove of personal data and valuable information – do not leave it vulnerable to attack! But how exactly? Setting up a Raspberry Pi firewall will do the trick!
With UFW, you can set up a robust firewall that safeguards your device against online dangers. And in this tutorial, you will learn how to set up a UFW Raspberry Pi Firewall to keep out unwanted guests.
Ready? Fortify your Raspberry Pi and embrace the peace of mind!
Prerequisites
This tutorial comprises hands-on demonstrations. To follow along, be sure you have the following:
- A Raspberry Pi device (any version) – This tutorial uses Raspberry Pi 4.
- Access to the terminal on your Raspberry Pi, either through a direct connection or SSH.
Installing a Raspberry Pi Firewall
UFW is a popular firewall software for Linux-based systems, including Raspberry Pi. In setting up a firewall on your Raspberry Pi, UFW is a great choice. But first, you must install UFW on your Raspberry Pi.
This free and open-source software is designed to ease the process of setting up and managing a firewall, even for users new to Linux.
To install it on your Raspberry Pi, follow these steps:
1. Open a terminal on your Raspberry Pi, and run the following apt update command to update your system’s package list.
sudo apt update -y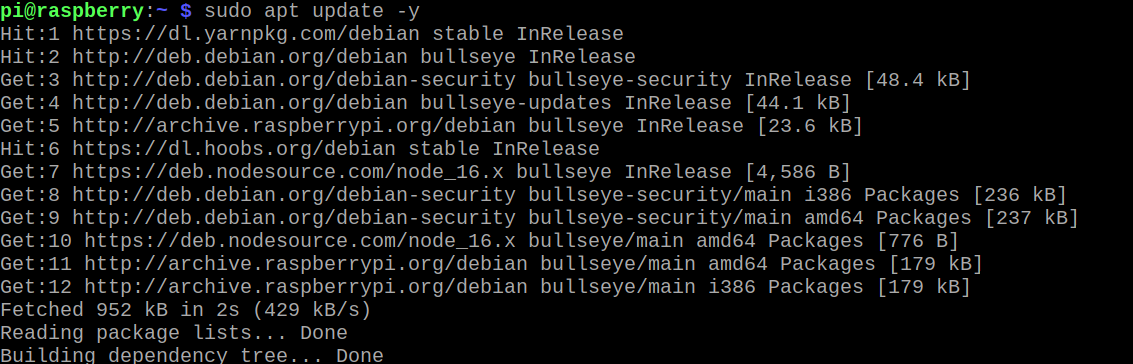
2. Once updated, run the below apt install command to install UFW on your system.
sudo apt install ufw -y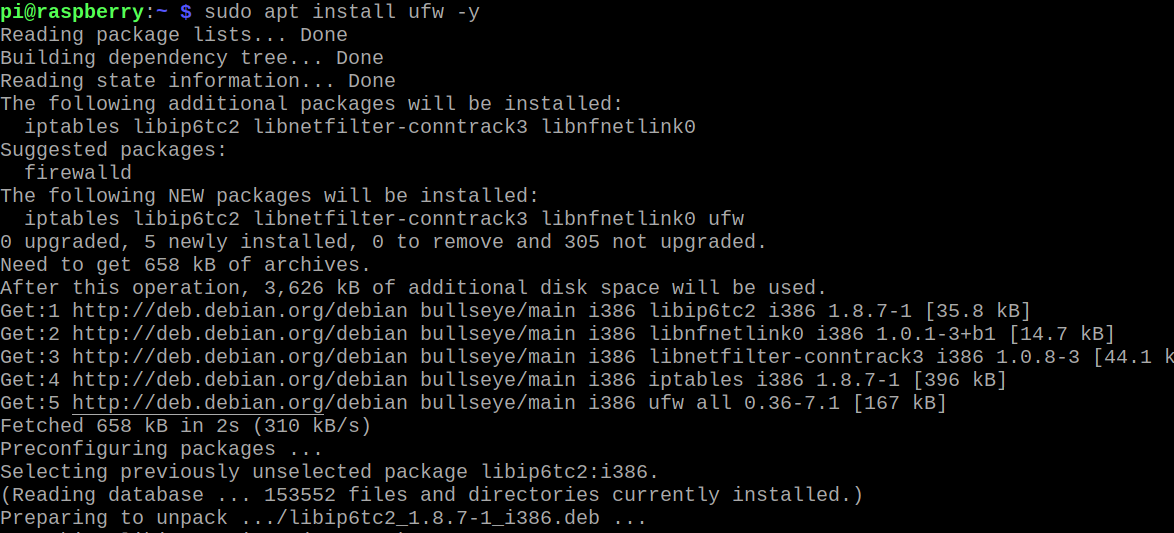
3. Now, run the command below to check UFW’s version, which verifies it has been successfully installed.
ufw --version
Managing the UFW Service
UFW is a front-end for iptables, the standard firewall software for Linux. UFW provides an interface for quickly managing firewall rules on a Linux system.
To manage the UFW service:
Run the below command to check the status of the UFW service. This command displays the current status of the firewall, along with a list of currently applied rules.
sudo ufw statusBelow, the output shows Status : inactive, which indicates no firewall rules are currently applied. Having no firewall rules means incoming and outgoing traffics are allowed, the default behavior when UFW is disabled.

Now, run the following command to enable UFW on your system. This command activates the firewall and starts applying the default rules.
By default, UFW blocks all incoming traffic except for SSH on port 22 and allows all outgoing traffic.
After enabling UFW, you can add custom rules to allow or deny traffic as per your requirement, which you will learn later in this tutorial.
sudo ufw enable
If you wish to disable UFW, run the below command to allow all incoming and outgoing traffic. But be mindful, though. Disabling the firewall is not recommended unless you have a compelling reason.
sudo ufw disable

Opening Ports in UFW to Allow Incoming Traffic
With the UFW service running, it is time to ensure specific incoming traffics are allowed in your firewall. When running any network-based services or applications requiring external access, opening a port in UFW is necessary.
Suppose you plan to run a web server on your Linux system. If so, you must open port 80 (HTTP) or 443 (HTTPS) to allow incoming traffic to the server.
To see how to open ports in UFW:
1. Run the following ufw command to add a firewall rule to allow incoming tcp traffic on port 80 (HTTP). The command below demonstrates the syntax to open ports in UFW where:
80– The port number to allow incoming traffic.
tpc– The protocol the application or service uses on the specified port. The most common protocols are TCP and UDP.
sudo ufw allow 80/tcp
2. Next, run the below command to check ufw status to view all rules in a numbered list.
This command displays all UFW firewall rules, including your newly-added rule and their corresponding rule numbers.
sudo ufw status numbered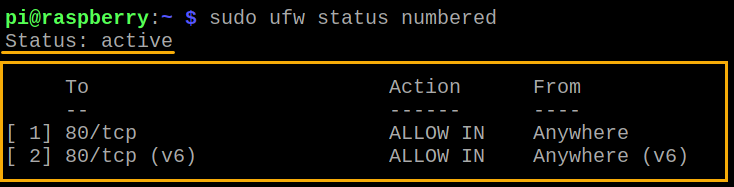
3. Now, run the command below to check the status of a specific rule (grep) for port 80.
This command helps narrow the list of rules, especially if you have many existing ones.
sudo ufw status verbose | grep 80
Implementing Connection Rate Limiting on Specific Ports
Besides the ports you opened, all other ports are closed, which adds security to your network. But how do you prevent brute-force attacks? UFW supports rate-limiting connections on specific ports, which limits the number of connection attempts that can be made in a particular time interval.
Run the below ufw limit command to add a limit rule for incoming tcp traffic on port 22 (SSH). This command limits the number of connections to a default value of six per 30 seconds.
If more than six connections are made to the specified SSH port within 30 seconds, UFW blocks further connections. With this behavior, an attacker can only make a few connection attempts in a short timeframe, making brute-force attacks less effective.
sudo ufw limit 22/tcp
Allowing Connections by Service Name
Not sure which ports to allow on your firewall? Not a problem! UFW provides pre-defined services with well-known names corresponding to specific applications or protocols.
You can allow access to these services by their names instead of port numbers and protocols — talk about convenience.
To allow connections on your firewall by their service name, you first have to know the services available:
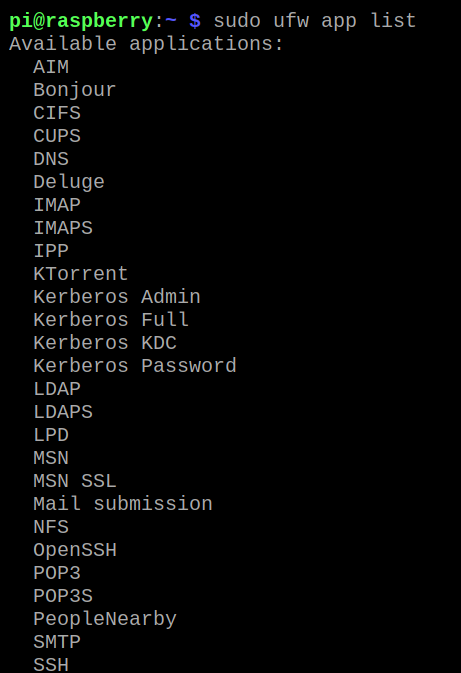
Run the below command to list all available services (app).
sudo ufw app listPick one service name from the list below that you wish to allow on your firewall.
Now, run the following command to allow connections to the service you picked in step one, in this case, OpenSSH. Opening the OpenSSH service allows incoming connections to the OpenSSG service.
sudo ufw allow OpenSSH
Alternatively, run the below command to specify the service name (
ssh) and protocol (tcp).sudo ufw allow ssh/tcp

Granting and Limiting Access to Trusted IP Addresses
Keeping malicious entities off your network feels great. But typically, there are devices you trust and wish to grant full access to. Luckily, UFW lets you grant/deny access to any IP address on your firewall.
Run the below command to allow traffic from a trusted device with an IP address of 192.168.1.100.
sudo ufw allow from 192.168.1.100Below, the output states the rule has been added.

Now, run the below command to allow access to the same device but specify the port (22) and protocol (tcp) to limit access to a specific service or application.
sudo ufw allow from 192.168.1.100 to any port 22 proto tcpSince the rule has been added, your firewall blocks the connection if the connection uses a different protocol (i.e., UDP) than the ones specified.

Enabling UFW Logging for Deeper Security Insights
Protecting your network continues beyond just adding firewall rules. Feature like UFW logging provides deeper security insights into your system’s network traffic and firewall behavior.
By enabling UFW logging, you gain visibility into the packets your firewall allows or blocks and identify any potential security threats.
Run the following command to enable (on) UFW logging.
sudo ufw logging onWith the UFW logging enabled, all firewall events, such as allowed or blocked packets, are logged in the /var/log/ufw.log file.

Optionally, you can adjust the logging level to control the amount of detail in the log entries, as shown below. The logging levels available are
low,medium, andhigh, while the default logging level ismedium.
sudo ufw logging hig

Now, run the cat command below to view the UFW firewall log entries in the log file (/var/log/ufw.log)
cat /var/log/ufw.logViewing the log file, you can analyze the entries to identify potential security threats and network anomalies.
For example, you can look for patterns of incoming traffic from unfamiliar IP addresses or unusual port scans that may indicate an attempted attack.

Removing Unwanted UFW Rules
Keeping too many rules added to your firewall may spark conflict or clutter your firewall. Why not remove unwanted UFW rules?
To remove UFW rules you no longer need, you must first view all existing rules:
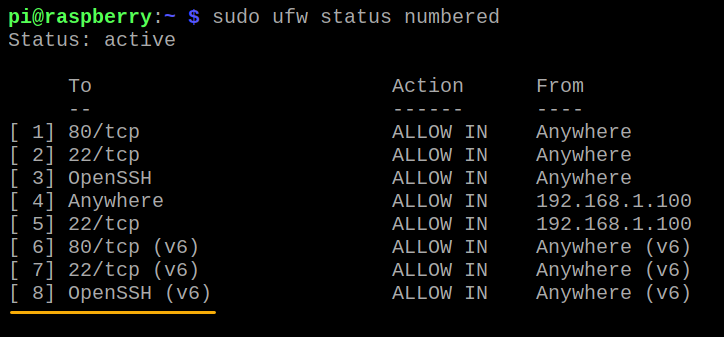
1. Run the following command to view all existing UFW rules in a numbered list.
sudo ufw status numberedIdentify the number corresponding with the rule you wish to remove (i.e., 8 for OpenSSH).
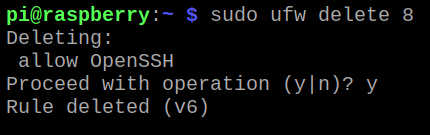
2. Now, run the ufw delete command below to remove your target UFW rule by its number (8).
sudo ufw delete 8Input y and press ENTER when prompted to continue removing the rule.
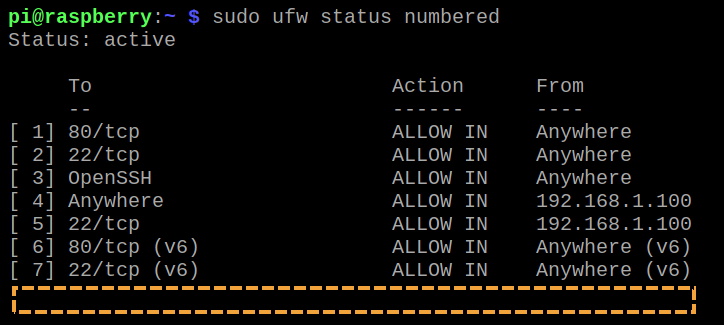
3. Finally, rerun the below command to verify the rule has been removed.
sudo ufw status numberedThe output below confirms that the rule that allows OpenSSH no longer exists.
Conclusion
Setting up your Raspberry Pi firewall is essential in securing your system against potential security threats. And in this tutorial, you have learned to manage UFW rules to allow, decline and limit connections to your network.
You now have complete control over incoming and outgoing traffic and monitor your network activity. Armed with this newfound knowledge, you can enjoy a more secure and worry-free computing experience on your Raspberry Pi.
With a fully functional firewall, why not consider using your Raspberry Pi as a virtual private network (VPN)? Secure your internet connection and protect your online privacy today!


