


Data security and privacy have become paramount concerns for individuals, businesses, and governments in the Internet age. While there are many ways to protect your data, one of the most effective is to use a Virtual Private Network (VPN), such as Pritunl Client and Server VPN.
Pritunl Client and Server VPN is a powerful VPN solution that suits individuals and businesses. And in this tutorial, you’ll learn how to set up and use Pritunl Client & Server VPN to secure your connection and protect your data.
Read on to never worry about data security and privacy again!
Prerequisites
This tutorial will be a hands-on demonstration. If you’d like to follow along, be sure you have the following.
- A Linux server (as your Pritunl server) – This tutorial uses Ubuntu 20.04, but you can use any Linux server, including a Raspberry Pi.
- MongoDB installed and running on your Linux server (The Pritunl server uses MongoDB as its database).
- A computer that acts as your Pritunl client – This tutorial uses Windows 10 20H2.
Installing the Pritunl Server
Pritunl is a free and open-source VPN server with many features, including running on multiple servers, load balance across servers, and failover if one server goes down.
Pritunl comes in two parts:
- The Pritunl Server – is responsible for setting up and managing VPN connections.
- The Pritunl Client – is used to connect to the Pritunl Server and access the VPN.
In this tutorial, you’ll first install the Pritunl Server on your Linux server:
1. SSH into your server and run the following apt update command to update your package index.
apt update -y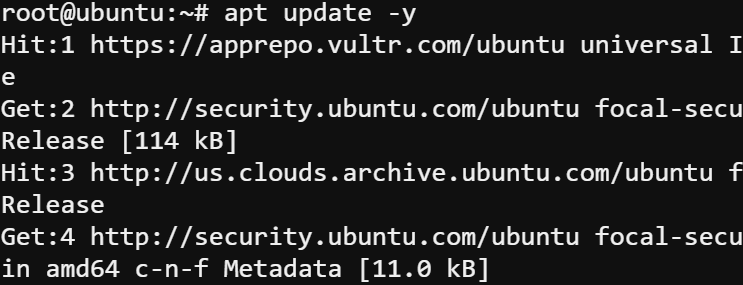
2. Next, run the below apt install command to install the required dependencies for Pritunl, which are as follows:
| Dependency | Use |
| software-properties-common | To add the Pritunl repositories to your system. |
| curl | For downloading files. |
| gnupg2 | For verifying the Pritunl signing key. |
| wget | For retrieving files. |
| unzip | For extracting ZIP archives. |
apt install -y software-properties-common curl gnupg2 wget unzip -y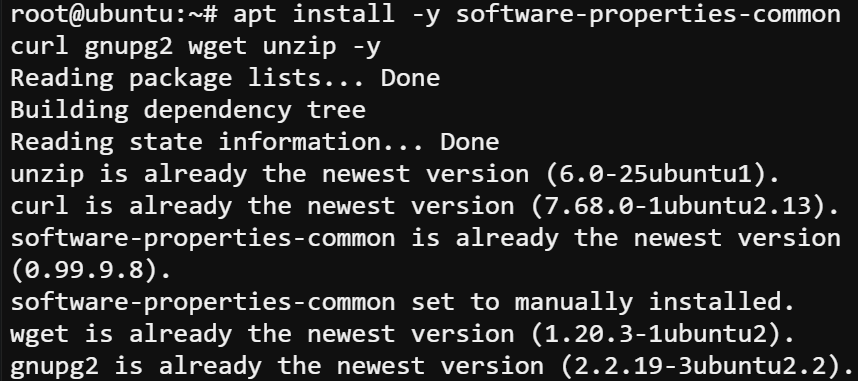
3. After installing dependencies, run the below apt-key commands to add the Pritunl keys to your apt keyring. Doing so ensures the packages you install from the Pritunl repositories are valid and trusted.
Pritunl is not available in the default Ubuntu repositories by default. So, you must add the Pritunl repository to your system to install it.
apt-key adv --keyserver hkp://keyserver.ubuntu.com --recv E162F504A20CDF15827F718D4B7C549A058F8B6B
apt-key adv --keyserver hkp://keyserver.ubuntu.com --recv 7568D9BB55FF9E5287D586017AE645C0CF8E292A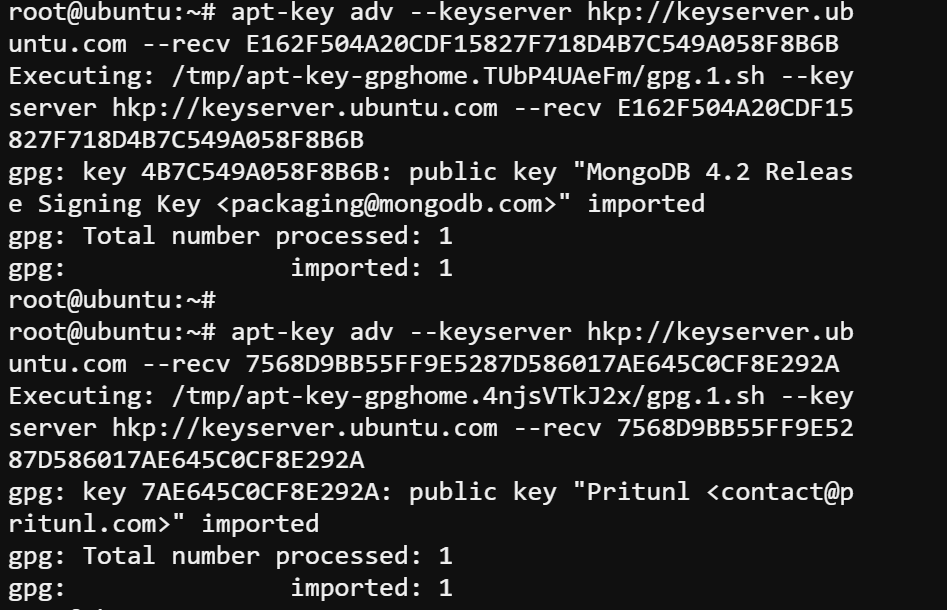
4. Now, run the following command to add the Pritunl repositories (stable version) to your source list.
echo "deb http://repo.pritunl.com/stable/apt focal main" | tee /etc/apt/sources.list.d/pritunl.list
5. Rerun the apt update command to update your package index and ensure the new repositories are included in the package index.
apt update -y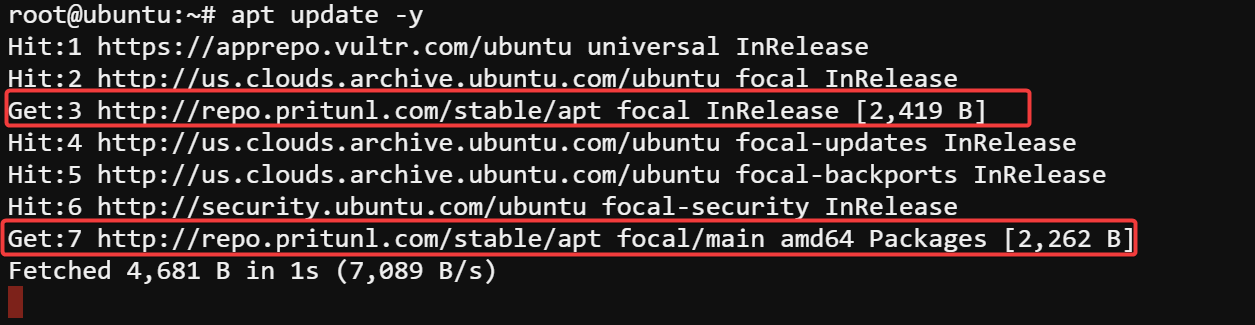
6. Next, run the below apt-cache command to check the Pritunl repositories are correctly configured on your system.
apt-cache policy pritunl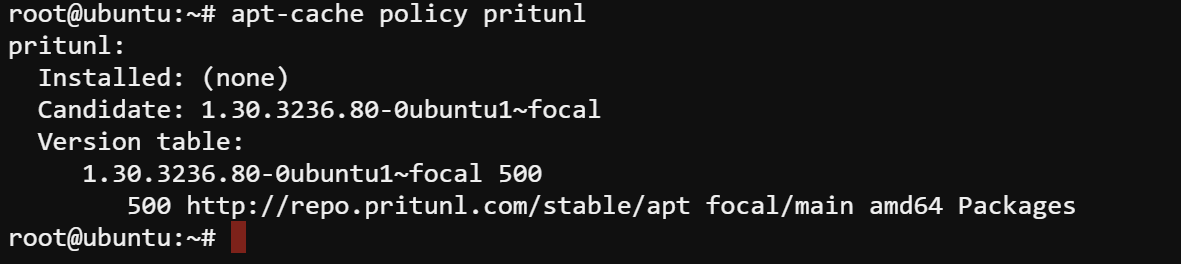
7. Run the apt install command below to install the Pritunl server while automatically accepting all prompts (-y).
apt install pritunl -y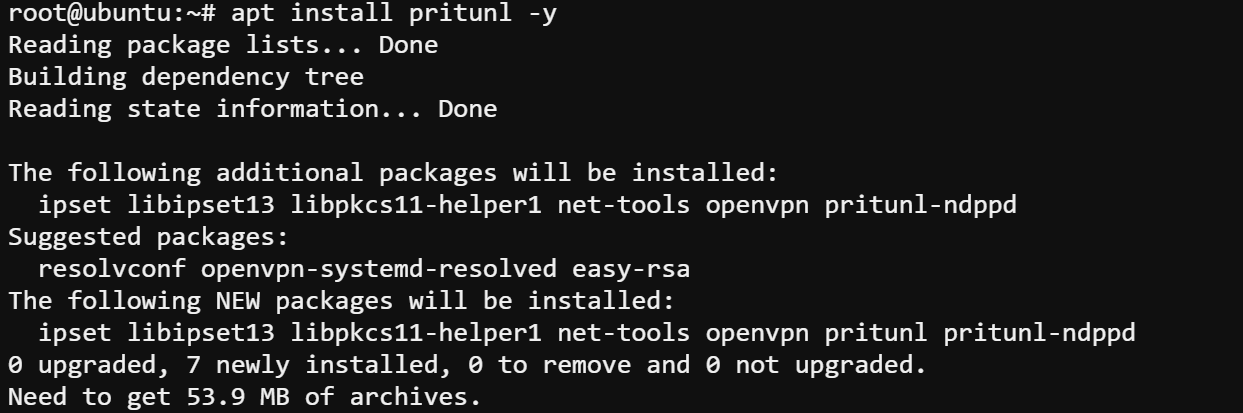
8. Once installed, run each systemctl command below to start and enable the Pritunl service. Doing so sets the Pritunl service to run automatically when your server boots up.
systemctl start pritunl
systemctl enable pritunl
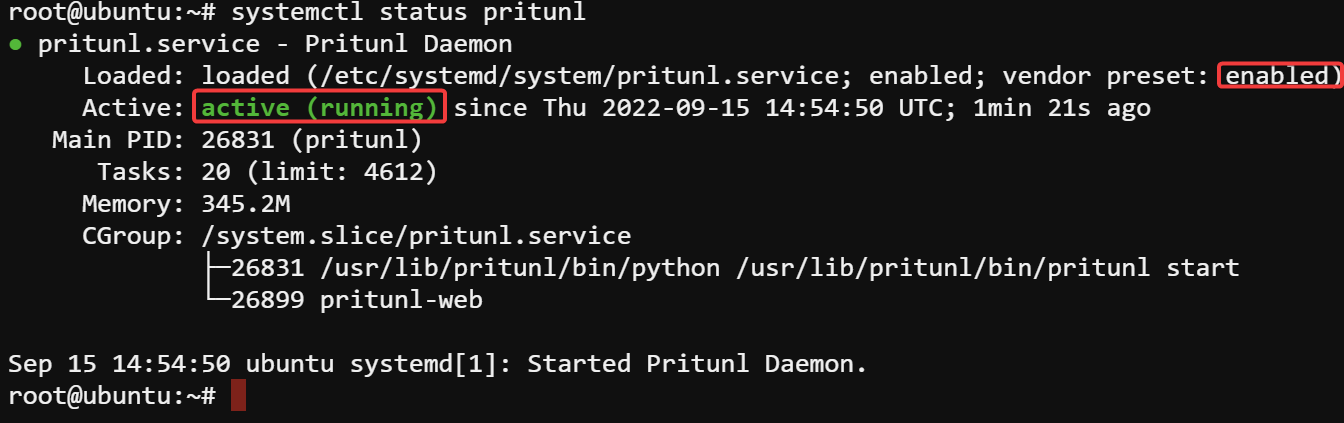
9. Ultimately, run the below command to check the Pritunl service status.
systemctl status pritunlThe output below verifies that the Pritunl service is running correctly.
Accessing the Pritunl Server Web UI
Now that you’ve installed and verified the Pritunl service is running, how do you secure your connection and protect your data? You’ll need access to the Pritunl web interface to configure your server.
To access the Pritunl web interface:
1. Run the below curl command to find your server’s public IP address.
curl -4 icanhazip.com
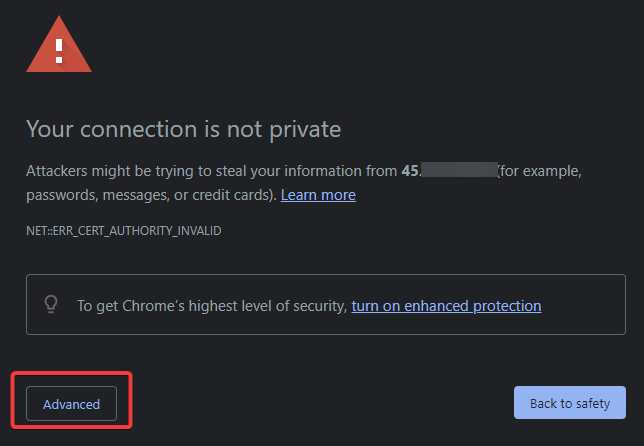
2. Next, open your preferred web browser and visit your server’s IP address (i.e., https://SERVER_IP), replacing SERVER_IP with the actual IP address of your server.
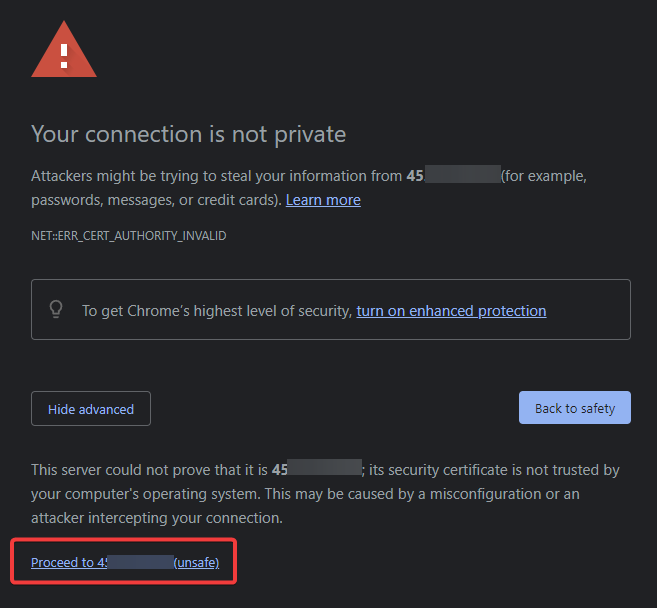
Click on the Advanced button to access the advanced option when you see the Your connection is not private error, as shown below.
This error shows up because the Pritunl web interface uses an SSL certificate by default.
3. Click on the Proceed to <ServerIP> (unsafe) hyperlink to access Pritunl’s web UI.
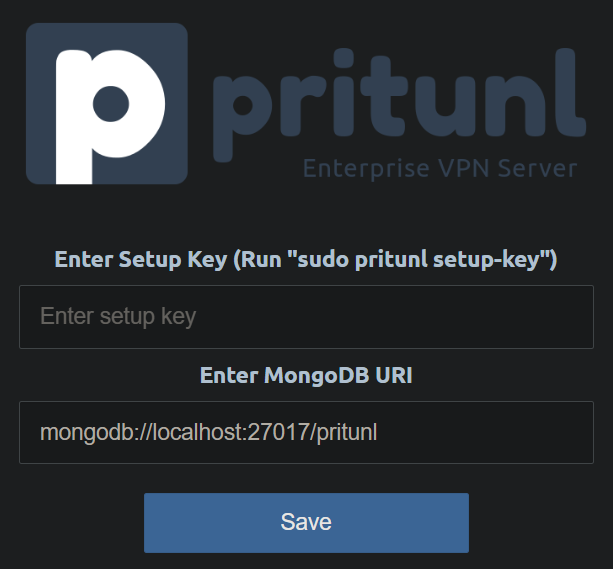
Your browser redirects to the Setup Key page (step four), as shown below. The Setup Key is a random string you will use to connect your Pritunl server. The developers implemented this default behavior to make logging into the web interface more secure.
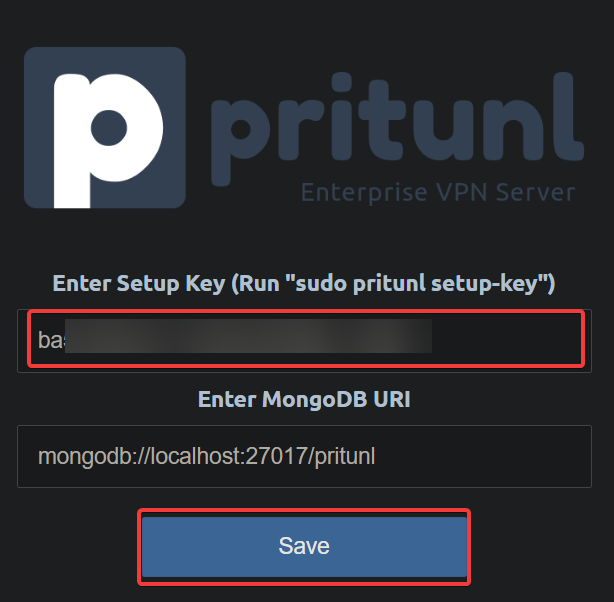
4. Now, run the below pritunl command to generate a setup-key.
sudo pritunl setup-keyNote the generated Setup Key as you will need it in the following step.

5. Provide the generated Setup Key to the Enter Setup Key field on Pritunl’s web UI, and click Save to authenticate your connection to Pritunl’s server.
Once authenticated, your browser redirects the admin login page, as shown below.
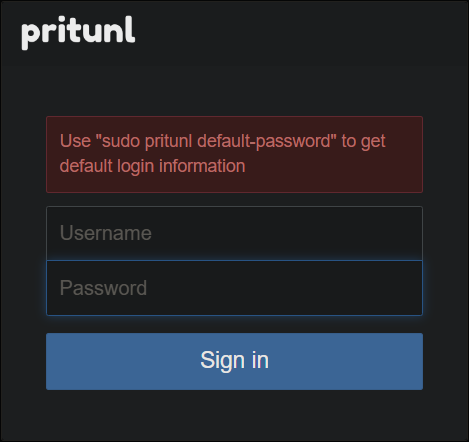
6. Next, run the below command to generate an admin username and password.
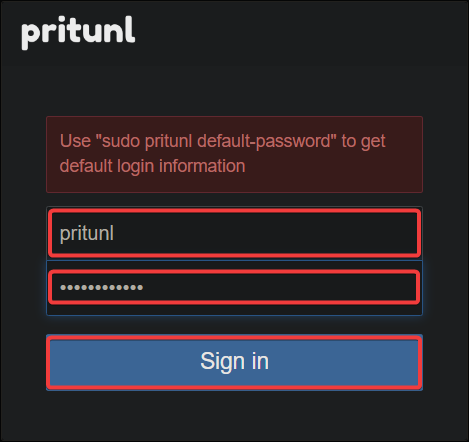
sudo pritunl default-passwordCopy the generated admin username and password to a safe place.

7. Provide the generated username and password in their respective fields on the admin login page, and click Sign in to continue.
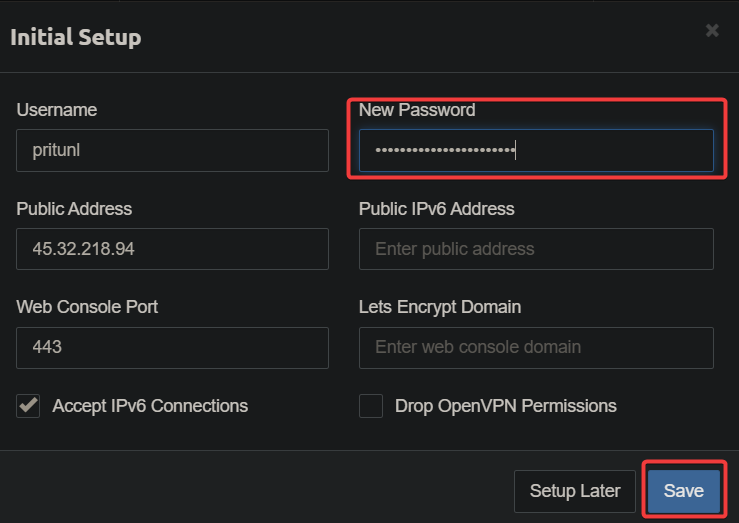
8. Lastly, input a strong password in the New Password field inside the Initial Setup pop-up window, keep other default settings and click on Save to proceed.
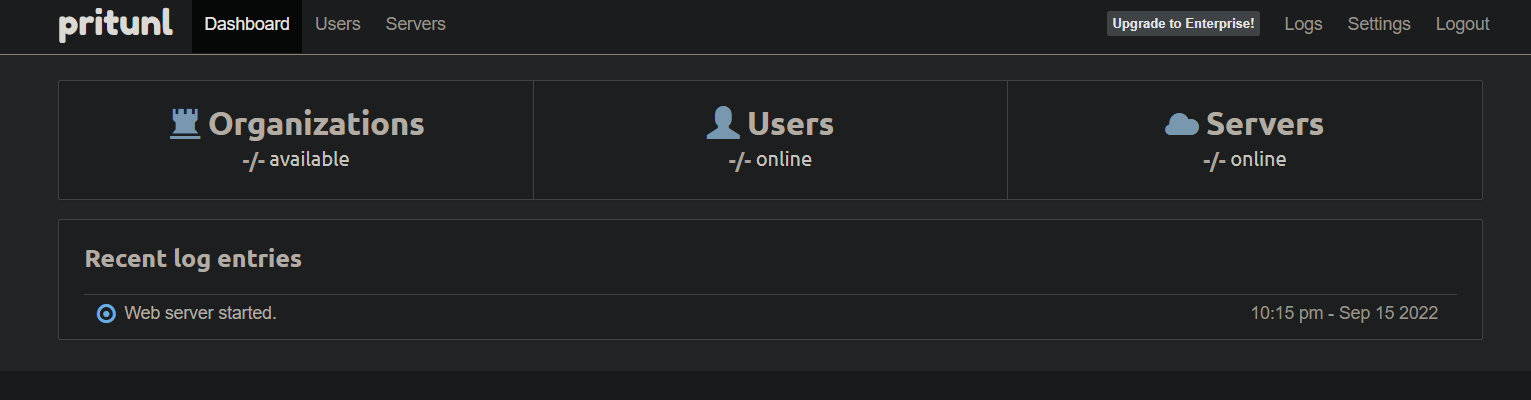
At this point, you will see the main Pritunl dashboard, as shown below. Don’t close the dashboard yet, as you will configure the server settings in the following section.
Configuring the Pritunl Server
At this point, you have a working Pritunl server. But before you can use the Pritunl server, you first need additional configurations. You’ll add a new organization, user, and server and attach that server to the organization.
Organizations are used to group users and servers, which is useful in giving different users access to different servers or simply keeping things organized.
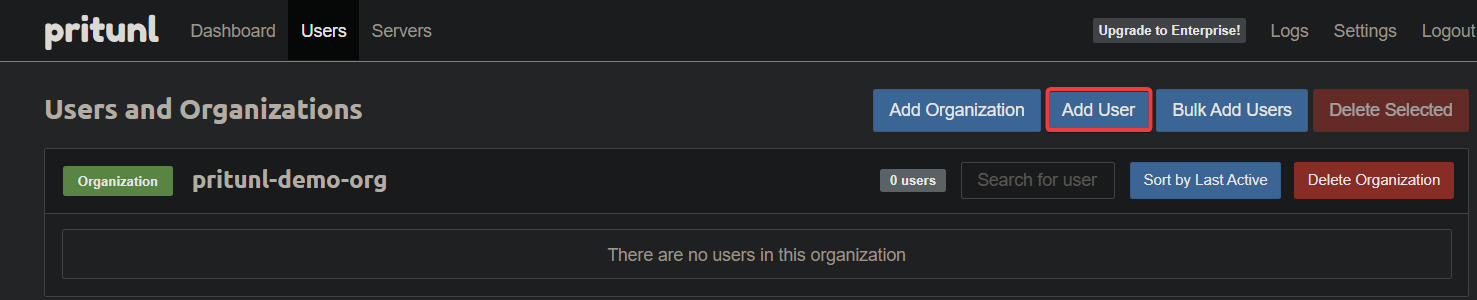
1. On Pritunl’s dashboard, click on the Users tab → Add Organization to initiate adding a new organization.

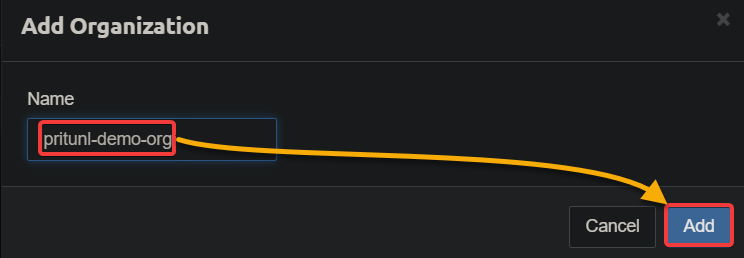
2. Next, provide an organization name, and click the Add button to add the new organization.
Once you have created an organization, you can add users so they can connect to any server that is attached to the organization.
3. Once added, click on Add User to initiate adding users to the newly-added organization. Doing so grants users access to any server attached to the organization.
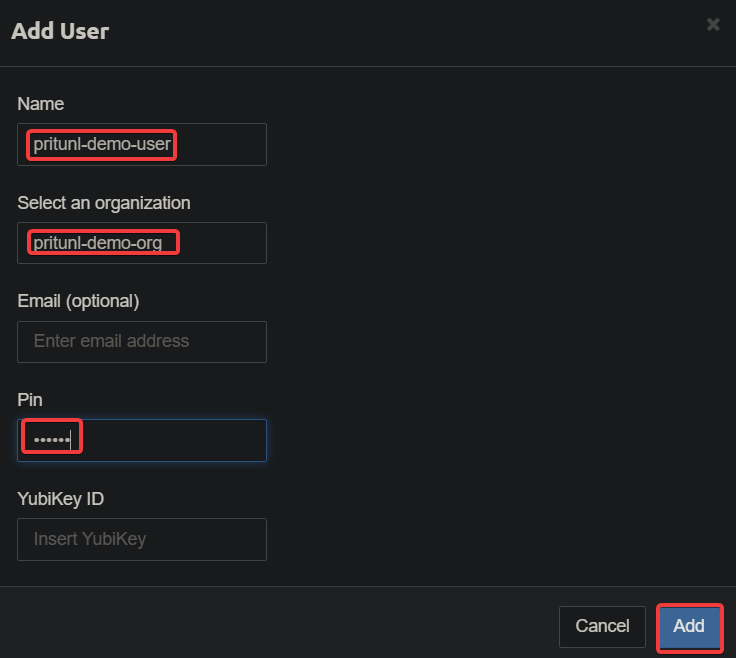
4. Now, configure the new user’s information with the following, and click Add to add the new user to the selected organization (pritunl-demo-org).
| Field | Value |
| Name | Provide a user name, which can be anything, but this tutorial’s choice is pritunl-demo-user. |
| Select an organization | Select the organization (pritunl-demo-org) where to add the user. |
| Set the user’s email address (optional). | |
| Pin | Set a pin for security measures (optional), which requires the user to provide a PIN when connecting to the VPN. |
| YubiKey ID | Provide a YubiKey ID as an optional security measure, which requires a user to provide a YubiKey when connecting to the VPN. |
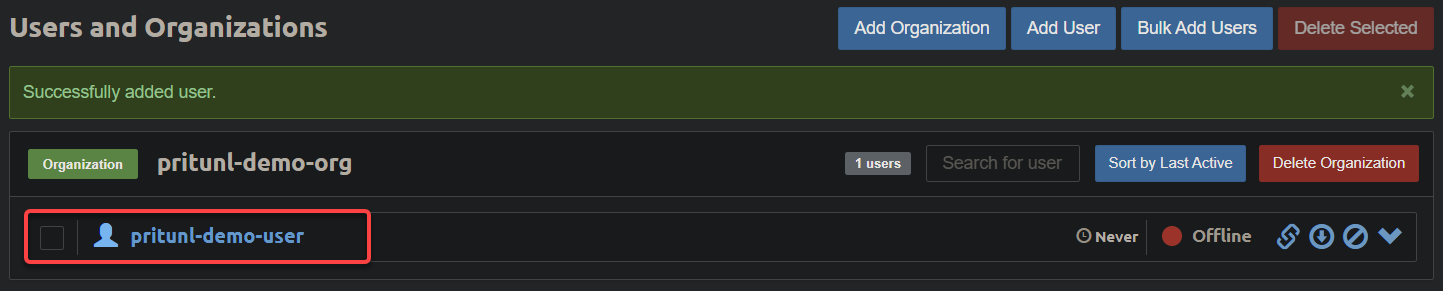
If successful, you will see the newly-added user (pritunl-demo-user) listed in the organization.
Now that you have an organization and a user, you can add a server. Servers are used to host the VPN connection. You can add as many servers as you want and attach them to different organizations.
5. After adding a user, click the Server tab → Add Server to initiate adding a server.

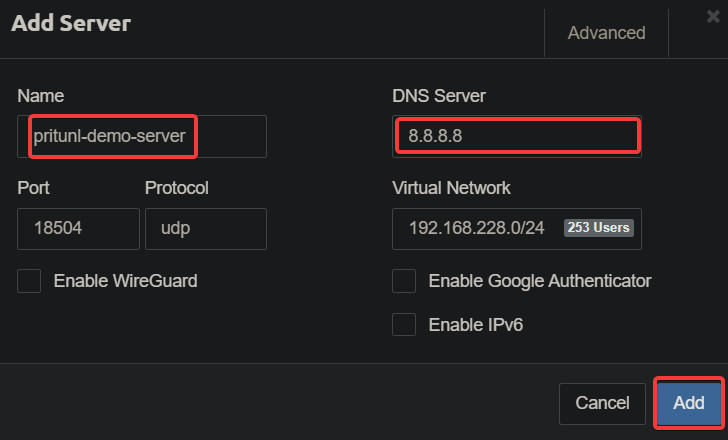
6. On the Add Server page, configure the new server as follows:
| Field | Value |
| Name | Provide a server name, which can be anything, but this tutorial uses the server name pritunl-demo-server. |
| DNS Server | Input a DNS server you prefer to be used by clients to resolve hostnames. But this tutorial uses 8.8.8.8, Google’s fast and reliable DNS server. |
Keep other settings as is, and click Add to add the new server.
7. Further, click Attach Organization to initiate attaching the server to your organization.
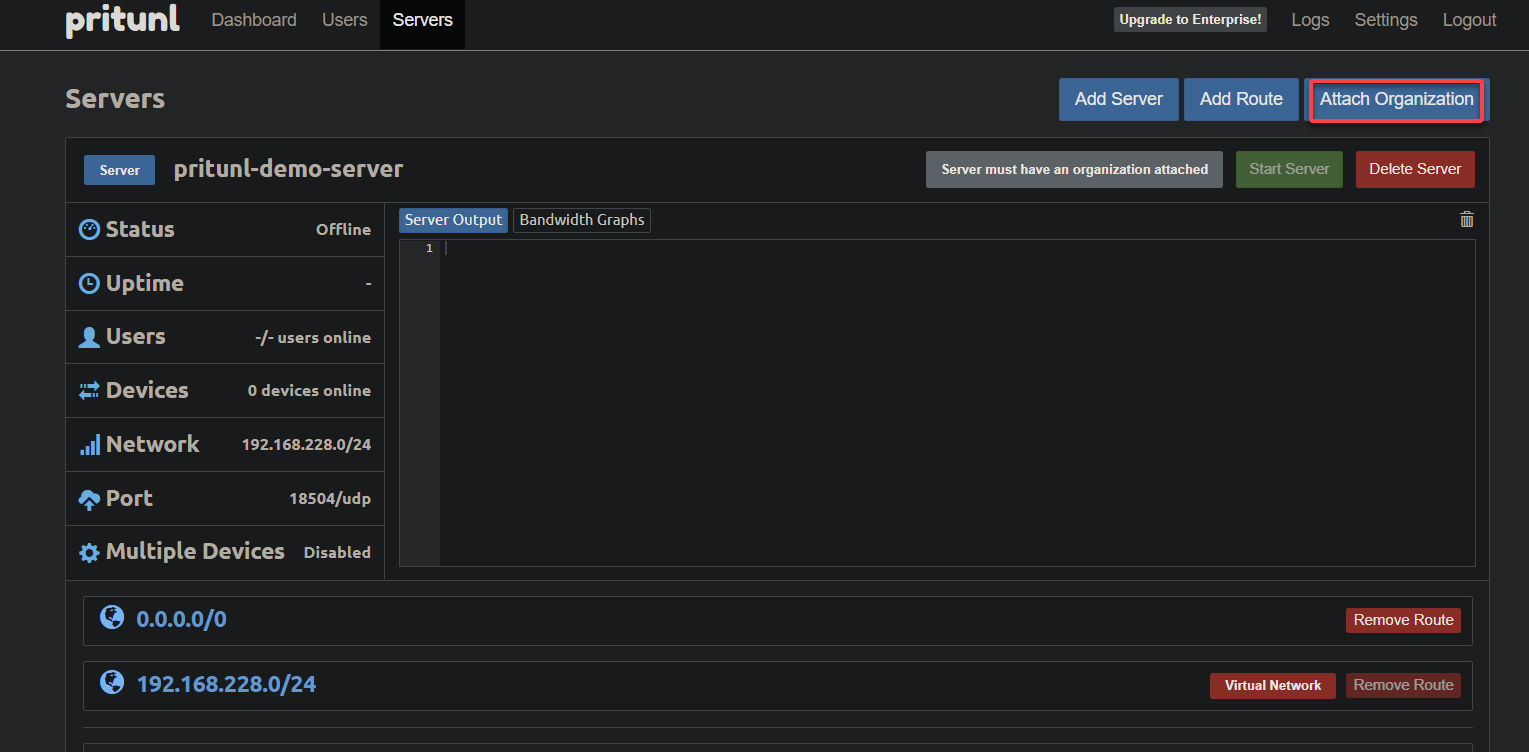
8. Finally, select an organization and server to attach, and click the Attach button to proceed with the attachment.
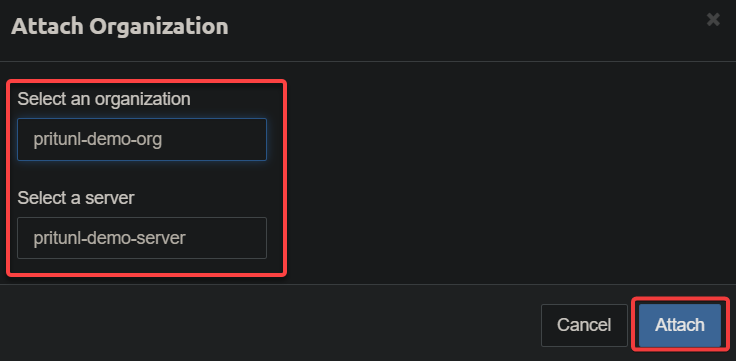
You’ll see a notification confirming the attachment is complete if successful.

Installing the Pritunl Client on Windows 10
Now that you have a working Pritunl server, it’s time to install the Pritunl client on your Windows 10 computer so you can later test connecting to the VPN server.
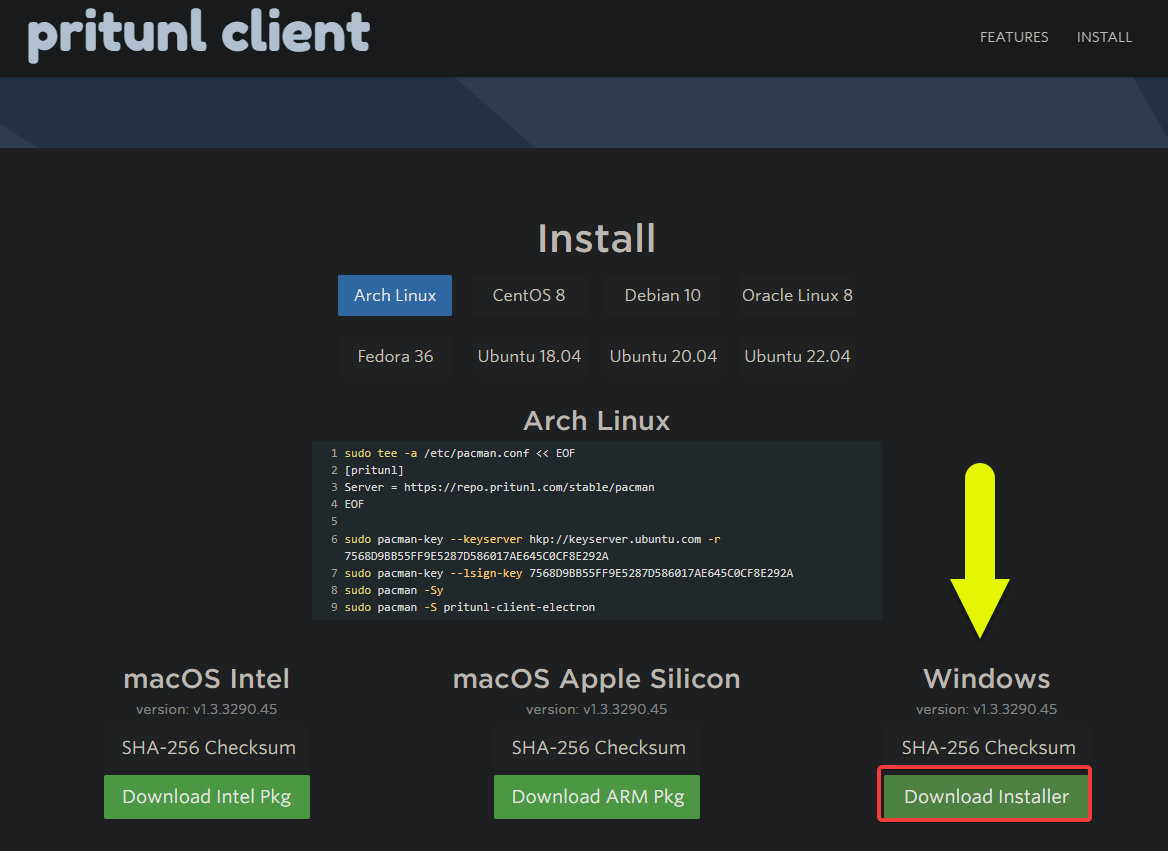
1. Navigate to https://client.pritunl.com on your web browser, and click Download Installer to download the Pritunl client’s latest version for Windows.
2. Once downloaded, double-click on the downloaded file to run the installer.
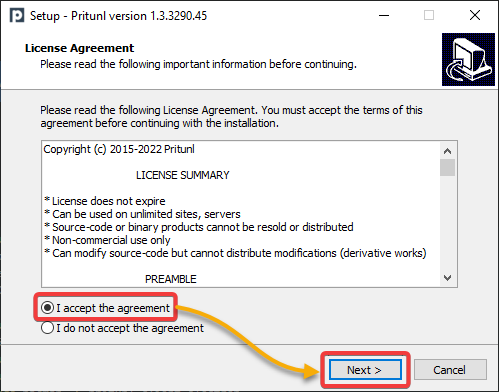
3. On the Setup wizard, select the I accept the Agreement option to accept the license agreement and click Next to continue.
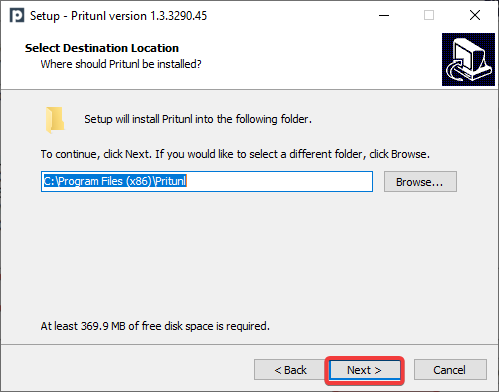
4. Now, select a location for installing the Pritunl client, and click Next to continue.
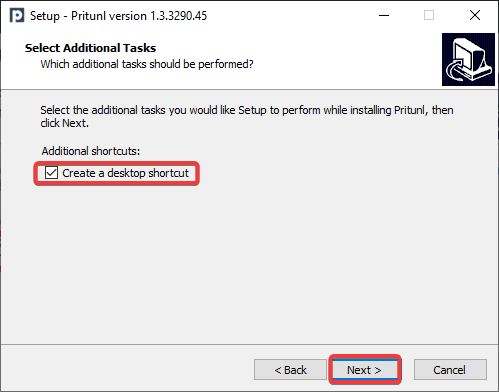
5. Select whether you want to Create a desktop shortcut for the Pritunl client, and click Next.
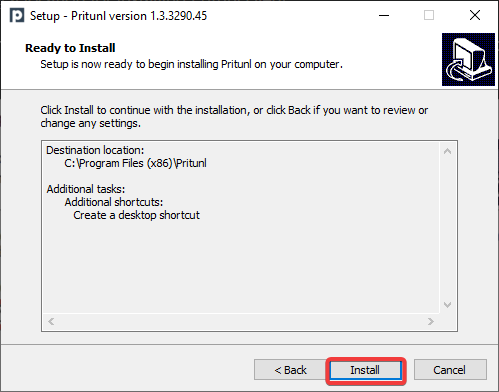
6. Next, review the installation settings, and click Install to install the Pritunl client.
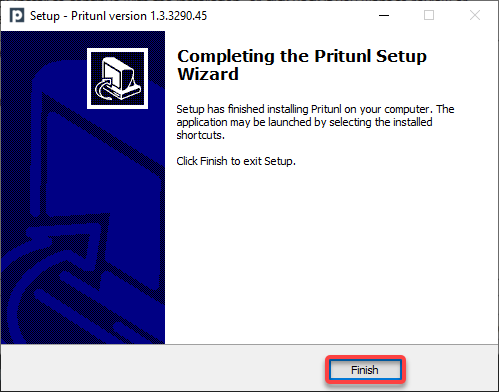
7. Lastly, click Finish once the installation is complete to close the Setup wizard.
Connecting to the VPN Server
Since you’ve already installed both the Pritunl server and the client, it’s time to test if they work by connecting to the VPN server. But first, you must download the user profile. This profile contains all the necessary information that the Pritunl client needs to connect to the server.
1. Navigate to the Pritunl dashboard, and click Servers → Start Server to start the VPN server.
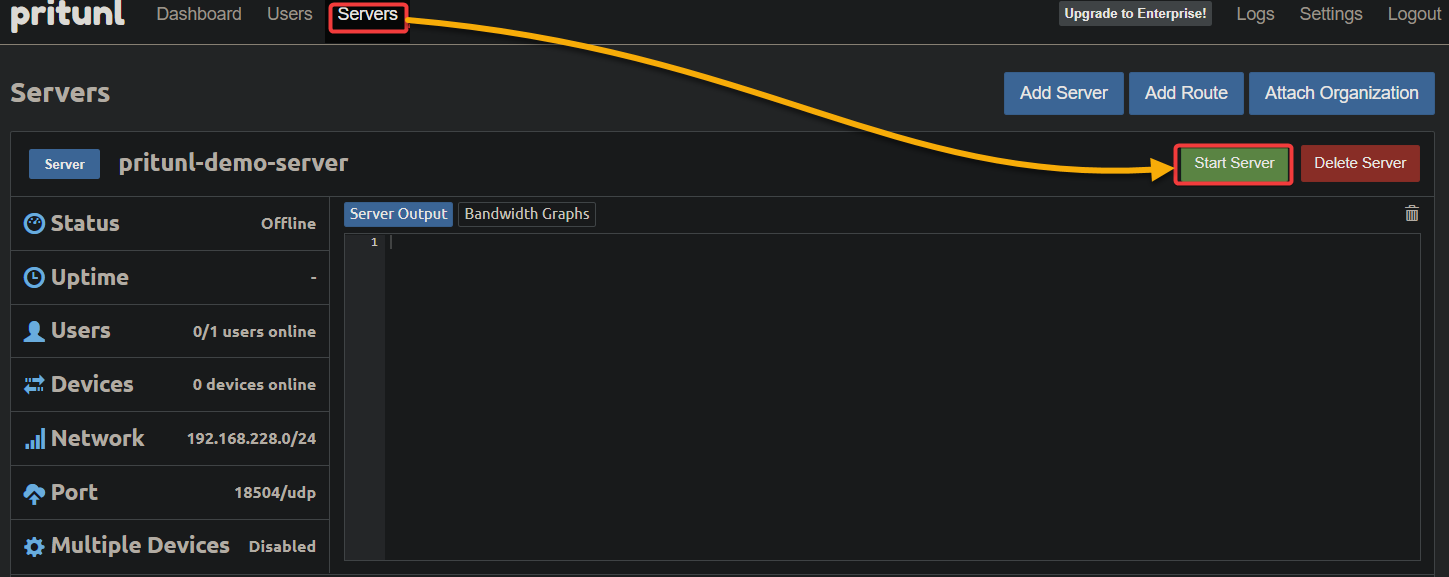
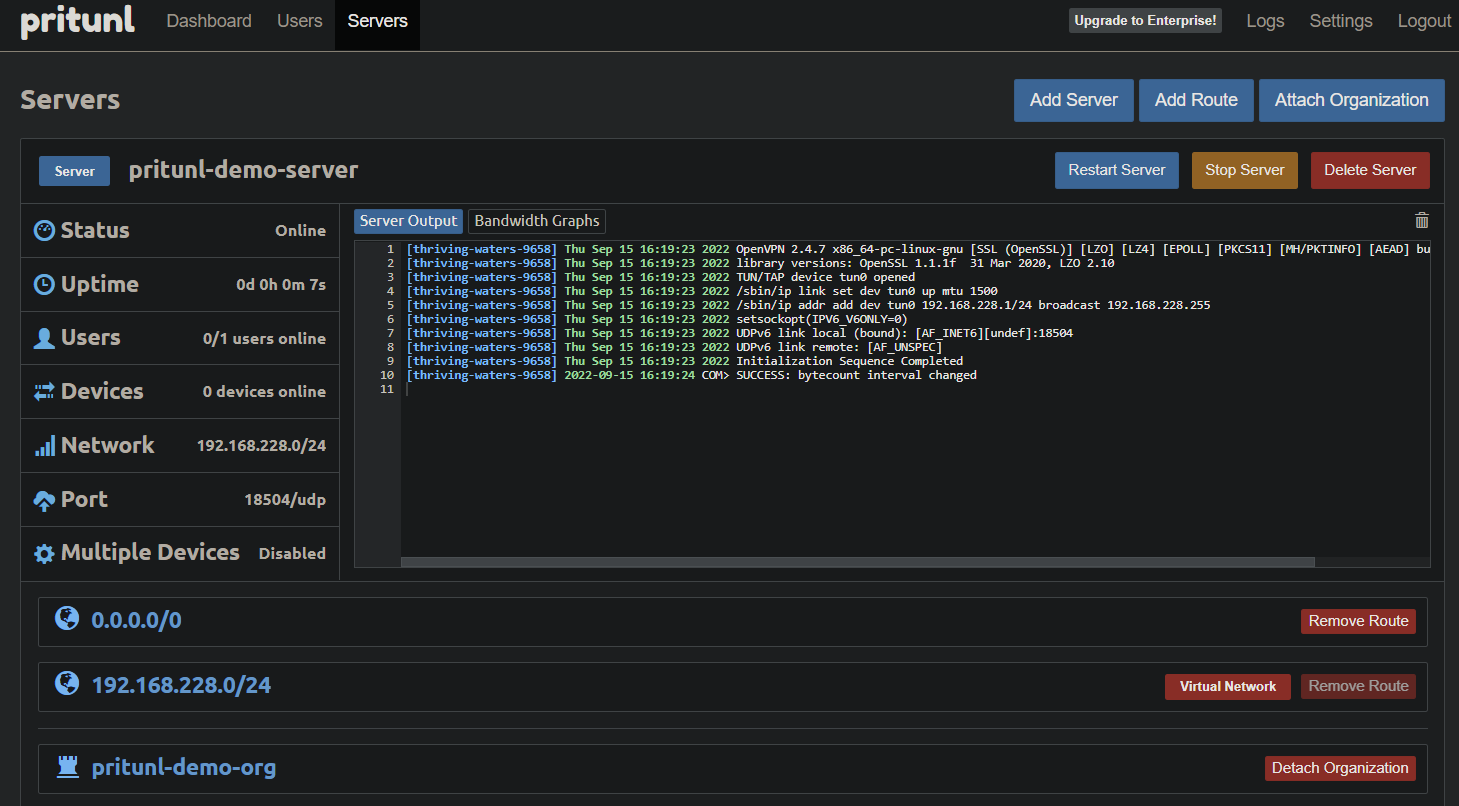
Below, you can see the VPN server is starting.
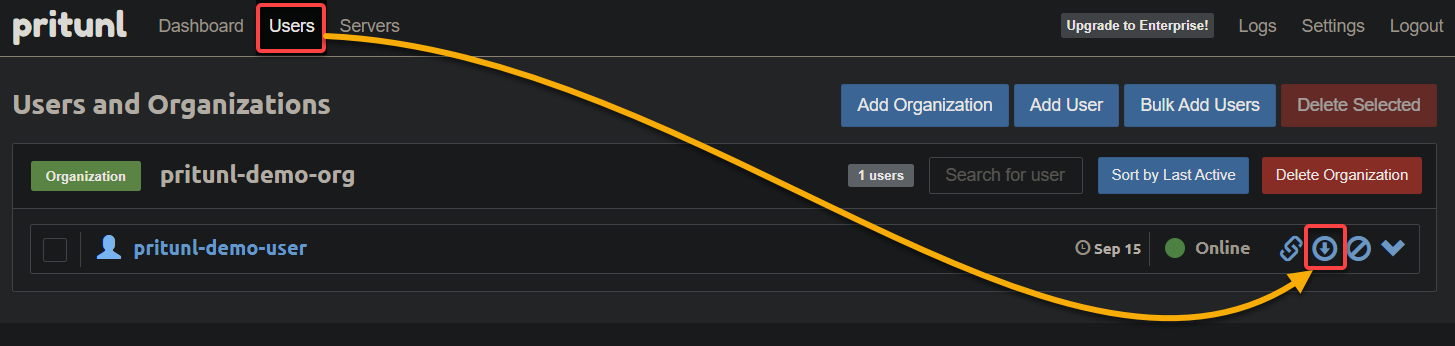
2. Once the server starts, click the Users tab and the download icon adjacent to the user to download the user profile (in a ZIP file).
3. Extract the downloaded ZIP file on your Windows 10, and you’ll have a file in .ovpn format, as shown below. The .ovpn format is the configuration file format used by OpenVPN but can also be used by Pritunl.

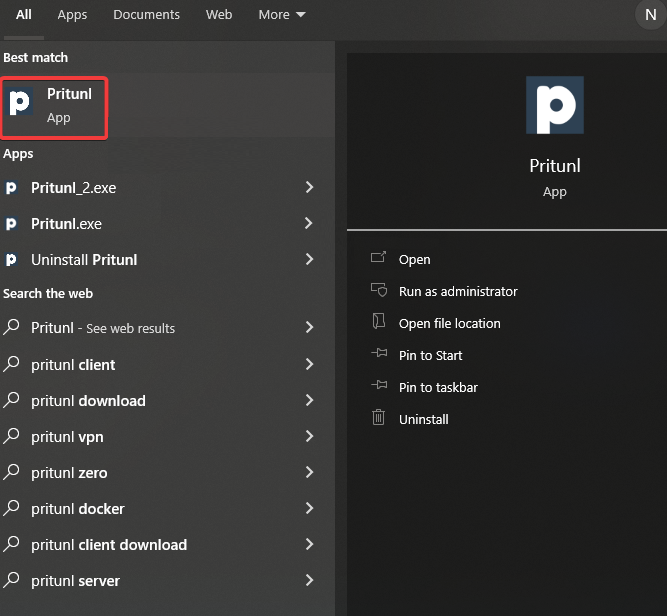
4. Now, launch the Pritunl client from the Start menu on your Windows 10.
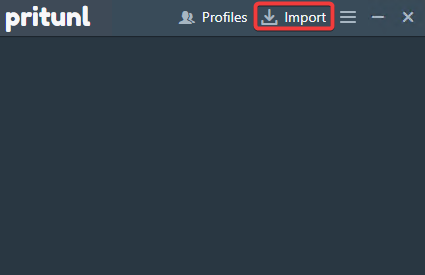
5. On Pritunl, click Import to initiate importing a profile.
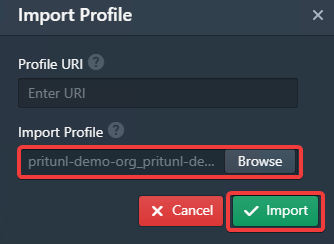
6. Click Browse, locate the file you extracted in step three and click Import to import the profile into Pritunl.
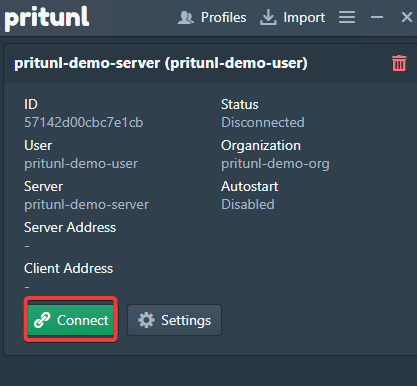
7. Once the profile is imported, click the Connect button to connect to the VPN server.
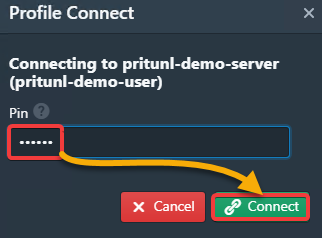
8. Enter the PIN you set in step four of the “Configuring the Pritunl Server” section when prompted and click Connect to connect to the VPN server.
If the connection is successful, you’ll see the following information.
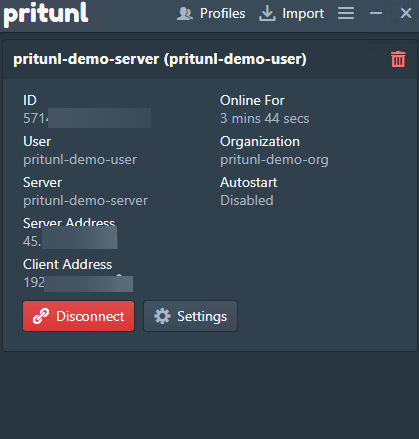
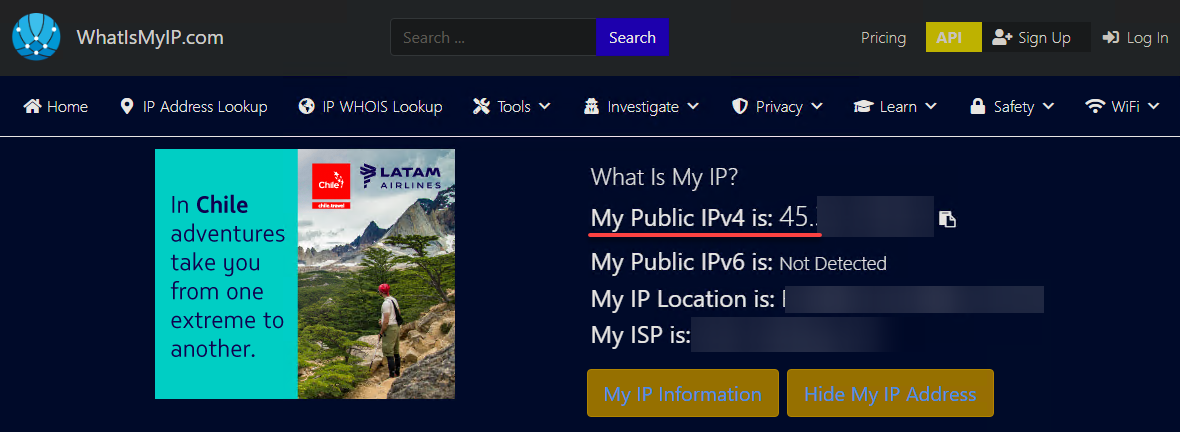
9. Finally, verify the VPN connection by checking your IP address on a website like https://www.whatismyip.com.
You will see the VPN server’s IP address (45…), as shown below, which confirms your traffic is indeed being routed through the VPN server.
Conclusion
Secure internet access should always be a top priority. The good news is that you learned how to install and configure the Pritunl server and client in this tutorial. At this point, you already have a fully working VPN connection to secure your connection from home to anywhere in the world.
With this newfound knowledge, why not create a site-to-site connection between multiple cloud servers, such as AWS or Google Cloud? Take advantage of the benefits of both platforms. The possibilities are endless!


