


Have you ever bumped into the walls of kubectl capabilities, wishing you could do more with your command-line tools? If this situation resonates with you, you are not alone. Countless developers and systems administrators have experienced similar limitations. Fortunately, a shining solution is on the horizon—the kubectl Krew plugin manager.
In this tutorial, you will dive into the world of Krew and learn to install and integrate it with your kubectl workflow.
Keep reading and wield a more powerful kubectl toolset.
Prerequisites
Before diving into the kubectl Krew plugin manager, ensure you have the following in place if you wish to follow along:
- A machine running Linux, macOS, or Windows – This tutorial uses an Ubuntu 20.04 system.
- Access to a functioning Kubernetes cluster.
- kubectl is installed and configured.
- Git is installed.
Installing the kubectl Krew Plugin Manager
Imagine a world where your Kubernetes interaction is not just about what comes out of the box but a world tailored to your needs. Think of Krew as your personal Kubernetes assistant, ready to equip you with the tools you need to handle any complex or specific task.
But first, you must install the Krew plugin manager and get access to a vast repository of plugins. Let Krew take you from running basic kubectl commands to executing advanced operations precisely.
To install the Krew plugin manager, carry out the following:
1. Create a new Bash shell script called kubectl_krew.sh on your machine with your preferred editor.
2. Next, populate the script with the following code snippet, and save and close the editor.
The below code automates the Krew’s installation on your machine.
(
  # Enable debugging to show commands and their arguments as they are executed.
  set -x;
  # Change the directory to a new temporary directory created by'mktemp'.
  cd "$(mktemp -d)" &&

  # Capture the OS type in lowercase and store it in the variable 'OS'.
  OS="$(uname | tr '[:upper:]' '[:lower:]')" &&

  # Determine the architecture, normalize x86_64 to amd64, any arm variant to arm/arm64, aarch64 to arm64, and store it in the variable 'ARCH'.
  ARCH="$(uname -m | sed -e 's/x86_64/amd64/' -e 's/\\(arm\\)\\(64\\)\\?.*/\\1\\2/' -e 's/aarch64$/arm64/')" &&

  # Construct the Krew binary filename based on the OS and architecture.
  KREW="krew-${OS}_${ARCH}" &&

  # Download the Krew tarball for the appropriate OS and architecture.
  curl -fsSLO "<https://github.com/kubernetes-sigs/krew/releases/latest/download/${KREW}.tar.gz>" &&

  # Extract the downloaded tarball.
  tar zxvf "${KREW}.tar.gz" &&

  # Run the Krew installer script to install Krew.
  ./"${KREW}" install krew
)3. Run the below chmod command, which provides no output but makes the kubectl_krew.sh script executable.
chmod +x kubectl_krew.sh4. Now, run the command below to execute the kubectl_krew.sh script.
./kubectl_krew.sh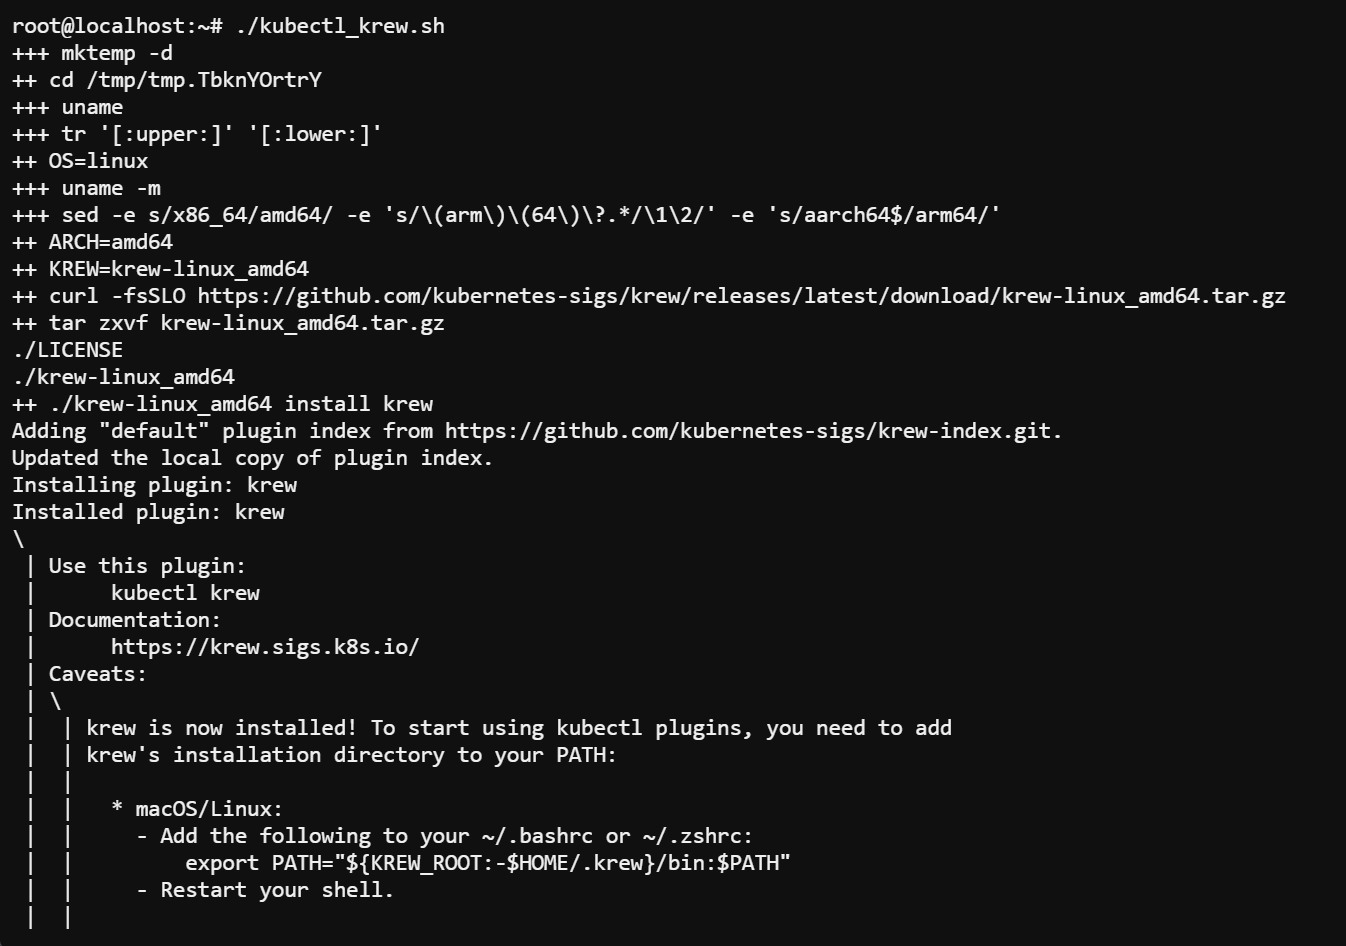
5. Run the below export command to add the Krew($HOME/.krew/bin) to your $PATH variable, and restart your shell.
This command has no output but ensures Krew is accessible from any terminal session.
export PATH="${KREW_ROOT:-$HOME/.krew}/bin:$PATH"6. Lastly, execute the following kubectl command to check if krew has been installed successfully.
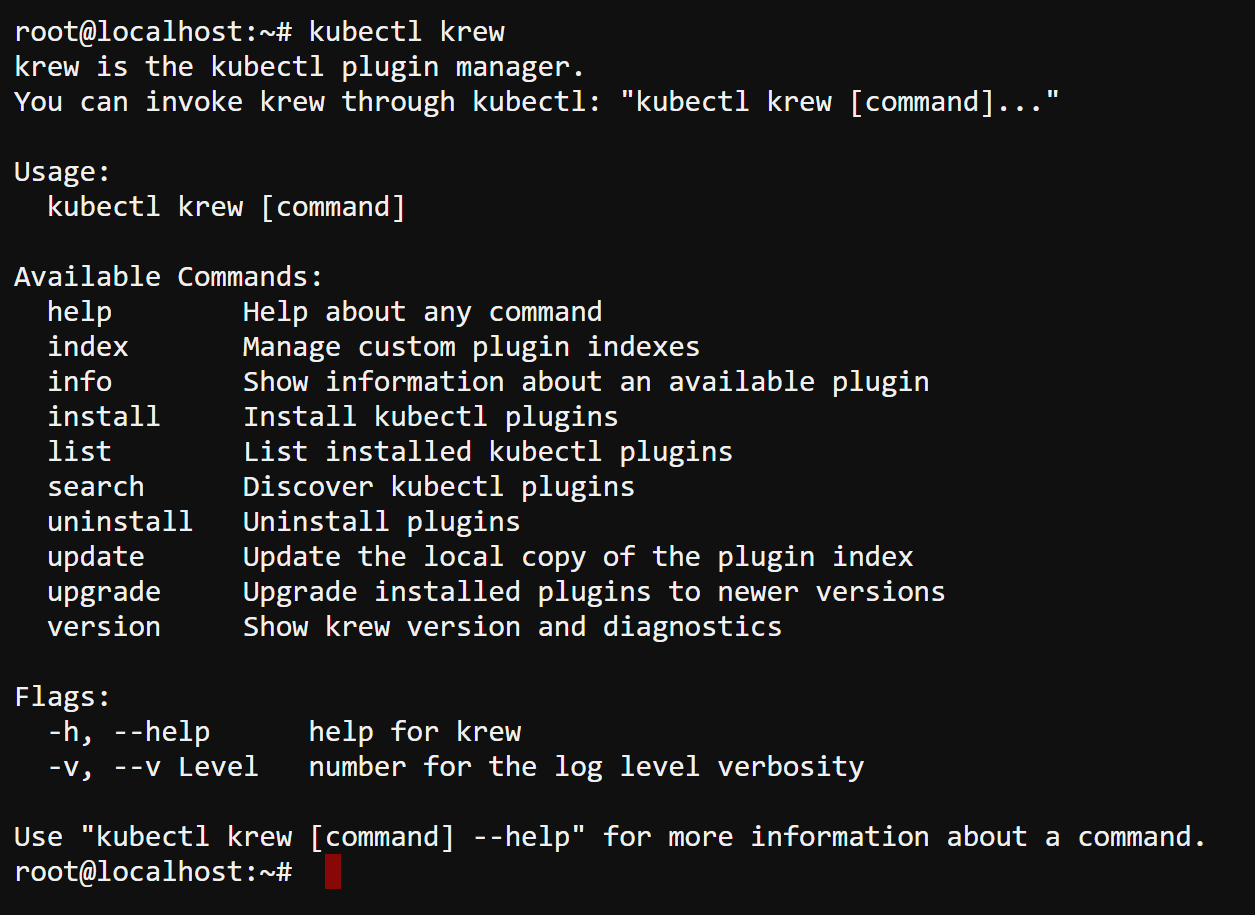
kubectl krewIf successful, you will see Krew’s man page, as shown below.
Discovering and Installing Plugins with Krew
After successfully installing the kubectl Krew Plugin Manager, you are now equipped to delve into adding firepower to your Kubernetes toolkit—by installing plugins with Krew. These plugins add versatility and efficiency to your Kubernetes workflow.
To discover and install plugins, you must first update your plugin index as follows:
1. Execute the following command to refresh (update) your local copy of the Krew plugin index.
Doing so guarantees you will get the latest and most excellent tools.
kubectl krew update
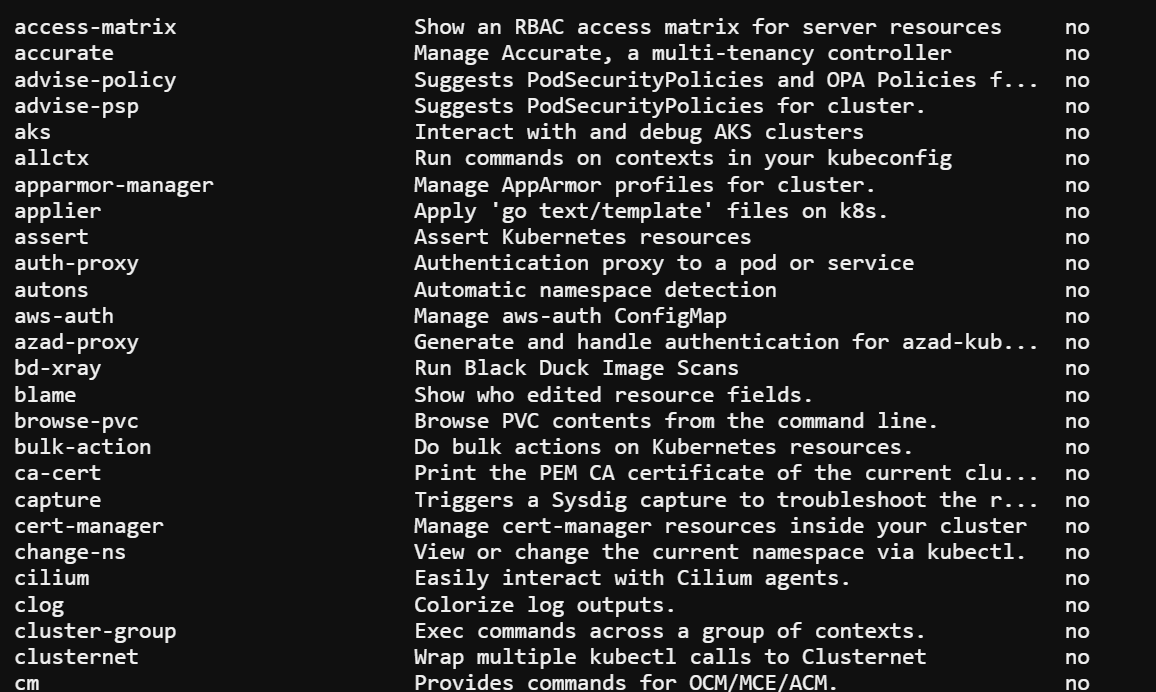
2. Once updated, run the command below to search for all available plugins in the default Krew repository (krew).
kubectl krew searchYou will see a comprehensive list of all the available plugins, along with their descriptions.
Pick one plugin from the list that you wish to install.
Looking for something specific? Pipe the grep command to search for a particular plugin by name/keyword (i.e., images)
kubectl krew search | grep images
3. Next, run the following command to install the plugin (images) you picked in step two.
kubectl krew install images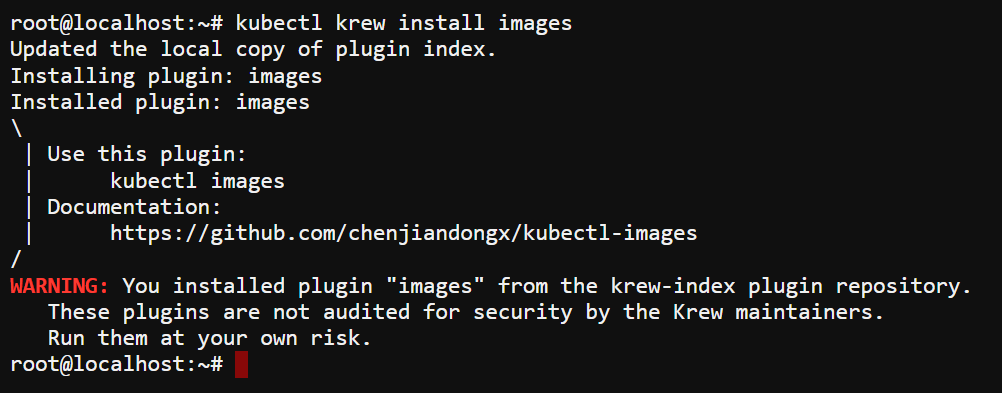
4. With the plugin installed, execute the below command to run the plugin (images). This plugin inspects and lists container images across your Kubernetes cluster.
kubectl images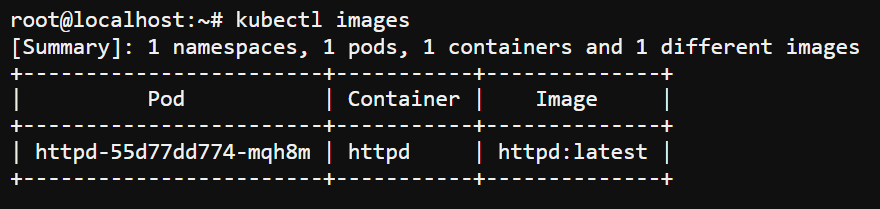
Keeping Your Krew Plugins in Top Shape
Like any other software, Krew plugins require maintenance to perform optimally. Thankfully, Krew has you covered with commands to keep your plugins up-to-date and running smoothly.
To keep your Krew plugins in top shape, proceed with the following:
Run the following command to upgrade all installed plugins to their latest versions.
This command is your all-access pass to the latest features and fixes, ensuring Krew and its installed plugins function at their best.
kubectl krew upgrade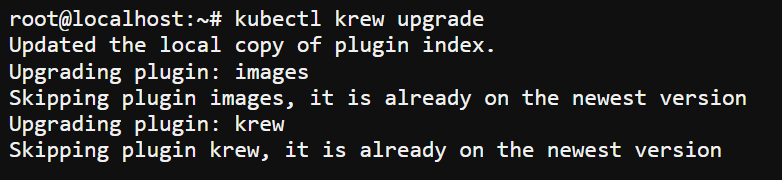
Prefer a more targeted approach? Execute the same command, appending the plugin name (i.e., images). This approach streamlines your upgrade process and keeps your toolkit customized to your workflow.
kubectl krew upgrade images
Expanding Your kubectl Universe with Custom Plugin Indexes
The power of Krew extends beyond the default Krew index, giving you access to a broader world of plugins. These plugins include those tailored by individual authors or organizations.
You can integrate custom indexes into your Krew ecosystem with the following syntax.
kubectl krew index add <index_name> <index_url>This syntax applies whether you integrate a specialized tool developed in-house at your company or a niche plugin from the community.
To achieve custom plugin integrations, perform the following:
1. Run the following command to add a custom plugin index named appscode (arbitrary) from https://github.com/appscode/krew-index.git. Ensure you replace the URL with the custom index’s URL you wish to add.
kubectl krew index add appscode https://github.com/appscode/krew-index.git
2. After adding the index, execute the krew update command below to refresh your list of available plugins.
kubectl krew update
3. Lastly, run the command below to install a kubectl plugin (db) from your custom plugin index (appscode).
kubectl krew install appscode/dba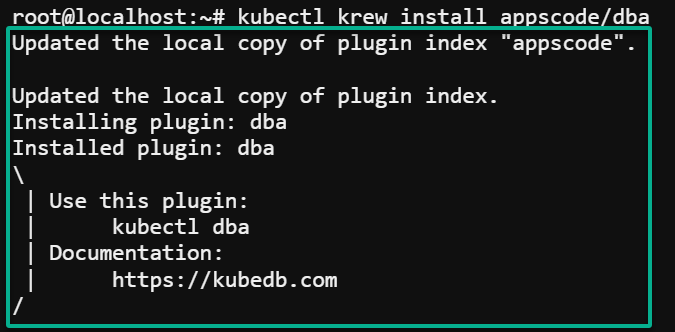
Cleaning Up Obsolete Plugins
Too many installed plugins can lead to clutter, slowing your workflow and complicating management tasks. Fortunately, Krew makes overseeing the plugins you have installed a breeze.
To clean up obsolete plugins, you first need an overview of your current Krew plugin lineup as follows:
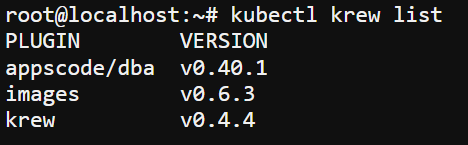
Execute the krew command below to list all plugins currently installed via the Krew plugin manager.
kubectl krew listYou will see a neatly organized list of all the kubectl plugins installed, along with their versions, as shown below.
Now, run the following command to uninstall the plugins (dba) you no longer use.
This command helps you find and declutter your Kubernetes environment—a hassle-free way to clean up.
kubectl krew uninstall dba
Conclusion
Krew has emerged as an essential toolkit for anyone immersed in the Kubernetes ecosystem with its expansive repository brims with plugins. By streamlining the process of installing and managing kubectl plugins, you have elevated the command-line experience with kubectl Krew plugin manager.
You now have a robust set of tools at your fingertips to supercharge your Kubernetes operations. But since Krew offers a platform for proactive and creative minds to innovate and contribute, why not design your own bespoke plugins?
Address specific needs within your workflows by sharing them via a custom index, and empower a broader community!


