

Are you spending a lot of time deploying code in your infrastructure with many steps and software? Don’t worry, you’re at the right place to learn how to install Jenkins, the most widely used open-source tool.
Not a reader? Watch this related video tutorial!In this tutorial, you will learn how to install Jenkins on an Ubuntu machine, so you can build and deploy code with a click of a button.
Read on and start installing!
Prerequisites
This post will be a step-by-step tutorial. To follow along, be sure you have an Ubuntu machine. This tutorial uses Ubuntu 18.04 with apache installed.
Installing Java Version 11 on an Ubuntu Machine
Jenkins is a Continuous Integration (CI) and Continuous Deployment (CD) tool, which you can run in different servlet containers, such as Apache tomcat or glassfish. But for this demo, you’ll run Jenkins on its built-in Java servlet container server.
There are multiple Java implementations you can use to work with Jenkins, but OpenJDK is the most popular, which you will install and use in this tutorial.
1. Log in to your Ubuntu machine using your favorite SSH client.
2. Next, run the following commands to create a directory named ~/install_jenkins_demo and switch to that directory.
mkdir ~/install_jenkins_demo
cd ~/install_jenkins_demo
3. Run the apt install command below to install Java on your machine.
# Installing Java Version: Java SE 11 (LTS)
sudo apt install default-jdk 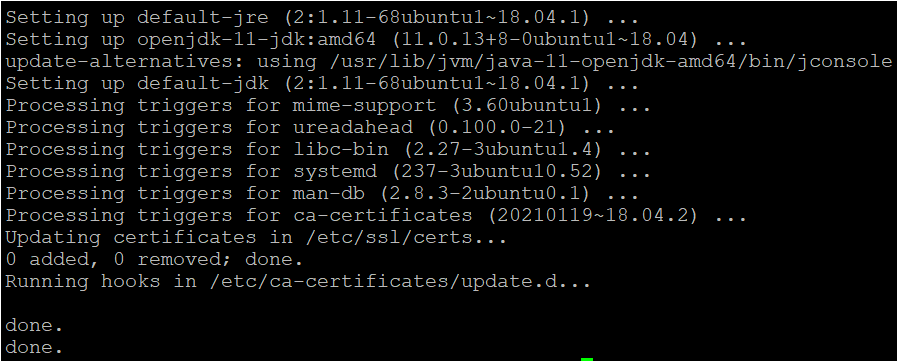
4. Finally, run the below command to check the version of installed Java on your machine. Doing so ensures that you’ve successfully installed Java.
# Checking the Version of Java to verify Java installation.
java -version
Install Jenkins on Ubuntu 18.04 LTS instance
Now that you have Java installed on the Ubuntu machine, it’s time to install Jenkins on your machine. Installing Jenkins is pretty similar to how you install other packages on your machine.
Assuming you are still logged into the SSH client:
1. First, run the apt update command to update your system packages.
sudo apt update2. Next, run the wget command below to add the Jenkins public key to your system.
Adding the public key allows the Jenkins site to download the Jenkins official repository or any required packages.
wget -q -O - https://pkg.jenkins.io/debian-stable/jenkins.io.key | sudo apt-key add -3. Run the following commands to add the Jenkins official repository to your system and update your system.
# Adding the Jenkins official repository to the system
sudo sh -c 'echo deb https://pkg.jenkins.io/debian-stable binary/ > \
    /etc/apt/sources.list.d/jenkins.list'
# Updating the package
sudo apt-get update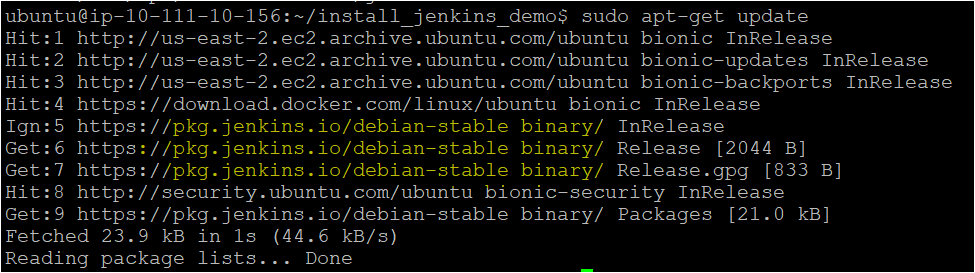
4. Now, run the command below to install the Jenkins package.
# Installing the Jenkins Package
sudo apt-get install Jenkins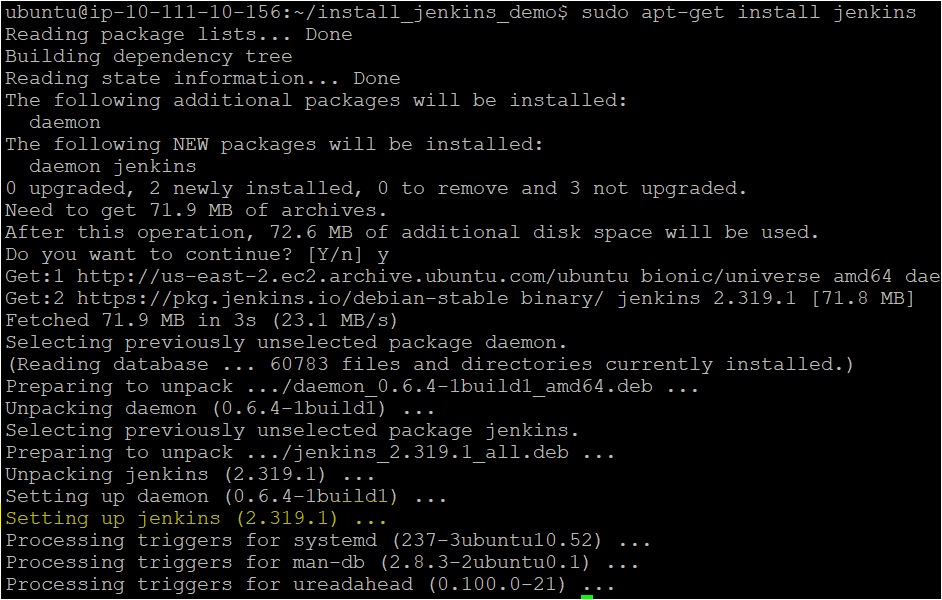
5. Finally, run the service command below to verify the status of the Jenkins service. # Validating the Jenkins service on ubuntu machine service jenkins status
# Validating the Jenkins service on ubuntu machine
service jenkins status
As you can see below, the status shows the Jenkins service is active.

Configuring a Jenkins Instance
By now, you are halfway through installing Jenkins successfully. But, before you actually start using it, you need to set it up with basic amenities. How? The first step in setting up Jenkins is to unlock the newly installed Jenkins.
Assuming you are still logged into the SSH client:
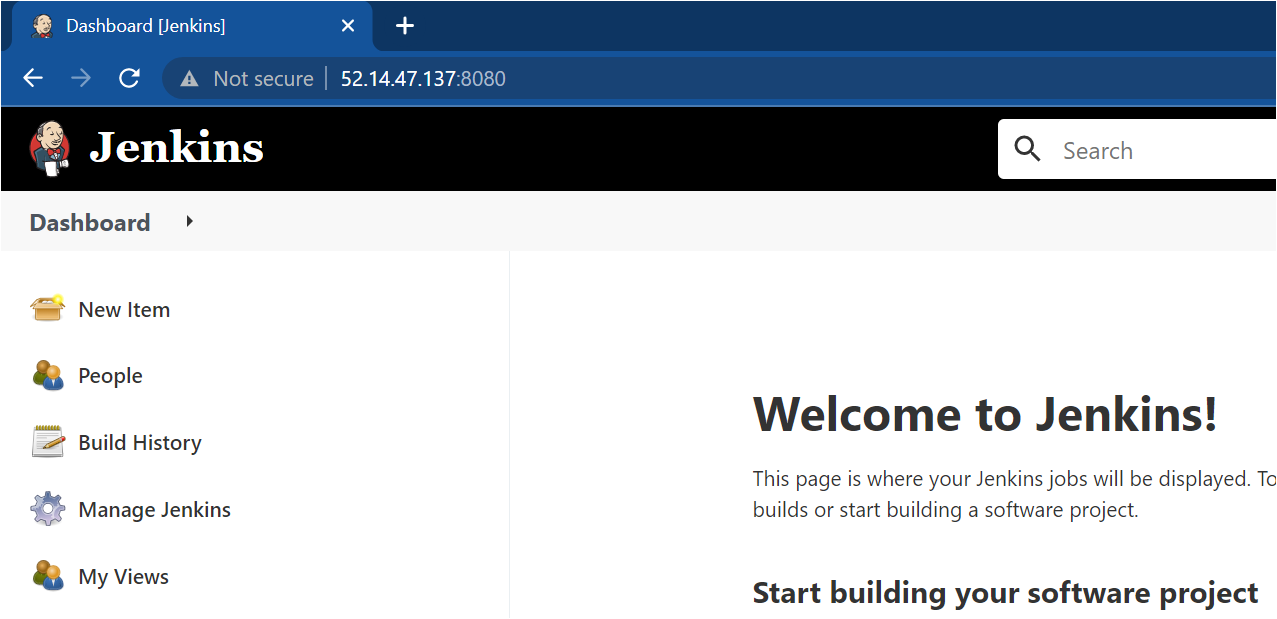
1. Open your favorite browser and navigate to the IP address of the server followed by port 8080 like jenkins-ip:8080. After navigating to the link, you will need to unlock Jenkins by providing the administrative password. The administrative password is stored in /var/lib/jenkins/secrets/initialAdminPassword directory on the server (step two).
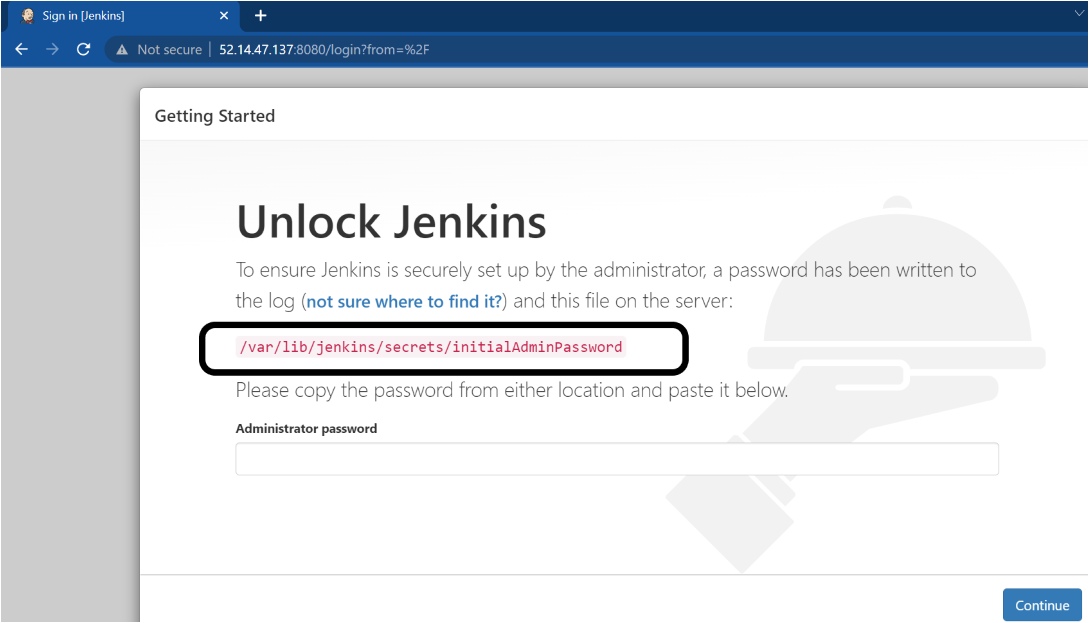
2. Run the cat command below to add the administrator password on your machine from the /var/lib/jenkins/secrets/initialAdminPassword directory.
cat /var/lib/jenkins/secrets/initialAdminPasswordAs you can see below, the huge string in the output is the admin password. Note the admin password as you’ll need it to unlock Jenkins (step three).

3. Switch back to your web browser (Unlock Jenkins page) and enter the admin password you noted in step two.
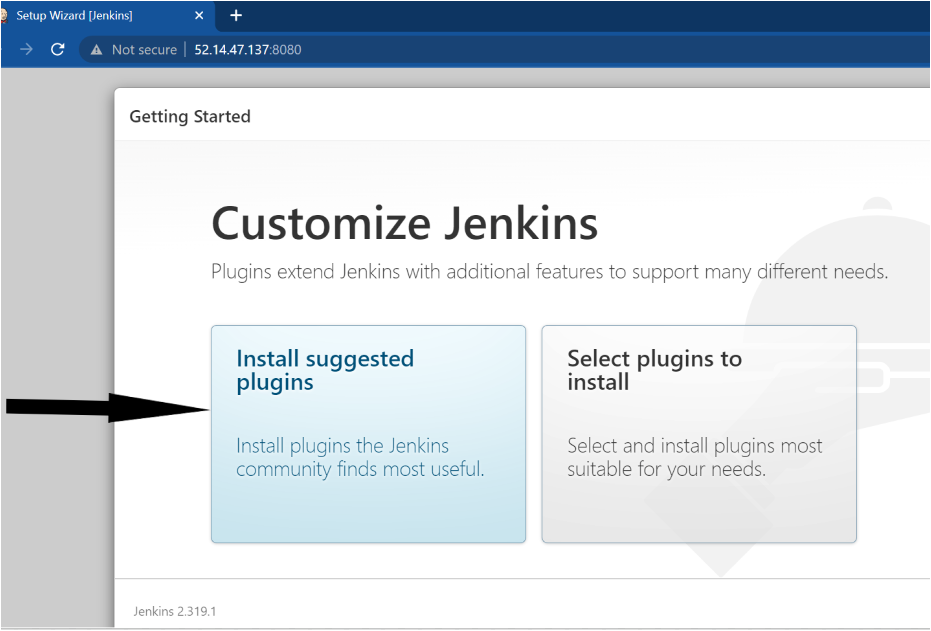
Once you’ve unlocked Jenkins, your browser redirects to a page where you’ll customize your Jenkins instance with plugins (step four).
4. On the Customize Jenkins page, click on the Install suggested plugins option.
Jenkins Plugin is a third-party tool that integrates with Jenkins and allows you to perform tasks such as the Git plugin. Git plugin lets you connect with Git repo, run Git commands, and so on.
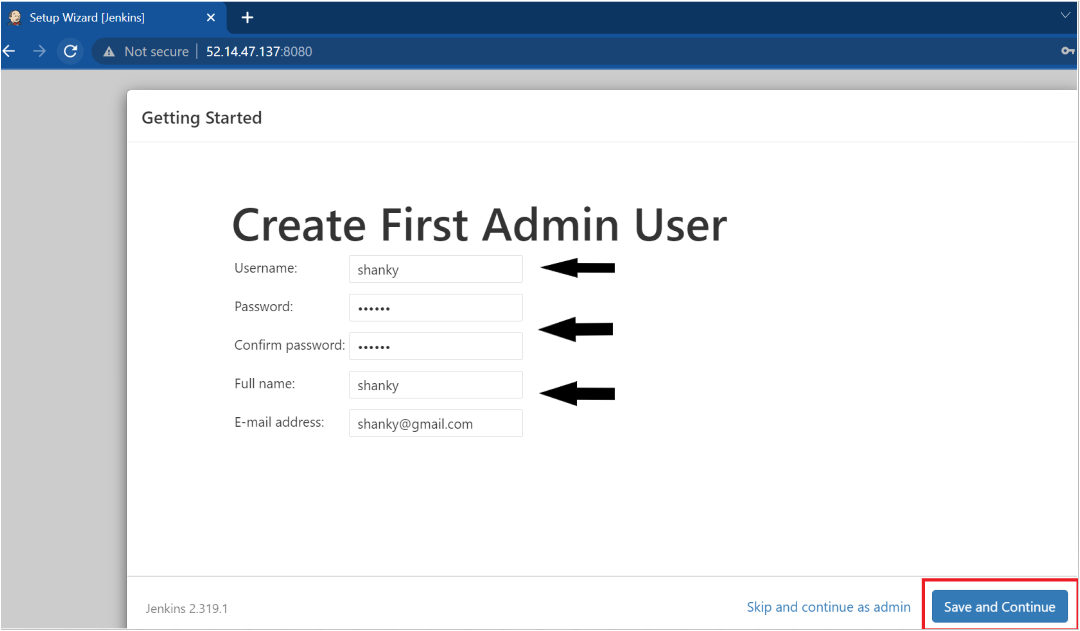
5. Fill in the Admin user details, as shown below, and click Save and Continue to create an Admin user. This Admin user enables you to work with Jenkins UI Dashboard or Jenkins instance.
As soon as you hit Save and Continue, you will get an Instance Configuration screen shown in step five.
By default, Jenkins has an Admin user created with username/password (
admin: admin) but still provides you an option to create an Admin user of your choice. You can skip and continue as admin if you don’t want to create a custom Admin user.
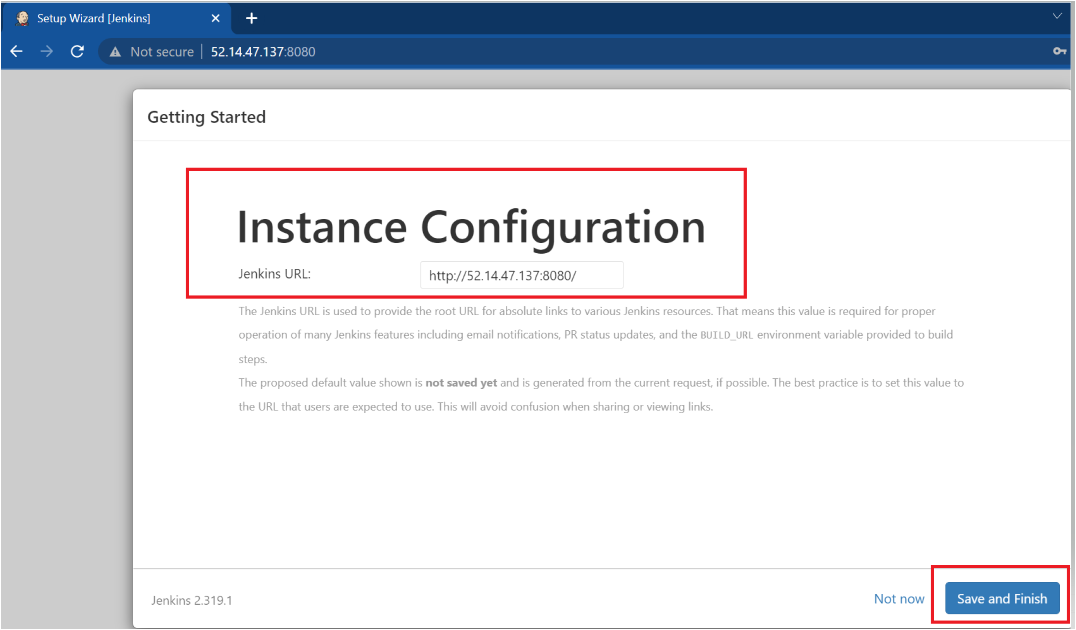
6. Lastly, click on Save and Finish to save the instance configuration.
The instance configuration allows you to specify the Jenkins URL you wish to use, and in this case, you’ll use the default URL (i.e., server-ip:8080)
Changing a Jenkins Instance’s Default Port
Previously, you learned that by default, Jenkins runs on port 8080, which is fine. But what if you need to run some other applications on the same port such as apache or NGINX? No worries! You can change the default Port of Jenkins (8080) and run the Jenkins instance on other ports.
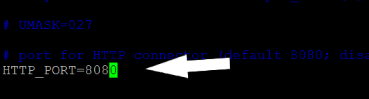
1. Open the /etc/default/Jenkins file in your preferred text editor and change the default port from 8080 to 9090 and save the changes.
2. Next, run the below command to restart Jenkins, so that updated configurations will take effect.
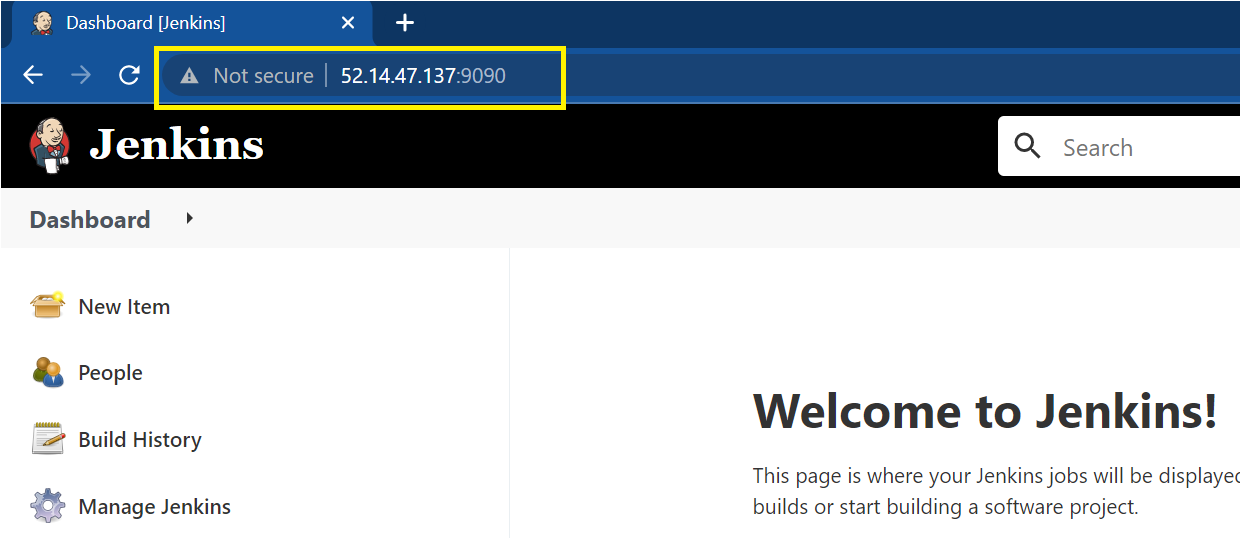
sudo systemctl restart jenkins3. Finally, navigate to the Jenkins URL, but this time, change the port to 9090, as shown below.
Running Jenkins Securely (HTTPS) using SSL Certificate
By now, your Jenkins instance is running perfectly in port 9090. But is it secure? No, it’s not. Secure your Jenkins instance and avoid it being compromised by attackers by having an SSL certificate enabled.
SSL certificates are mainly used to test in the local machine when there is no certificate available from an external certification authority.
To secure your Jenkins instance:
1. Run each command below to create a directory named ~/certificates to store certificates and change to that directory.
mkdir ~/certificates
cd ~/certificates
2. Next, run the following openssl command to generate a Certificate Signing Request (CSR ) and a private key.
openssl req -x509 -newkey rsa:4096 -keyout apache.key -out apache.crt -days 365 -nodes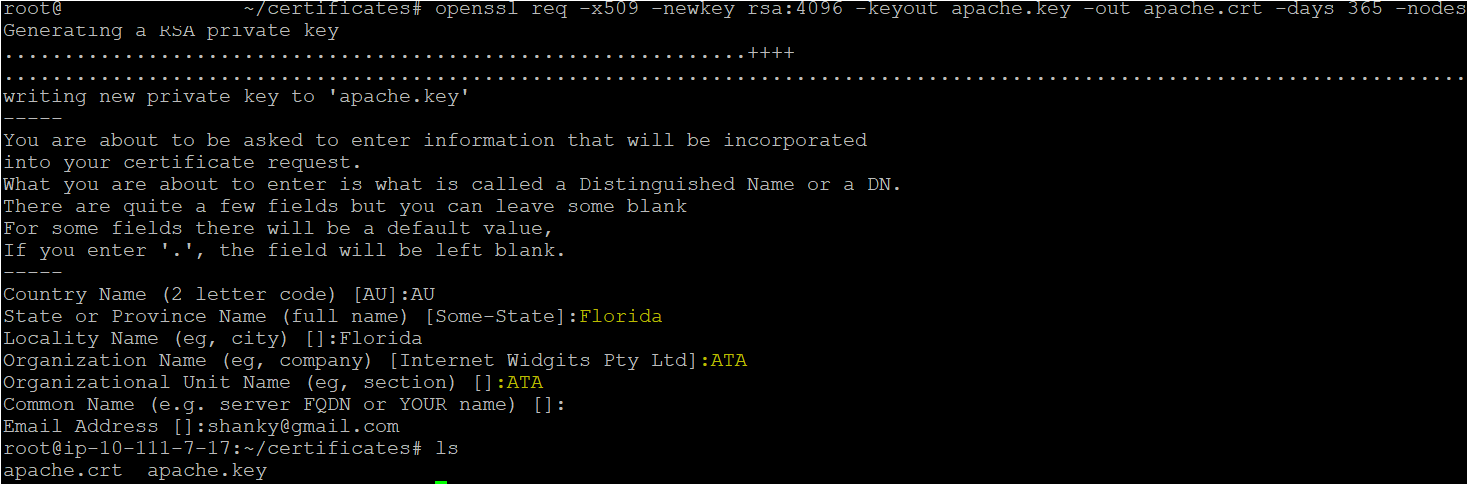
3. Run the following commands create another directory (/etc/apache2/ssl) and move the certificates from the ~/certificates/ directory to the /etc/apache2/ssl directory.
mkdir /etc/apache2/ssl
mv ~/certificates/* /etc/apache2/ssl/.
4. Open the default SSL Apache site configuration file (/etc/apache2/sites-available/default-ssl.conf) and add the below lines. Be sure to replace <my-server-name> with your server’s actual name.
In the below code, you specify the (certificate key and file) location where you previously copied the SSL certificates. Also, for Jenkins to redirect on port 9090, you’ll add the ProxyPass argument and turn on the ProxyPreserveHost.
ServerName <my-server-name>
SSLCertificateFile    /etc/apache2/ssl/apache.crt
SSLCertificateKeyFile /etc/apache2/ssl/apache.key
ProxyPreserveHost On
ProxyPass / http://127.0.0.1:9090/
ProxyPassReverse / http://127.0.0.1:9090/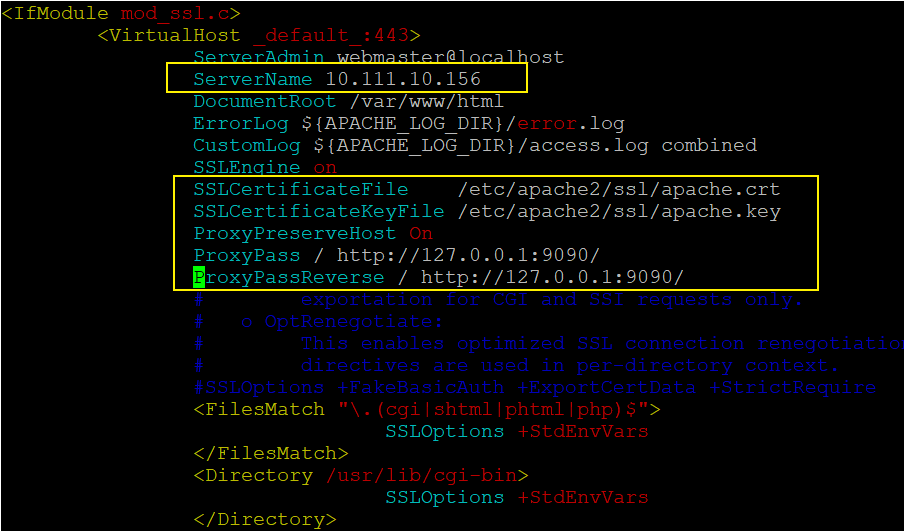
5. Now run each command below to enable the SSL module, enable the site you modified (step four), and restart the Apache service.
# Enable the SSL module, so you can work with SSL connections.
sudo a2enmod ssl proxy proxy_http proxy_balancer
# Enable the site you modified (step four)
sudo a2ensite default-ssl.conf
# Restart the Apache service
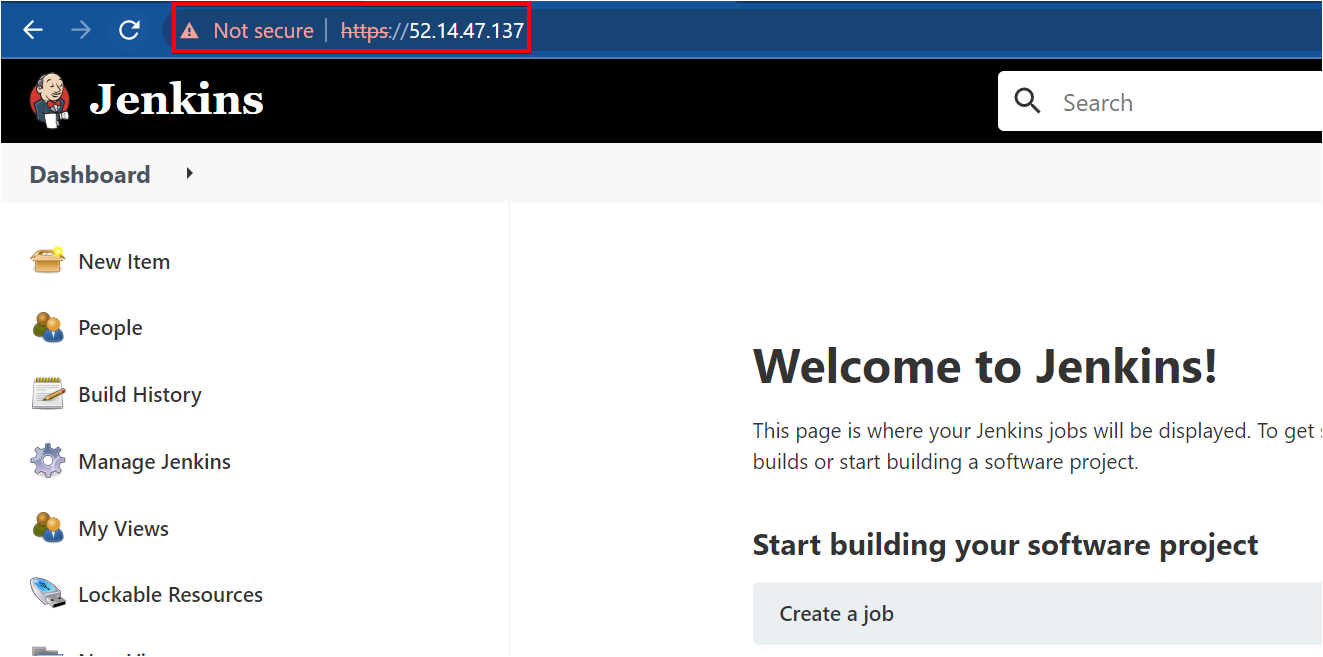
sudo service apache2 restart6. Finally, navigate to your Jenkins instance, but this time, using HTTPS, as shown below.
As you can see, Jenkins is successfully opening with SSL connections on HTTPS port. Don’t worry if you see a warning symbol displaying the Not secure message. You’ll get that warning since you’re using a self-signed certificate (created by you) and not by the certificate authority.
Conclusion
In this tutorial, you learned how to install Jenkins on an Ubuntu machine, and verify that you can access a Jenkins instance securely.
Now, how do you plan to up your game with Jenkins? Perhaps automate web deployments? Or create a Jenkins CI CD pipeline to improve your software development process?


