


A network is the backbone of any business and infrastructure, and securing traffic within the network is crucial. How? A Virtual Private Cloud (VPC) will do the trick. But if you have yet to find one, why not consider a Google VPC?
Google VPC is a great way to create a dedicated, isolated network in the cloud to host your resources, applications, and services. And in this tutorial, you will create a custom Google VPC network in the Google Cloud Platform (GCP).
Read on and learn a secure and reliable way to manage your cloud resources!
Prerequisites
This tutorial will be a hands-on demonstration. To follow along, ensure you have a Google Cloud Platform (GCP) account — a free trial account will suffice.
Exploring the Default Google VPC Network
When you create a new project on the GCP, a default VPC network is automatically created for you. This default VPC network provides an essential network structure to host your cloud resources, such as Google Compute Engine instances, Google Cloud Storage buckets, etc.
To see how a Google VPC works, inspect the default Google VPC network as follows:
1. Open your favorite web browser, and log in to the GCP Console.
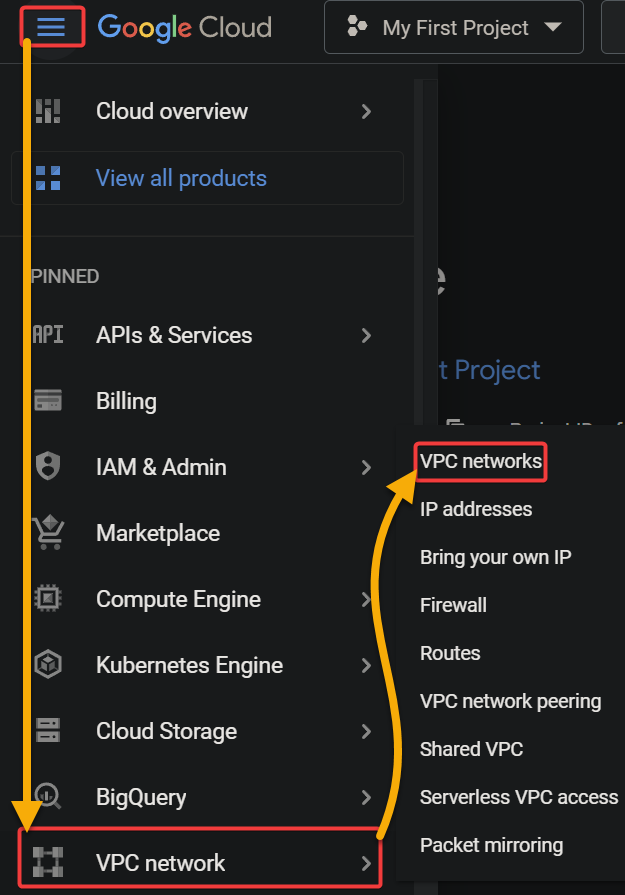
2. Next, click the hamburger icon (top-left), and select VPC network → VPC networks to see all VPC networks.
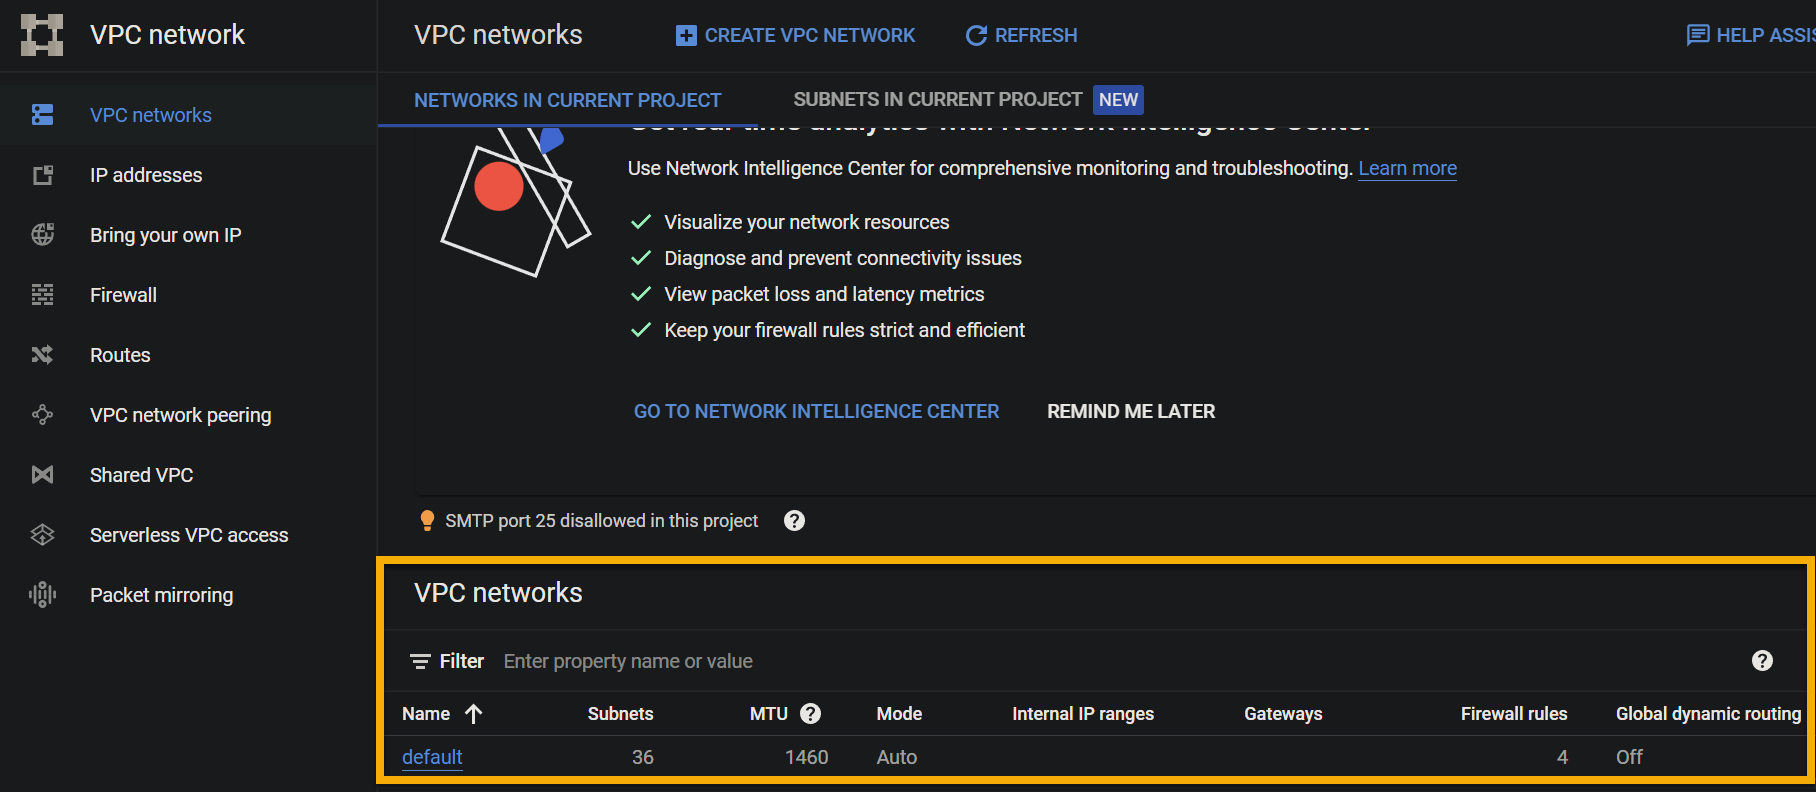
As shown below, you will see a list of all VPC networks associated with your project, including the default network. A VPC network consists of subnets, routes, and firewall rules.
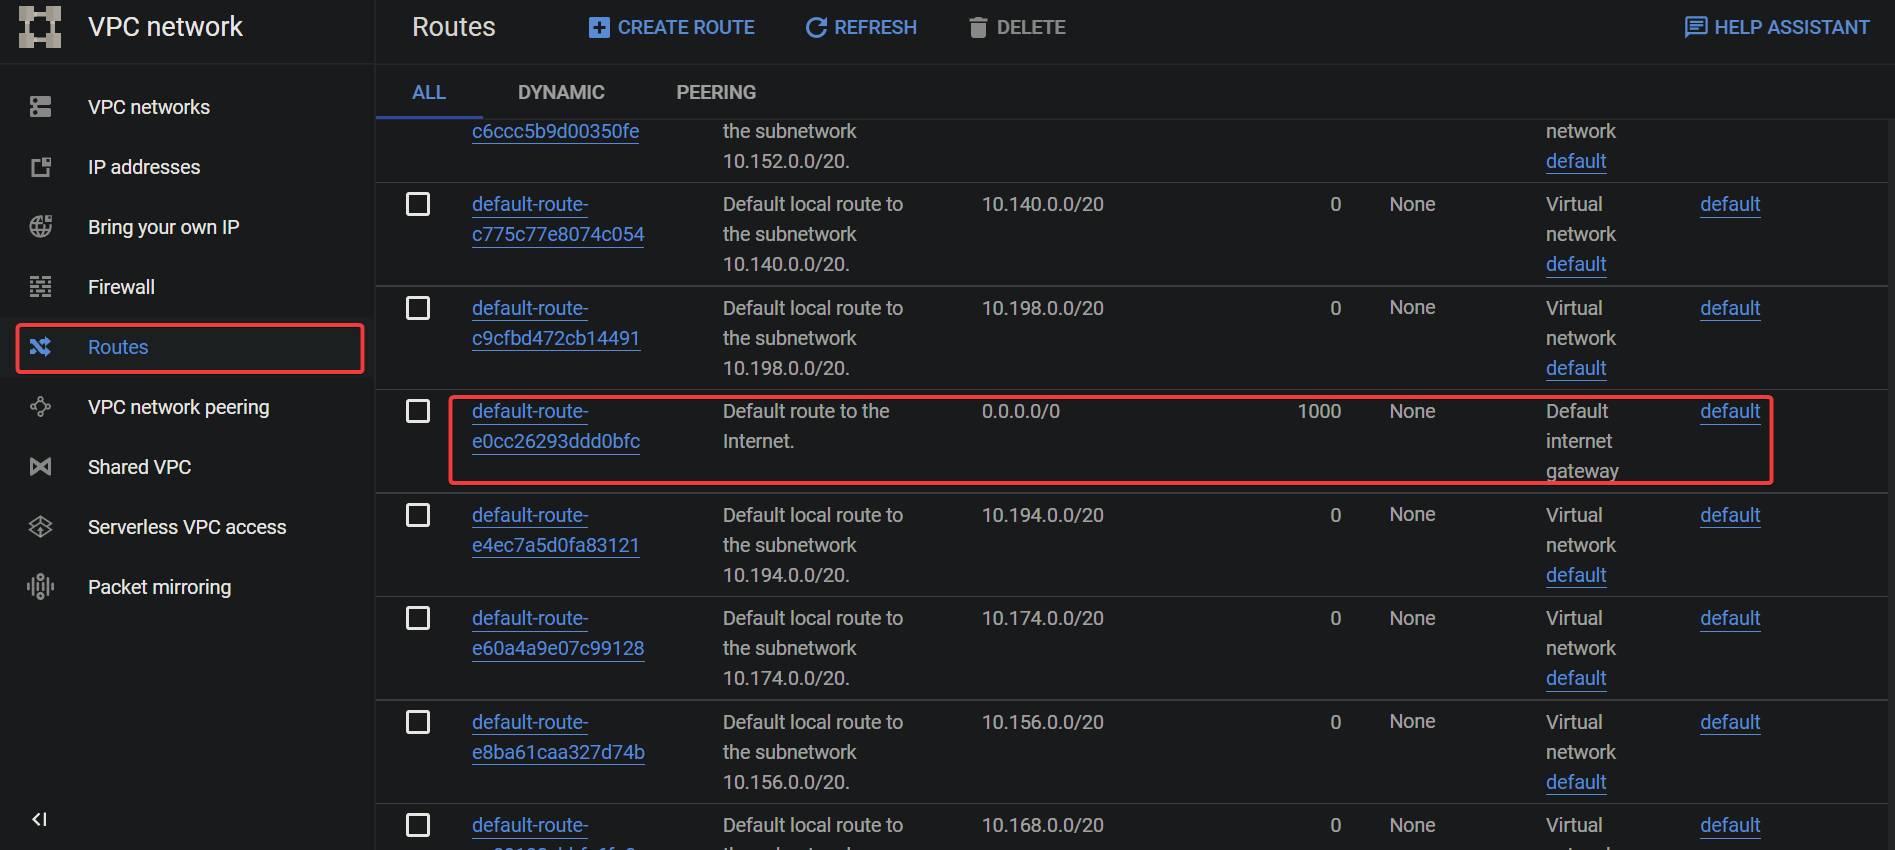
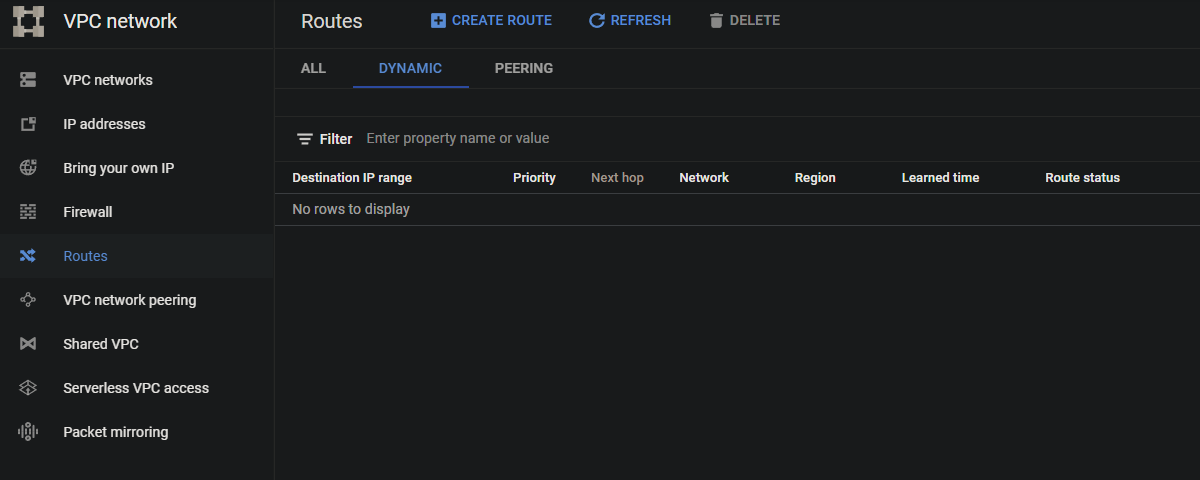
3. Click Routes (left panel) to access a list of the routes associated with your VPC network. You will see many default routes, like the one below, which direct traffic from your VPC network to the public internet.
The numerical value 1000 prioritizes which route is used in the event of multiple routes with overlapping destinations. The route with the lowest numerical value has higher priority and will be used to handle the traffic.
VPC networks generally use numeric values to identify and manage different network resources within the VPC, such as subnets, network interfaces, and route tables.
4. Now, navigate to Firewall (left panel), and you will see a list of the firewall rules associated with your Google VPC network.
Below, you can see four Ingress rules that control incoming traffic to your VPC network. In this case, these rules allow incoming SSH, ICMP, RDP, and internal network traffic.

Deleting the Default VPC Network
Now that you understand the default VPC network, you can delete it and create your custom VPC network. Why? The default VPC network is designed to be a general-purpose network that can accommodate many workloads and use cases.
But in some cases, you may find that the default VPC network does not meet the specific needs of your project. For example, you may want to create a custom network configuration that has a different number of subnets or that uses a diverse range of IP addresses.
In these cases, deleting the default VPC network and creating a custom one is your best option.
💡 Deleting the default VPC network is risky, as it removes the connectivity for all your project’s resources. So carefully plan and execute the deletion process, and ensure you have a backup plan in place if anything goes wrong.
To delete the default VPC network, follow these steps:
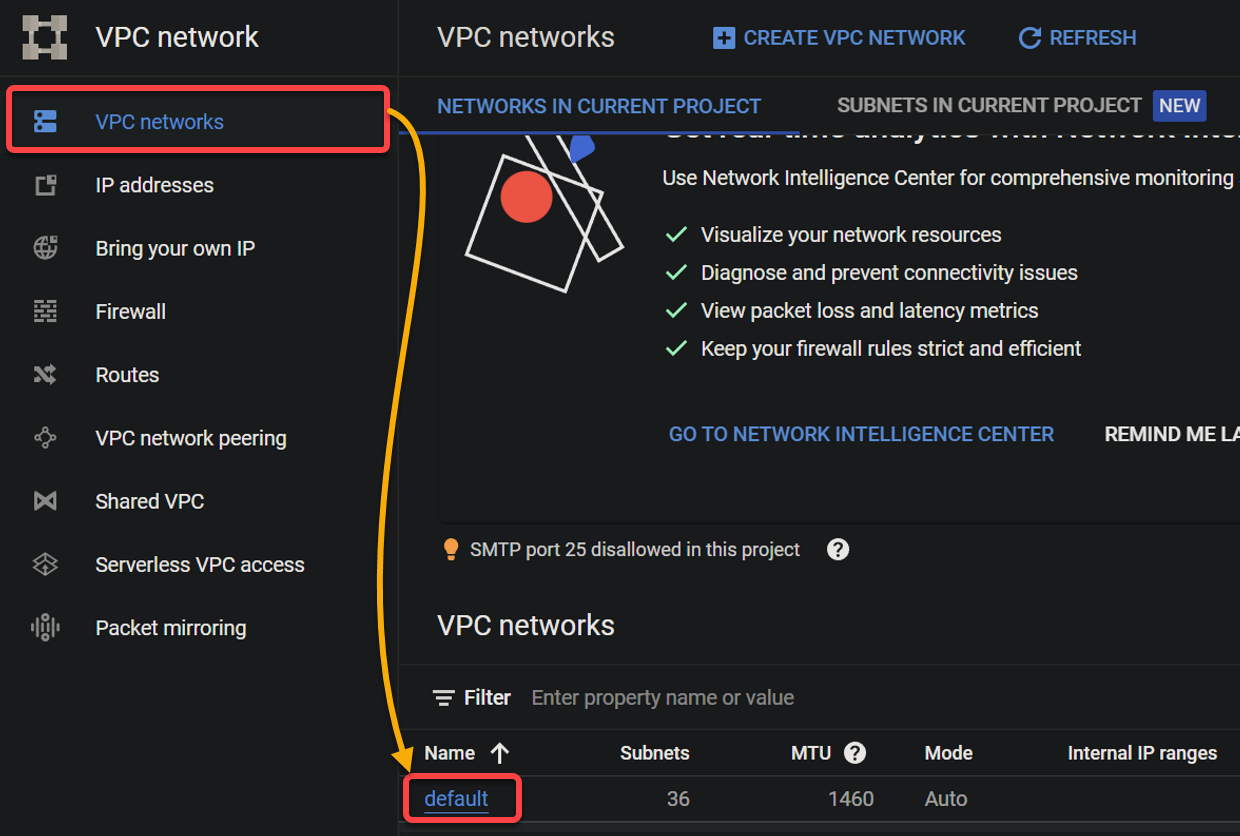
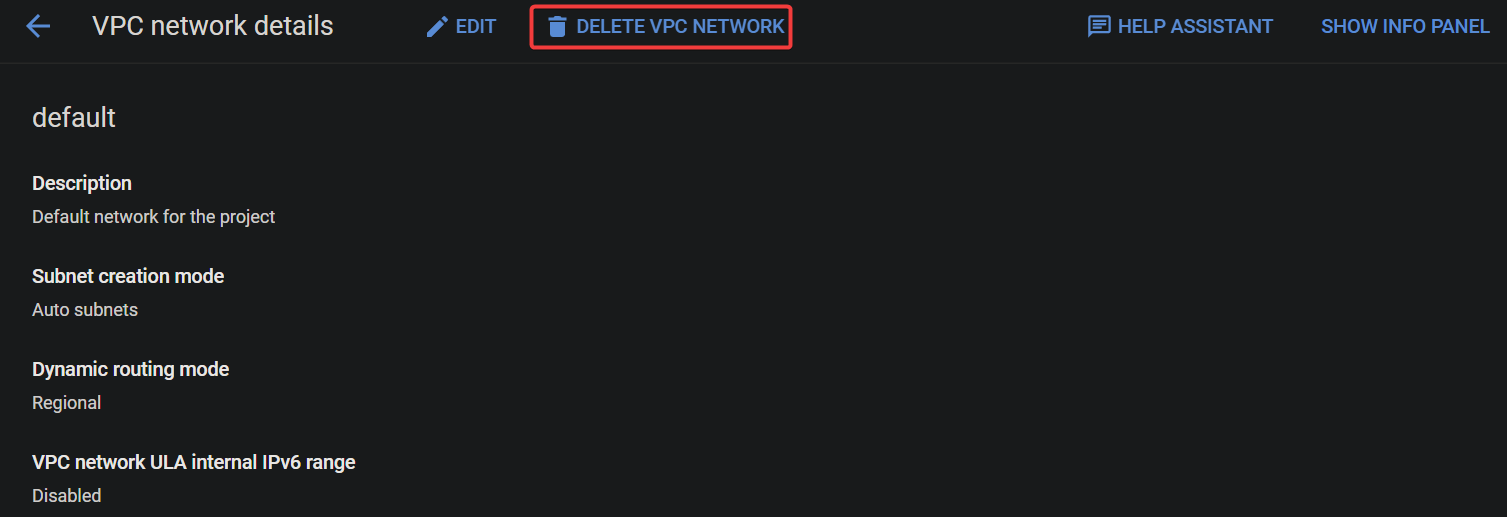
1. In the VPC networks page, click the default VPC network hyperlink to access the default’s VPC network details page (step two).
2. Next, click DELETE VPC NETWORK at the top to delete the default VPC network.
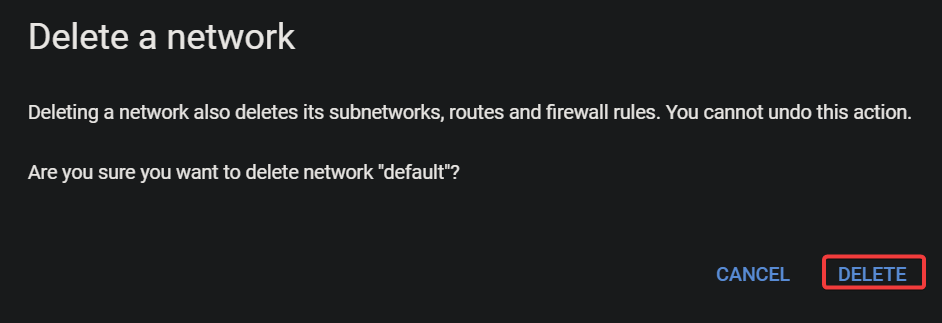
3. When prompted, click DELETE to confirm the default VPC network deletion.
At this point, any firewall rules, routes, and subnets associated with the default VPC network are deleted.
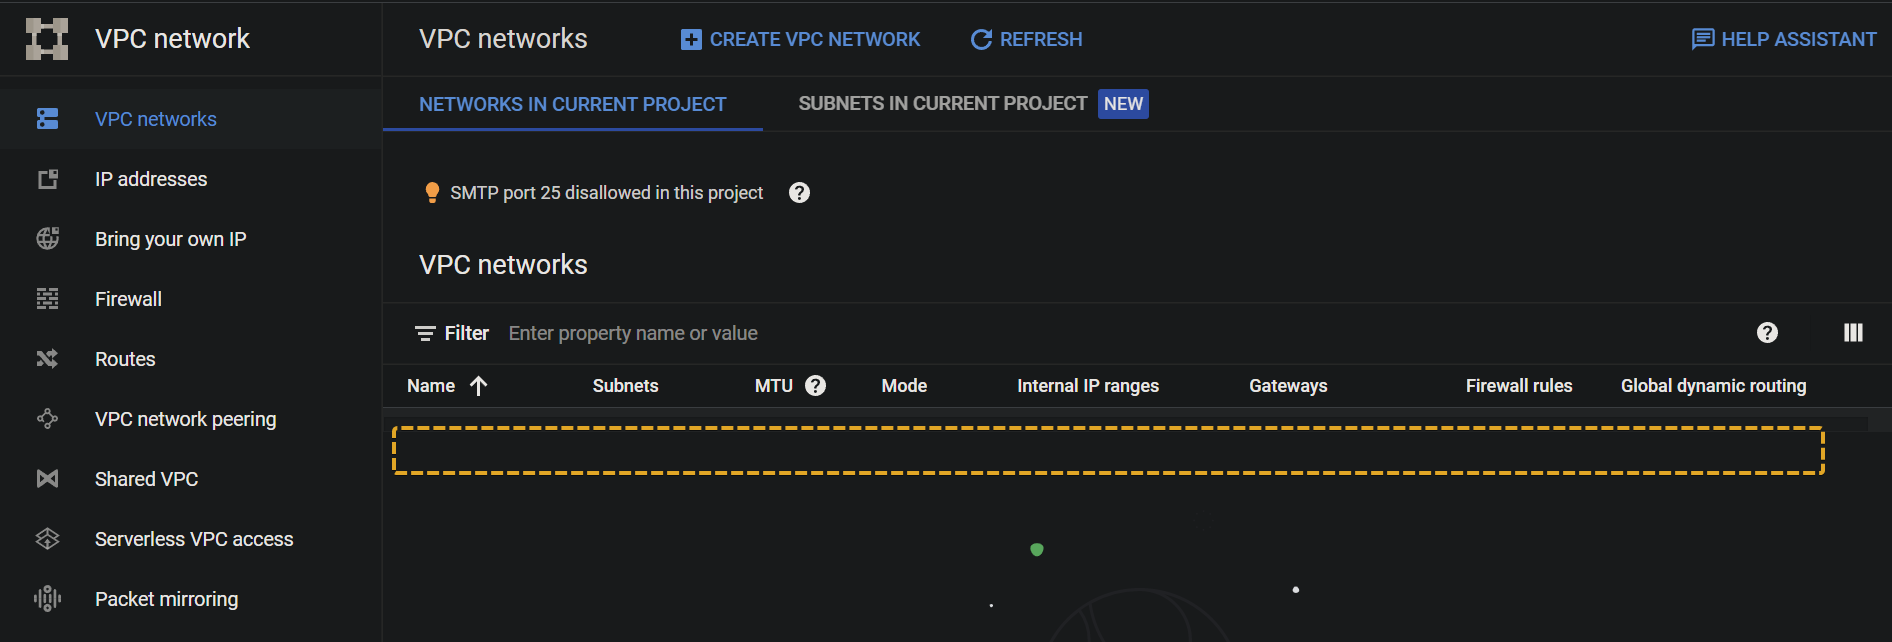
4. Now, navigate to the VPC networks page, and verify that the default VPC network has been deleted.
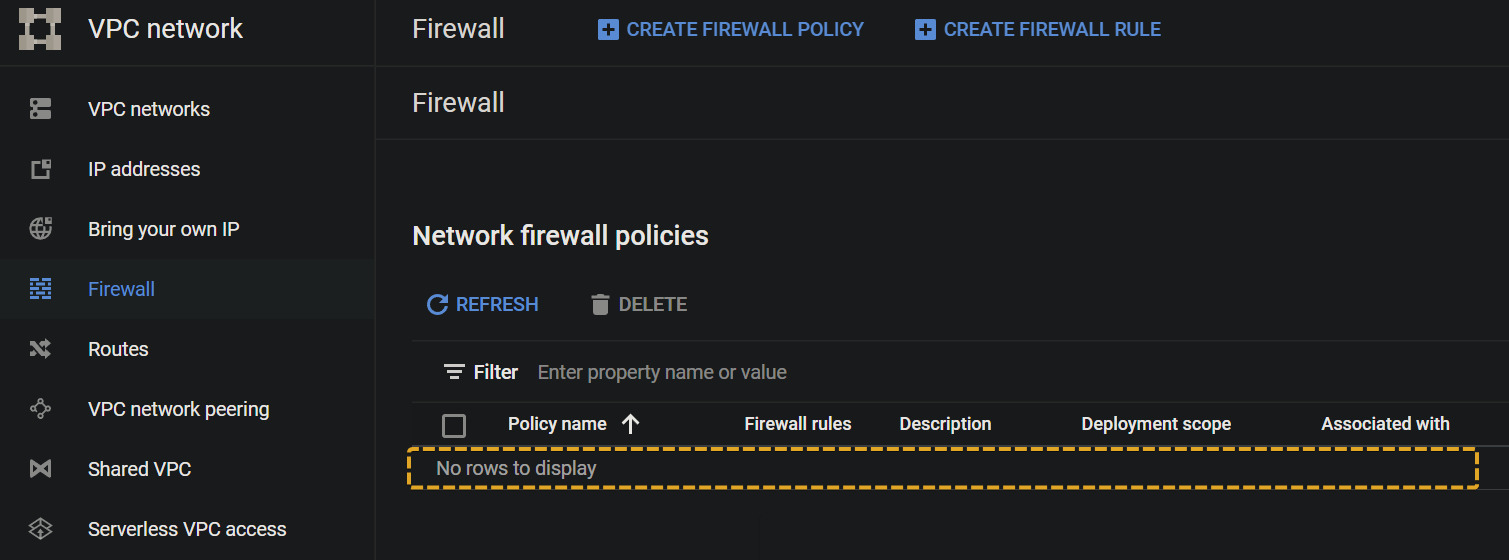
5. Lastly, navigate to Firewall and Routes and confirm that the firewall rules and the routes associated with the default VPC network have also been deleted.
Testing Google Cloud Services Without a VPC Network
Once you have deleted the default VPC network, try to create a virtual machine (VM). Doing so lets you test what happens when no VPC network is associated with your project.
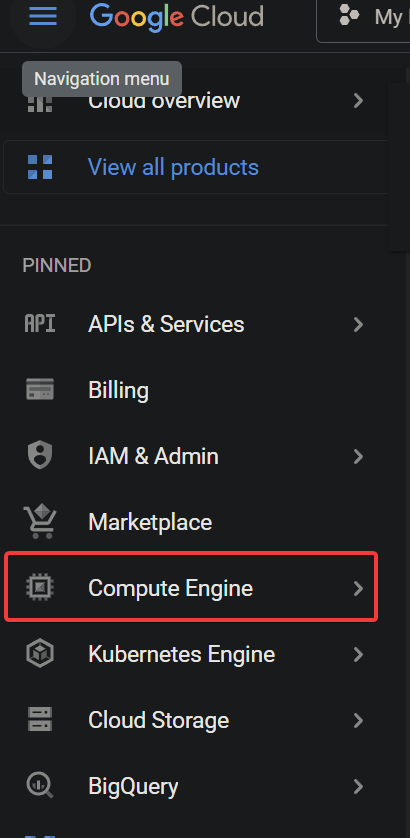
1. Navigate to the GCP Console, and click Compute Engine (left panel) to access the Compute Engine service.
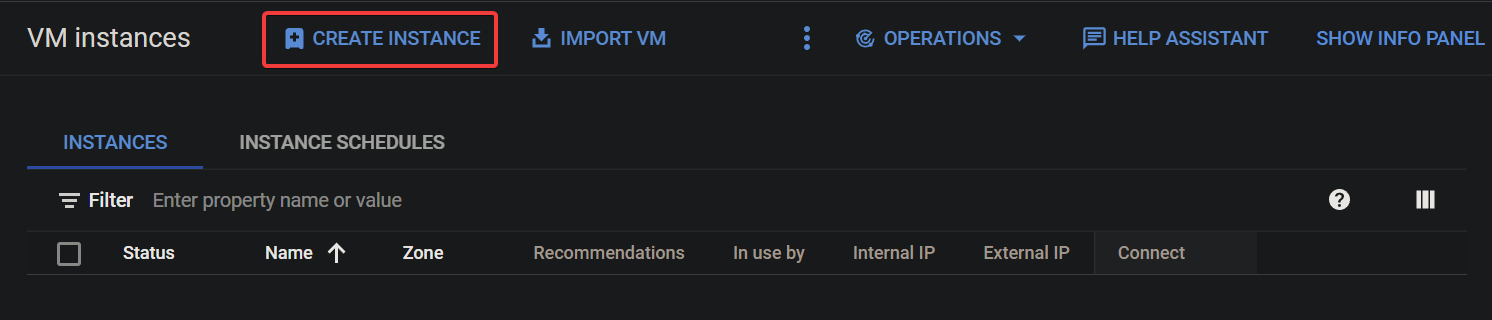
2. Next, click CREATE INSTANCE to initiate creating a VM instance.
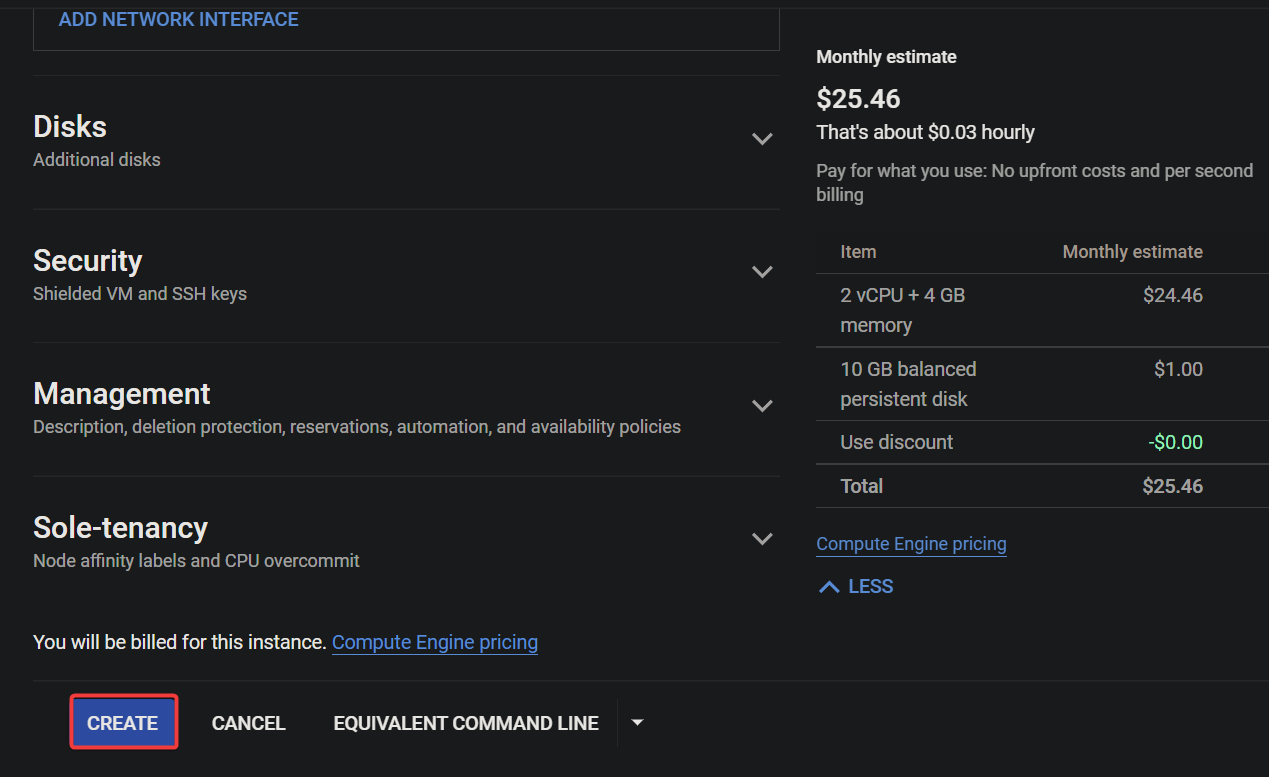
3. Now, keep all settings as default, scroll down, and click CREATE to create an instance.
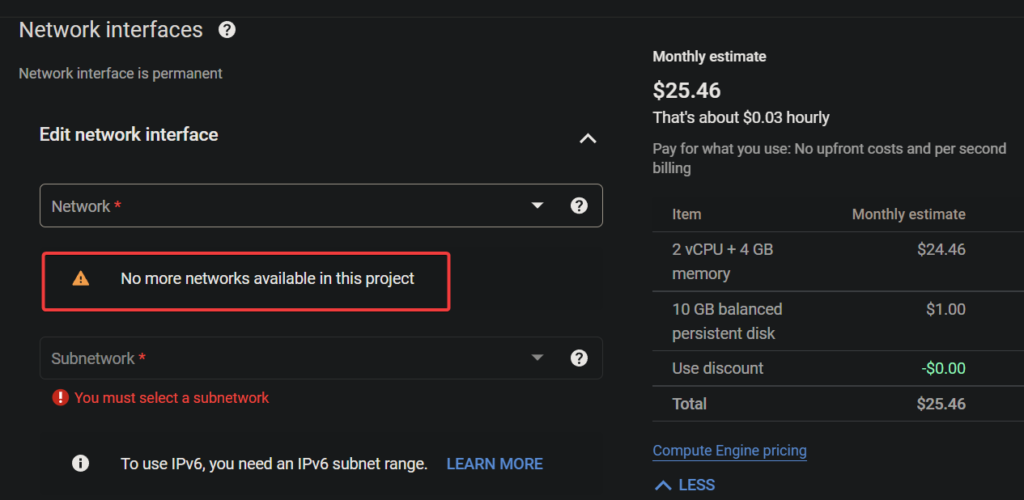
You will receive an error message that reads, No more networks available in this project, as shown below.
As you realize, a VPC network is the backbone of your project. You need a VPC network associated with your project to create a virtual machine. Not only that, but almost all Google Cloud services (Google Cloud SQL, Google Kubernetes Engine…) require a VPC to work correctly.
Creating and Configuring a Custom Google VPC Network
You have seen that since you deleted the default VPC network, working with Google Cloud services has new requirements. How do you get back on track with the Google Cloud services? You must create a custom Google VPC network associated with your project.
With a custom VPC network, you have complete control over your network’s IP address range, subnetworks, and network gateways.
To create a custom Google VPC network for your project:
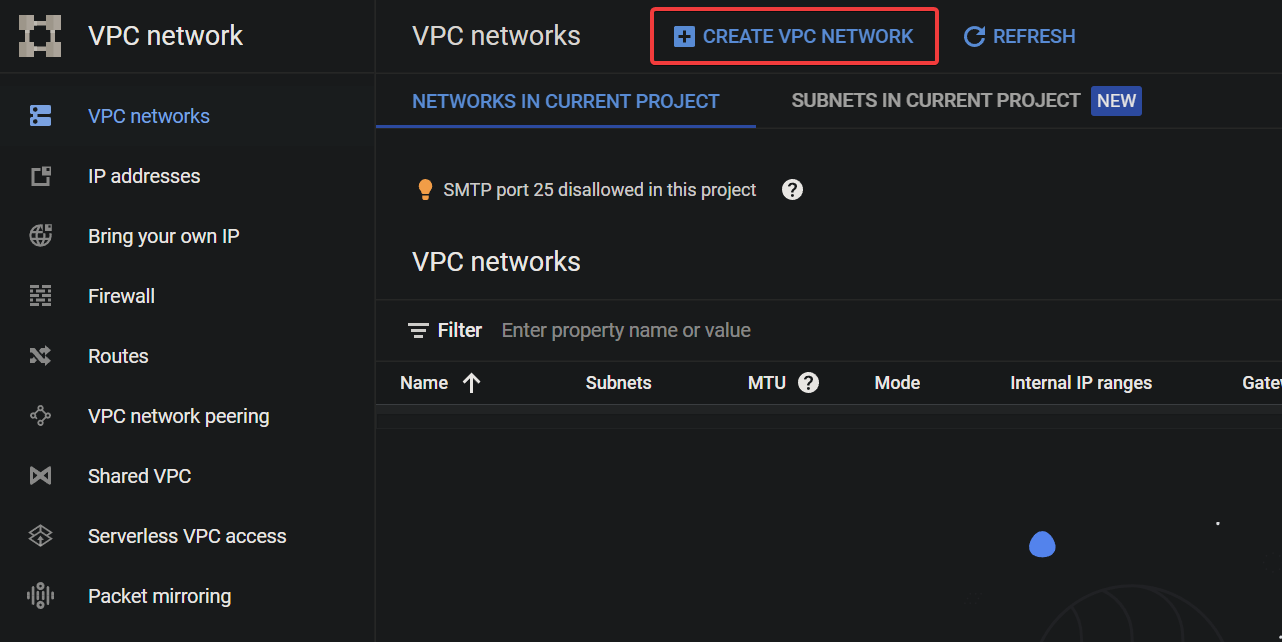
1. Navigate back to the VPC networks page, and click CREATE VPC NETWORK to initiate creating a custom VPC network.
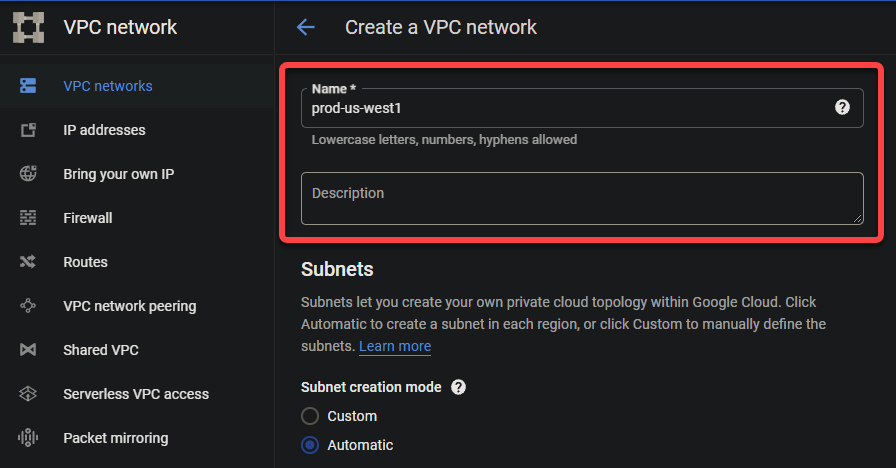
2. Next, provide a name for your VPC network with the following:
- The name should be unique within your GCP project, as it will be used to identify your VPC network within the project.The name should be descriptive to identify the VPC network’s purpose quickly. For example, include the location or environment (e.g., prod-us-west1).The name should follow the naming conventions for VPC networks on GCP. The name should include lowercase letters, numbers, and hyphens, with a maximum length of 20 characters.
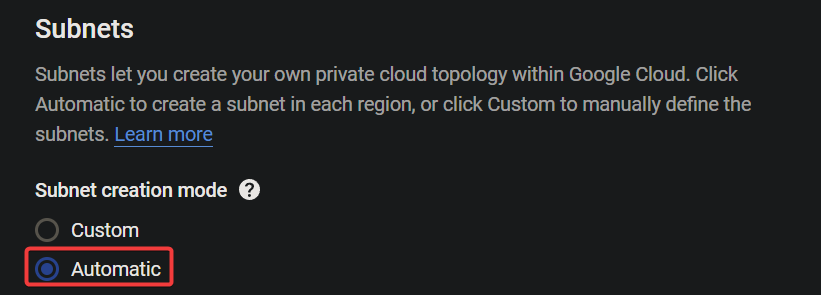
3. Select the Automatic option for Subnet creation mode under the Subnets section. This option determines the subnet CIDR range for you automatically.
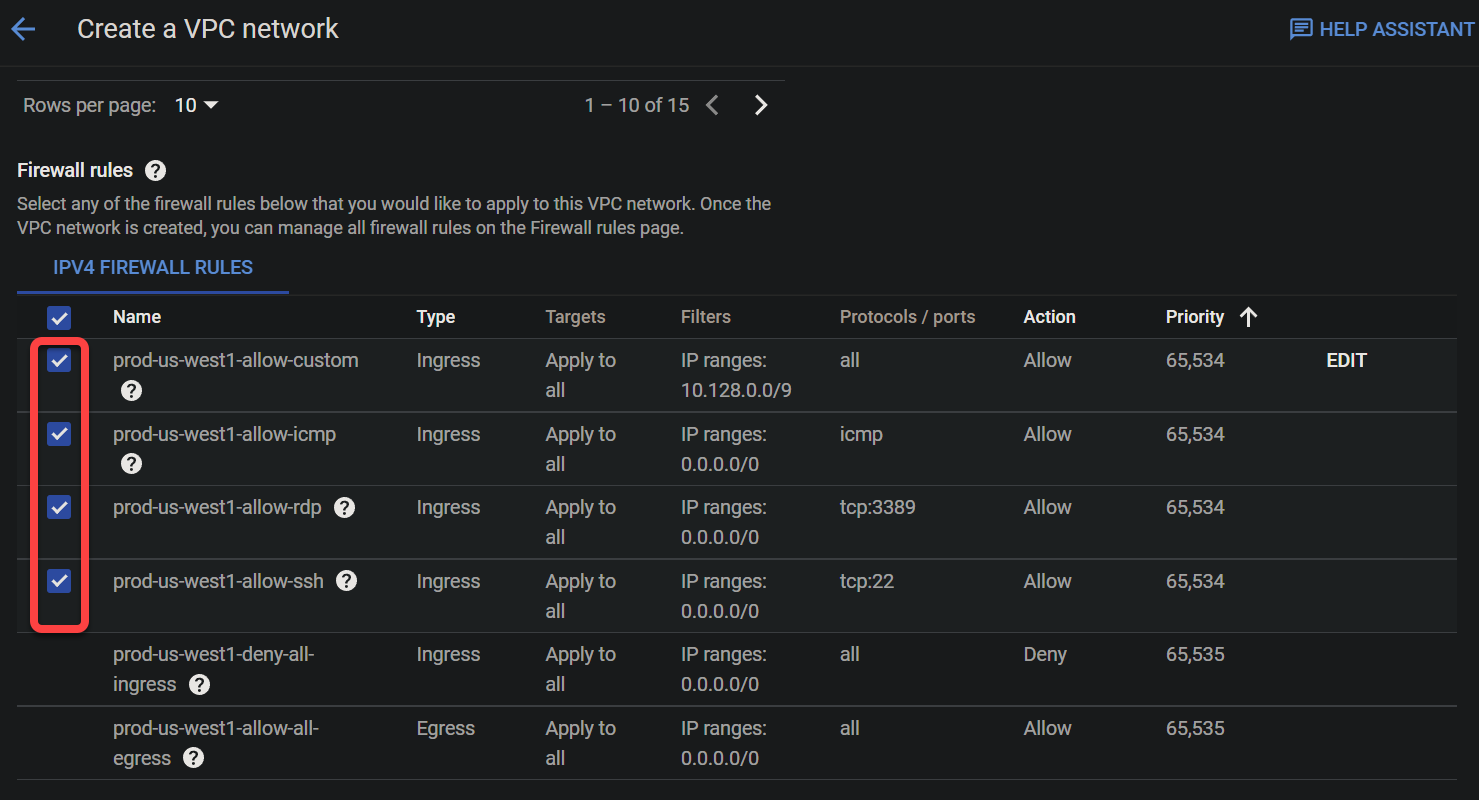
4. Now, tick all the boxes to create firewall rules that control incoming traffic to your VPC network under the Firewall rules section. These rules are exact replicas of the rules in the default VPC network.
💡 Note that you can create custom firewall rules to control incoming traffic more granularly, but that topic is out of the scope of this tutorial.
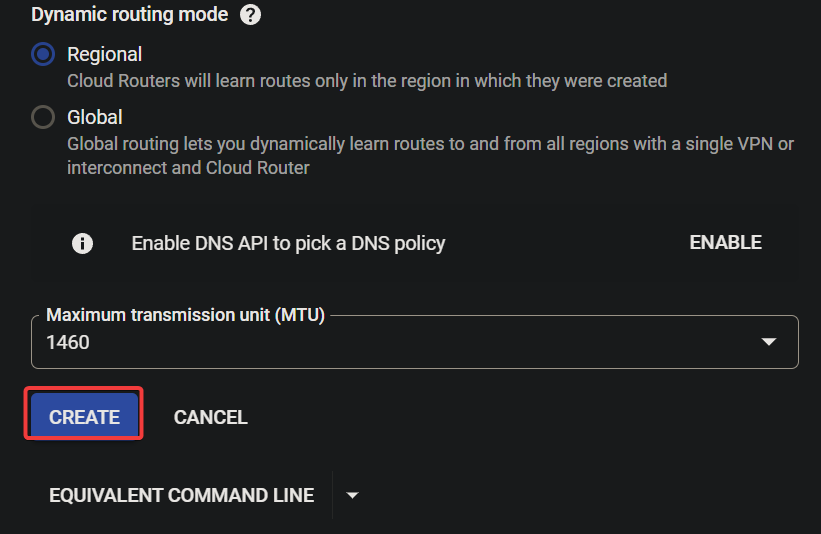
5. Keep other settings as is, and click CREATE to create your custom VPC network.
6. Repeat the steps in the “Testing Google Cloud Services Without a VPC Network” section to create a VM and verify your custom VPC network is working correctly.
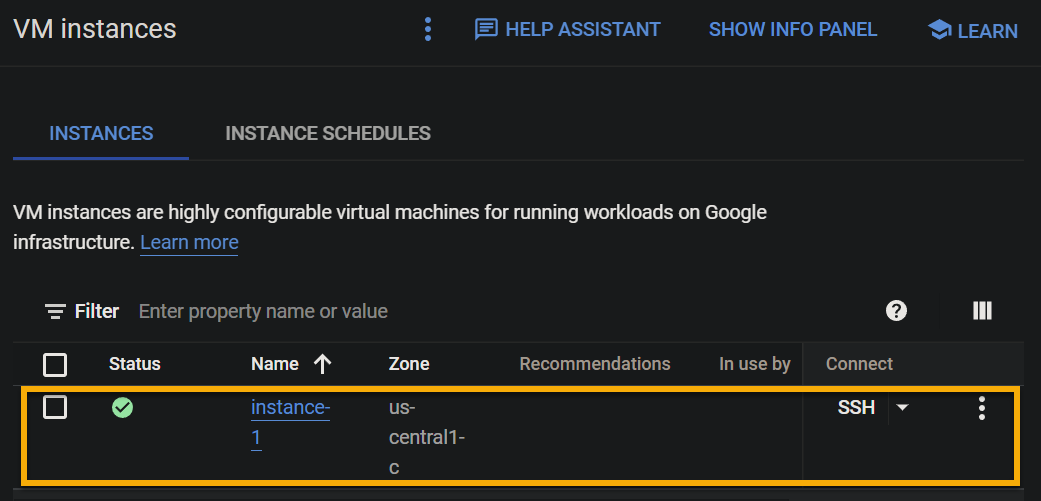
If successful, you will see your newly-created VM instance in the list, as shown below. Your VM runs in an isolated and dedicated environment provided by your custom VPC network.
Testing the VM’s Connectivity
With your VM instance running, testing its external connectivity is a must to ensure your instance is connected to the internet and able to receive and send traffic from outside. Doing so also confirms your custom VPC network is working as expected.
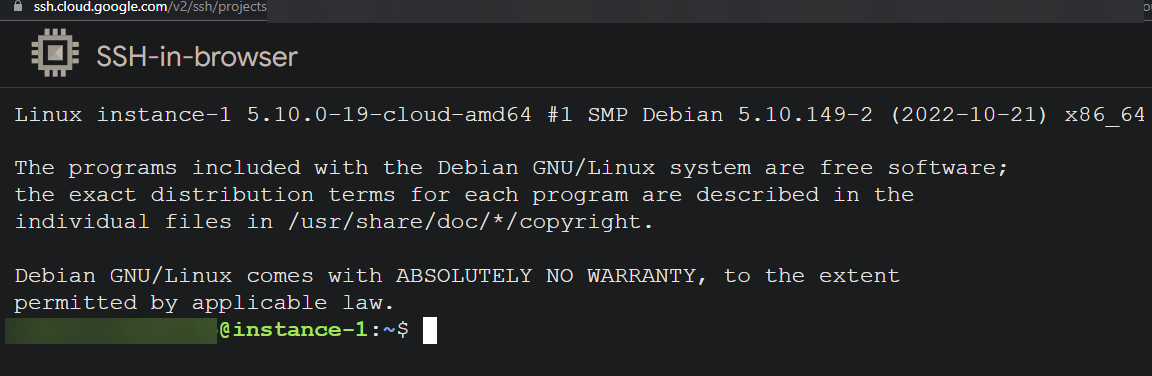
In the VM Instances page, click on the SSH dropdown under the INSTANCES tab, and select Open in browser window. This action opens a new browser tab with an SSH terminal, where you can connect to your instance and execute commands.
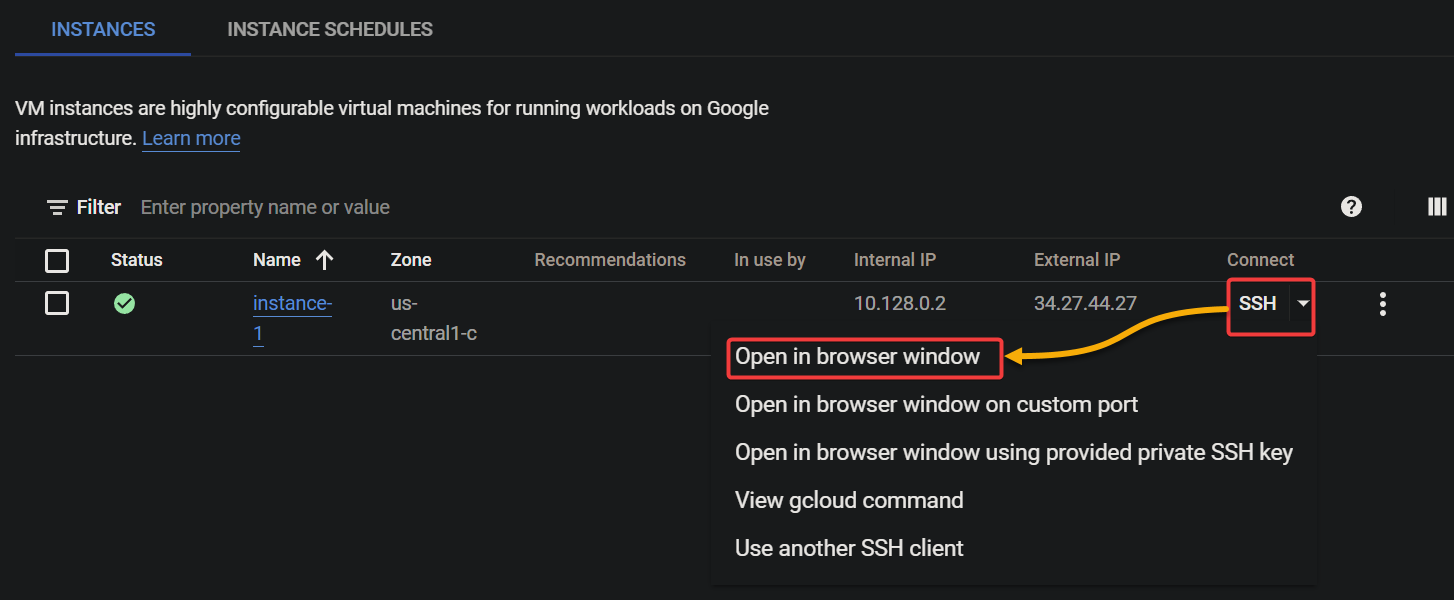
As shown below, you will be connected to your instance if all goes well.
Conclusion
You have seen that a VPC network is a vital component of the Google Cloud Platform, providing a dedicated and isolated network for your cloud resources. And in this tutorial, you have created a custom VPC network and gained complete control over its IP address range and subnets.
At this point, you can now create a network configuration that meets the specific needs of your project. But would you want to configure your network further?
Why not configure your VPC network’s IP address range and subnets to divide your network into different segments and assign unique IP addresses to your resources? Or use the gcloud command-line tool to manage and monitor your VPC network?


