


Have you ever wondered if orchestrating containers directly with Docker instead of Kubernetes is possible? Docker Swam could be the solution you’re looking for, and you’re on the right track!
In this tutorial, you’ll learn how to manage multiple Docker containers with Docker Swarm.
Read on and start orchestrating!
Prerequisites
This tutorial will be a hands-on demonstration. If you’d like to follow along, be sure you have the following:
- Three EC2 instances running on Ubuntu 20.04.3 LTS.
- Docker installed on all EC2 instance – This tutorial uses version 20.10.12.
Building and Deploying Containers to a Docker Swarm
Docker Swarm is a virtual or physical machine cluster that runs Docker applications. Swarm mode gives Docker built-in capabilities of container orchestration.
But before you can start managing multiple containers, you will need different systems/machines (AWS EC2 instances).
You can learn the key concepts in swarm mode before going further into the tutorial.
Assuming you have your EC2 instances set up:
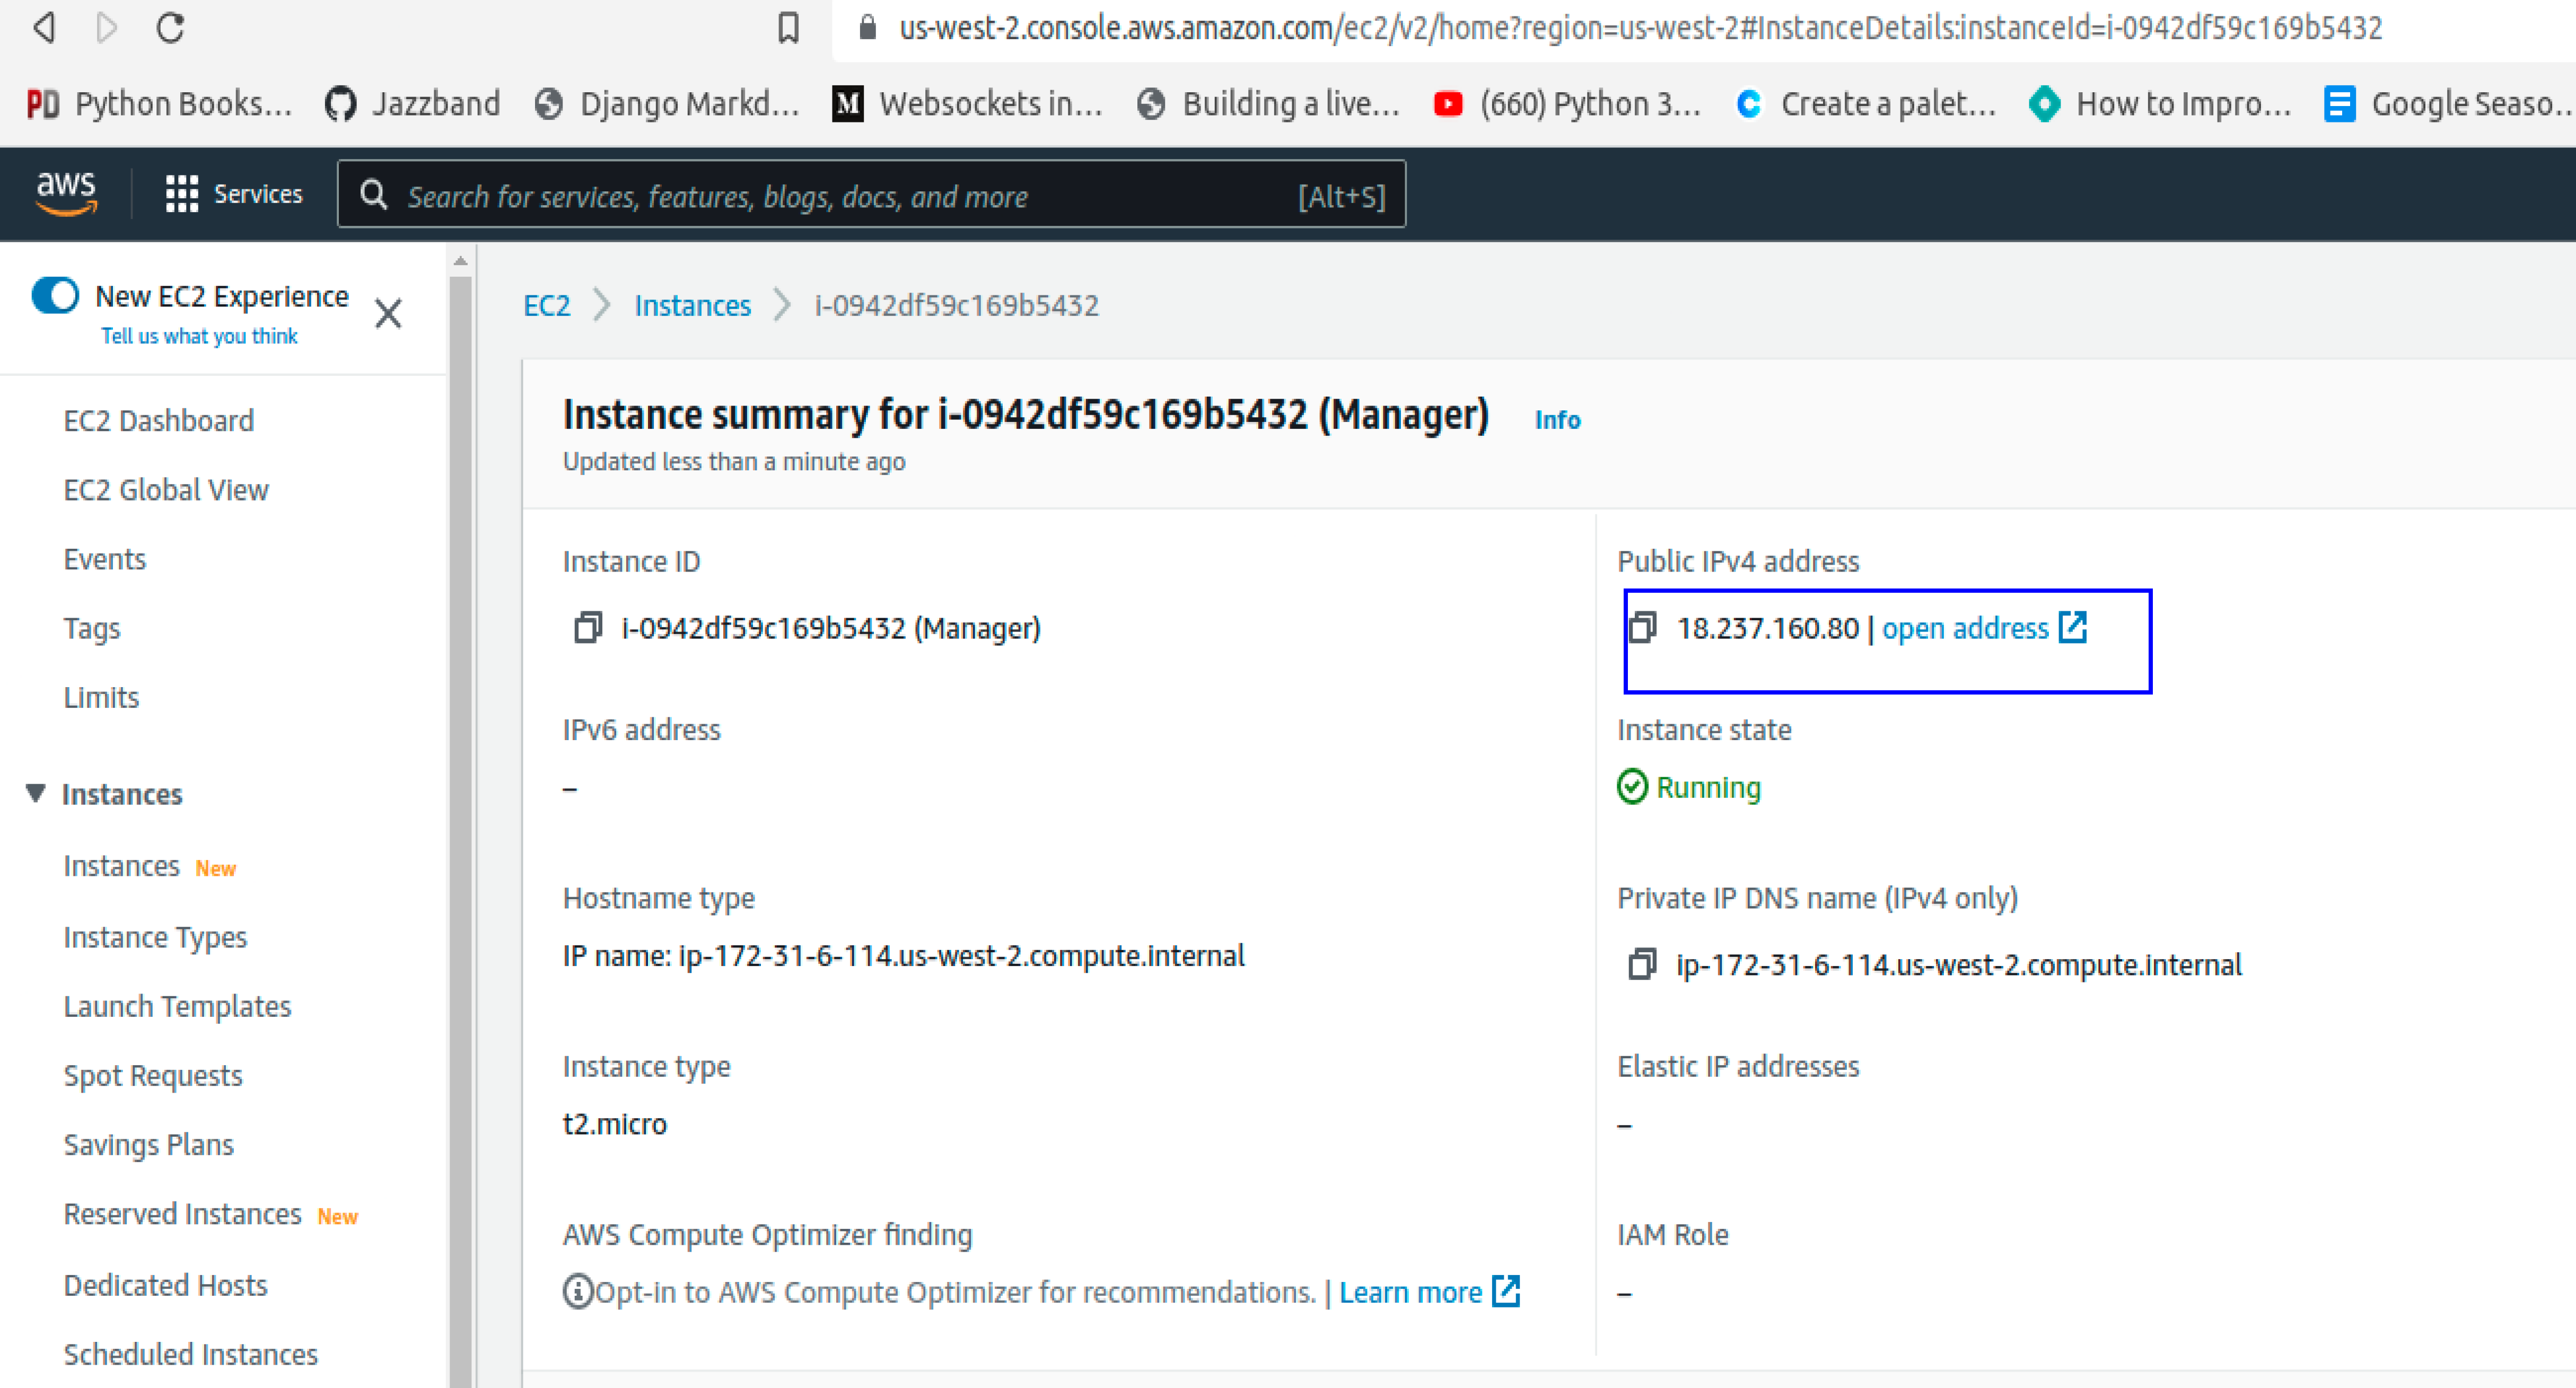
1. Open your web browser and log in to your EC2 dashboard. View one of your EC2 instances’ information summary page and note the Public IPv4 address, as shown below.
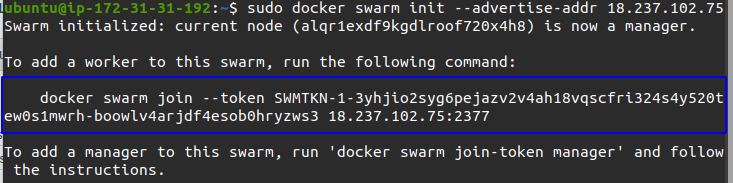
2. Next, open your terminal and run the below command to create a manager node in one of your EC2 instances. Ensure you replace 18.237.102.75 with your EC2 instance’s public IPv4 address you previously noted (step one). The command below initializes the instance as the Docker swarm manager node.
A manager node allocates IP addresses to tasks/containers, assign tasks to nodes, issue commands for worker nodes to run.
The manager node performs the Docker Swarm’s orchestration and cluster management functions. But don’t worry. You will learn about worker nodes as you go further in this tutorial.
sudo docker swarm init --advertise-addr 18.237.102.75Note the similar command shown below.
3. Run the command you previously noted (step two) to join the swarm as a worker node. A worker node receives and executes tasks instructed by manager nodes.

4. Now run the docker node command below to check all the nodes present in a particular swarm. Mind you that only the manager node can run the command below.
sudo docker node ls5. Repeat step two to create a manager node in another EC2 instance.
If you don’t have your join token anymore, you can run the command below in the manager node and display the join token.
sudo docker swarm join-token worker6. Next, run the below docker service command to create the service managed in the Docker Swarm. You’ll deploy a plain NGINX image in this tutorial.
The docker service command below performs the following:
- Create a service named (
--name)nginx-service, but any name will work. - State the number of
--replicasof your application/container you want. In this case, the replicas value is set to three (3). Replicas provide high availability of your application, eliminating downtime. Docker shares the replicas among the three available nodes when creating replicas for the service. - State the port (
-p 80:80), then state the name of the image to use (nginx:latest).
sudo docker service create --name nginx-service --replicas 3 -p 80:80 nginx:latest7. Run the command below to confirm the service (nginx-service) you previously created (step six).
sudo docker service ls8. Now switch to each node and run the command below to list available containers.
sudo docker psYou’ll see one replica of the container you created for each node, as shown below.

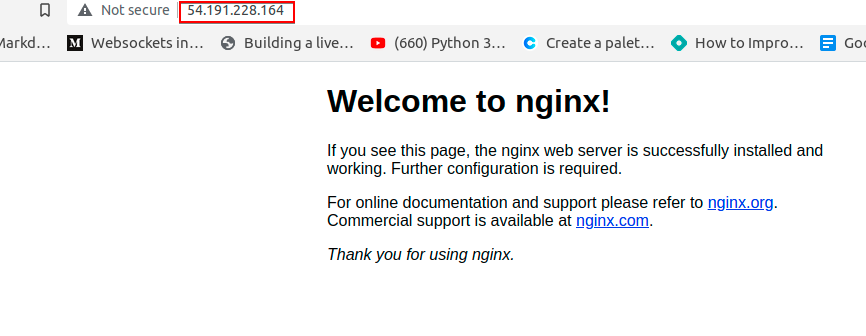
9. Finally, get the IP addresses for each of the EC2 instances and navigate to them on your preferred web browser.
Similarly, below, you can verify that each instance holds a replica of your application.
Deploying and Scaling an Application with Multiple Services
You’ve gone through deploying a single service, but how would you deploy an application with multiple services? Docker Swarm can also get the job done. You’ll use the stack deploy command, which uses the instructions stated in a YAML file that you’ll create.
1. Open the manager node and create a YAML file in your preferred text editor. You can name the file differently, but for this demo, the file is called file-name.yml.
Populate the file-name.yml file with the following code, which creates two services using NGINX and Ubuntu images.
version: '3.3' # version of compose file
services:
  service1:
    image: 'nginx:latest' # latest version of NGINX image on Docker hub
    ports:
      - '8000:8080'
  service2:
    image: 'ubuntu' # Ubuntu image on docker hub
2. Next, run the docker stack command below to deploy the services created by the file-name.yml file to Docker Swarm. The new-stack parameter is arbitrary, which names the stack the command creates for the services.
sudo docker stack deploy -c file-name.yml new-stack3. Run the below command to list the services available and note the name of the service you want.
sudo docker service ls
4. Now, run the command below to create replicas for your stack. Four (4) replicas to be exact for this demo. The manager node will assign which nodes will hold the replicas.
The application you previously deployed to Docker Swarm (step two) has only one replica handled by the manager node. To scale a service, you create four replicas of that service. Since you have only three nodes, one node will handle two replicas, while the rest of the nodes handle one each.
You can also scale down a service by reducing the number of replicas.
sudo docker service scale new-stack_service1=4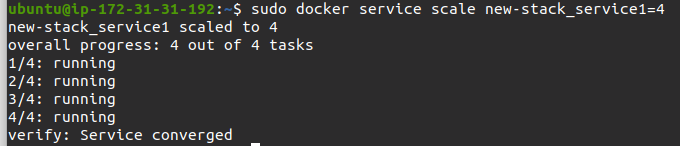
5. Finally, run the docker service command below to see all the containers currently handling the replicas of the new-stack_service1 service.
sudo docker service ps new-stack_service1In the image below, notice that one node is handling two replicas.

Updating Service in Swarm
You’ve previously learned how to deploy services, but do you know it’s possible to update services? Perhaps you want to test out an older version of a service. If so, you’ll use the update tag and --image flag to state the version of the service you want, then state the name of the service to update.
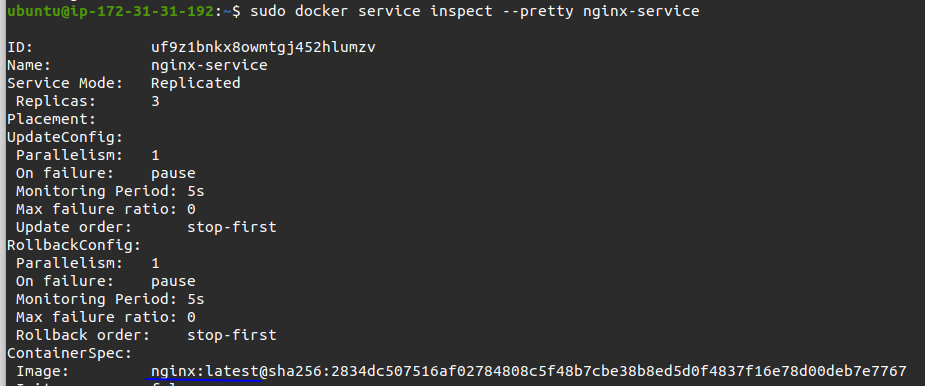
1. Run the below command to inspect the details of the currently running service.
sudo docker service inspect --pretty nginx-serviceBelow, you can see NGINX is running on the latest version.
2. Now, run the below command if you prefer to change/update to a different version of NGINX in the currently running service (nginx-service) for testing. Be sure to replace nginx:1.20 with your preferred version.
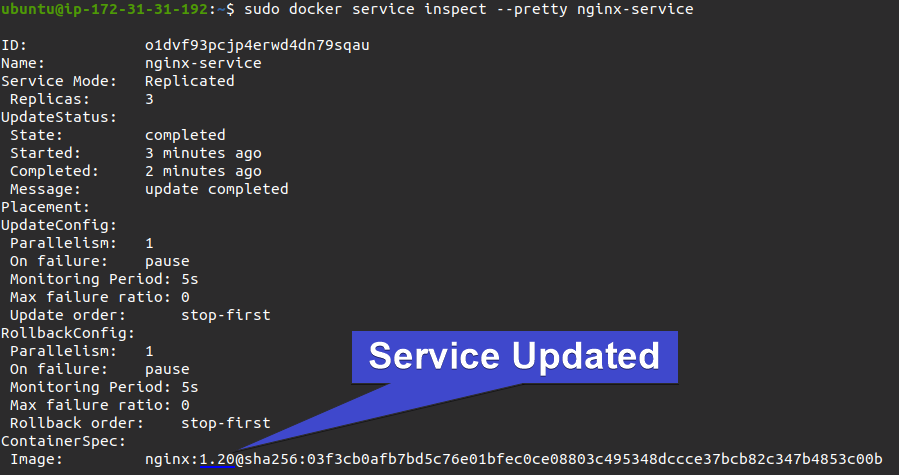
sudo docker service update --image nginx:1.20 nginx-service3. Lastly, rerun the below command as you previously did (step one) to inspect the details of the running service.
sudo docker service inspect --pretty nginx-serviceNotice below that the running service updated successfully.
Updating Nodes Availability
You may want to work on a particular worker node to, perhaps, make some changes to the container, but you want your application to be live. How? While you work on that node, drain that node, so it doesn’t receive any tasks from the manager node.
Alongside the drain command, you need to add the update tag and --availability flag to alter the availability of a particular node.
1. Run the docker node command below to list available nodes and note the ID of your target node.
sudo docker node ls
2. Next, run the below command to change the --availability of the node by draining (drain). Replace kseh5660n8xb3i2ojidzx0x13 with your target node’s ID you noted in step one.
sudo docker node update --availability drain kseh5660n8xb3i2ojidzx0x133. Finally, rerun the docker command below as you did in step one to list available nodes. sudo docker node ls
sudo docker node lsBelow, you can see the availability of the selected node is changed (Drain), so that node will not participate in activities going on in the swarm.

Conclusion
In this tutorial, you’ve learned how to leverage container orchestration with Docker Swarm. You’ve gained fundamental knowledge on scaling an application with multiple services and performing operations when working with Docker Swarm.
At this point, you already know how to manage your Docker container and services in Docker Swarm. So how do you plan to incorporate this newfound knowledge into your future container orchestrations? Perhaps start deploying Django applications with Docker Swarm?


