

Docker enables you to package your application in a way that simplifies collaboration and deployment. But if you’re new to Docker and wondering how to create a Django Docker container for your web application, you’re in for a treat!
In this tutorial, you’ll learn to become your own master in building a Docker image and container for your Django application.
Get ready and start containerizing!
Containerized Django apps combine Python, Docker, and deployment decisions. If you want structured practice before applying this pattern in production, compare Educative’s interactive developer courses before you buy.
Prerequisites
This tutorial will be a hands-on demonstration. If you’d like to follow along, be sure you have the following:
- Docker and Docker Compose installed.
- A Linux machine – This tutorial uses Ubuntu 20.04.3 LTS.
- Python installed – This tutorial uses Python 3.8.12.
Creating a Django API and Connecting to PostgreSQL
Before creating a Django Docker application container, you first need an application to containerize. You’ll build a recipe API and connect it to PostgreSQL, which comes with Django by default.
But first, you’ll need to install Django and Django REST framework on your local machine. Django REST framework is essential for building APIs in Django.
1. Open your terminal and run the pip command below to install django and djangorestframework on your local machine.
pip install django djangorestframework2. Next, run the following commands to create a directory named ~/django_recipe_api and navigate into that directory. This directory will contain all the files required for this project.
mkdir ~/django_recipe_api
cd ~/django_recipe_api
3. Run the following commands to create a new Django project (recipe_api) and an app (recipe) in the current directory where the API will live.
# Create a new Django project named "recipe_api" in the current directory.
django-admin startproject recipe_api .
# Create an app named "recipe" in the current directory where the API will live.
python manage.py startapp recipe
4. Now open the ~/django_recipe_api/recipe_api/settings.py file in your preferred text editor, and add the following code.
The code below adds the rest_framework to the app (recipe) you previously created (step three).
INSTALLED_APPS = [
    'django.contrib.admin',
    'django.contrib.auth',
    'django.contrib.contenttypes',
    'django.contrib.sessions',
    'django.contrib.messages',
    'django.contrib.staticfiles',
		'rest_framework' # for Django REST Framework to work
    'recipe', # newly created app
]
5. Open the ~/django_recipe_api/recipe/models.py file and paste the code below.
The code below initiates the fields and the kind of data you will store in the database.
from django.db import models

class Recipe(models.Model):
    """Recipe object"""
    title = models.CharField(max_length=255)
    time_minutes = models.IntegerField()
    ingredients = models.CharField(max_length=255)
   # display an instance of the model when necessary
    def __str__(self):
        return self.title
6. Create another file called ~/django_recipe_api/recipe/serializers.py and populate the file with the code below.
The below code creates a serializer for the model you previously created (step five). The serializer helps convert the data from the API into a form, like JSON, that can be usable in the frontend.
from dataclasses import fields
from rest_framework import serializers
from .models import Recipe

# create a serializer
class RecipeSerializer(serializers.Serializer):
    # initialize model and fields you want to serialize
    class Meta:
        model = Recipe
        fields = ('title', 'time_minutes', 'ingredients')
7. Now create a file named ~/django_recipe_api/recipe/views.py and paste the code below.
The below code creates a viewset to return the data from the API to the frontend and handle GET requests from users.
from rest_framework import viewsets
from .serializers import RecipeSerializer #impor the serializer we just created
from .models import Recipe


class recipe_view_set(viewsets.ModelViewSet):
    # define queryset
    queryset = Recipe.objects.all()
    serializer_class = RecipeSerializer
8. Finally, open the file in path ~/django_recipe_api/recipe_api/urls.py and replace the code in the file with the code below.
In the code below, you are setting up the URLs so that Django REST Framework can connect to your application properly. You also state the route to use when accessing the API on a browser.
from django.contrib import admin
from django.urls import path, include
from recipe.views import recipe_view_set
from rest_framework import routers

# define the router
router = routers.DefaultRouter()
router.register(r'recipe', recipe_view_set) #the route tha will be used to access your API on the browser

urlpatterns = [
    path('admin/', admin.site.urls),
    path('', include(router.urls)),
    path('api-auth/', include('rest_framework.urls')) # Adds 'Login' link in the top right of the page

]
Creating a Dockerfile to Build the Django API
Currently, you only have a Django API that is not containerized in any way. Containerizing your application eases collaboration and deployment if required.
Create a file called Dockerfile at the root of your project and populate the file with the code below. A Dockerfile contains a list of instructions that Docker uses to build your Docker image.
The code below creates a directory in your container and copies code in your local machine into the container.
# The image you are going to inherit your Dockerfile from
FROM python:3.7-alpine
# Necessary, so Docker doesn't buffer the output and that you can see the output
# of your application (e.g., Django logs) in real-time.
ENV PYTHONUNBUFFERED 1
# Make a directory in your Docker image, which you can use to store your source code
RUN mkdir /django_recipe_api
# Set the /django_recipe_api directory as the working directory
WORKDIR /django_recipe_api
# Copies from your local machine's current directory to the django_recipe_api folder
# in the Docker image
COPY . .
# Copy the requirements.txt file adjacent to the Dockerfile
# to your Docker image
COPY ./requirements.txt /requirements.txt
# Install the requirements.txt file in Docker image
RUN pip install -r /requirements.txt
# Create a user that can run your container
RUN adduser -D user
USER user
Now, create the requirements.txt file at the root of your project and input the text below.
Below is a list of dependencies needed to run your project.
django==3.1.2
djangorestframework==3.13.1
Building Docker Compose File to Run Django and PostgreSQL
You’ve just built your application’s Docker image, but how do you run it? Docker-compose is a tool used to run Docker images from local machines. Docker-compose helps you manage various services in your application, such as Django and databases.
1. Create a file called docker-compose.yml at the root of your project and paste the code below.
The code below maps the port from your local machine to your image’s port and runs your application.
# Verion of docker-compose to use
version: "3"

services:
  django_recipe_api:
    build:
      context: . #Sets the directory for docker-compose to build.

    # Maps port on the local machine to port on Docker image
    ports:
      - "8000:8000"

    volumes:
    # Copy changes made to the project to your image in real-time.
      - .:/django_recipe_api
    # Handles the command used to run the project in the Docker container.
    command: sh -c "python manage.py runserver 0.0.0.0:8000"
2. Next, open your settings.py file and add 0.0.0.0 as a value of the ALLOWED_HOSTS since Docker runs on the host (0.0.0.0). The ALLOWS_HOSTS variable holds a list of domains/hosts that can access your application.
ALLOWED_HOSTS = ['0.0.0.0']3. Run the following commands to generate a database for your API model.
# Generates the SQL code for yuou models.
sudo docker-compose run django_recipe_api sh -c "python manage.py makemigrations"
# Runs the SQL commands that you generated.
sudo docker-compose run django_recipe_api sh -c "python manage.py migrate"
4. Now, run each command below to build and run your Django container.
sudo docker-compose build # Build your Service
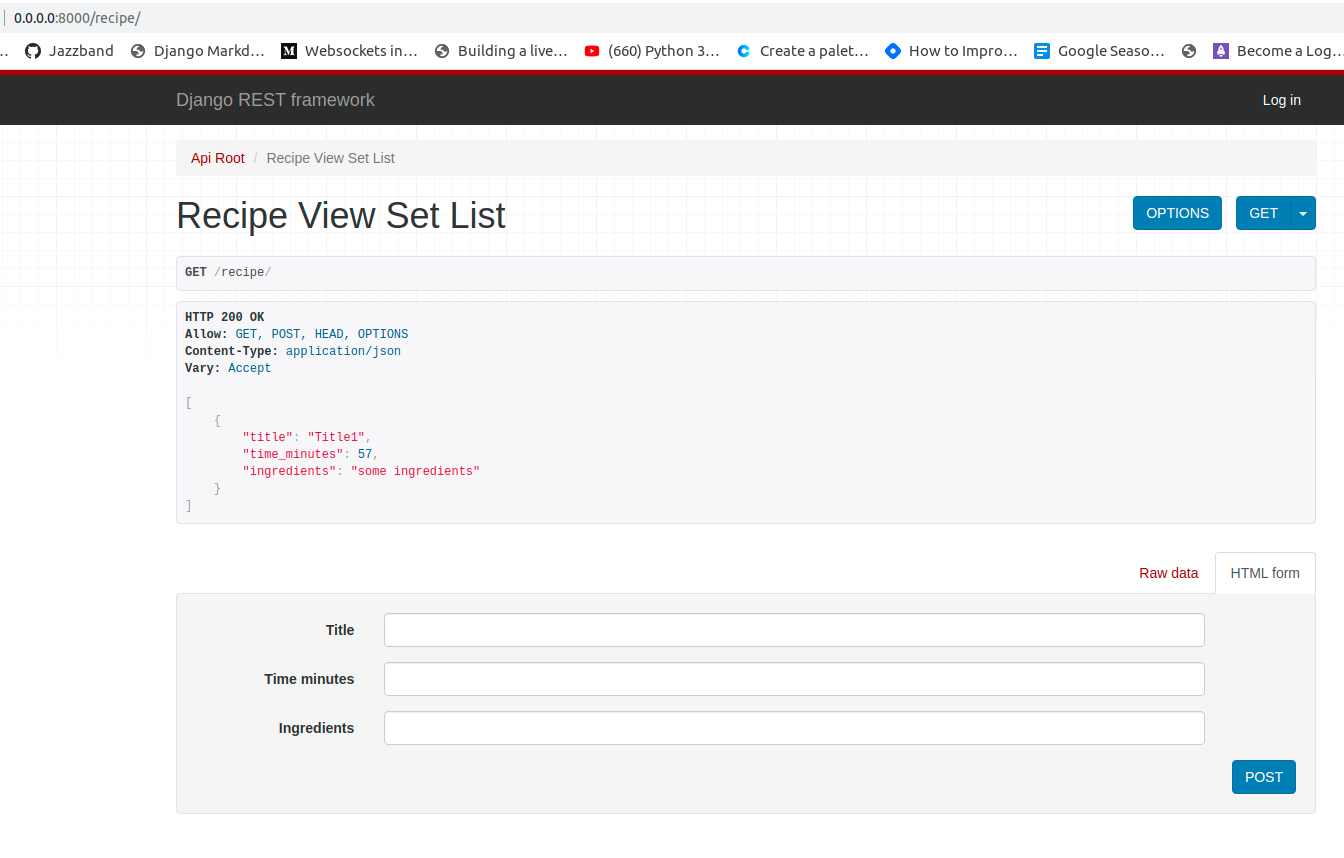
sudo docker-compose up # Runs your application5. Finally, open your preferred web browser and navigate to http://0.0.0.0:8000/recipe/ to run your API.
As you see below, your API is perfectly running, which lets you add recipes.
Configuring PostgreSQL to Work with Docker and Django
You’re working with SQLite as a database at the moment, which is not ideal when you want to scale your application. A better option that connects well with Django is PostgreSQL, which you’ll add to your application.
To configure PostgreSQL to work with Docker and Django:
1. Open your Dockerfile and add the below code above the RUN pip install -r /requirements.txt line. These dependencies are required for PostgreSQL to work properly with Django.
RUN apk add --update postgresql-client jpeg-dev
RUN apk add --update --virtual .tmp-build-deps \
      gcc libc-dev linux-headers postgresql-dev musl-dev zlib zlib-dev
2. Next, open the requirements.txt file and add the psycopg2==2.8.6 requirement.
3. Rerun the command below to build the image again.
docker-compose build4. Open your settings.py file, and replace the DATABASES block with the following code.
The code below updates your database in Django to use PostgreSQL.
The os module is used in the code below, so you have to add import os at the top of your ~/django_recipe_api/recipe_api/settings.py file’s content.
DATABASES = {
  'default': {
    'ENGINE': 'django.db.backends.postgresql',
    'HOST': os.environ.get('DB_HOST'),
    'NAME': os.environ.get('DB_NAME'),
    'USER': os.environ.get('DB_USER'),
    'PASSWORD': os.environ.get('DB_PASS'),
  }
}
5. Open the docker-compose.yml file and replace the file’s content with the code below.
The code below creates a service for the database you created (step four) and feeds the database credentials to Django.
# Verion of docker-compose to use
version: "3"

services:
  django_recipe_api:
    build:
      context: . # Sets the directory for docker-compose to build.

    # Maps port on the local machine to port on Docker image
    ports:
      - "8000:8000"

    volumes:
    # Copy changes made to the project to your image in real-time.
      - .:/django_recipe_api
    # Handles the command used to run the project in the Docker container.
    command: sh -c "python manage.py runserver 0.0.0.0:8000"

    environment:
			# The environment variable credetials that is needed
      # in the settings for Postgres.
      - DB_HOST=db
      - DB_NAME=recipe
      - DB_USER=postgres
      - DB_PASS=supersecretpassword
    depends_on:
      - db

  db:
    image: postgres:10-alpine
    environment:
			# credentials required by postgres:10-alpine
      - POSTGRES_DB=recipe
      - POSTGRES_USER=postgres
      - POSTGRES_PASSWORD=supersecretpassword
6. Run the following commands to apply migrations for the new database you created (step five).
sudo docker-compose build
sudo docker-compose run django_recipe_api sh -c "python manage.py makemigrations"
sudo docker-compose run django_recipe_api sh -c "python manage.py migrate"
7. Now, run the following command to run your Django application in Docker container.
sudo docker-compose up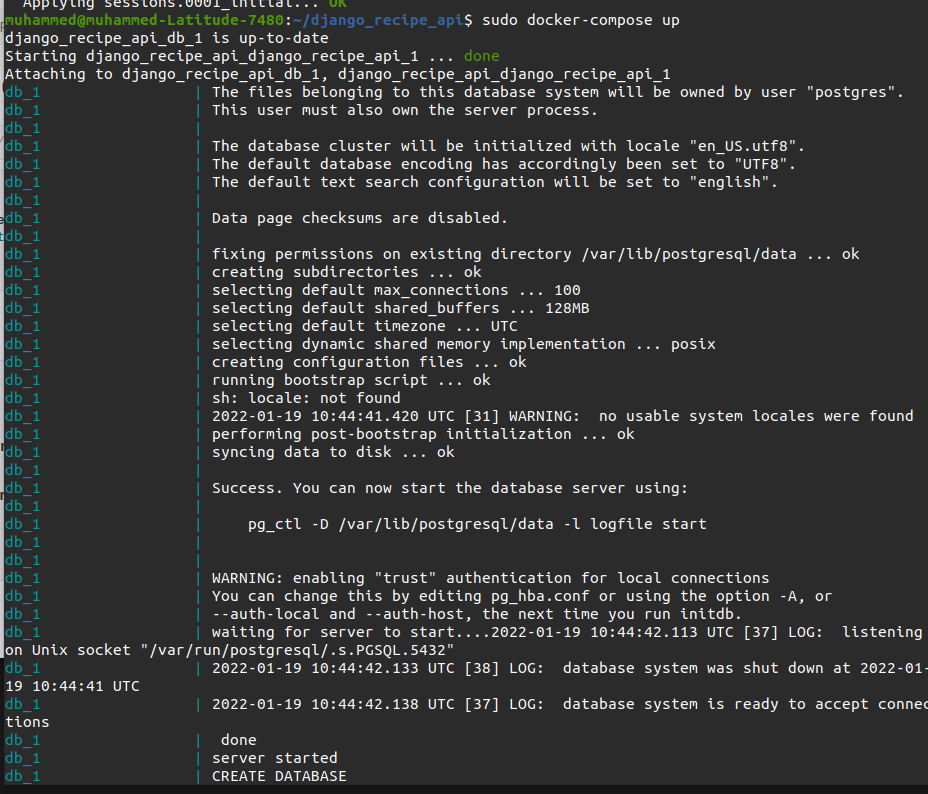
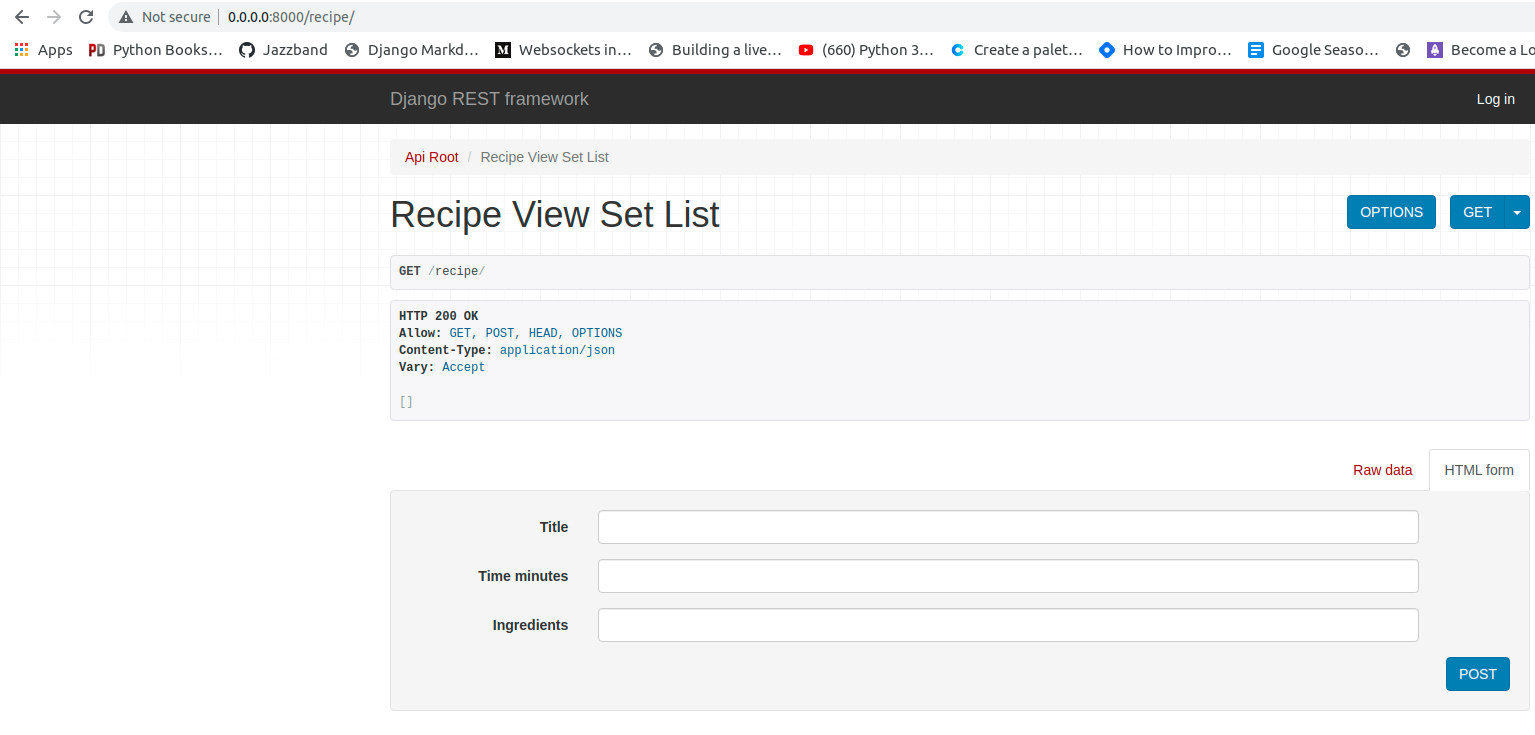
8. Finally, navigate to http://0.0.0.0:8000/recipe/ on your browser again.
As you see below, the previously saved data is not there anymore since you’ve changed your database. Now you can go on and add more data if you like.
Conclusion
In this tutorial, you learned to set up a Docker container for Django API that uses PostgreSQL for storing data. You’ve also gone through launching Django containers using Dockerfile and docker-compose.yml files.
At this point, you’ve already mastered the basics of running applications in a Docker container. So what other applications to run in Docker container do you have in mind? Perhaps a Docker container for Django and MongoDB container?


