

Docker is a phenomenal container technology, but if you struggle to track running Docker containers, Docker logging is a must-have. Docker logging helps you analyze your container logs to determine how your containers run.
Logging is one of the crucial things to get right when building containerized applications. And in this tutorial, you will learn about Docker logging to help you deal with your containers’ behavior.
Dive in and start logging your container infrastructure to new heights!
Prerequisites
Before diving into Docker logging, ensure you have the following in place, as this tutorial comprises hands-on demonstrations:
- A machine with AWS CLI is installed and configured with your AWS IAM user details – This tutorial uses a Windows 10 machine.
- Docker engine installed and running on your machine.
Reviewing Docker Logs via Default Logging
Docker containers are ephemeral and stateless; they are created and destroyed. As a result, their state changes more often. These factors make a Docker logging approach different from typical logging.
You typically execute traditional logging at the host level. But with Docker, each container is an isolated environment, and logging is done at the container level. The Docker logging driver captures any log a container generates as stdout and stderr output streams.
To review Docker logs, you will first create a basic Docker container as follows:
1. Open PowerShell as administrator, and run the following docker container command to create a basic container.
This command pulls an NGINX image and creates a container emitting the virtual log messages within Docker, as a typical container would.
docker container run -d --name nginx-container nginx /bin/bash -c "while [ true ]; do date; sleep 1; done"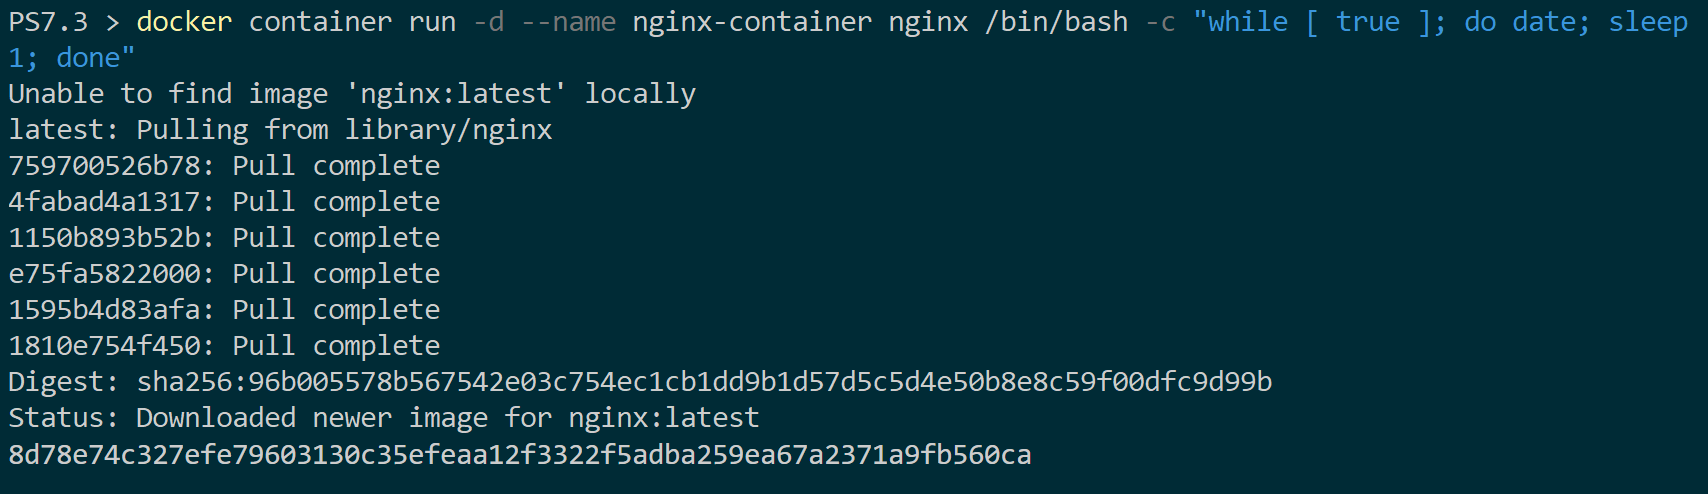
2. Next, run the below docker ps command to check the ID assigned to your container.
Each container is assigned a unique container ID. The docker logs commands use a container’s unique ID to access logs specific to that container.
docker psCopy the CONTAINER ID from the output, as shown below, for later use.

3. Execute the docker logs command below to access your container, and list all logs by replacing CONTAINER_ID with the container ID you noted in step two.
docker logs CONTAINER_ID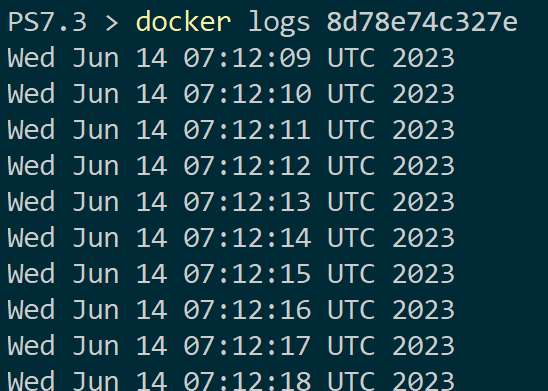
Docker uses a default JSON-file logging driver to record logs, formats all messages as JSON, and writes them to a per-container text file.
You can check your container logs, usually found in the following paths:
# Windows (Hyper-V)
%ProgramData%\Docker\containers\CONTAINER_ID\CONTAINER_ID-json.log

# Windows (WSL2)
\\wsl$\docker-desktop-data\data\docker\containers\CONTAINER_ID\CONTAINER_ID-json.log

# Linux
/var/lib/docker/containers/CONTAINER_ID/CONTAINER_ID-json.log

# macOS
/usr/local/var/lib/docker/containers/CONTAINER_ID/CONTAINER_ID-json.log
Alternatively, run the docker inspect command below to retrieve the actual location of the container log file based on the CONTAINER_ID.
docker inspect --format='{{.LogPath}}' CONTAINER_ID
4. Now, run the following command to view extra --details provided to logs.
docker logs CONTAINER_ID --details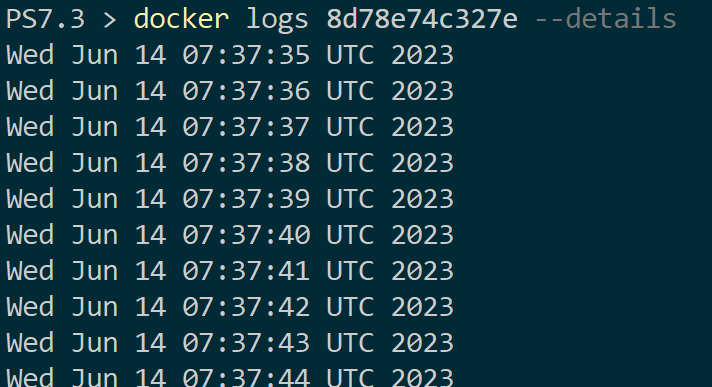
5. Run the command below to dig deeper and filter your logs. The --follow flag lets you continuously check the logs as they are generated.
docker logs CONTAINER_ID --follow
6. Next, execute the below command to view several lines (10) since the last log was generated (--tail).
docker logs CONTAINER_ID --tail 10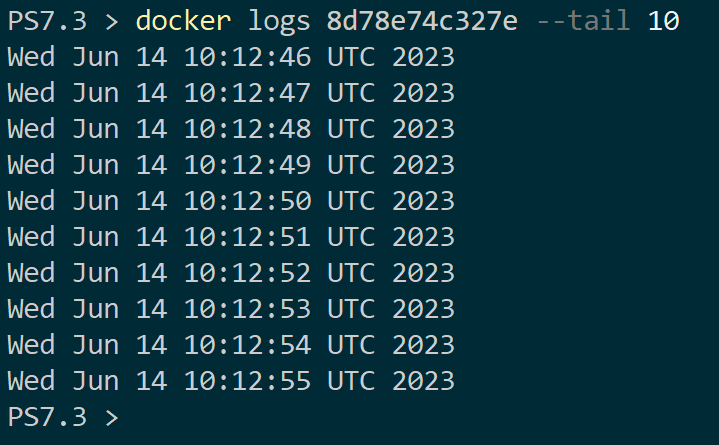
7. Lastly, execute the following command to view logs with their --timestamps included.
docker logs CONTAINER_ID --timestamps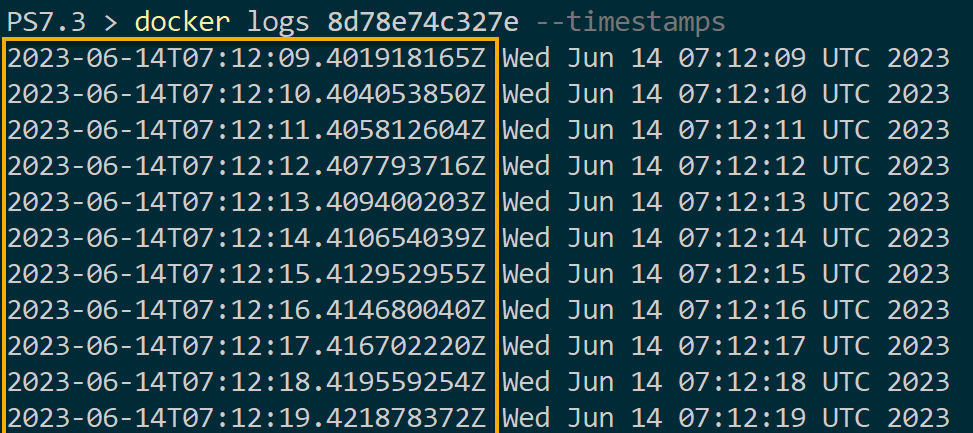
Configuring Docker Logging Drivers
Up to now, you have used default logging via the docker logs command. But given that if the container is terminated or shut down, your logs will be wiped out, and you cannot access them. In production situations, this behavior is not ideal.
Docker also has no size restriction for log files, which can accumulate over some time and take up storage space. The good news is that besides the default JSON file, Docker supports logging drivers that send container logs to remote logging services.
To configure Docker logging drivers, follow these steps:
1. Pick one logging driver from the most common ones below:
| Logging Driver | Details |
|---|---|
| syslog | Uses a syslog daemon running on the host machine to record logs. |
| splunk | Collects logs and writes them to Fluentd. |
| awslogs | Uses Amazon CloudWatch to record log messages. |
| fluentd | Sends log messages to Splunk. |
| journald | Uses a journald daemon running on the host machine to record logs. |
Implementing logging drivers varies between the different platforms you want to distribute your logs. But for this tutorial, you will use the syslog logging driver.
2. Next, configure the logging driver and add log-opt keys to the daemon.json file located in /etc/docker/ on Linux or C:\ProgramData\DockerDesktop\config on Windows Server.
{
    "log-driver": "syslog",
    "log-opts": {
        "syslog-address": "udp://127.0.0.1:514"
    }
}
3. Lastly, execute the docker run command below to start your Docker container (nginx-container) with syslog specified as the --log-driver.
When a container generates logs, the logging driver captures them. The logs are then shipped off to a centralized log server or database, giving you access to your logs at any time.
docker run --log-driver=syslog nginx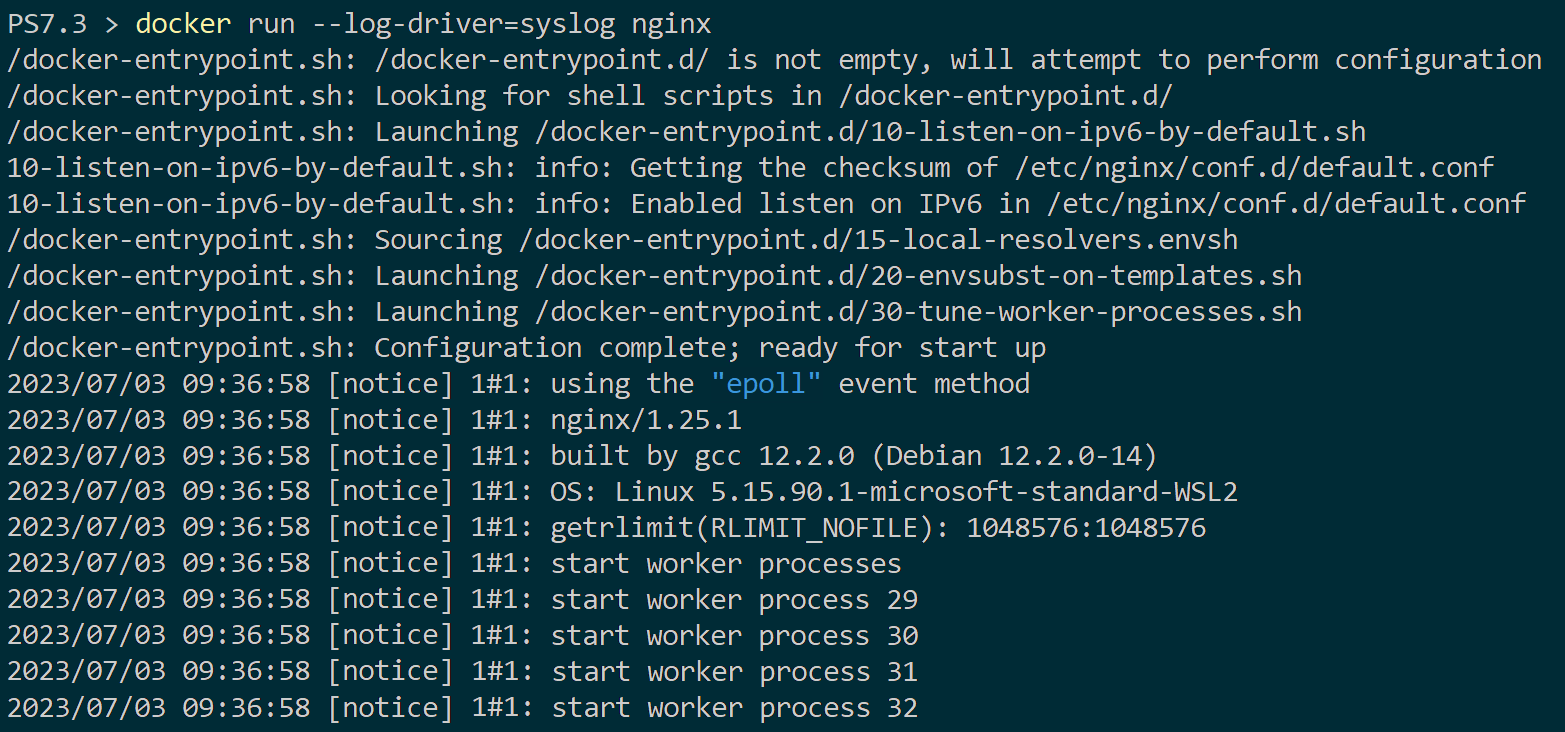
Pushing Docker Logs to AWS CloudWatch via awslogs Logging Driver
You now understand how Docker logging and logging drivers work, specifically the syslog driver. Now, it is time to dive deeper and see how to push your Docker logs to a centralized location for storing logs — AWS CloudWatch.
To push Docker logs to AWS CloudWatch, you must attach a policy to your AWS IAM user:
1. Attach the following JSON policy to your AWS user to create a policy that allows the following actions:
logs: CreateLogStream– Create a new log stream.logs:PutLogEvents– Write log events to a log stream within a log group in AWS CloudWatch.
{
"Version": "2012-10-17",
"Statement": [
    {

"Action": [

"logs:CreateLogStream",

"logs:PutLogEvents"
    ],
    "Effect": "Allow",

"Resource": "*"
    }
]
}
2. Next, run the following aws logs command to create an AWS CloudWatch log group (create-log-group) called nginx-test-logs (arbitrary) in your preferred region (<aws_region>).
A log group stores and manages log data generated by your Docker streams and organizes your logs from the same source. This command does not provide output, but your log group will record logs from your Docker container.
aws logs create-log-group --log-group-name nginx-test-logs --region <aws_region>3. Open your preferred web browser, and log in to AWS Management Console with your IAM user.
4. Now, navigate to Log groups in AWS CloudWatch, and you should see your newly-created log group, as shown below.

5. Return to your terminal, and run the following command. Ensure you replace <aws_region> with the same region as your log group.
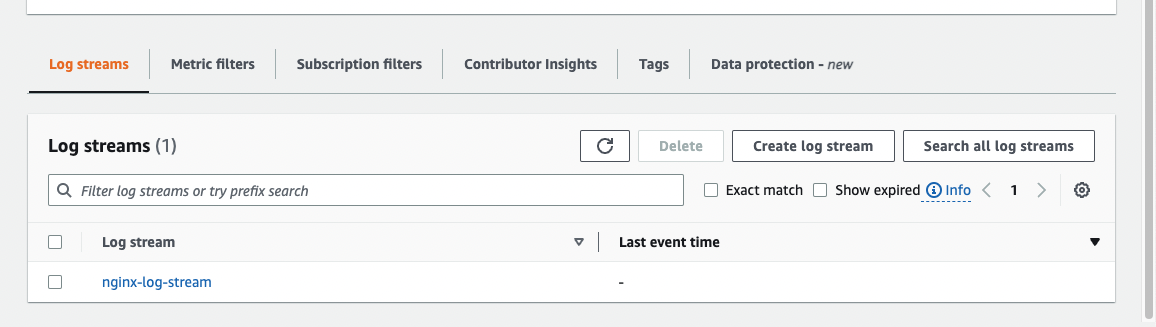
This command does not provide output but creates a log stream (create-log-stream) called nginx-log-stream (arbitrary) for your log group (nginx-test-logs).
aws logs create-log-stream --log-group-name nginx-test-logs --log-stream-name nginx-log-stream --region <aws_region>Once created, your log stream will be listed in the Log streams tab, as shown below.
6. Execute the following docker pull command to pull an nginx image you will use to generate logs.
docker pull nginx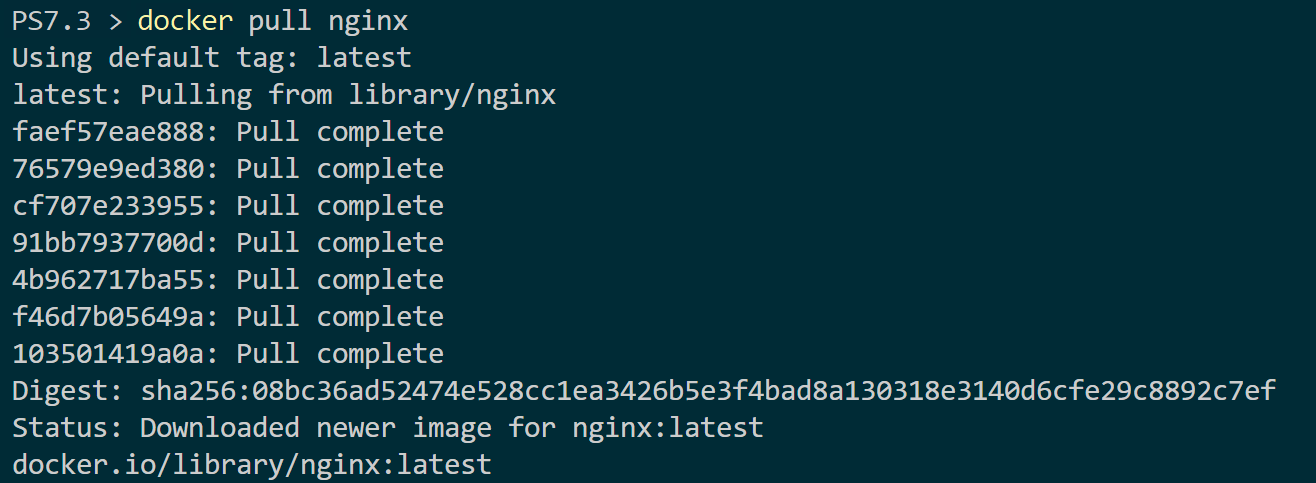
7. Next, run the below command to list all Docker images available to confirm you have successfully pulled the NGINX image.
docker images
8. Execute the following command to run a Docker container with awslogs specified as the --log-driver to ensure the driver communicates to the AWS CloudWatch.
Replace the following accordingly:
<aws_region>– Your AWS region code where you created both the AWS CloudWatch log group and stream.<log-group>– Your AWS CloudWatch log group.<log-stream>– Your AWS CloudWatch log stream.
docker run --log-driver=awslogs --log-opt awslogs-region=<aws_region> --log-opt awslogs-group=<log-group> --log-opt awslogs-stream=<log-stream> nginx -p 8080:80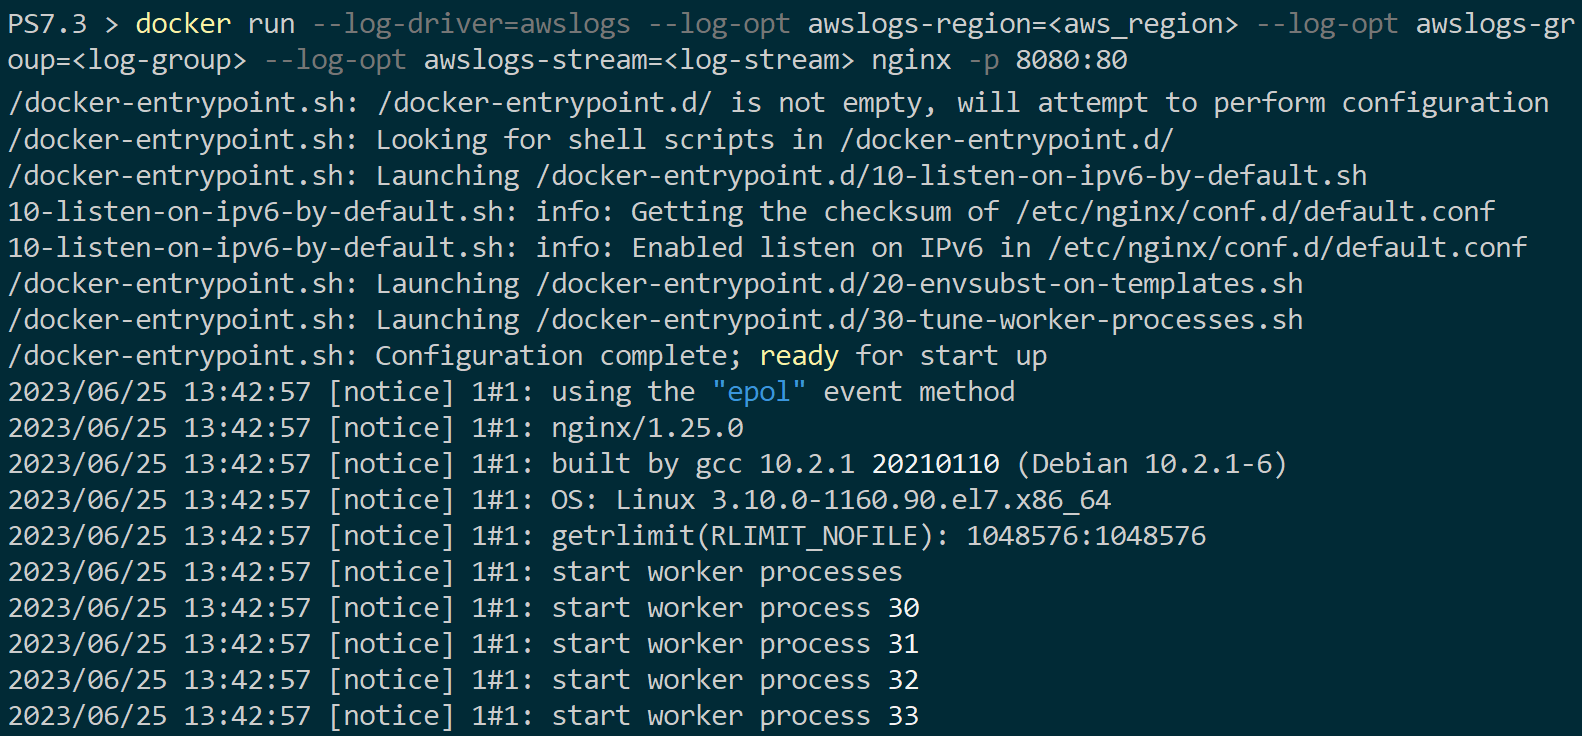
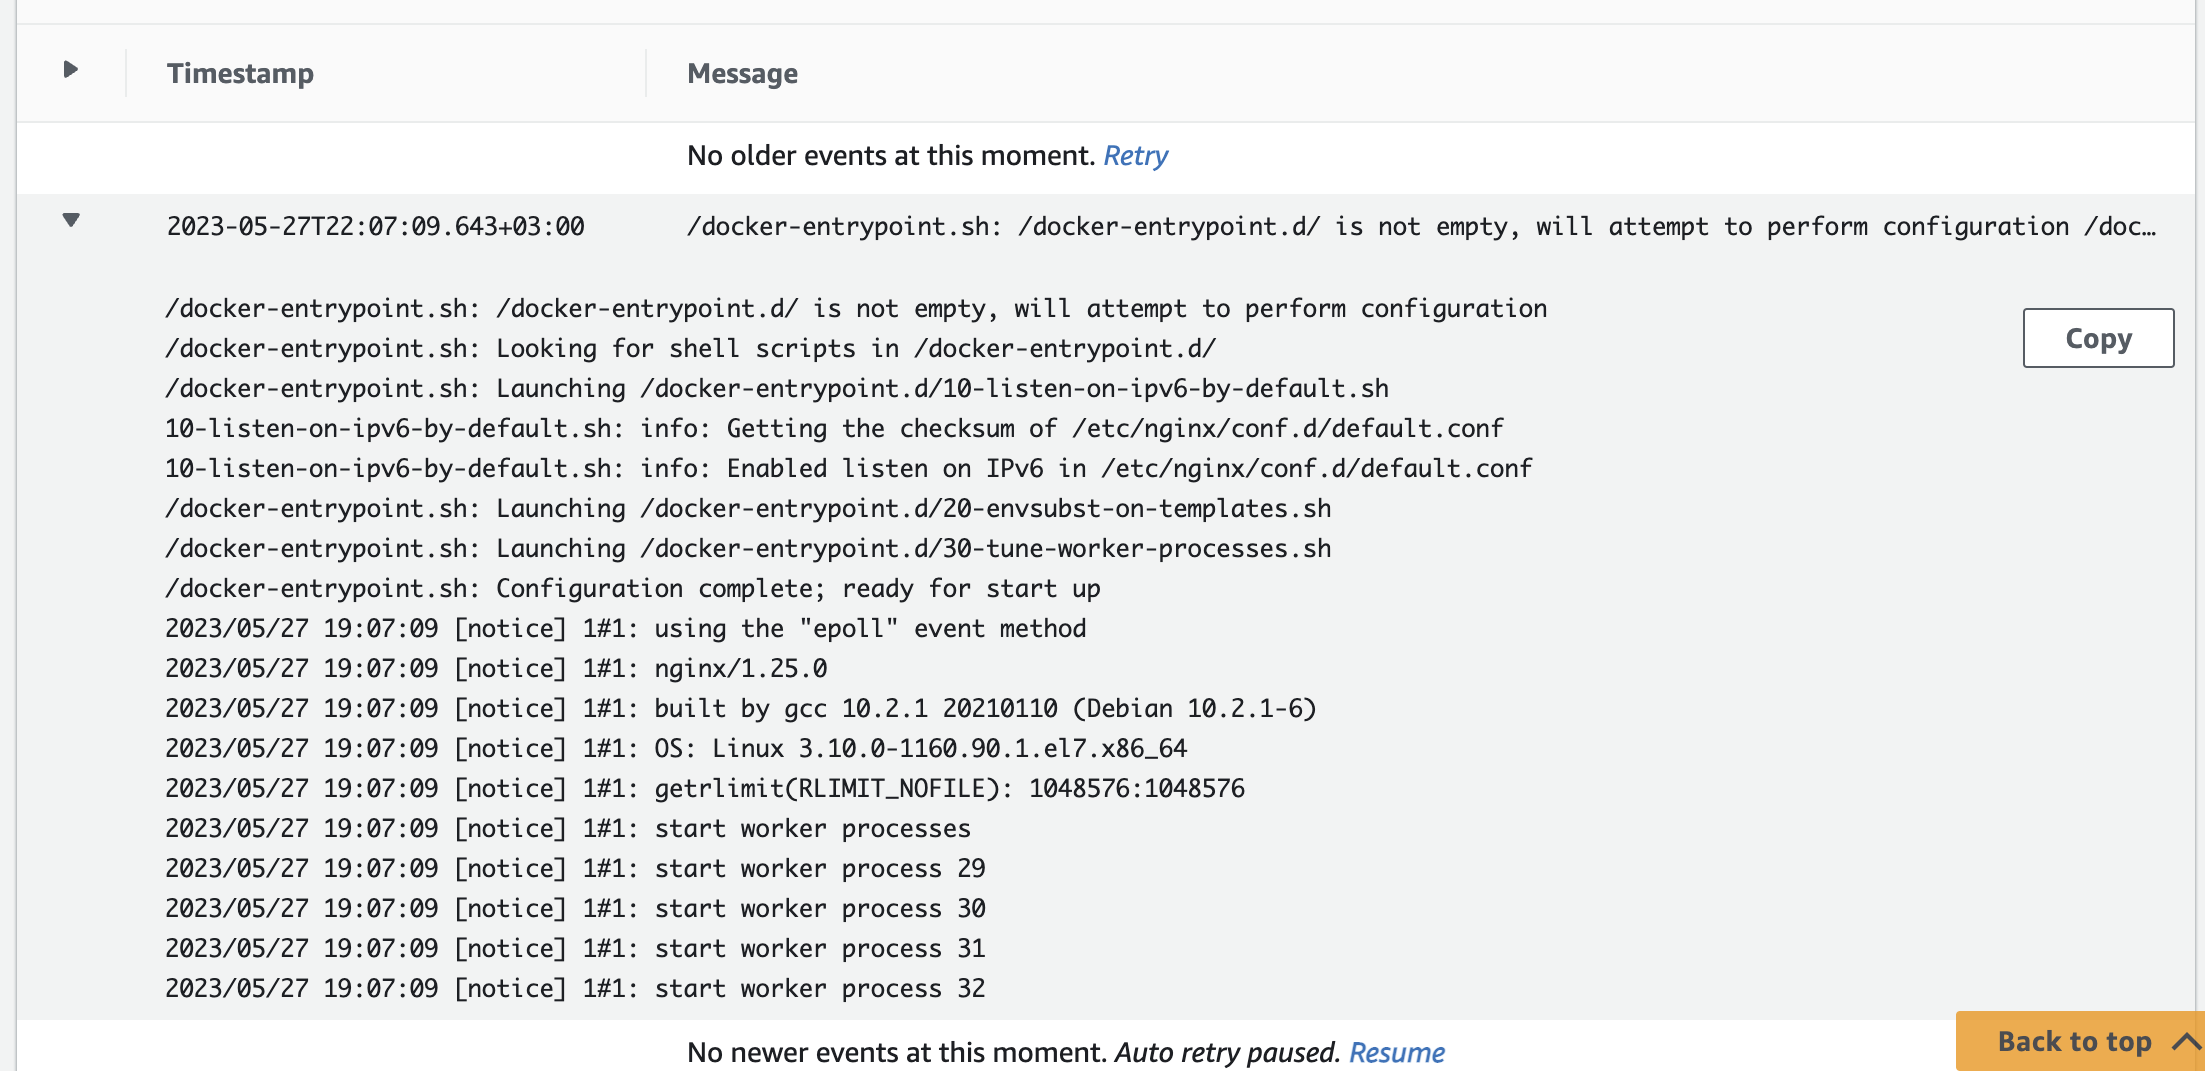
If successful, Docker changes the logging diver to CloudWatch, and your logs will reflect, as shown in the following AWS CloudWatch screenshot.
Conclusion
In this tutorial, you have learned the basics of Docker logging, the logging drivers available, and how to configure them. You also touched on using logging drivers, such as awslogs, to access your Docker logs. But remember to choose the right logging driver based on your use case and application requirements.
With this newfound knowledge, you can confidently manage your Docker containers’ logs efficiently and without complexities.
Why not maximize your Docker experience and learn optimizing image builds with Docker BuildKit? Start building images for applications quickly and effectively!


