

In the new era of containerization, building images for applications must be fast and effective. But how exactly? With Docker BuildKit, you can build images in parallel while reducing unnecessary dependencies.
This tutorial will walk you through the process of utilizing BuildKit to optimize Docker image build and save time for other essential tasks.
Read on and get started enjoying building images with BuildKit!
Prerequisites
This tutorial comprises hands-on demonstrations. To follow along, ensure that you have the following:
- Docker Engine – This tutorial uses Docker v23 installed on Ubuntu 22.04.
Building a Docker Image the Traditional Way with Docker BuildKit
Before getting started with BuildKit to optimize a Docker image build, you must download a sample Node.js project you will use for this tutorial. You will later build a Docker image using a traditional/old-way Dockerfile configuration to ensure the application works.
To build a Docker image the traditional way:
1. Run the following git command to clone the sample Node.js project (hello-node).
git clone <https://github.com/Adam-the-Automator/hello-node-docker.git> hello-node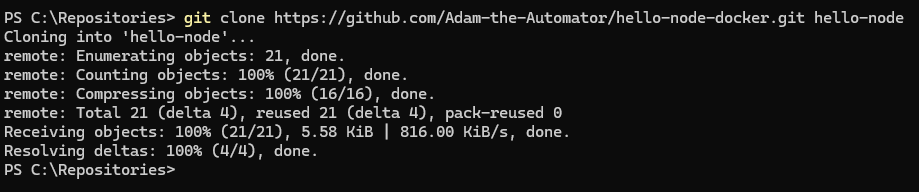
2. Next, run the command below to list (ls) the files included in the hello-node project.
ls hello-node/Below is the list of files that are available in the project:
- app.js – A simple “hello world” Node.js application with Express.js.
- package.json – Contains information about the application and its dependencies.
- Dockerfile.traditional – A Dockerfile for the containerized Node.js application with a traditional approach.
- Dockerfile.multi – A Dockerfile for the Node.js application with a multi-stage build.
- Dockerfile.mount – A Dockerfile for the Node.js application with multi-stage build and BuildKit mount cache implementation.

3. With the project cloned, open the Dockerfile.traditional file with your preferred editor, and ensure you have the following configuration.
# syntax=docker/dockerfile:1

# Use node 18 as the base image from Docker Hub
FROM node:18

# Create a working directory /usr/src/app
WORKDIR /usr/src/app

# Copy the source code to the container
COPY . .

# Install app dependencies via Yarn
RUN yarn install

# Expose port 8080 for app.js
EXPOSE 8080

# Define a default command to start app.js
CMD [ "node", "app.js" ]
4. Now, run the below docker build command to build the new Docker image named app_traditional (arbitrary) against the Dockerfile.traditional file.
docker build -t app_traditional -f Dockerfile.traditional .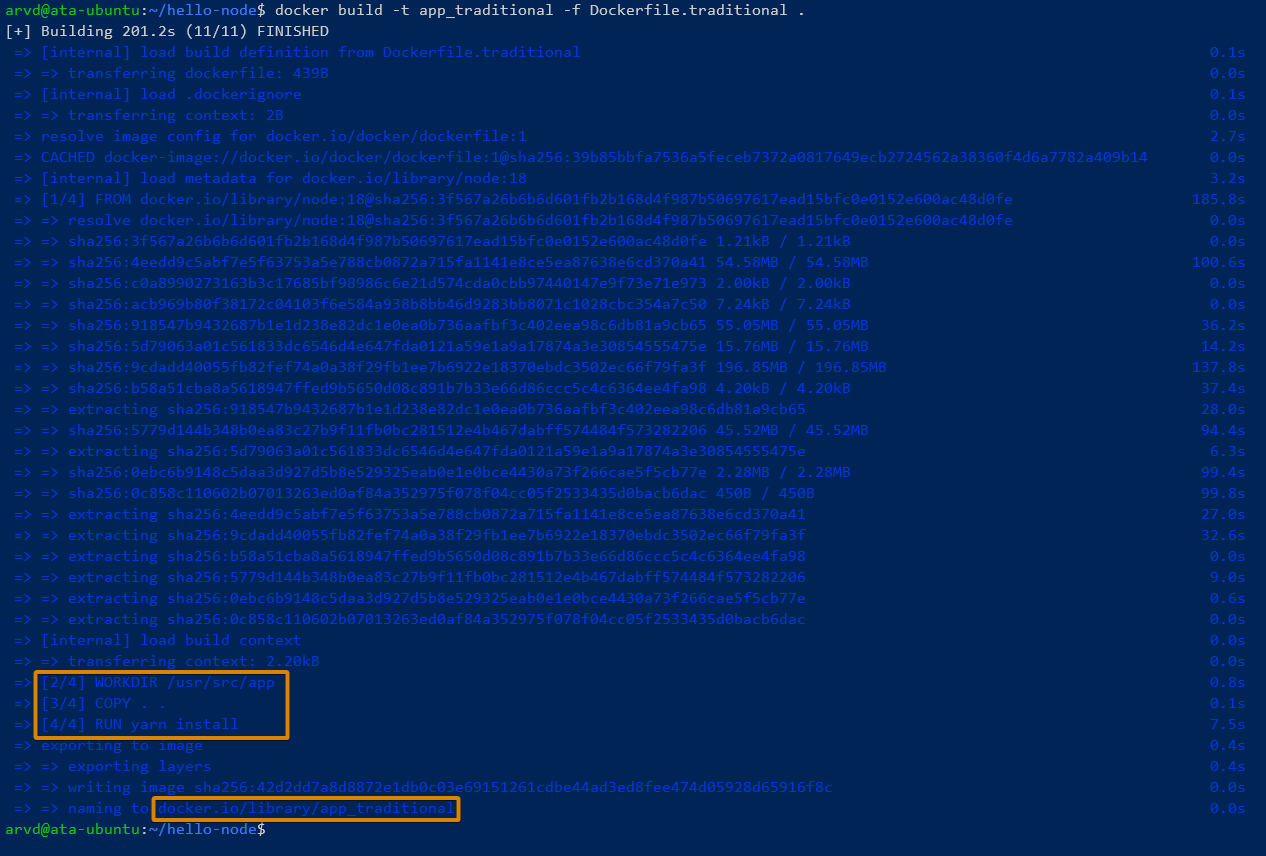
5. Now, execute the command below to list all available Docker images.
docker imagesThe output below shows the app_traditional image is created with a total size of 1GB.

6. Execute the following command to run a new container called app1 (arbitrary) in the background (-d) with the Docker image app_traditional.
This command exposes port 8080 on both the Docker host and the container in the format of container:host.
docker run -d --name app1 -p 8080:8080 -t app_traditional
7. Run the following command to list all running containers.
docker psAs you can see from the output, the app1 container runs on port 8080 on the Docker host.

8. Now, execute the curl command below to access the container via localhost.
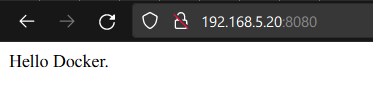
curl http://localhost:8080/You will see the output below if the process is successful.

Alternatively, open your web browser, and visit the server IP access followed by port 8080 (i.e., 192.168.5.20:8080) to access the container.

9. Lastly, run the following docker rm command to forcibly (--force) delete the running container app1 and clean up your environment.
This command does not provide output, but deleting the container is a necessary preparation as you will later use port 8080 to run a new version of the container.
docker rm app1 --forceBuilding a Docker Image with Multi-Stage Build
One of the essential features in the BuildKit is a multi-stage. This feature allows you to use multiple FROM parameters on your Dockerfile and name each stage via AS parameter. Moreover, you can use different Docker images in multi-stage builds.
To build a Docker image with the multi-stage build, you will use Dockerfile.multi file as follows:
1. Open the file Dockerfile.multi, and you will see two stage builds where:
Stage 1 – Named build-env with Node.js 18 (node:18) as the base image. This stage copies (COPY) the package.json file, install application dependencies and COPY the app.js file.
Stage 2 – The final build of the application with base image Distroless. This stage copies the build from build-env to the /app working directory and exposes port 8080 for the application.
# syntax=docker/dockerfile:1

# Stage 1 - Using node 18 as the base image for the build-env
FROM node:18 AS build-env

# Create a working directory /app
WORKDIR /app

# Copy package.json and install dependencies
COPY package.json package.json
RUN yarn install

# Copy the app.js to /app directory
COPY app.js /app

# Stage 2 - Use the distroless Docker image for the final build
FROM gcr.io/distroless/nodejs

# Setup working directory /app
WORKDIR /app

# Copy the application with its dependencies into a distroless image
COPY --from=build-env /app /app

# Expose port 8080 for the app.js
EXPOSE 8080

# Start the app.js
CMD ["app.js"]
2. Next, run the following command to build the new Docker image called app_multi_stage (arbitrary) in the current directory (.) via the Dockerfile.multi file.
docker build -t app_multi_stage -f Dockerfile.multi .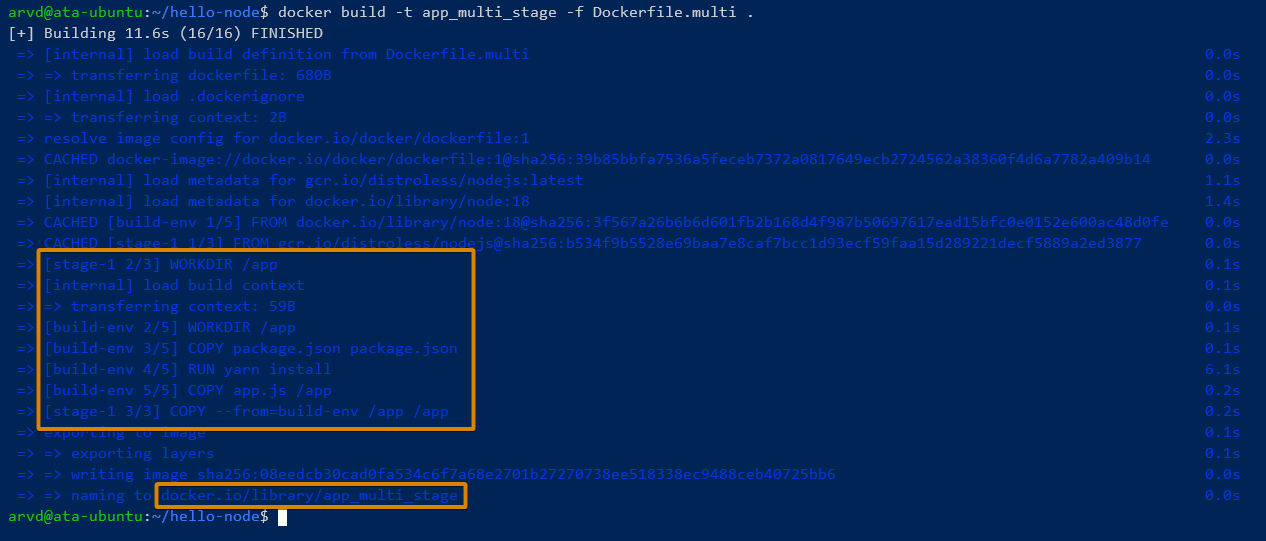
3. Once built, run the command below to verify the list of available Docker images.
docker imagesAs you can see, the output below shows the newly-built image (app_multi_stage) with a size of 166MB, which is smaller than the app_traditional image.

4. Now, execute the below commands to run a new container (app2) with the app_multi_stage image and verify the running container list.
docker run -d --name app2 -p 8080:8080 -t app_multi_stage
docker ps
The output below shows confirms the app2 container is running on port 8080.

5. With the new container running, execute the curl command below to access the container (app2) from your terminal.
curl http://localhost:8080/
Or, navigate to the Docker host IP address followed by port 8080 (i.e., http://192.168.5.50:8080).
6. Next, run the below command to delete (rm) the app2 container.
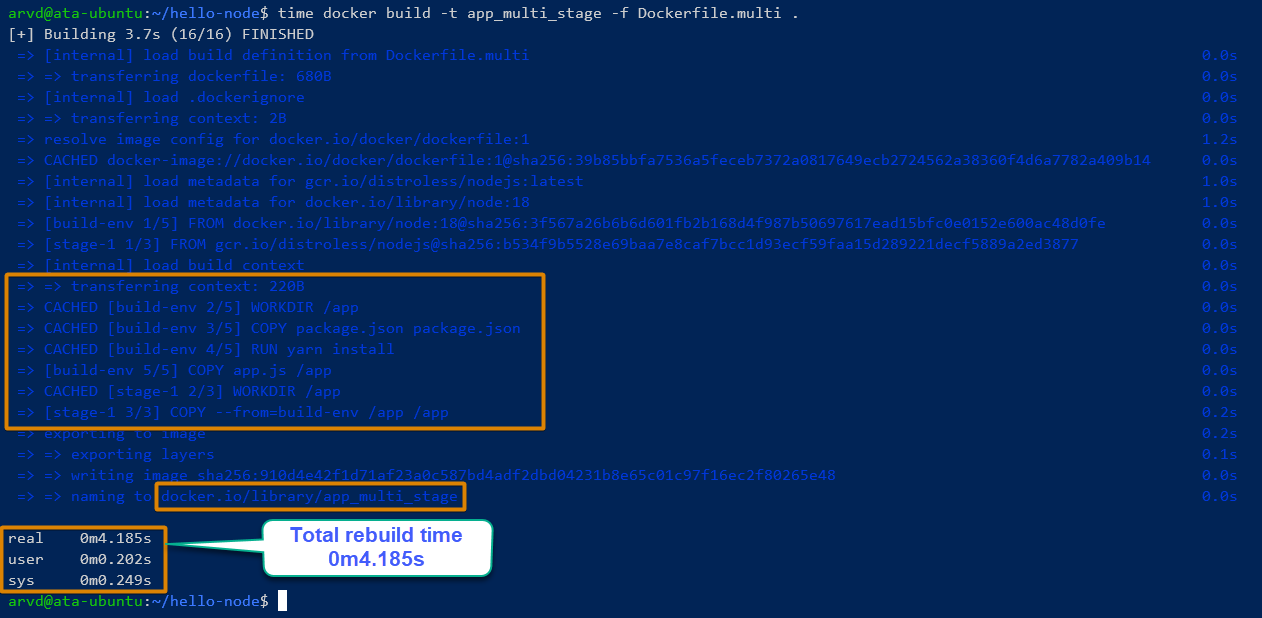
docker rm app2 --force7. Lastly, run the below command to rebuild the app_multi_stage image.
BuildKit creates caches for each build that you have done previously. As a result, when you change the source code, rebuilding the Docker image becomes faster.
time docker build -t app_multi_stage -f Dockerfile.multi .As seen in the following output, rebuilding the Docker image only took four (4) seconds.
Building a Docker Image for a Specific Build Stage
Besides a multi-stage build, BuildKit lets you create Docker images from specific build stages. This feature can help debug each build stage and set up tests with additional tools.
To build a Docker image for a specific build stage in a Dockerfile:
1. Open the package.json, where you will see the below configuration, which installs one dependency, Express v4.18.2 ("express": "^4.18.2").
{
  "name": "hello_node",
  "version": "0.1",
  "main": "app.js",
  "dependencies": {
    "express": "^4.18.2"
  }
}
2. Next, run the following command to build a new Docker image (build-env1.0) for the build-env stage in the Dockerfile.multi file.
docker build --target build-env -t build-env1.0 -f Dockerfile.multi .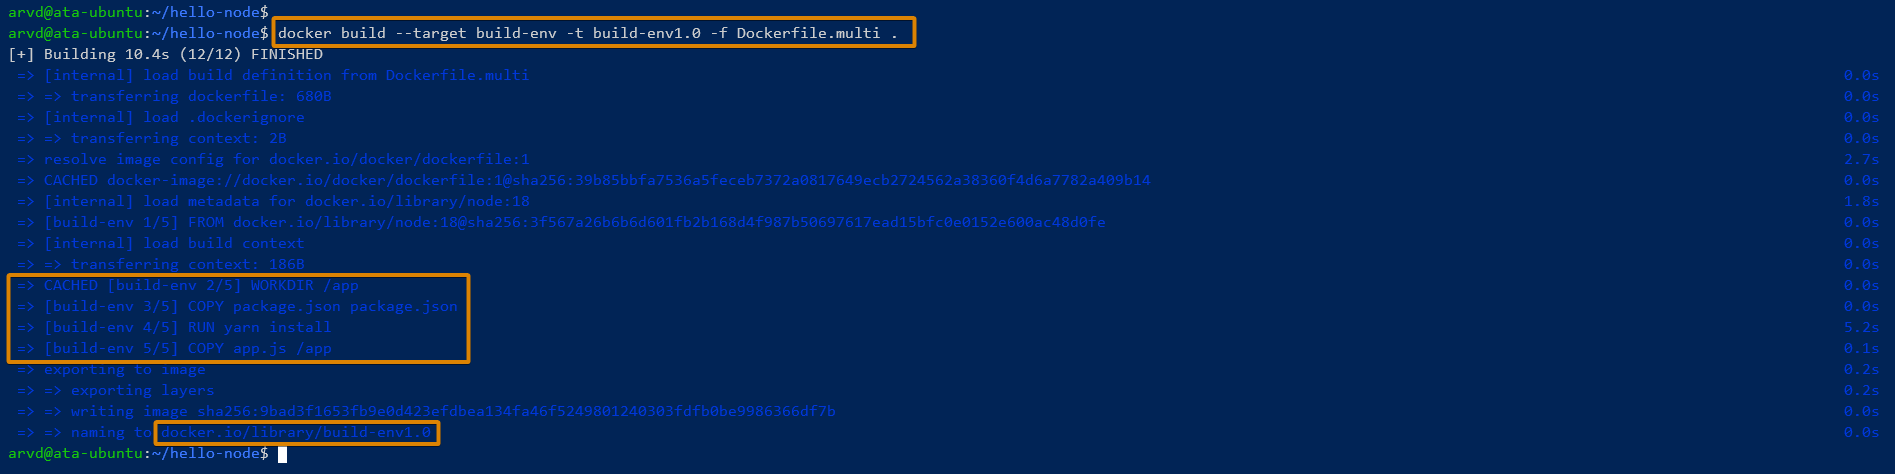
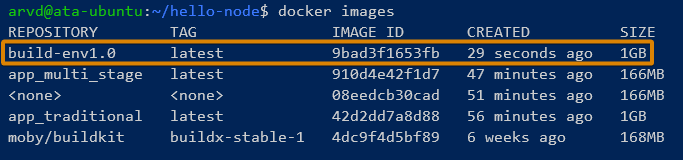
3. Now, run the command below to list all Docker images.
docker imagesThe output below confirms the build-env1.0 image exists with a size of 1GB.
4. With the Docker image created, execute the following command to run a new container with the build-env1.0 Docker image.
docker run -it build-env1.0 /bin/sh
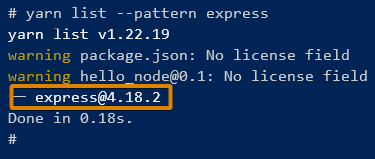
5. Once logged in to the container, run the following command to verify the Express.js (express) package.
yarn list --pattern expressThe following results show that Express.js v4.18.2 is installed on the build-env1.0 image.
6. Lastly, run the exit command to exit out of the container.
exit
Speeding Up the Build Process with Docker BuildKit Mount Cache
Another outstanding feature from BuildKit is speeding up building an image by appending the --mount=type=cache flag within the RUN parameter. This flag allows you to cache the target directory to be preserved between builds. Moreover, most package managers like yarn, npm, pip, and apt can use this flag.
To see how to BuildKit speeds up the build process:
1. Open the file Dockerfile.mount to see the following configurations.
The flag --mount=type within the RUN parameter caches the Node.js packages on the target cache directory /root/.yarn.
# syntax=docker/dockerfile:1
# Stage 1 - Use the node 18 image as the builder and install dependencies
FROM node:18 AS build-env
# Create a working directory
WORKDIR /app
# Copy package.json
COPY package.json package.json
# Installing dependencies via Yarn
# Using the parameter to enable cache of the target directory /root/.yarn
# to be preserved between builds
RUN --mount=type=cache,target=/root/.yarn,sharing=shared \\
ls -l --time-style=+"%b %d %Y %H:%M" /root/.yarn \\
&& YARN_CACHE_FOLDER=/root/.yarn yarn install \\
&& ls -lt --time-style=+"%b %d %Y %H:%M" /root/.yarn/v6
# Copy app.js
COPY app.js /app
# Stage 2 - final image using Distroless
FROM gcr.io/distroless/nodejs
# Create a working directory
WORKDIR /app
# Copy the /app from build-env stage 1
COPY --from=build-env /app /app
# Expose port 8080 for app.js
EXPOSE 8080
# Start command
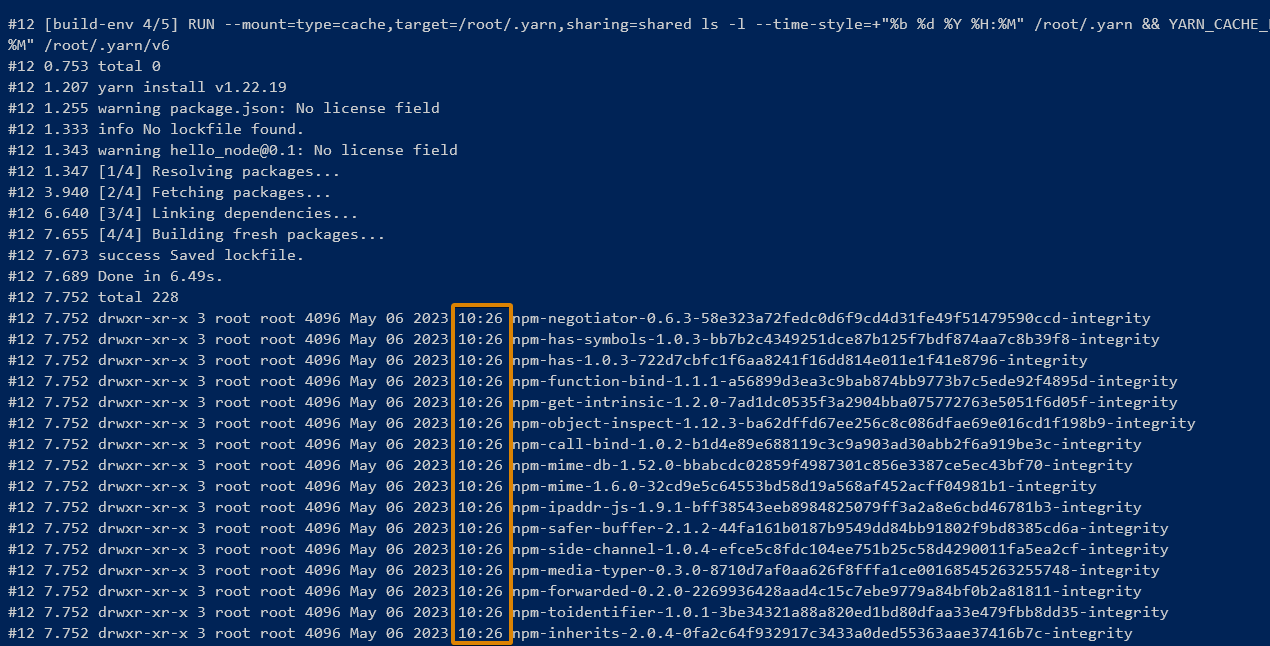
CMD ["app.js"]2. Next, run the following command to build a new Docker image (test_cache) against the Dockerfile.mount file.
docker build -t test_cache --progress=plain -f Dockerfile.mount .The results below show the time (10:26) the Node.js packages are installed (not the duration).
3. Once you have created the image, open the package.json file and add the new package express-validator, as shown below, and save the changes.
"dependencies": {
"express": "^4.18.2",
"express-validator": "^7.0.0"
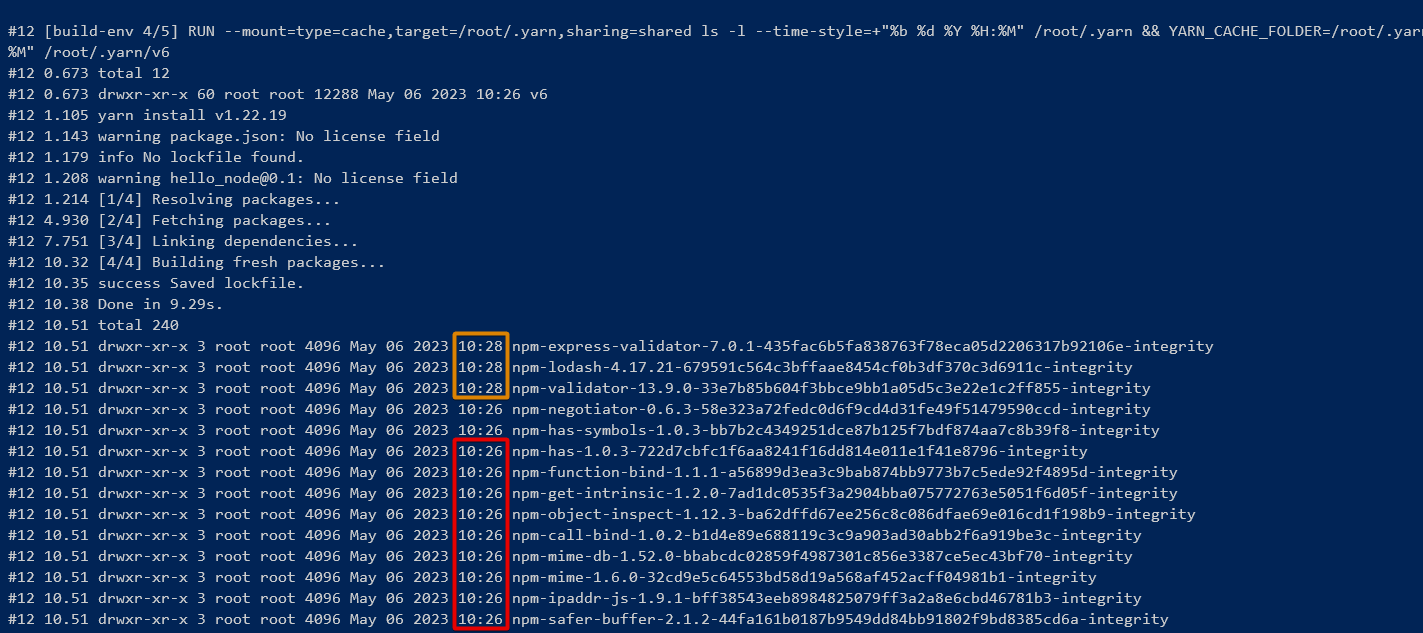
}4. Now, run the following command to rebuild the test_cache Docker image to ensure that Node.js packages are cached between builds.
docker build -t test_cache --progress=plain -f Dockerfile.mount .Look at when the new package express-validator was installed at 10:28 from the internet, while other packages were installed from the cache at 10:26.
Conclusion
Docker is already remarkable on its own as a solution for containerizing applications. But in this tutorial, you have learned that together with Docker BuildKit, you can optimize Docker image build in many ways.
With multi-stage builds for testing and debugging dependencies, having the Docker BuildKit at your disposal is proven imperative. In addition, with the BuildKit mount cache, you can now speed up your Docker image build process, saving you time so you can focus on other crucial tasks.
Now, why not explore more about BuildKit? Perhaps try building Docker images for multiple system architectures?


