


Imagine having the ideal SSL certificate for your application, but unfortunately, not all applications raise their hands in acceptance. If you’re left staring at a compatibility roadblock, why not convert CRT certificates to PEM?
In this tutorial, you’ll unravel the mystery of converting CRT certificates to PEM, ensuring your security measures seamlessly fit into any application.
Never let SSL formats keep you up at night ever again. Navigate through the nuances of certificate compatibility!
Prerequisites
Ensure you have the following in place, as they are essential in seamlessly following along with this tutorial:
- A machine that supports OpenSSL and NGINX – This tutorial uses Windows 10 Pro 22H2.
- An NGINX Server setup – This tutorial has NGINX installed in a root folder (C:\nginx).
- OpenSSL installed.
- One Base64-Encoded CRT (i.e., myBase64CRT.crt) and one DER-Encoded CRT (i.e., myDERCRT.crt) with a private key (i.e., myDERCRT.key).
Changing File Extensions of Base64 CRT Certificates to PEM
In your quest to streamline security by converting CRT certificates to PEM, the first task entails renaming Base64 CRT certificates. But this tutorial is about conversions, so why change file extensions?
Base64 CRT and PEM certificates are already in the same format; both consist of ASCII characters that you can open in any text editor. Thus, changing file extensions of your Base64 CRT certificates to PEM will suffice — no conversion is required.
To change file extensions of Base64-encoded CRT Certificates to PEM, follow these steps:
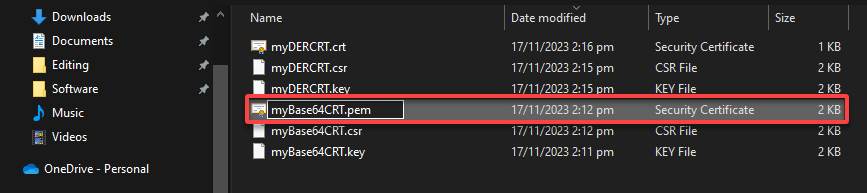
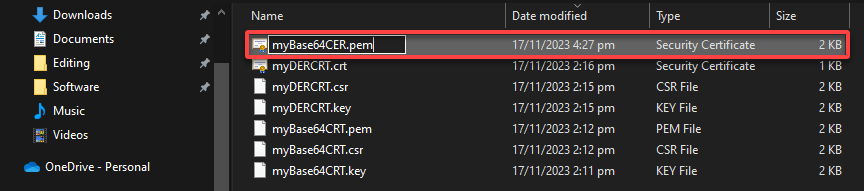
1. Rename your certificate to change its file extension from .crt to .pem, as shown below.
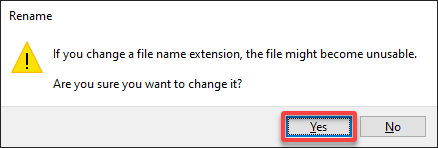
2. When prompted, click Yes to confirm the file extension change.
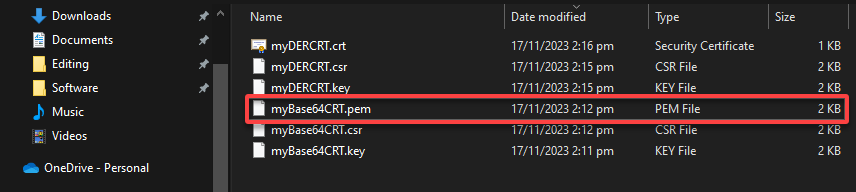
Notice that the file’s icon differs, and the file type changed from Security Certificate to PEM File.
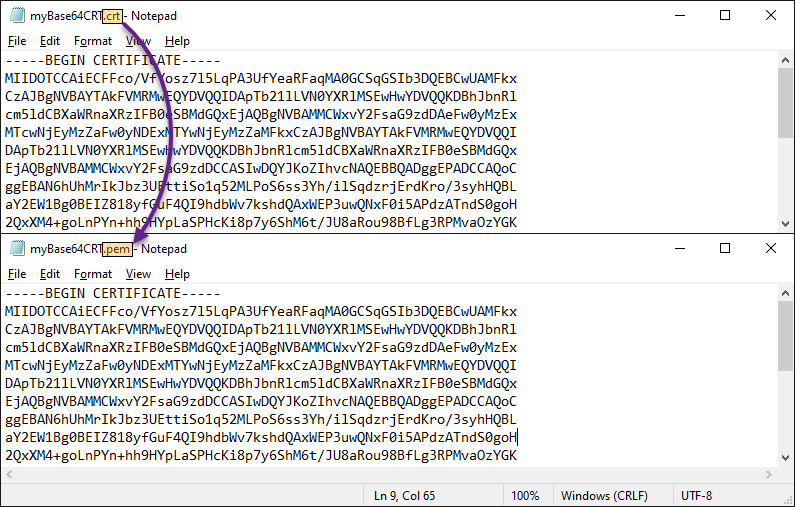
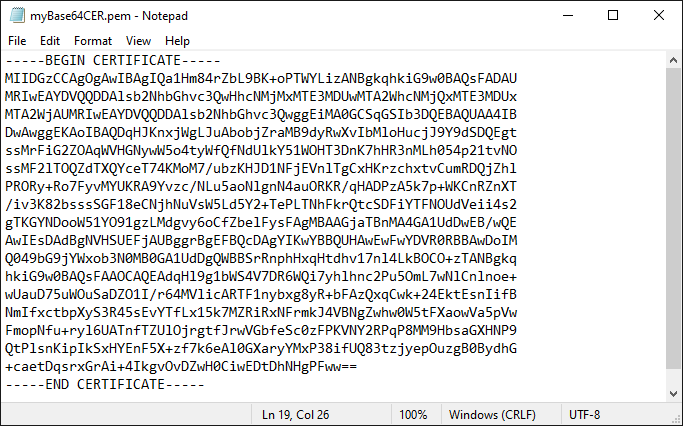
3. Open your PEM certificate in your preferred text editor, and you’ll see that the file extension change did not affect the certificate’s content.
Converting CRT Certificates to PEM via Certificate Export Wizard
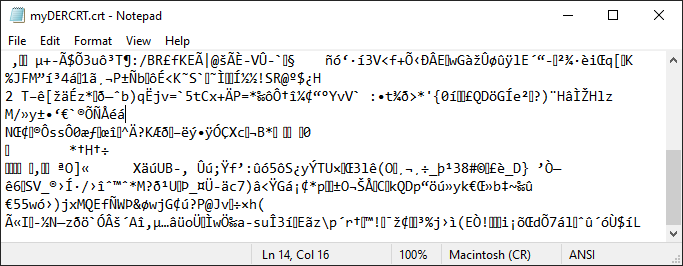
In contrast to Base64-encoded certificates, the DER-encoded CRT file is in binary format. While you can open a DER-encoded certificate in a text editor, the content appears as unintelligible characters, as shown below, making it challenging to interpret.
To convert CRT certificates to PEM format via the Certificate Export Wizard, you’ll export the certificate as Base63-encoded first, as follows:
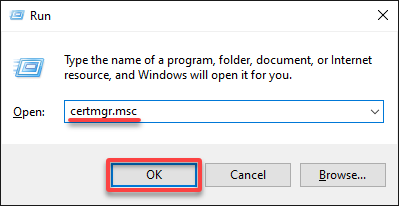
1. Open the Run dialog (Win+R), input certmgr.msc, and click OK (or press Enter) to open the Certificate Manager.
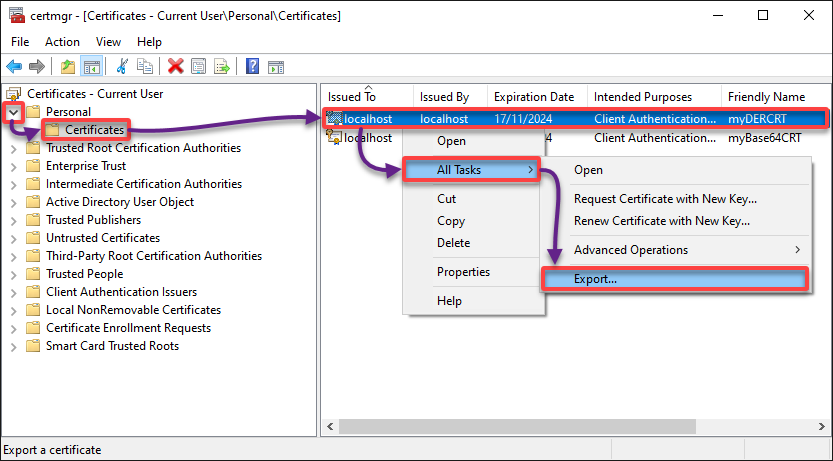
2. Next, expand Personal (left pane), choose Certificates, locate, and right-click on your DER certificate → All Tasks → Export.
The Certificate Export Wizard appears, where you can choose options for exporting your DER certificate (step three).
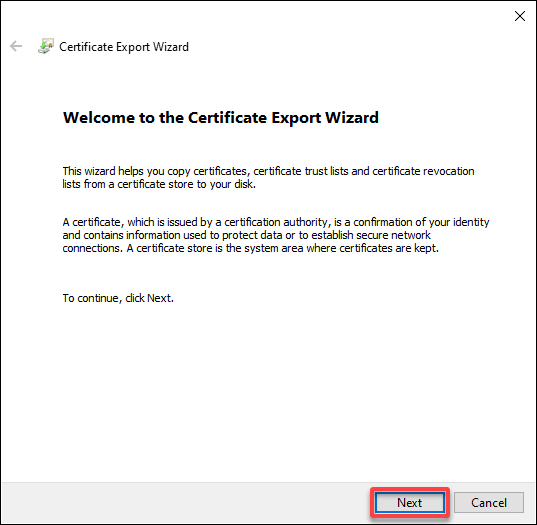
3. On the welcome page, click Next to continue.
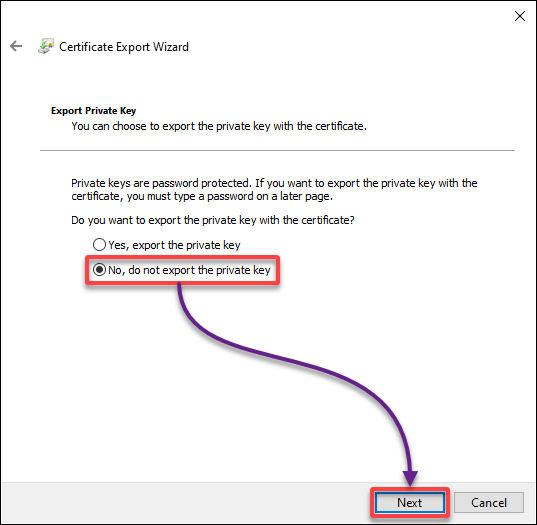
4. Now, choose which option best suits your needs.
But for this tutorial, choose not to export the private key and click Next to continue.
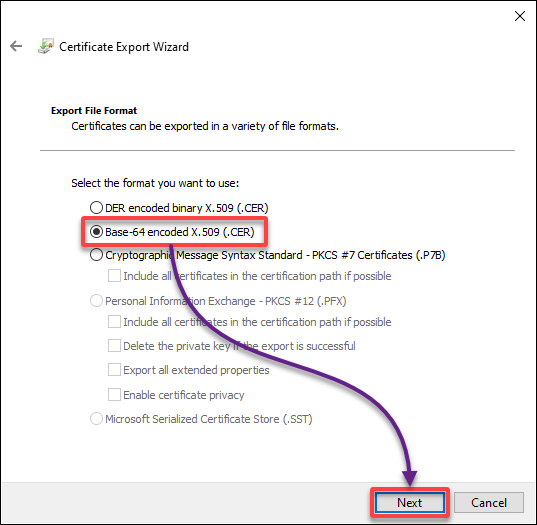
5. For the file format, choose the second option since you’re exporting your DER certificate as a Base64-encoded one (.CER) and click Next.
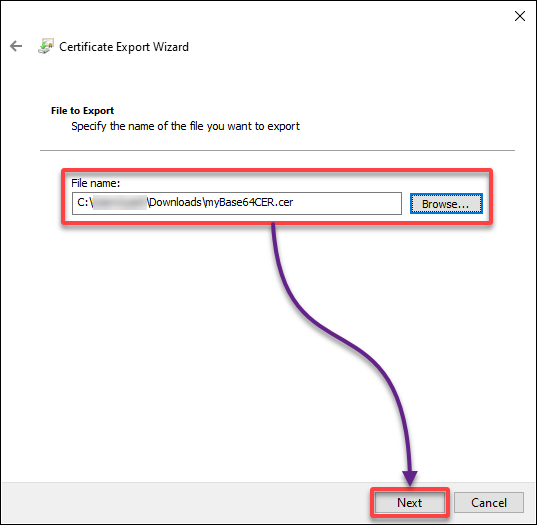
6. Browse your preferred location to export the Base64-encoded certificate, and click Next to confirm.
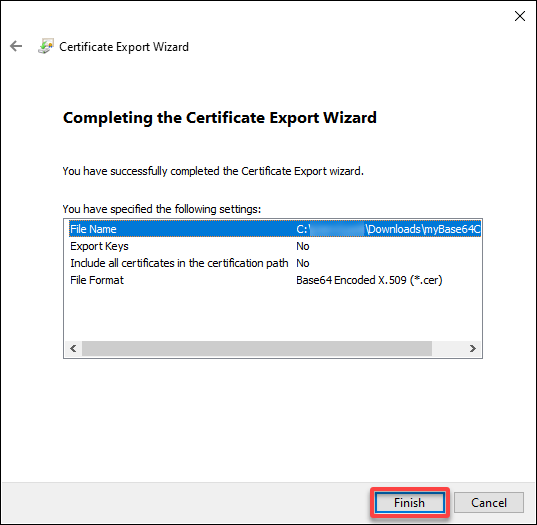
7. Subsequently, review your selected settings and click Finish to complete exporting your Base64-encoded certificate.
8. Look for the exported Base64-encoded certificate and change its file extension from .cer to .pem.
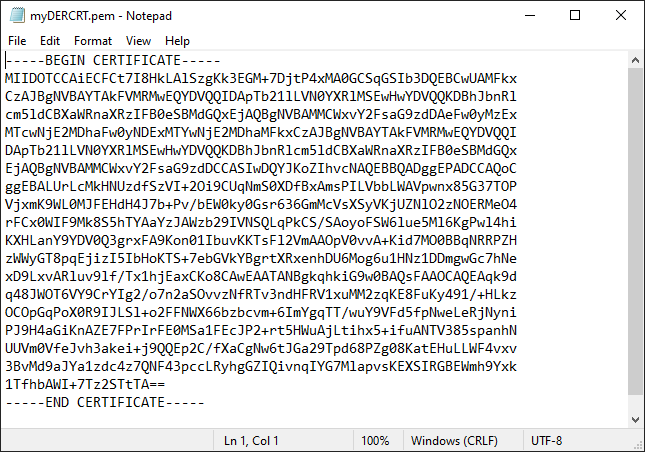
9. Lastly, open your new PEM certificate in a text editor, and you’ll see the data is now in ASCII characters.
Harnessing OpenSSL: Cross-Platform Certificates Conversion
While the Certificate Export Wizard works well at converting certificates, the drawback lies in the tedious nature of the process. But why waste time in a step-by-step approach when you can accomplish the same outcome with a single command?
For those inclined towards command-line interfaces (CLIs), OpenSSL emerges as a solution for efficient and seamless certificate management. Adding to its appeal, OpenSSL is cross-platform, enabling users to manage certificates seamlessly across Windows and Linux systems.
To harness OpenSSL in converting certificates to PEM, complete the steps below:
1. Open PowerShell (as administrator) or terminal in your system, and change the directory to where your DER-encoded certificate lies.
2. Next, execute the following openssl command (which has no output) whether you’re in a Windows or Linux system.
This command converts your DER-encoded certificate (i.e., myDERCRT.crt) to PEM (-outform) named myDERCRT.pem (arbitrary).
openssl x509 -inform der -in myDERCRT.crt -outform pem -out myDERCRT.pem3. Lastly, verify the data in the certificate are now in ASCII characters, as shown below.

Enforcing PowerShell to Convert Binary (DER) Certificates to PEM
Much like the versatile OpenSSL toolkit, PowerShell is another force that emerges to be reckoned with in scripting and automation. Dealing with a bunch of certificates every day can be a bit much. Right there in the mix, PowerShell comes in handy.
PowerShell lets you create cool and reusable functions to automate the tedious, repetitive stuff. With PowerShell functions, you can handle diverse certificates without breaking a sweat.
To convert binary certificates to PEM, proceed with the following:
1. Create a PowerShell script called ConvertDERtoPEM.ps1 (arbitrary) in your editor, like Visual Studio Code (VSCode), add the following code, and save the file.
This code uses a function that asks a user to provide the name of the DER certificate and convert it to a Base64-encoded PEM certificate.
function ConvertDERtoBase64PEM {
    param (
        [string]$certificateName
    )
	# Test if the certificate file exist
    if (-not (Test-Path $certificateName -PathType Leaf)) {
        Write-Host "Error: Certificate file not found."
        return
    }

    # Check if OpenSSL is installed by checking the PATH for openssl executable
    $opensslPath = Get-Command openssl -ErrorAction SilentlyContinue

	# If not, display a message
    if (-not $opensslPath) {
        Write-Host "Error: OpenSSL is not found in the PATH. Please ensure OpenSSL is installed and try again."
        return
    }

    # Determine the output filename without the original extension
    $outputFile = [System.IO.Path]::ChangeExtension($certificateName, "pem")

    # Convert DER to Base64-encoded PEM using OpenSSL
    & openssl x509 -inform der -in $certificateName -outform pem -out $outputFile

	# Display message of successful conversion
    Write-Host "Conversion completed. The Base64-encoded PEM certificate has been saved: `n$((Resolve-Path $outputFile).Path)"
}

# MAIN SCRIPT ====================

# Prompt user for certificate name
$certificateName = Read-Host "Name or full path of the DER-encoded certificate file to convert (include extension):"

# Call the conversion function
ConvertDERtoBase64PEM -certificateName $certificateName2. Next, open PowerShell as administrator, change the directory to where your certificate is located and execute the following to run your script (ConvertDERtoPEM.ps1).
./ConvertDERtoPEM.ps1Provide the name of your DER-encoded certificate, including the file extension (i.e., myDERCRT.crt).

3. Now, open the converted file in your text editor to verify the data is now in ASCII characters.
Integrating Converted PEM Certificate with NGINX
Regardless of which method you used to convert your certificate to PEM format, the critical question is: Does it seamlessly integrate with NGINX? You must configure NGINX to listen to the HTTPS port and point to where your certificate and key file are located.
To test your converted PEM certificate with NGINX, complete the steps below:
1. Open PowerShell as admin, navigate to C:\nginx where you installed NGINX and execute the following, which has no output but runs NGINX as a service.
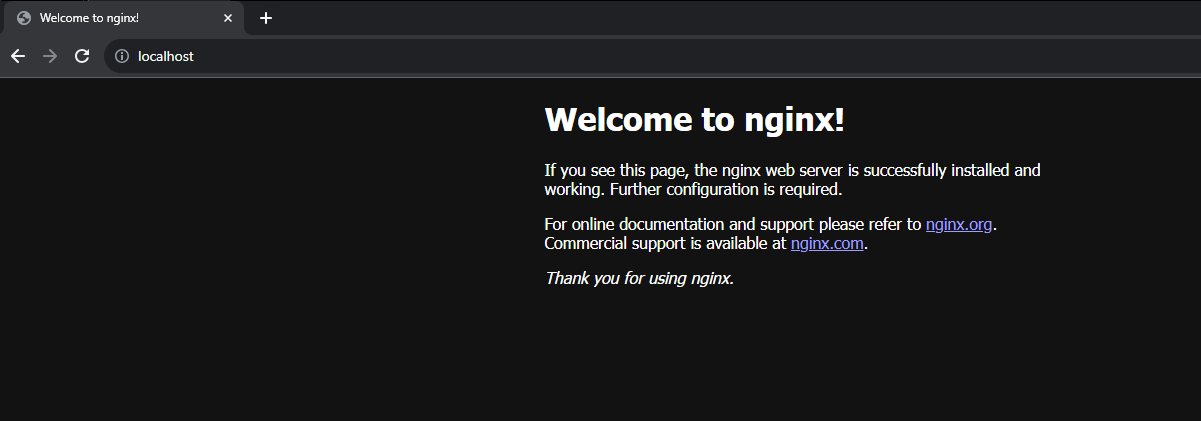
.\nginx.exe2. Next, open your favorite web browser and visit http://localhost, which redirects your browser to NGINX’s welcome page, as shown below. But, currently, you can only access the localhost through HTTP (not HTTPS), a situation you’ll address in the next step.
3. Subsequently, run the following New-Item command, which has no output but creates a new folder (Directory) called C:\nginx\conf\ssl.
New-Item -ItemType Directory -Path C:\nginx\conf\ssl4. Now, execute the Move-Item command below to move your PEM certificate (myDERCRT.pem) and key (myDERCRT.key) to the C:\nginx\conf\ssl folder.
This command produces no output, but ensure you specify the path of the certificate and key files.
Move-Item -Path "cert_path", "key_path" -Destination "C:\nginx\conf\ssl"5. Open the NGINX configuration file (C:\nginx\conf\nginx.conf) in your text editor, and add the configuration below inside the server block.
Ensure you replace cert.pem and cert.key with your certificate’s and key’s actual name, save the changes, and close the editor.
# Listen on port 443 with SSL support
listen 443 ssl;

# Listen on IPv6 address on port 443 with SSL support
listen [::]:443 ssl;

# Specify the SSL certificate file path
ssl_certificate ssl/cert.pem;

# Specify the SSL certificate key file path
ssl_certificate_key ssl/crt.key;

# Specify the supported SSL/TLS protocols
ssl_protocols TLSv1.2 TLSv1.1 TLSv1;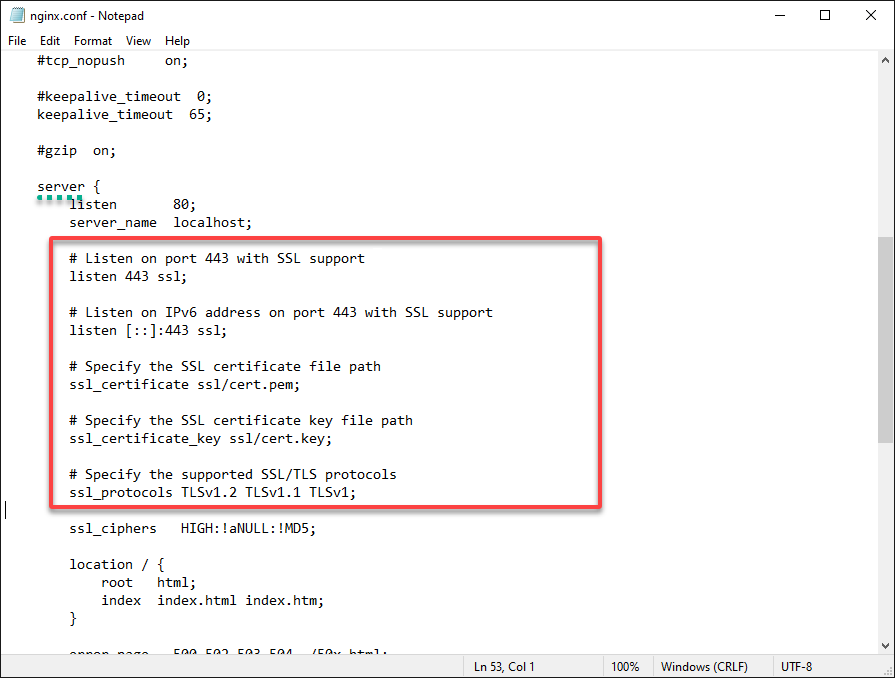
6. Switch back to PowerShell, and run the following command inside the root folder where you installed NGINX (C:\nginx).
This command doesn’t provide output to the console but lets you reload the NGINX service.
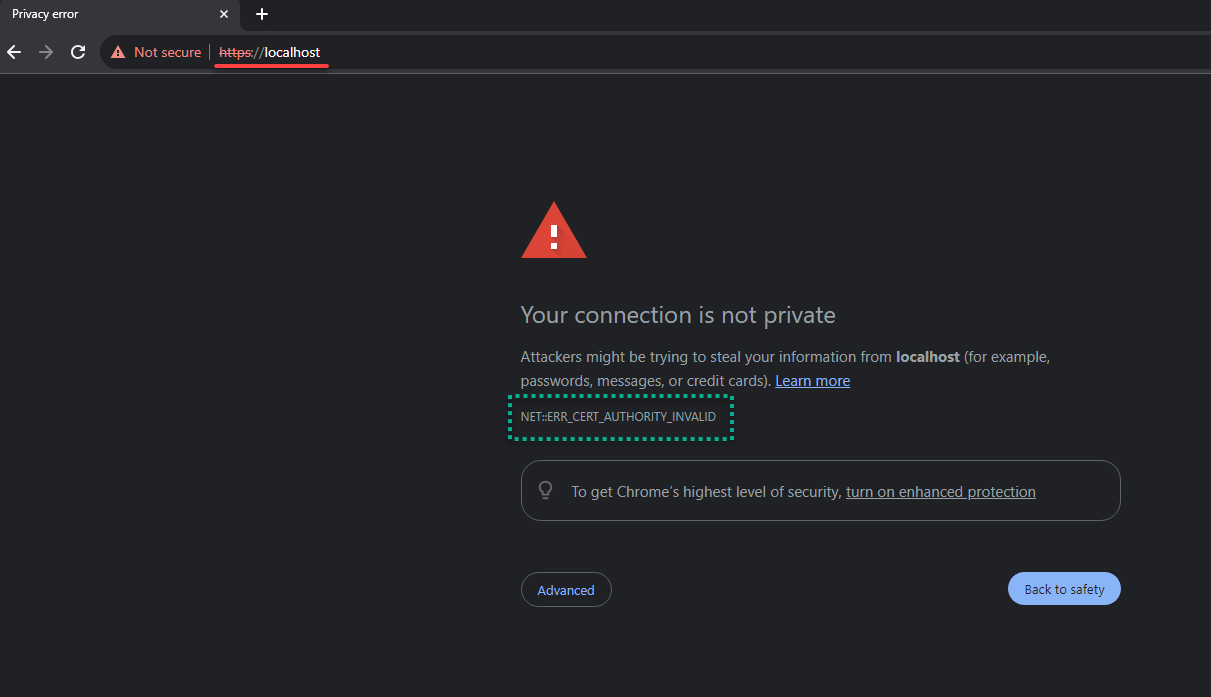
nginx -s reload7. Once NGINX reloads, close and re-open your browser, and navigate to https://localhost in your browser to test your PEM certificate.
You’ll see a warning about an invalid certificate since you’re using a self-signed certificate. But don’t panic. Jump to the following step to trust your PEM certificate.
8. Switch back to PowerShell and run these commands, which produce no output, make your PEM certificate a trusted one.
💡 You can also turn this into a reusable PowerShell function by creating a script (i.e., TrustCertificate.ps1). You can even call it in your PowerShell profile by adding the full path to your script as follows:
. “/path/to/TrustCertificate.ps1”
# Specify the path to your PEM certificate
$certificatePath = "C:\\nginx\\conf\\ssl\\cert.pem"

# Create a new X.509 certificate object
$cert = New-Object System.Security.Cryptography.X509Certificates.X509Certificate2

# Import the certificate from the specified path
$cert.Import($certificatePath)

# Create a new X.509 store for Trusted Root Certification Authorities on the Local Machine
$store = New-Object System.Security.Cryptography.X509Certificates.X509Store("Root", "LocalMachine")

# Open the store, add the certificate to the store, and close the store
$store.Open("ReadWrite"); $store.Add($cert); $store.Close()
9. Afterward, execute the following command to reload the NGINX server again.
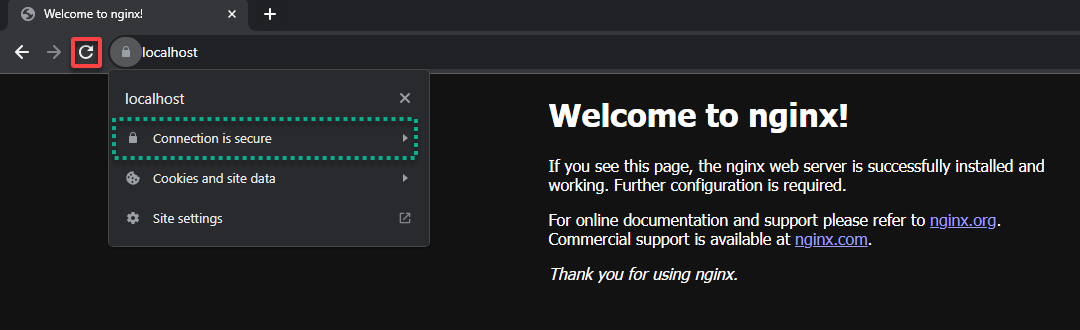
nginx -s reload10. Finally, refresh the https://localhost page to test your newly-trusted PEM certificate.
If everything proceeds as expected, the NGINX welcome page reloads in your browser, and this time, the address bar no longer displays “Not secure.”
This result confirms that your converted PEM certificate effectively secures your connection as intended.
Conclusion
Throughout this journey, you’ve acquired a versatile skill set in certificate management. You explored various methods to convert CRT certificates to PEM from the foundational step of changing file extensions. These methods include employing the Certificate Export Wizard, leveraging the flexibility of OpenSSL, and orchestrating conversions through PowerShell scripting.
The pinnacle of this journey was reached as you seamlessly integrated your converted PEM certificate with NGINX, ensuring the secure transmission of data.
Now, consider elevating your expertise further as you reflect on these accomplishments. Why not delve into more advanced certificate management? Explore diverse tools and platforms, or even contribute your insights to the community!


