


Are you looking for a faster way to provision EC2 instances and move away from tedious manual configurations? Well, look no further! Terraform’s aws_launch_template module is just what you need.
In this tutorial, you will learn how to use the aws_launch_template module in Terraform to automate your instance deployments.
Make your life easier with a reusable resource to deploy your instances!
Prerequisites
This tutorial comprises hands-on demonstrations. To follow along, be sure you have the following in place:
- An AWS account – A free tier will suffice.
- AWS CLI installed and configured.
- Terraform installed.
Setting up Terraform for AWS
You provide instance configuration details whenever you create an instance using AWS EC2. But instead of taking care of everything manually, why not save time and automate instance deployment?
AWS EC2 lets you save all instance configurations into a template (a.k.a. launch template). With a launch template, you can set server configurations you frequently use by selecting your preferred launch template during instance creation. But first, you need to set up Terraform to interact with your AWS services.
To set up Terraform for AWS, you must configure the AWS provider in your Terraform code:
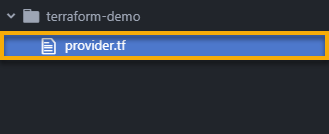
1. Create a directory from which you will manage your infrastructure. You can name the directory, but this tutorial uses terraform-demo.
2. In the terraform-demo directory, create a Terraform file named provider.tf with your preferred editor, and populate the code below to the file.
The code below specifies the configuration details of the provider you use (AWS). Providers in Terraform are responsible for interacting with specific infrastructure platforms or services.
terraform {
required_providers {
aws = {
# Specifies the source location of the AWS provider plugin
source = "hashicorp/aws"
# Sets the version constraint for the AWS provider plugin
version = "~> 5.4.0"
}
}
}
provider "aws" {
# Specifies the desired AWS region for resource provisioning
region = "us-west-2"
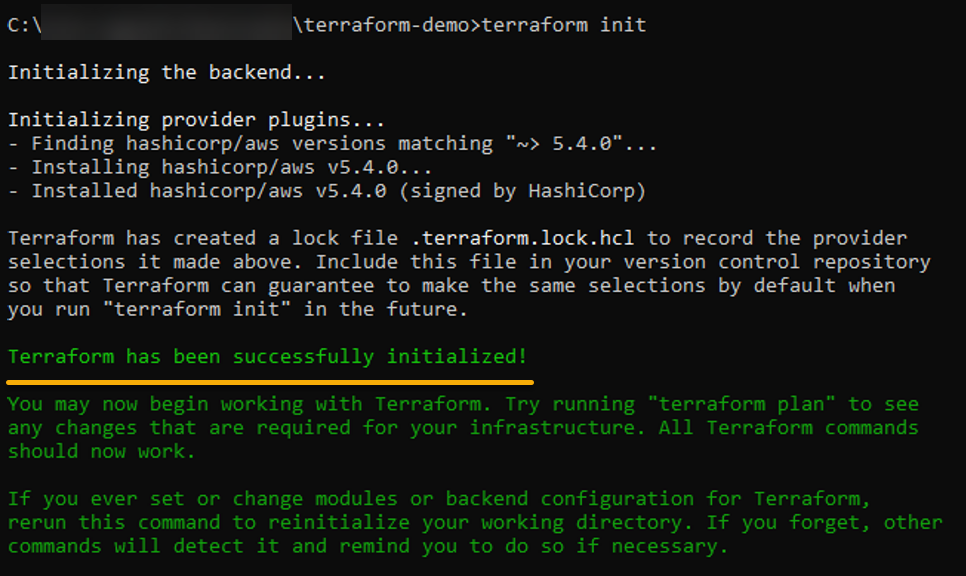
}3. Now, open a terminal, navigate to your project directory, and run the below terraform init command to initialize the working directory.
This command sets up the necessary environment and dependencies for working with Terraform in your project directory.
Initiating the directory ensures your configuration files are ready, retrieves required plugins and modules and prepares the backend for state management.
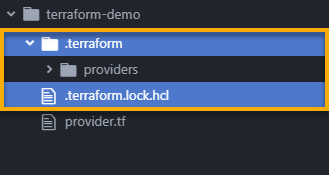
Once initialized, you will see the .terraform directory created in your project directory. This directory is the Terraform working directory and contains various files and subdirectories related to the initialization process.
You will also notice the .terraform.lock.hcl file, which ensures consistency and prevents concurrent modifications to the configuration.
Creating a Launch Template (aws_launch_template) with Terraform
With your Terraform directory initialized, the next step is to define your infrastructure resources by creating the aws_launch_template. With Terraform’s aws_launch_template resource, you can specify parameters, such as instance type, AMI, security groups, key pair, block device mappings, and so on.
To create a new launch template using Terraform, follow these steps:
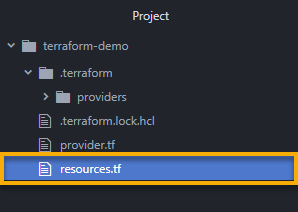
1. Create another Terraform configuration file named resources.tf (arbitrary) in your project directory (terraform-demo).
2. Next, add the code below to the resources.tf file. The following code creates an AWS launch template with the specified configurations for an EC2 instance.
resource "aws_launch_template" "first-template" {
  # Name of the launch template
  name          = "first-template"

  # ID of the Amazon Machine Image (AMI) to use for the instance
  image_id      = "ami-03f65b8614a860c29"

  # Instance type for the EC2 instance
  instance_type = "t2.micro"

  # SSH key pair name for connecting to the instance
  key_name = "testServer"

  # Block device mappings for the instance
  block_device_mappings {
    device_name = "/dev/sda1"

    ebs {
      # Size of the EBS volume in GB
      volume_size = 20

      # Type of EBS volume (General Purpose SSD in this case)
      volume_type = "gp2"
    }
  }

  # Network interface configuration
  network_interfaces {
    # Associates a public IP address with the instance
    associate_public_ip_address = true

    # Security groups to associate with the instance
    security_groups = ["sg-88dadcb3"]
  }

  # Tag specifications for the instance
  tag_specifications {
    # Specifies the resource type as "instance"
    resource_type = "instance"

    # Tags to apply to the instance
    tags = {
      Name = "first template"
    }
  }
}
3. Execute the following command to validate your configuration or syntax.
terraform validate
4. Now, run the terraform plan command below to see the proposed changes Terraform will make to your infrastructure.
terraform plan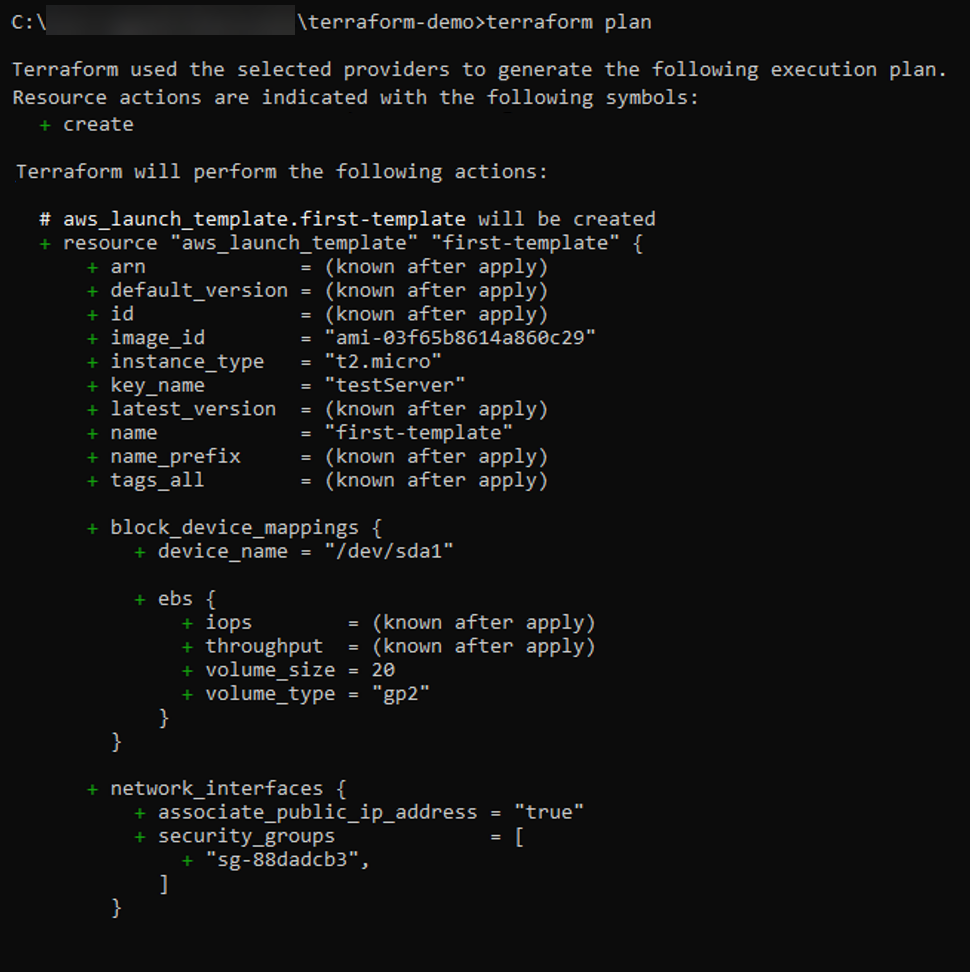
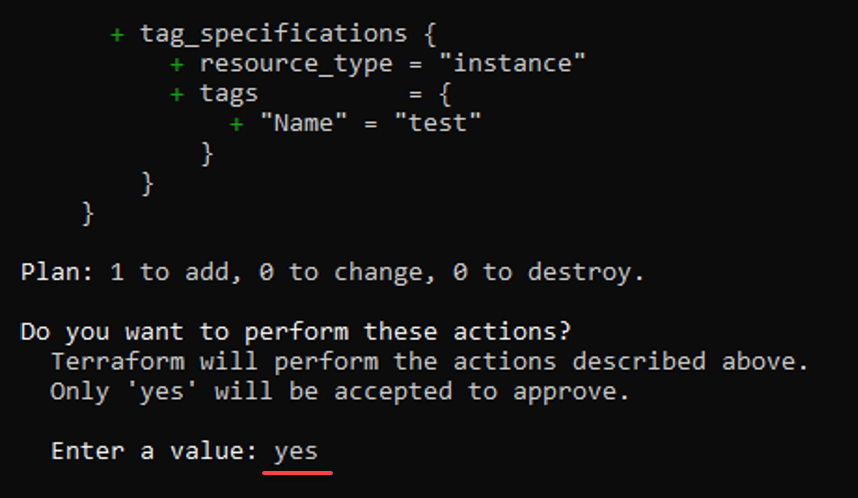
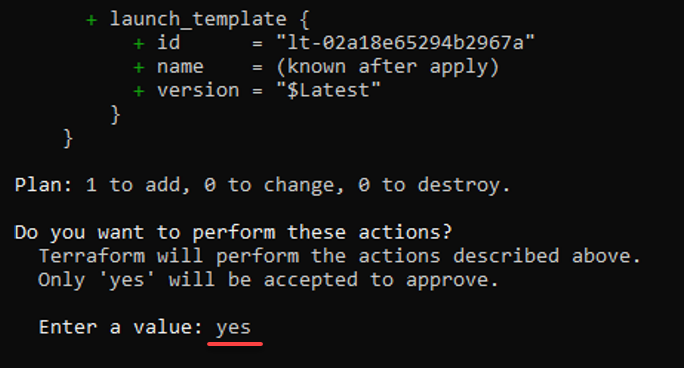
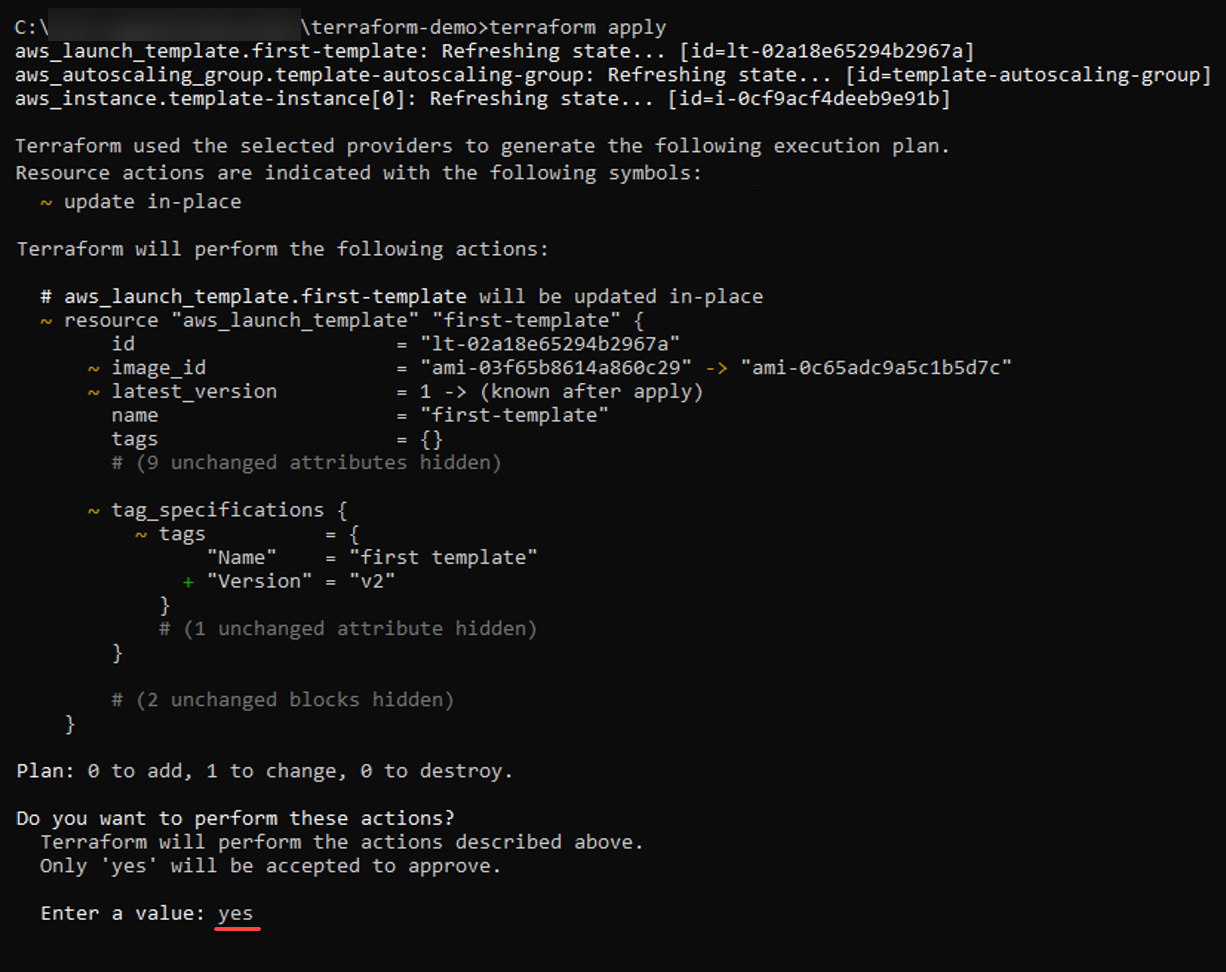
5. Run the below terraform apply command to create a launch template in AWS based on your configuration if you are okay with the proposed plan.
terraform applyWhen prompted, as shown below, type yes and press Enter to confirm the actions.
If everything goes well, you will see an output containing the launch template indicating the resource has been added.

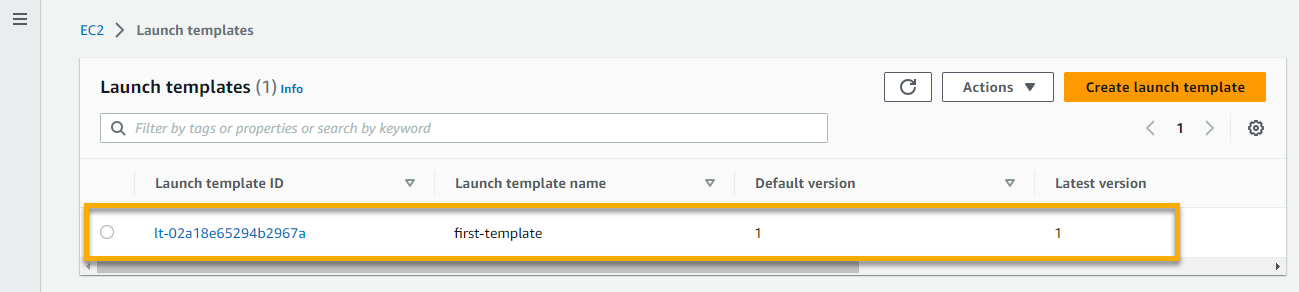
6. Ultimately, open your web browser, log in to your AWS Management Console, access the EC2 dashboard, and navigate to Launch templates.
As shown below, you will see your newly-created launch template (first-template), further confirming your launch template exists.
Creating EC2 Instances via Launch Templates
You have successfully created your launch template, and there is only one way to test if it works. You will create an EC2 instance by defining an aws_instance resource and referencing the launch template ID.
To create an EC2 instance using your launch template:
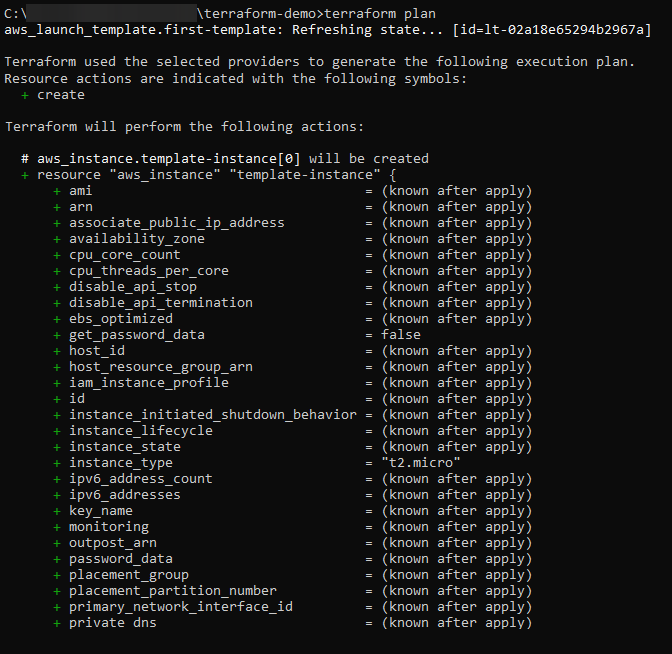
1. Open the resources.tf file and add the following configuration to the file, but be sure to replace first-template with your template’s name. You can also specify any additional configurations specific to the instance if needed.
This configuration creates an EC2 instance referenced via the $Latest version of your launch template. The instance is named template-instance in this example, but you can name it differently.
resource "aws_instance" "template-instance" {
  # Create a single EC2 instance based on the launch template
  count         = 1

  # Specify the instance type
  instance_type = "t2.micro"

  # Reference the launch template by its ID
  launch_template {
    id      = aws_launch_template.first-template.id

    # Use the latest version of the launch template
    version = "$Latest"
  }

  # Add tags to the EC2 instance for identification
  tags = {
    Name = "template-instance"
  }
}
2. Next, run the below command to validate your added configurations and display the proposed plan.
terraform validate
terraform plan
3. Execute the following command to apply the proposed plan.
terraform apply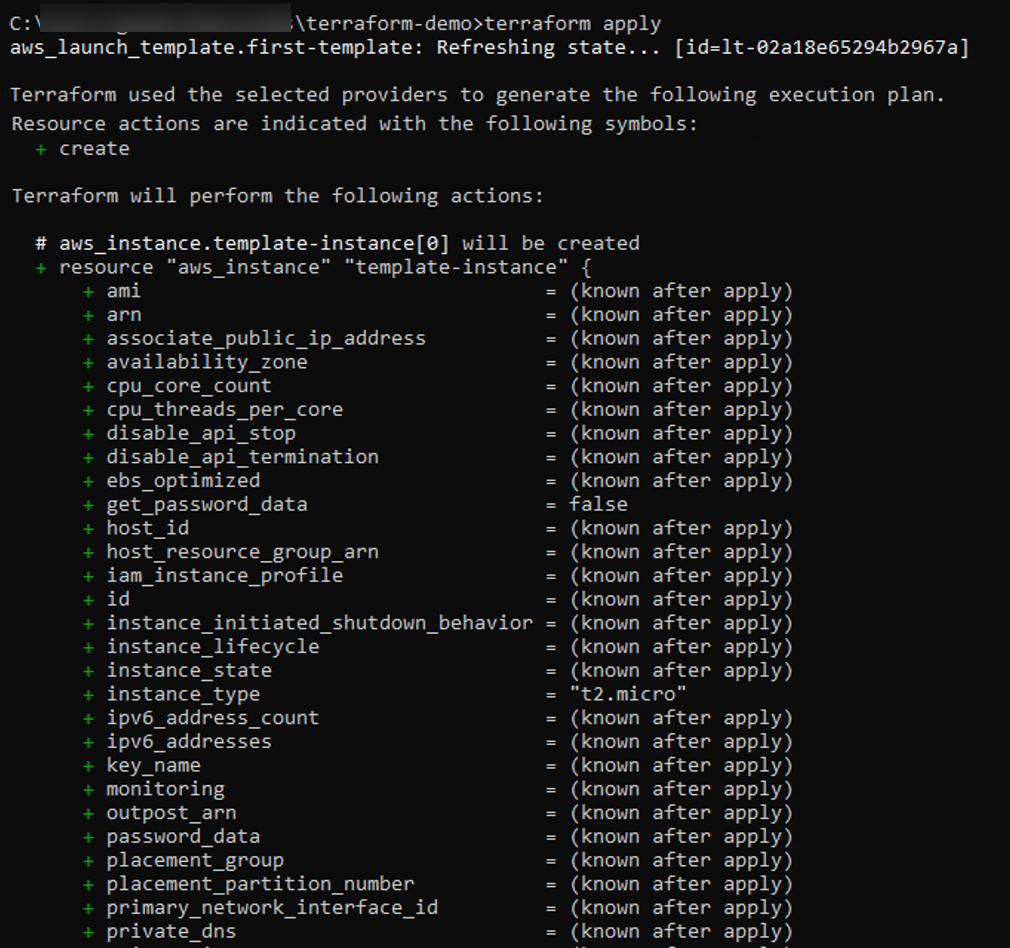
4. When prompted, input yes and press Enter to confirm applying the proposed plan.
You should see an indication that the instance is being created and an output of the instance ID once the creation has been completed.

5. Now, navigate to your EC2 instance in your AWS Management Console, and confirm that the instance has been created.

Scaling Infrastructures with Launch Templates
Scaling your infrastructure helps maintain application availability, but do launch templates work in scaling? Yes! Scaling with launch templates promotes consistency, efficiency, and flexibility in managing your infrastructure and ensuring the desired state of your infrastructure.
In this example, you will create an Auto Scaling group using your launch template to simplify updates and rollbacks.
To create an autoscaling group with a launch template in Terraform:
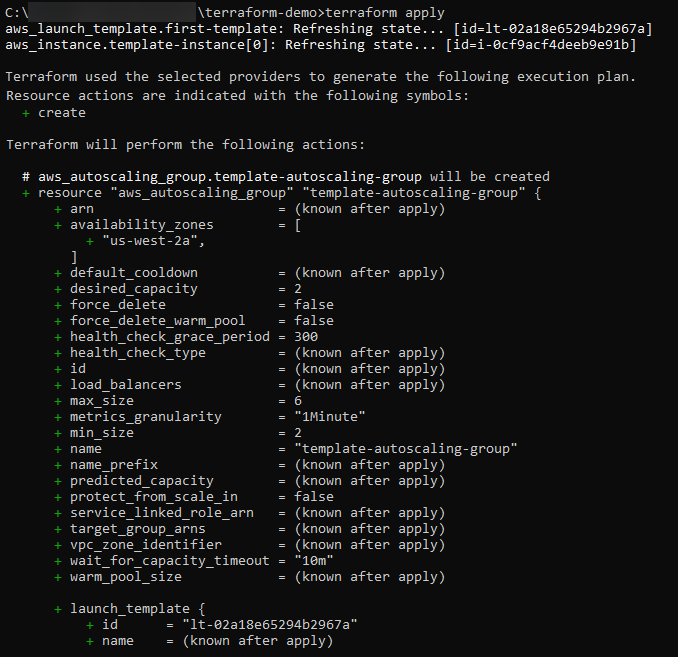
1. Open the resources.tf file once more, and include the following code at the end of the file.
This code creates an autoscaling group with specified desired capacity and minimum and maximum sizes using your launch template’s latest version.
In this example, the autoscaling group is called template-autoscaling-group, but you can name it as you desire.
resource "aws_autoscaling_group" "template-autoscaling-group" {
  # Name of the Auto Scaling Group
  name               = "template-autoscaling-group"

  # Desired number of instances in the Autoscaling Group
  desired_capacity   = 2

  # Minimum and maximum number of instances in the Autoscaling Group
  min_size           = 2
  max_size           = 6

  # Availability Zone(s) where instances will be launched
  availability_zones = ["us-west-2a"]

  # ID of the launch template to use for launching instances in the Autoscaling Group
  launch_template {
    id      = aws_launch_template.first-template.id

    # Use the latest version of the launch template
    version = "$Latest"
  }

}
💡 Note that you can update the launch template and roll out changes to scaled instances to ensure they have the latest configurations.
2. Next, run the following commands to validate the configuration.
terraform validate
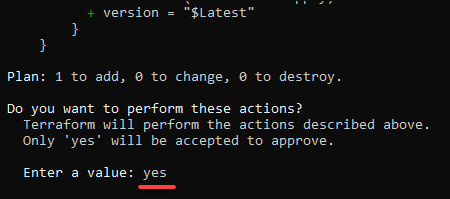
3. Execute the below command to apply the changes.
4. Confirm applying the proposed plan when prompted, as shown below.
When successful, you will see an output similar to the one below.

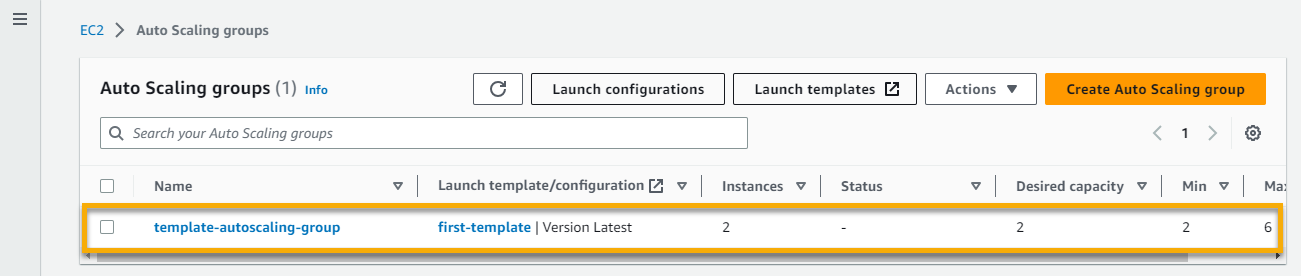
5. Now, navigate to the Auto Scaling groups page in your EC2 dashboard, and verify your newly-created Auto Scaling group.
Updating and Versioning Launch Templates
As your infrastructure evolves, you may need to update the configuration of your instances. With your aws_launch_template resource, you can manage updates and track changes by leveraging versioning.
You can create multiple instances with consistent configurations and make variations by modifying specific attributes as needed.
To update an existing launch template, you can modify the attributes within the resource block and apply the changes through Terraform:
1. Edit the aws_launch_template configuration (resource.tf) to have one or more different values for the existing attributes or add new attributes. For this example, the value of image_id will be changed, and a new tag will be added.
resource "aws_launch_template" "first-template" {
  # Name of the launch template
  name          = "first-template"

  # ID of the Amazon Machine Image (AMI) to use for the instance
  image_id      = "ami-0c65adc9a5c1b5d7c"

  # Instance type for the EC2 instance
  instance_type = "t2.micro"

  # SSH key pair name for connecting to the instance
  key_name = "testServer"

  # Block device mappings for the instance
  block_device_mappings {
    device_name = "/dev/sda1"

    ebs {
      # Size of the EBS volume in GB
      volume_size = 20

      # Type of EBS volume (General Purpose SSD in this case)
      volume_type = "gp2"
    }
  }

  # Network interface configuration
  network_interfaces {
    # Associates a public IP address with the instance
    associate_public_ip_address = true

    # Security groups to associate with the instance
    security_groups = ["sg-88dadcb3"]
  }

  # Tag specifications for the instance
  tag_specifications {
    # Specifies the resource type as "instance"
    resource_type = "instance"

    # Tags to apply to the instance
    tags = {
      Name    = "first template"
      Version = "v2"
    }
  }
}
2. Next, run the below commands to validate the configuration.
terraform validate
3. Once validated, execute the command below to apply, and confirm the proposed plan.
Below, you can see that Terraform displays the changes to apply. The attributes and blocks with the tilde symbol (~) will be updated, and those with plus sign (+) will be added.
After confirming the changes, you will see one indication that the launch template is being modified and another when the modification is completed.

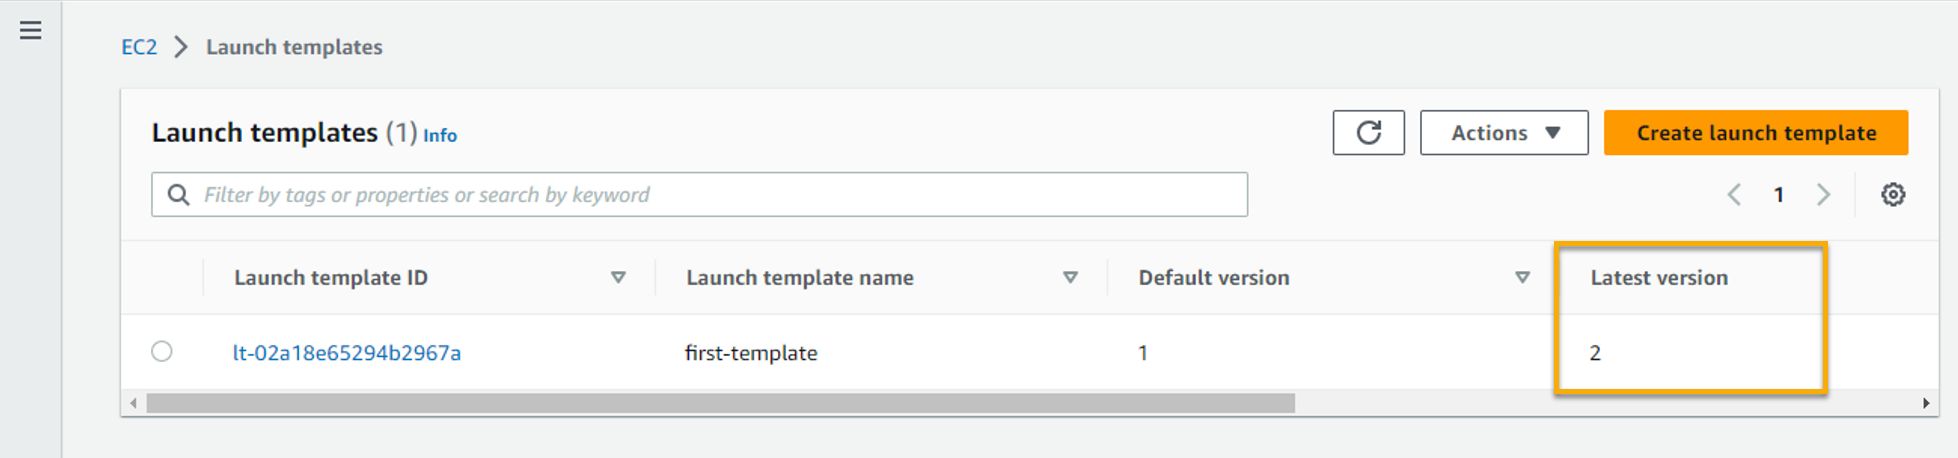
4. Now, navigate to the Launch templates page to confirm that a new version of the launch template has been created.
Shown below is the Latest version that changed from 1 to 2.
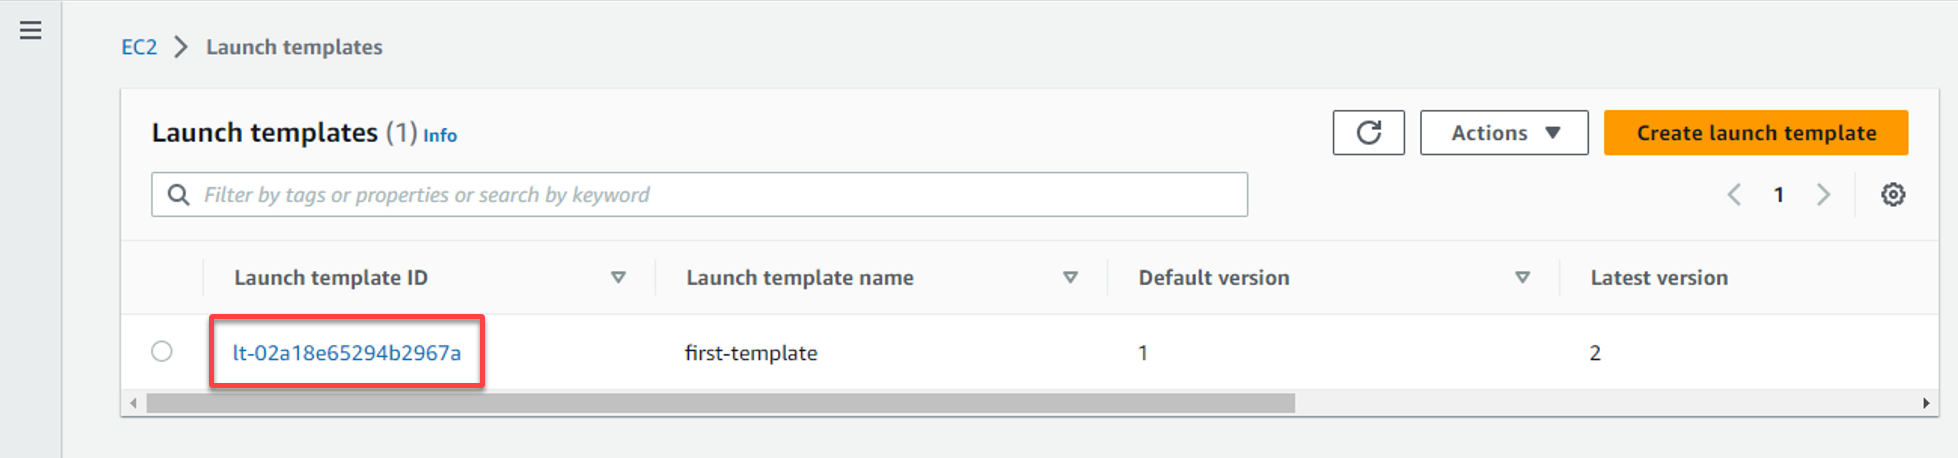
5. Click the launch template ID to access the template’s details.
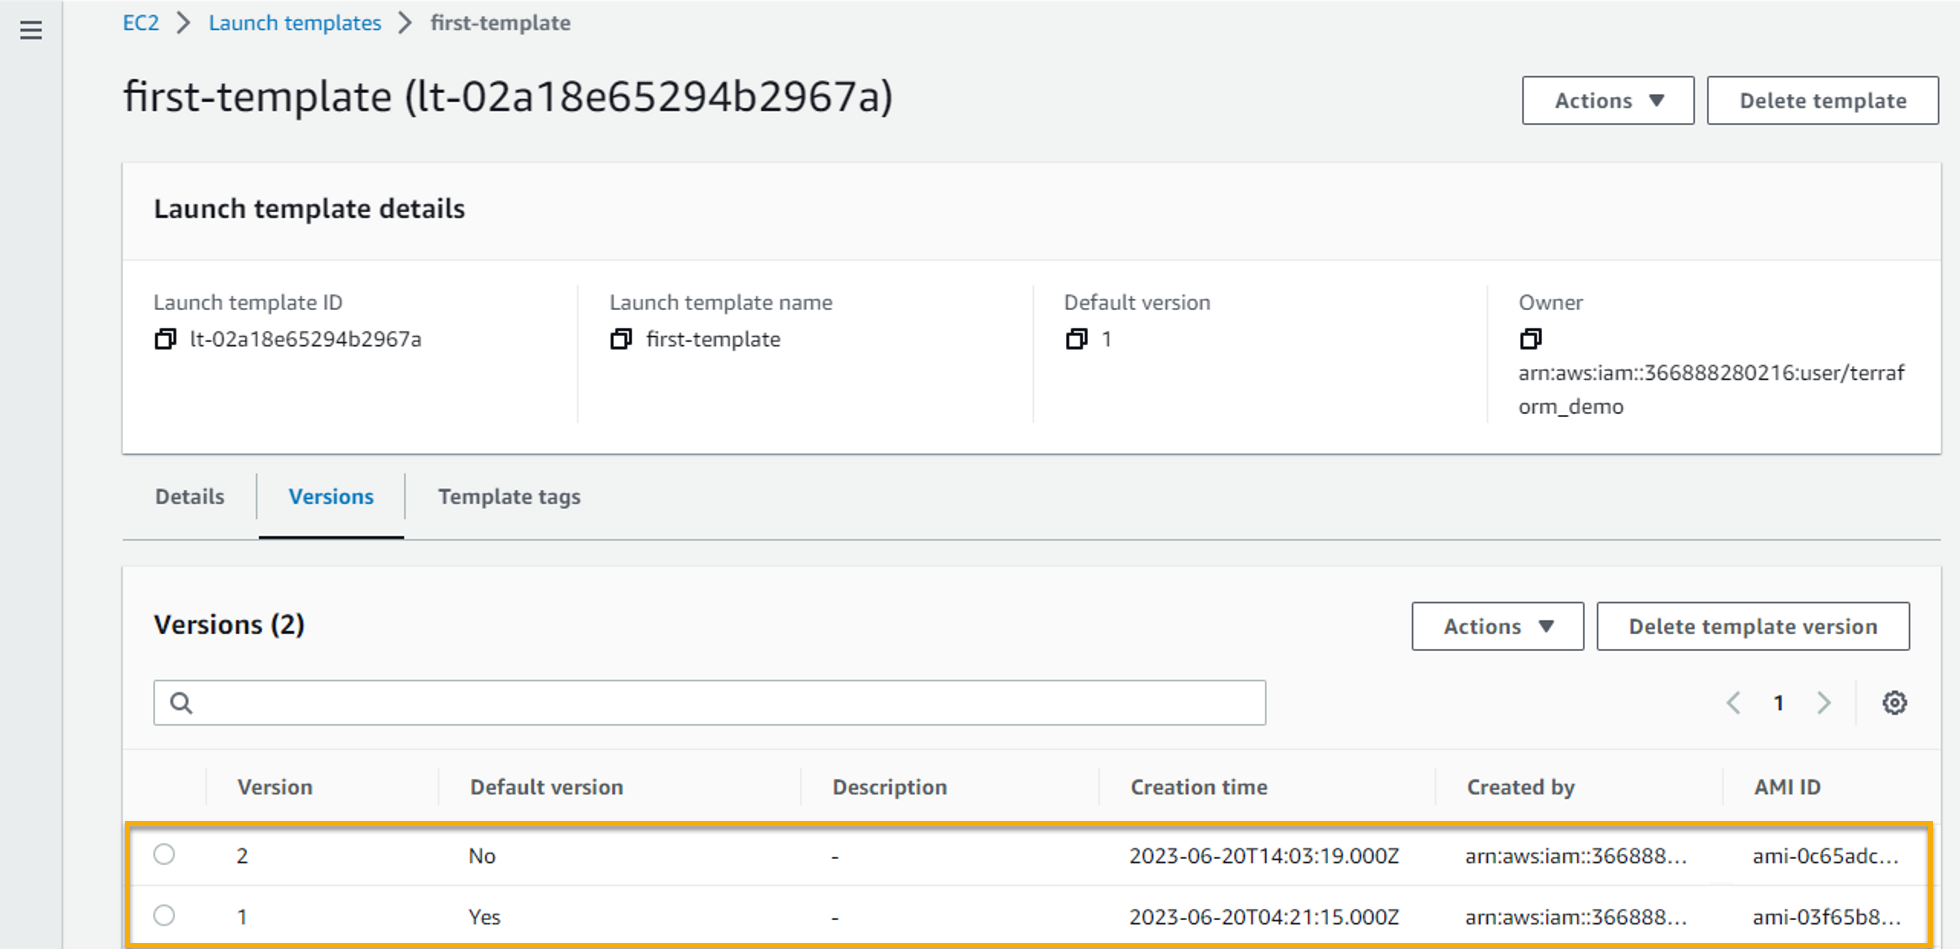
6. Finally, navigate to the Versions tab on the launch template’s details page, and you will see the two versions of the launch template.
At this point, you can choose any of the launch templates available depending on the configuration you need for your deployment.
Conclusion
Terraform’s aws_launch_template resource offers you a great way to manage and automate the provisioning of EC2 instances in AWS. And in this tutorial, you have learned to define your launch template to establish standardized configurations for your instances.
With a launch template added to your arsenal, you can efficiently simplify the creation process and enable scalability through Auto Scaling groups.
Now, why not explore the aws_launch_template module’s official documentation and try different configurations?


