


Server management can be challenging for new users. Luckily, Ajenti is just around the corner to help. Ajenti is an open-source web-based server management tool for Linux/Unix operating systems that makes server management more effortless.
In this tutorial, you will learn how to install Ajenti Control Panel on a Linux system to manage your servers.
Read on and make server management satisfying with Ajenti!
Prerequisites
This tutorial will be a hands-on demonstration. To follow along, be sure you have the following in place:
- A Linux server – This tutorial uses the latest version of Ubuntu 22.04 (Jammy Jellyfish), but also you can use other distributions.
- A non-root user with sudo administrator privileges – You can use a root user or a user with sudo-enabled.
- A domain name that is pointed and resolved to the server IP address – This tutorial uses the domain ajenti.example.io.
- Generated SSL certificates to secure your Ajenti installation.
Installing Ajenti on Ubuntu
Ajenti Control Panel is a web application that can be installed in many ways, via the source code manually or via the installer script provided by Ajenti. But for this tutorial, you will use the latter.
To install Ajenti Control Panel via the installer script:
1. Open your terminal and log in to your server with SSH credentials.
2. Next, run the following apt update command to update and refresh the package index.
sudo apt update
3. Now, run the following curl command to download the Ajenti installer script (install.sh) to your working directory.
curl -O https://raw.githubusercontent.com/ajenti/ajenti/master/scripts/install.sh
4. Once downloaded, run each command below to make the script (install.sh) executable (chmod +x), and run it to start the Ajenti installation.
# Making the installer script executable
sudo chmod +x install.sh
# Running the Ajenti installer via the installer script
sudo ./install.shBelow, you can see the installer script performs the following:
- Detect your Linux distribution, and install package dependencies.
- Install Ajenti via
pipcommand.
- Start and enable the ajenti service.
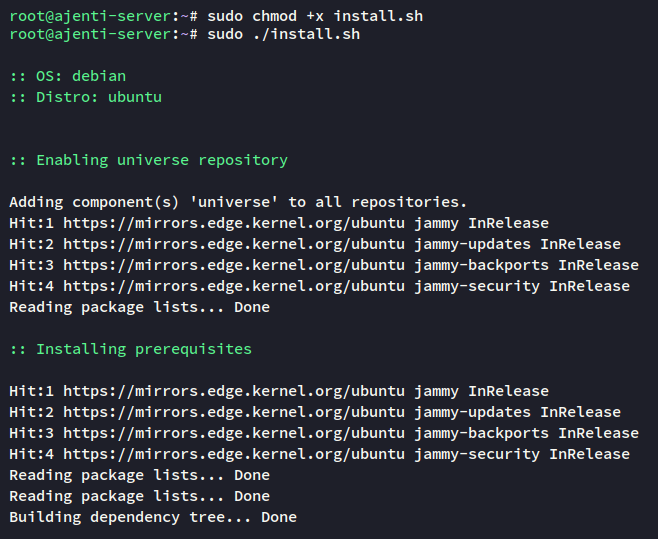
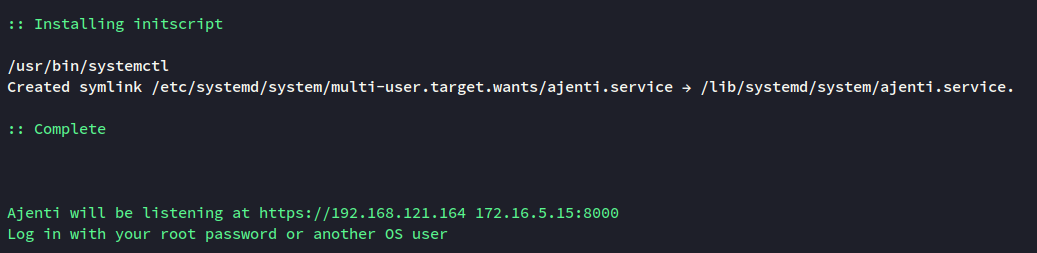
Once Ajenti is installed, you will see the ajenti service is enabled and running on the default TCP port 8000.
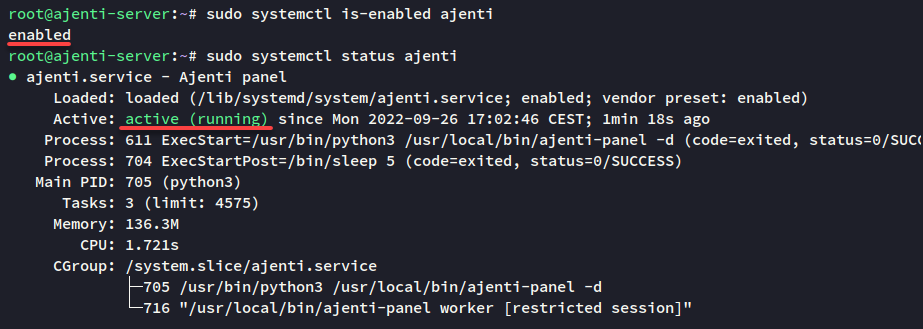
5. Lastly, run the following systemctl command to verify the ajenti service is-enabled and check the service status.
# Checking if the ajenti service is enabled
sudo systemctl is-enabled ajenti
# Checking the ajenti service status
sudo systemctl status ajentiYou can see the output that the ajenti.service is enabled (runs automatically at system startup) and with active (running) status.
Configuring Ajenti for Remote Server Management
You have now installed Ajenti, but you still have to configure Ajenti to work correctly for remote server management. You will set up the bind address of Ajenti, the domain name, and change the default SSL configuration.
The default configuration of Ajenti is located in the /etc/ajenti directory and is the config.yml configuration file.
To configure Ajenti for server management, you will change the IP address running, disable SSL, and change the domain name:
1. Open the Ajenti configuration file /etc/ajenti/config.yml using your preferred editor.
2. On the bind section, change the host value to 127.0.0.1 to allow Ajenti to run on localhost or 127.0.0.1.
Do not close the file yet, though. You will change other values in the configuration in the following steps.
bind:
  host: 127.0.0.1
  mode: tcp
  port: 8000
3. Next, change the name value with your domain name (ajenti.example.io).
name: ajenti.example.io4. Move to the ssl section, change the option enable: true to enable: false, save the file and exit the editor.
This configuration disables SSL on Ajenti, which you will replace via NGINX reverse proxy in the next step.
ssl:
  certificate: /etc/ajenti/ajenti.pem
  client_auth:
    certificates: []
    enable: false
    force: false
  enable: false
  force: false
5. Lastly, run the following systemctl command, which does not provide output but restarts the ajenti service and applies the changes.
sudo systemctl restart ajentiRunning Ajenti with NGINX Reverse Proxy
Adding security and privacy protects individuals and gives them authentication as they browse websites on the internet. How? By setting up a reverse proxy server.
For this tutorial, you will install NGINX and set up a server block as a reverse proxy for Ajenti that runs on 127.0.0.1:8000.
1. Run the following apt install command to install NGINX.
sudo apt install nginx -y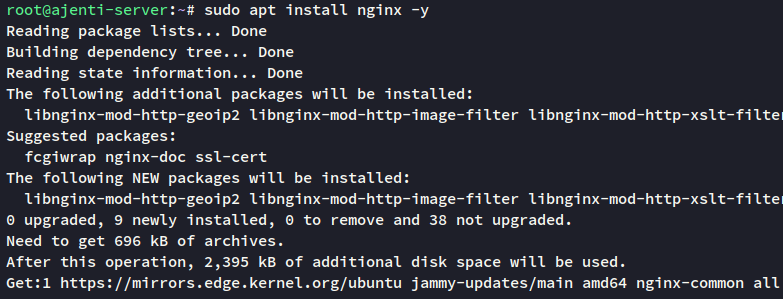
2. Once NGINX is installed, create a new server block configuration /etc/nginx/sites-available/ajenti using your preferred editor.
3. Add the NGINX server block configuration below.
Ensure you change the domain name ajenti.example.io and the path of SSL certificates with yours, save the file and close the editor.
server {
  server_name ajenti.example.io;

  listen 443 ssl;
  ssl_certificate /etc/letsencrypt/live/ajenti.example.io/fullchain.pem;
  ssl_certificate_key /etc/letsencrypt/live/ajenti.example.io/privkey.pem;

  client_max_body_size 20m;

  location / {
    rewrite (/ajenti)$ / break;
    rewrite /ajenti/(.*) /$1 break;
    proxy_pass http://127.0.0.1:8000;
    proxy_redirect / /ajenti/;
    proxy_set_header Host $host;
    proxy_set_header Origin http://$host;
    proxy_set_header X-Real-IP $remote_addr;
    proxy_set_header X-Forwarded-For $proxy_add_x_forwarded_for;
    proxy_http_version 1.1;
    proxy_set_header Upgrade $http_upgrade;
    proxy_set_header Connection $http_connection;
  }

}

server {
  listen 80;
  server_name ajenti.example.io;

  if ($host = ajenti.example.io) {
    return 301 https://$host$request_uri;
  }

  return 404;
}
4. Now, run the following commands to activate the ajenti server block and verify the NGINX configuration to ensure you have the proper configurations.
# Enabling server block and verifying configuration
sudo ln -s /etc/nginx/sites-available/ajenti /etc/nginx/sites-enabled/
sudo nginx -t
You will see the following output if you have the correct and proper NGINX configurations.

5. Run the below systemctl command, which does not provide output, but restarts the nginx service and applies new changes.
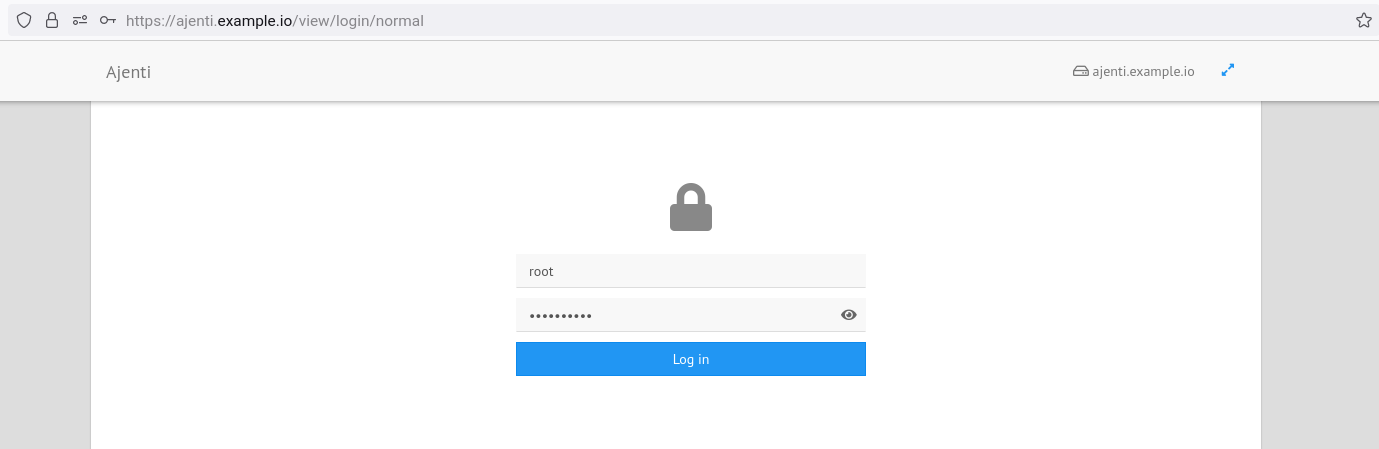
sudo systemctl restart nginx6. Open your favorite web browser and visit the domain name of your Ajenti Control Panel installation (e.g., https://ajenti.example.io/). If all goes well, your browser loads the Ajenti login page (step seven).
7. Finally, input the username and password of your server, and click Log In. This example uses the root user to log in to Ajenti.
If your username and password are correct, your browser redirects to the Ajenti Control Panel dashboard, as shown below.
Ajenti provides a fast and intuitive web user interface that lets you manage servers via a web browser, similar to Webmin server management. Ajenti (mainly written in Python) is a powerful and lightweight server management tool best used in VPS (Virtual Private Server) or dedicated servers.

Extending Ajenti’s Functionality with Plugins
Ajenti is running with NGINX reverse proxy, which is good enough. But why not maximize Ajenti’s potential? Ajenti has plugins you can install to extend Ajenti’s functionality for server management.
To install Ajenti plugins:
1. On the Ajenti dashboard, click Plugins from under the GENERAL section (left panel), and you will see available plugins on Ajenti.
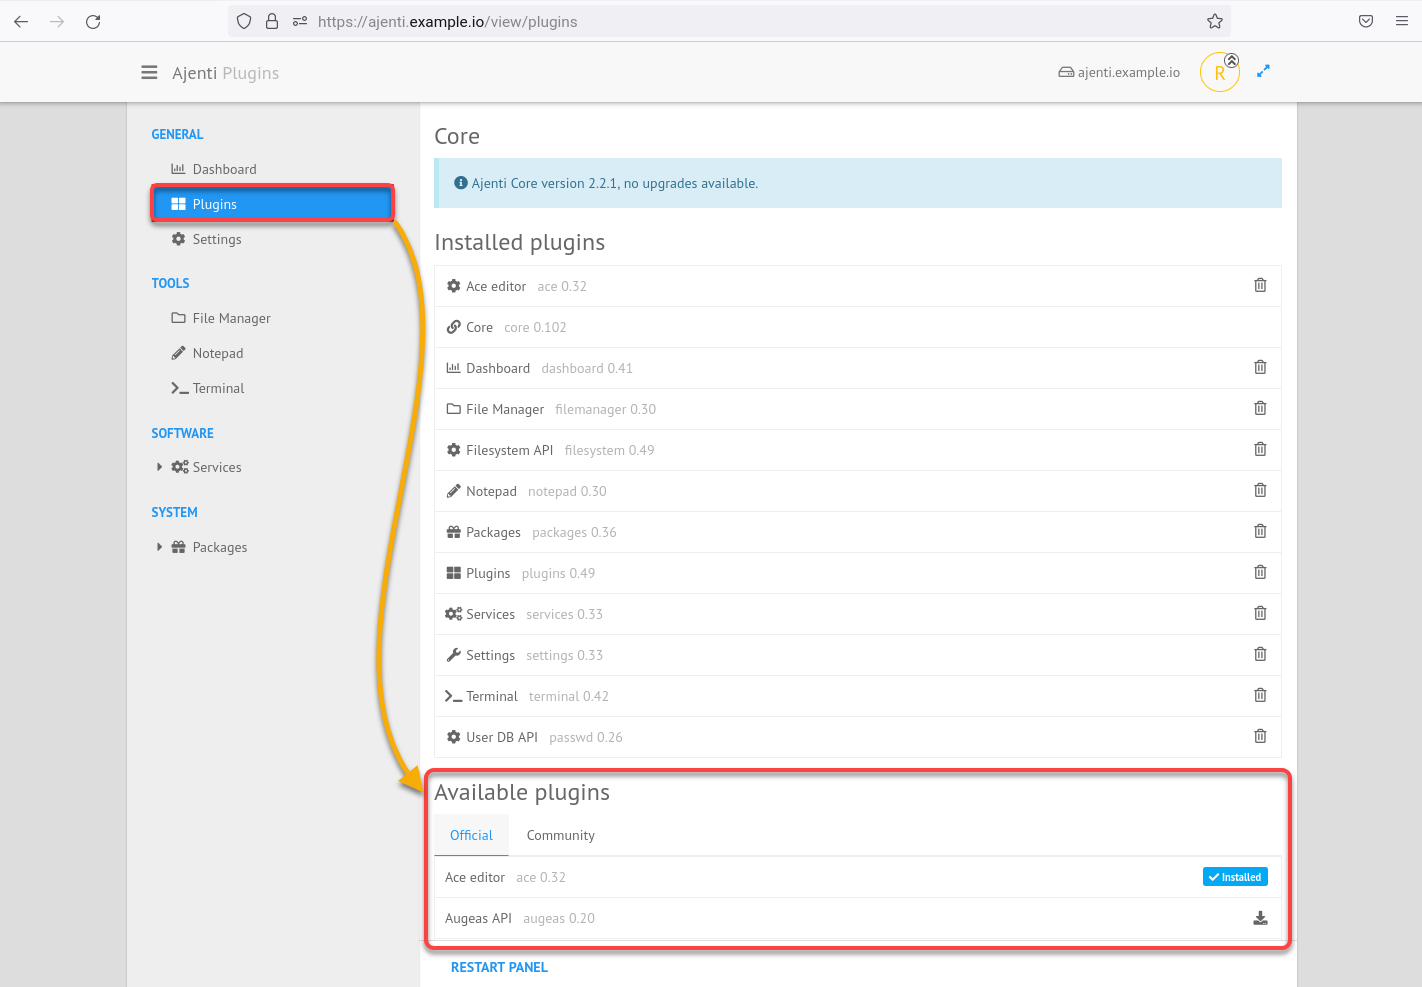
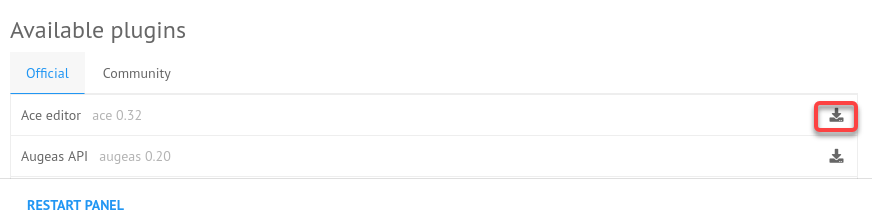
2. Click on the download icon, as shown below, to install some Ajenti plugins as follows:
- Cron – for managing Cron on Linux.
- Check Certificates – for monitoring your certificates via Ajenti Control Panel.
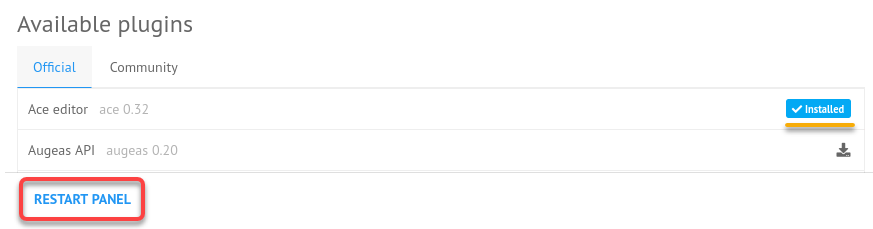
3. After installing the certificates, click the RESTART PANEL button to restart the Ajenti service, and your browser will redirect to the Ajenti login page.
Monitoring SSL Certificates
Now that you have Ajenti with some plugins and NGINX as your reverse proxy, you have come to the most exciting part — server management.
Keeping your SSL certificates updated helps secure the connection between clients and servers. Typically, you would want to avoid having expired SSL certificates, and you need a way to keep track of your certificates. Luckily, Ajenti is up to the task.
Click on Check certificates (left panel) on your Ajenti dashboard, and click Add. A pop-up window appears where you can add information about your host (step two).
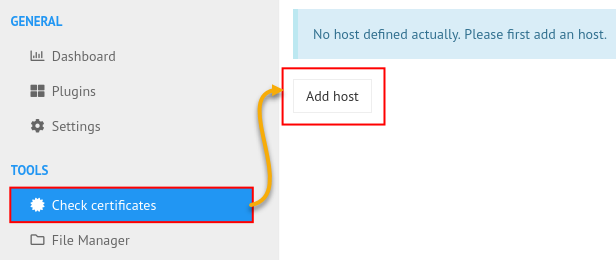
Next, input the URL of your website in the pop-up window, and click ADD to add your host information to Ajenti.
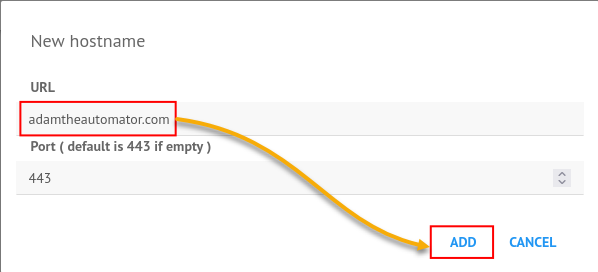
Once added, you can see some information about your website’s SSL certificates, including the issuer, the expiration date of the certificate, and the current status.

Setting up Cron Jobs
When you have a lot on your plate, you may not have time to work on other tasks. Why not set up Cron jobs instead?
Cron jobs run automatically on schedule so you can focus on more critical tasks. And since you have installed the Cron plugin, Ajenti lets you add Cron jobs in a few clicks.
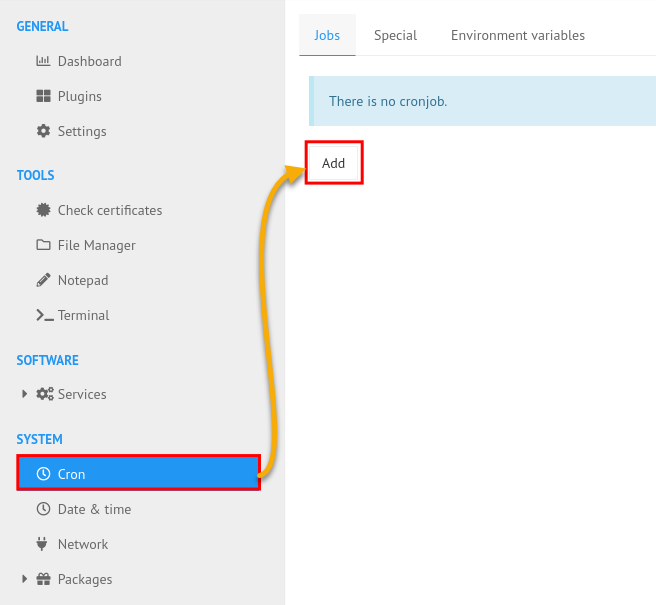
Click Cron (left panel) under the SYSTEM section, and click Add to initiate adding Cron jobs.
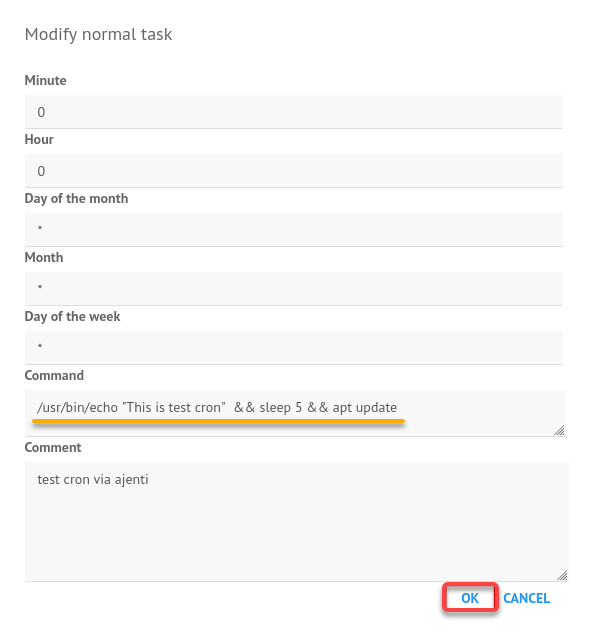
Next, provide the details of your Cron job, and click OK to confirm.
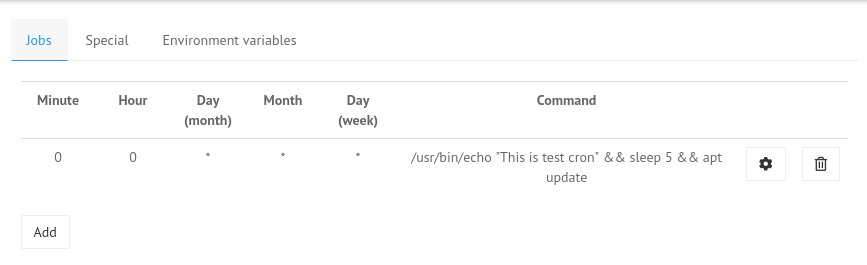
In the following example, a new Cron will run daily at 00:00 with the below command.
/usr/bin/echo "This is test cron" && sleep 5 && apt update
Now, all of your Cron jobs will be available on the Ajenti dashboard, as shown below.
Managing Server Files and Directories
Have any files to upload on your server? Ajenti lets you upload not only files but also directories to your server without any complicated stuff.
To manage files and directories via Ajenti:
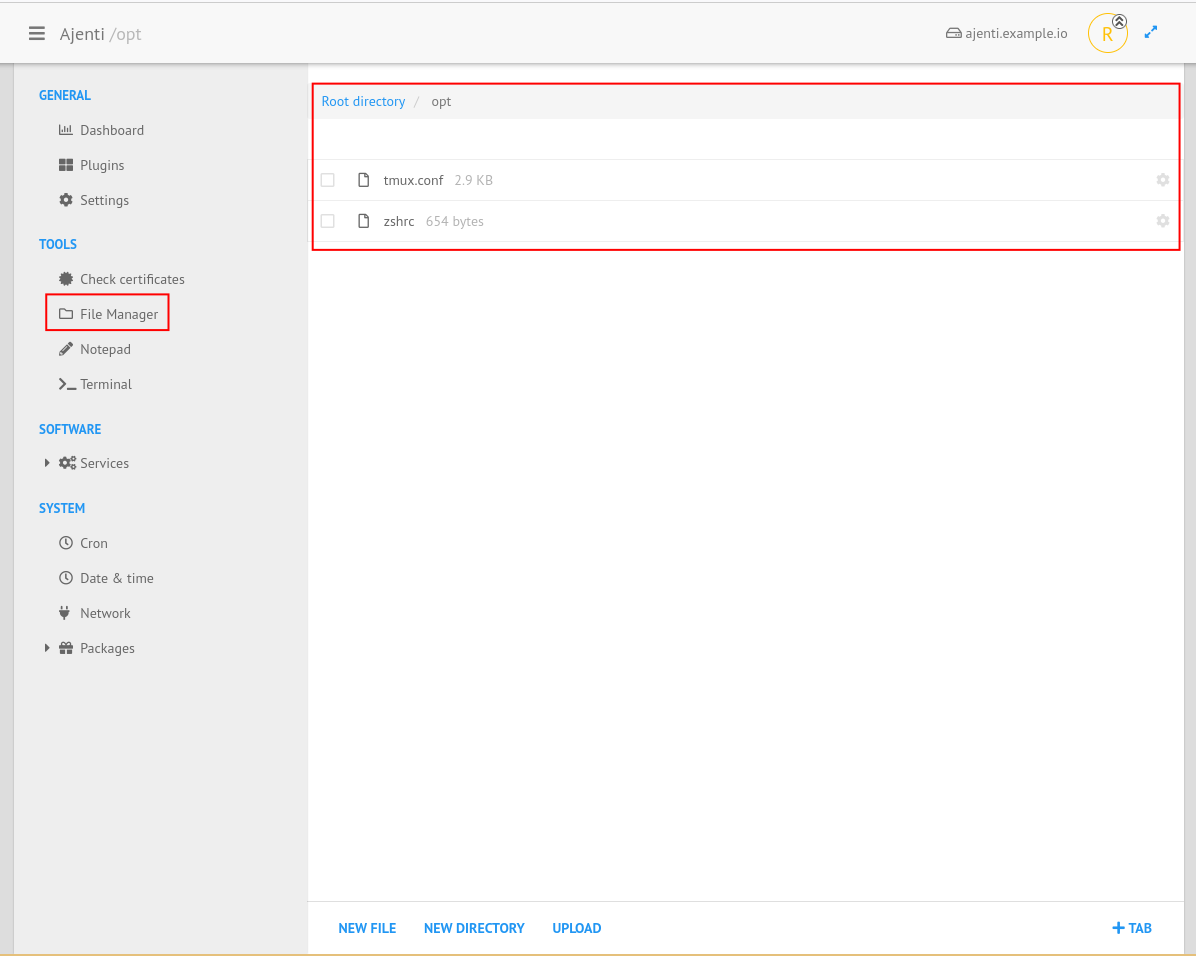
Click File Manager (left panel), and you will see the Ajenti file manager.
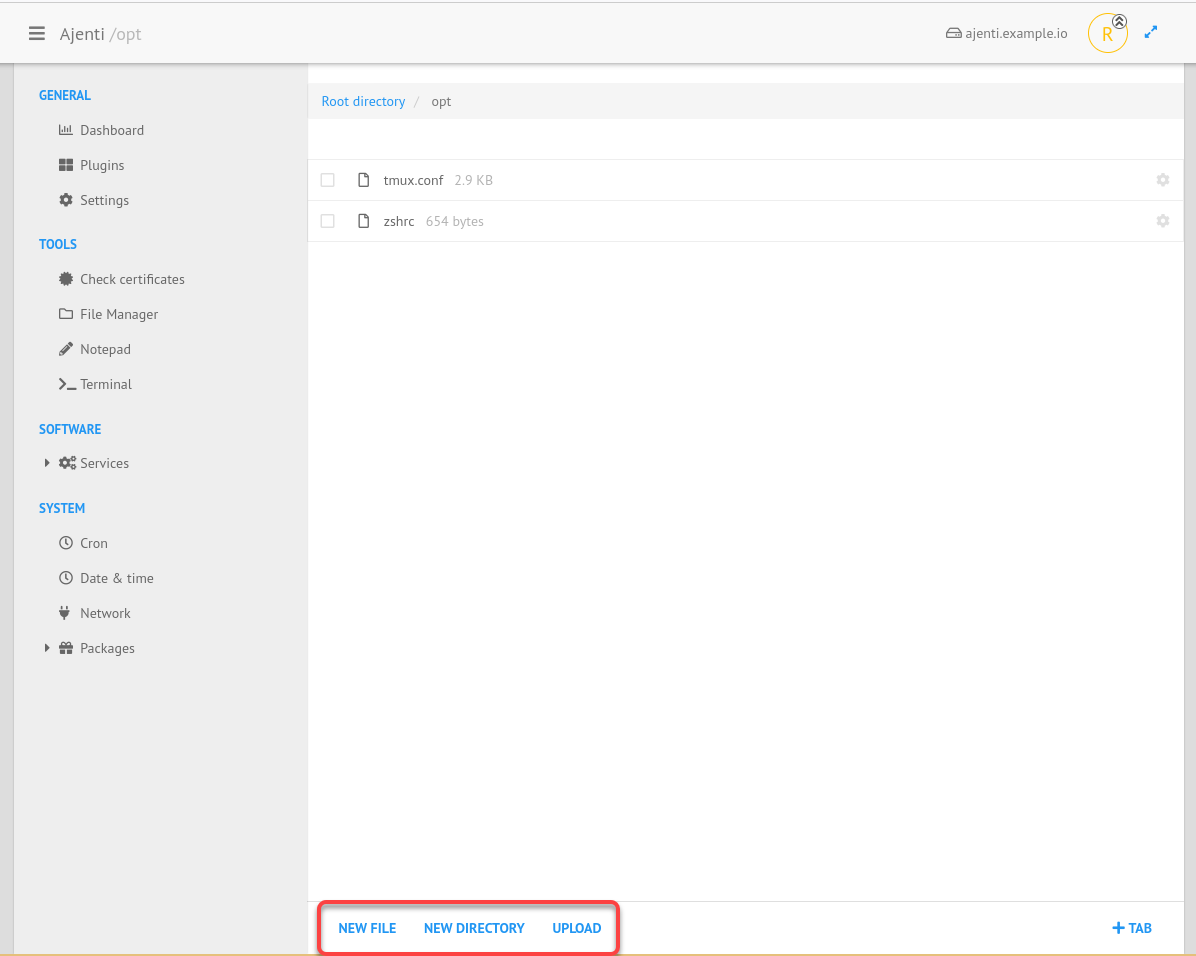
Now, click any of the three buttons below depending on your need:
- NEW FILE and NEW DIRECTORY – Create an empty file or directory.
- UPLOAD – Upload existing files and directories from your local computer to your server.
Accessing the Server Terminal via Ajenti
When you mostly work via a terminal on your server, Ajenti provides a terminal connected to your server where you can run commands.
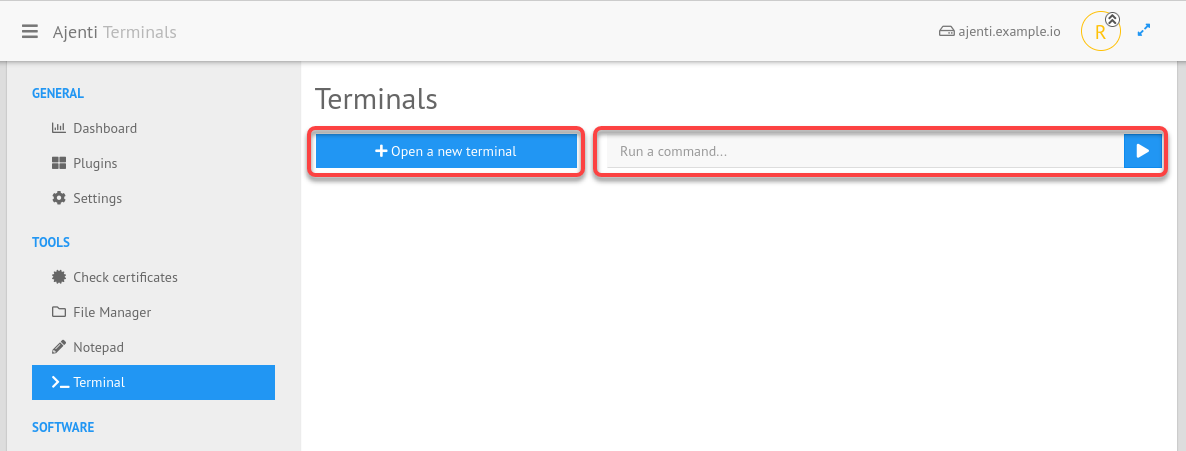
Click Terminal (left panel) to access terminal options on Ajenti.
Below, you can see there are two terminal options:
- Open a new terminal – Opens a terminal session
- Run a command – Lets you quickly run commands without opening a terminal session
Now, click Open a new terminal to open a terminal session.

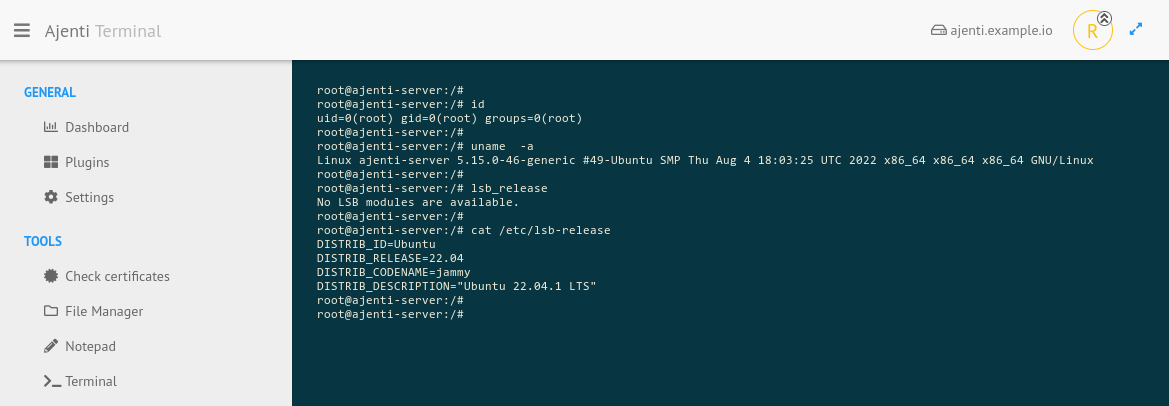
You will get a terminal session of your server on the Ajenti dashboard, as shown below.
Now, you can run any commands as you would on an actual terminal on your server and just press Ctrl+C or run the exit command to log out from the terminal.
Conclusion
Throughout this tutorial, you have installed, secured, and configured Ajenti Control Panel to manage your server, secured with NGINX reverse proxy and SSL certificates.
At this point, you can now conveniently manage your servers securely, monitor your SSL certificates and add Cron jobs, and quickly run commands via the terminal in Ajenti.


