

Feeling the itch to delve into virtualization on your Windows machine? The quest for seamless virtualization is real, and VMware Workstation Player is your ticket to seamless virtual adventures.
Through clear instructions in this tutorial, you will soon wield VMware Workstation Player like a pro, unlocking endless possibilities for your digital playground.
Read on and turn your virtualization aspirations into reality!
Prerequisites
Before you jump into the world of VMware Workstation Player, ensure you have everything lined up for a smooth ride:
- A Windows 7 OS or later – This tutorial uses Windows 11 64-bit.
- Around 40GB for the VMware Workstation Player installation, plus extra space for the VM you plan to run.
- A minimum of 4GB RAM, but the more RAM you have, the better.
- An OS ISO Image to install within VMware Workstation Player – This tutorial uses Ubuntu 20.04 64-bit.
Downloading and Installing the VMware Workstation Player
The ultimate aim is to empower you with the tools you need for efficient VM management. As you envision the enhanced capabilities and flexibility, you must first install the VMware Workstation Player.
VMware Workstation Player offers a seamless solution for creating and managing virtual machines. This tool lets you experiment with different environments without risking your primary system.
To download and install the latest VMware Workstation Player, carry out the following:
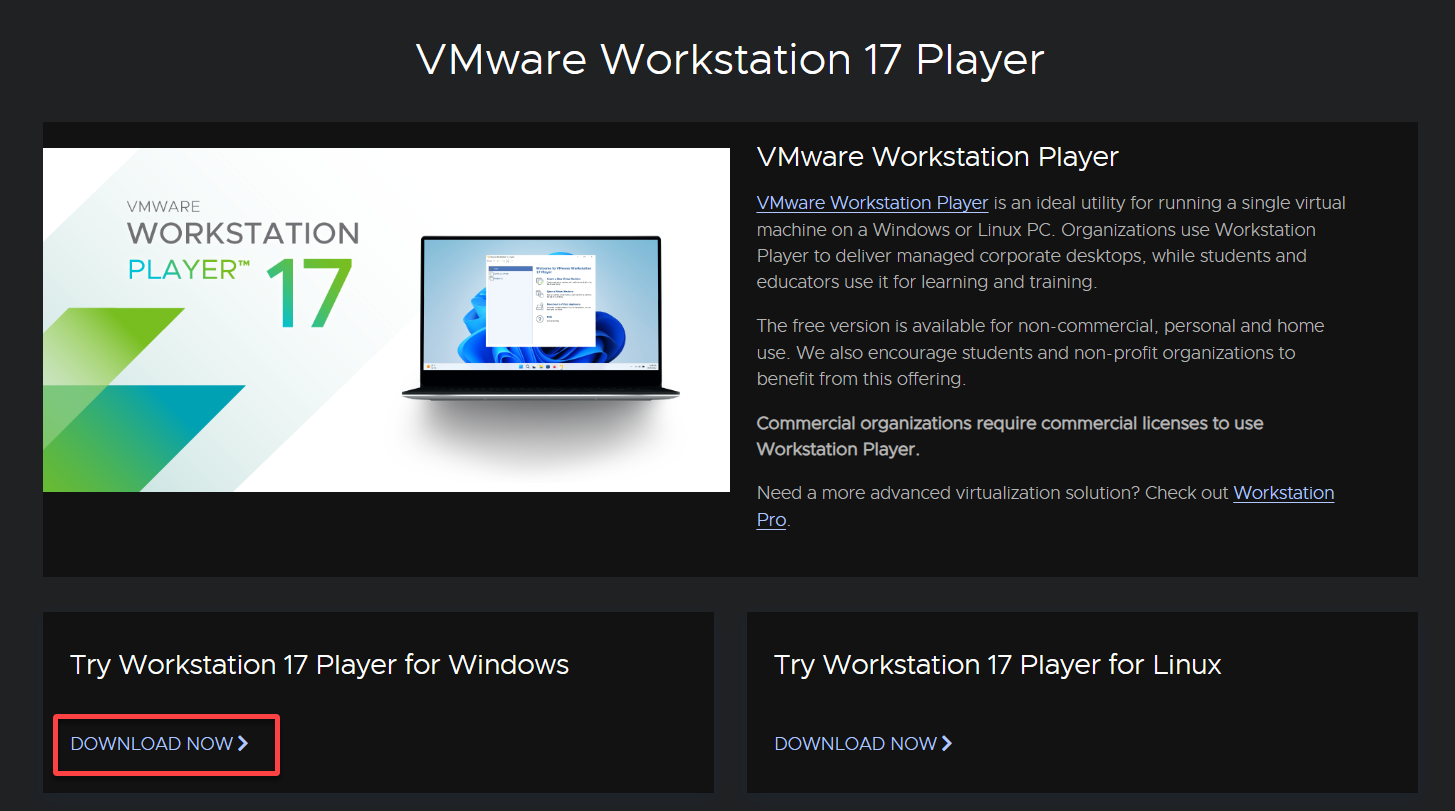
1. Open your favorite web browser, and head to VMware Workstation Player’s official download page.
2. Look for the Try Workstation 17 Player for Windows section and click DOWNLOAD NOW to initiate downloading the installer package.
💡 Note: VMware Workstation Player offers a free version. This free version is designed for non-commercial purposes, personal projects, or home use.
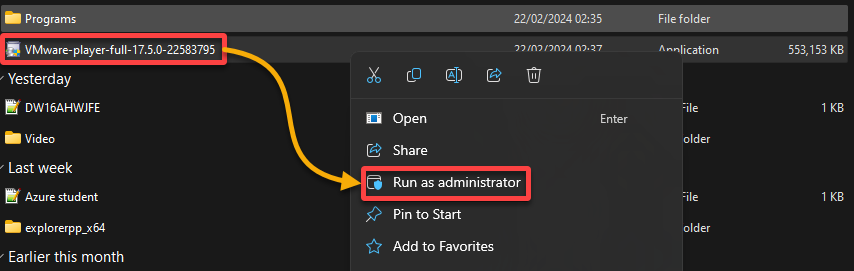
3. Right click on the downloaded installer package, and select Run as administrator. Doing so ensures you have the required permissions to install the software.
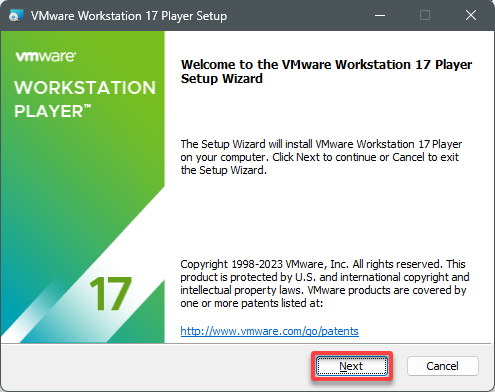
4. Now, click Next when the installation wizard opens to continue.
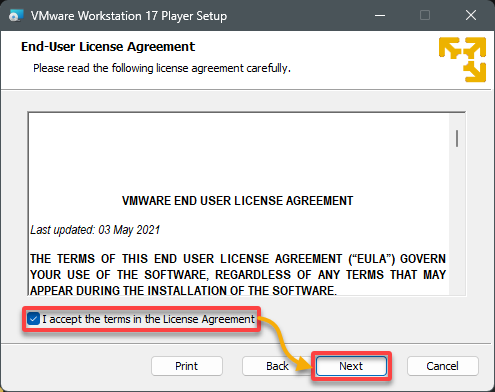
5. Read through the license terms, tick the checkbox at the bottom to accept the license agreement, and click Next to confirm.
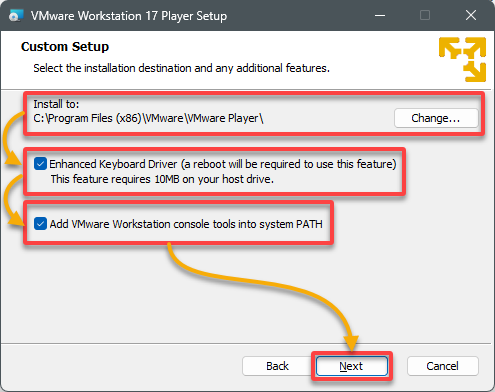
6. On the next screen, configure the following:
- Select the destination folder for the installation. You may use the default directory or click Change to choose a different one.
- Tick the Enhanced Keyboard Driver box to enable additional functionalities for your keyboard while using VMs.
- Tick the last box to add the necessary tools and executables to your system’s PATH variable.
Once configured, click Next to move forward with the installation process.
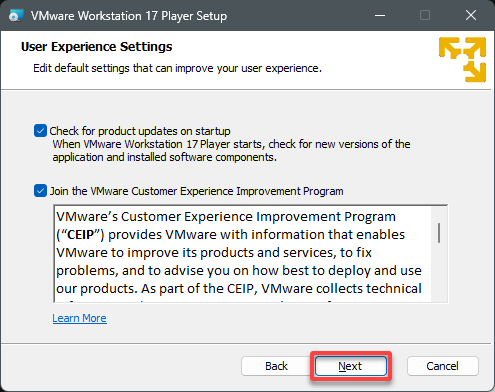
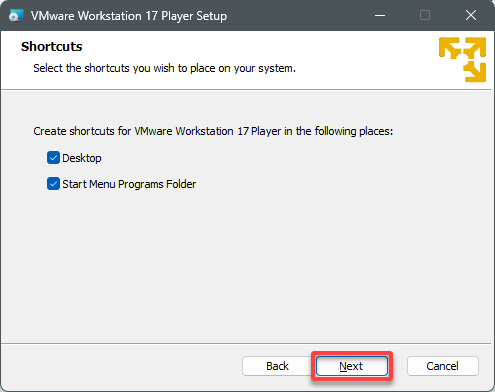
7. Click Next twice to keep the defaults and proceed with the installation setup.
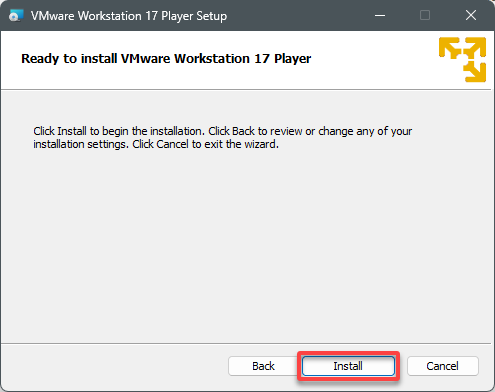
8. Now. click Install to initiate the installation against your configurations.
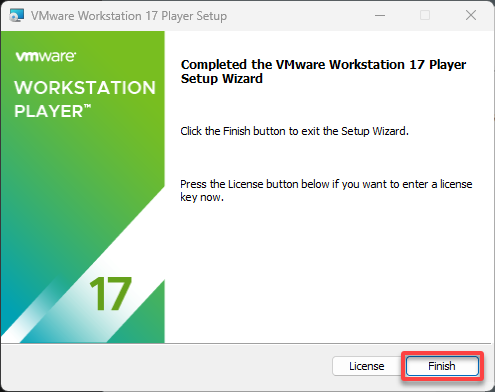
9. Once the installation is finished, click Finish to close the installer.
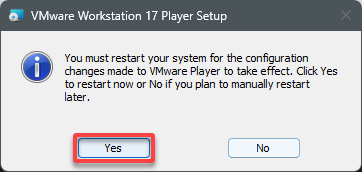
10. Lastly, click Yes to restart your computer for the changes.
Creating Your First VM in VMware Workstation Player
With VMware Workstation Player installed on your Windows PC, you stand on the threshold of virtualization. You can simulate entire computing systems within your existing hardware in this realm.
Setting up your first VM is like creating a new, self-contained computer that runs its own OS and applications.
To create a VM in the VMware Workstation Player, follow these steps:
1. Launch VMware Workstation Player from your desktop shortcut or through the Start menu.
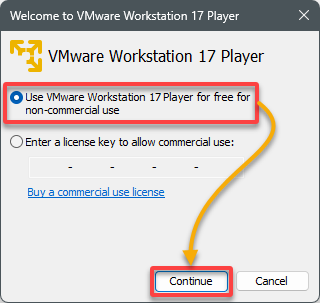
2. When prompted, select the first option to use the free version of VMware Workstation Player (or choose the second option if you have a license key) and click Continue.
The VMware Workstation Player’s main window appears, as shown below.
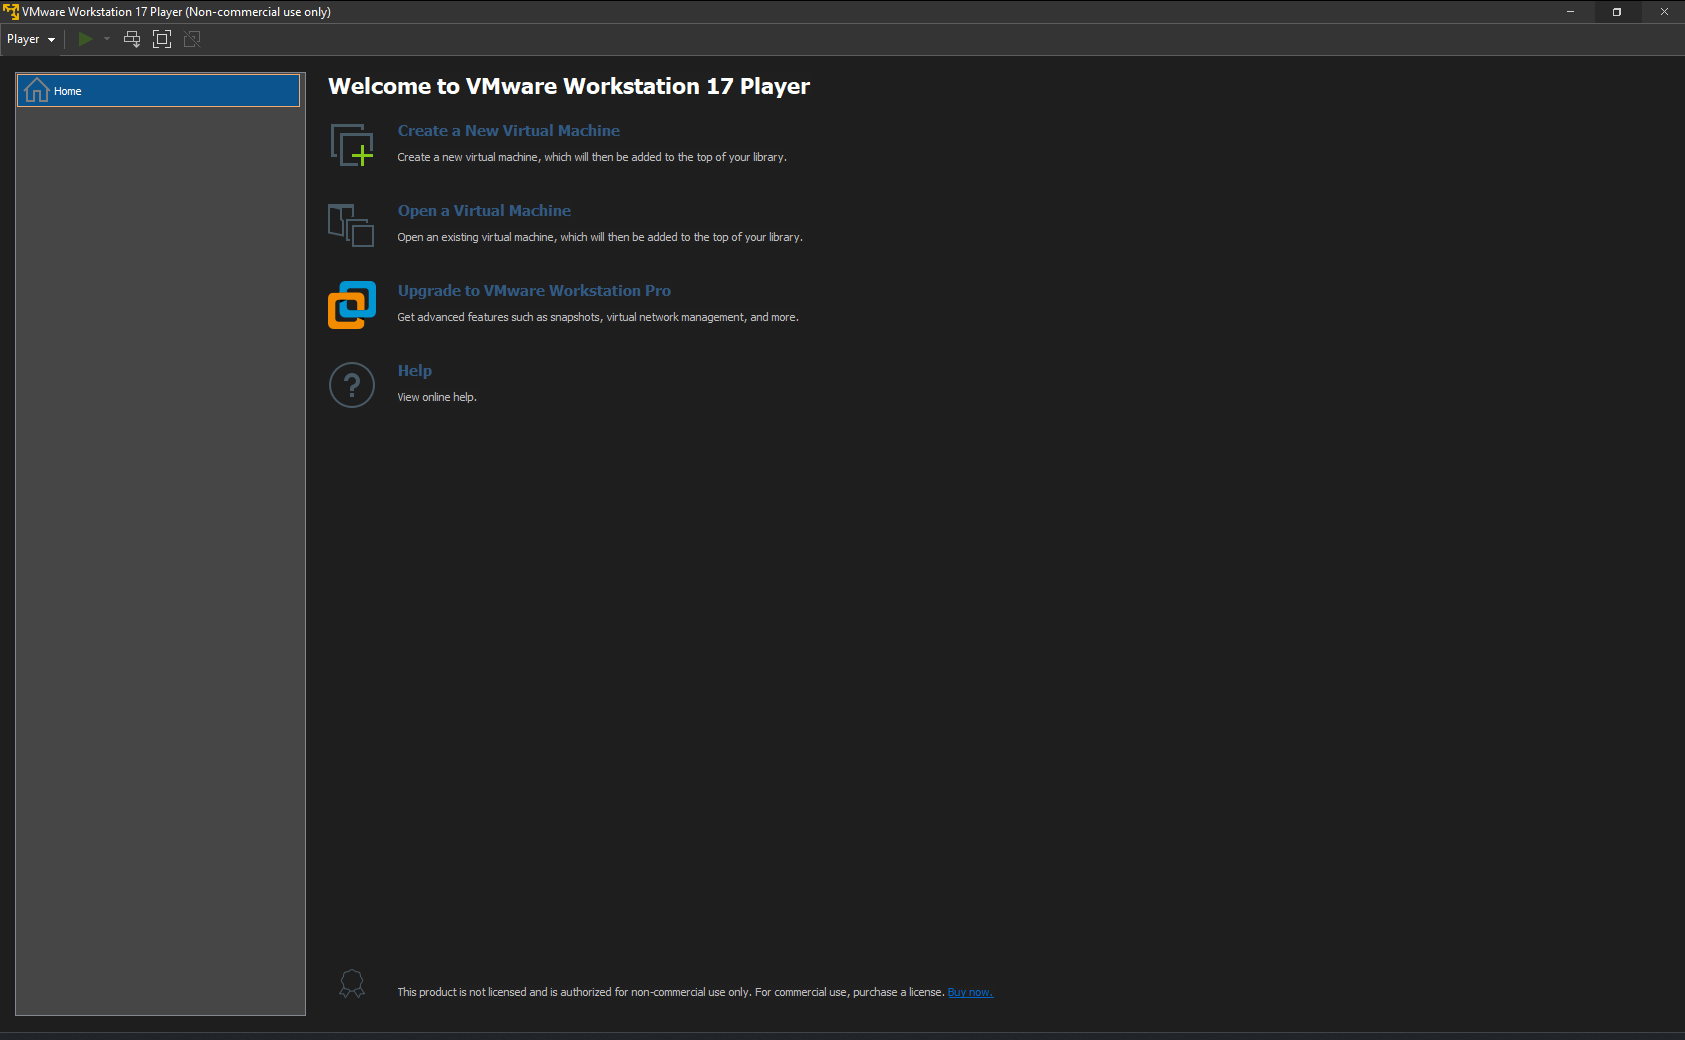
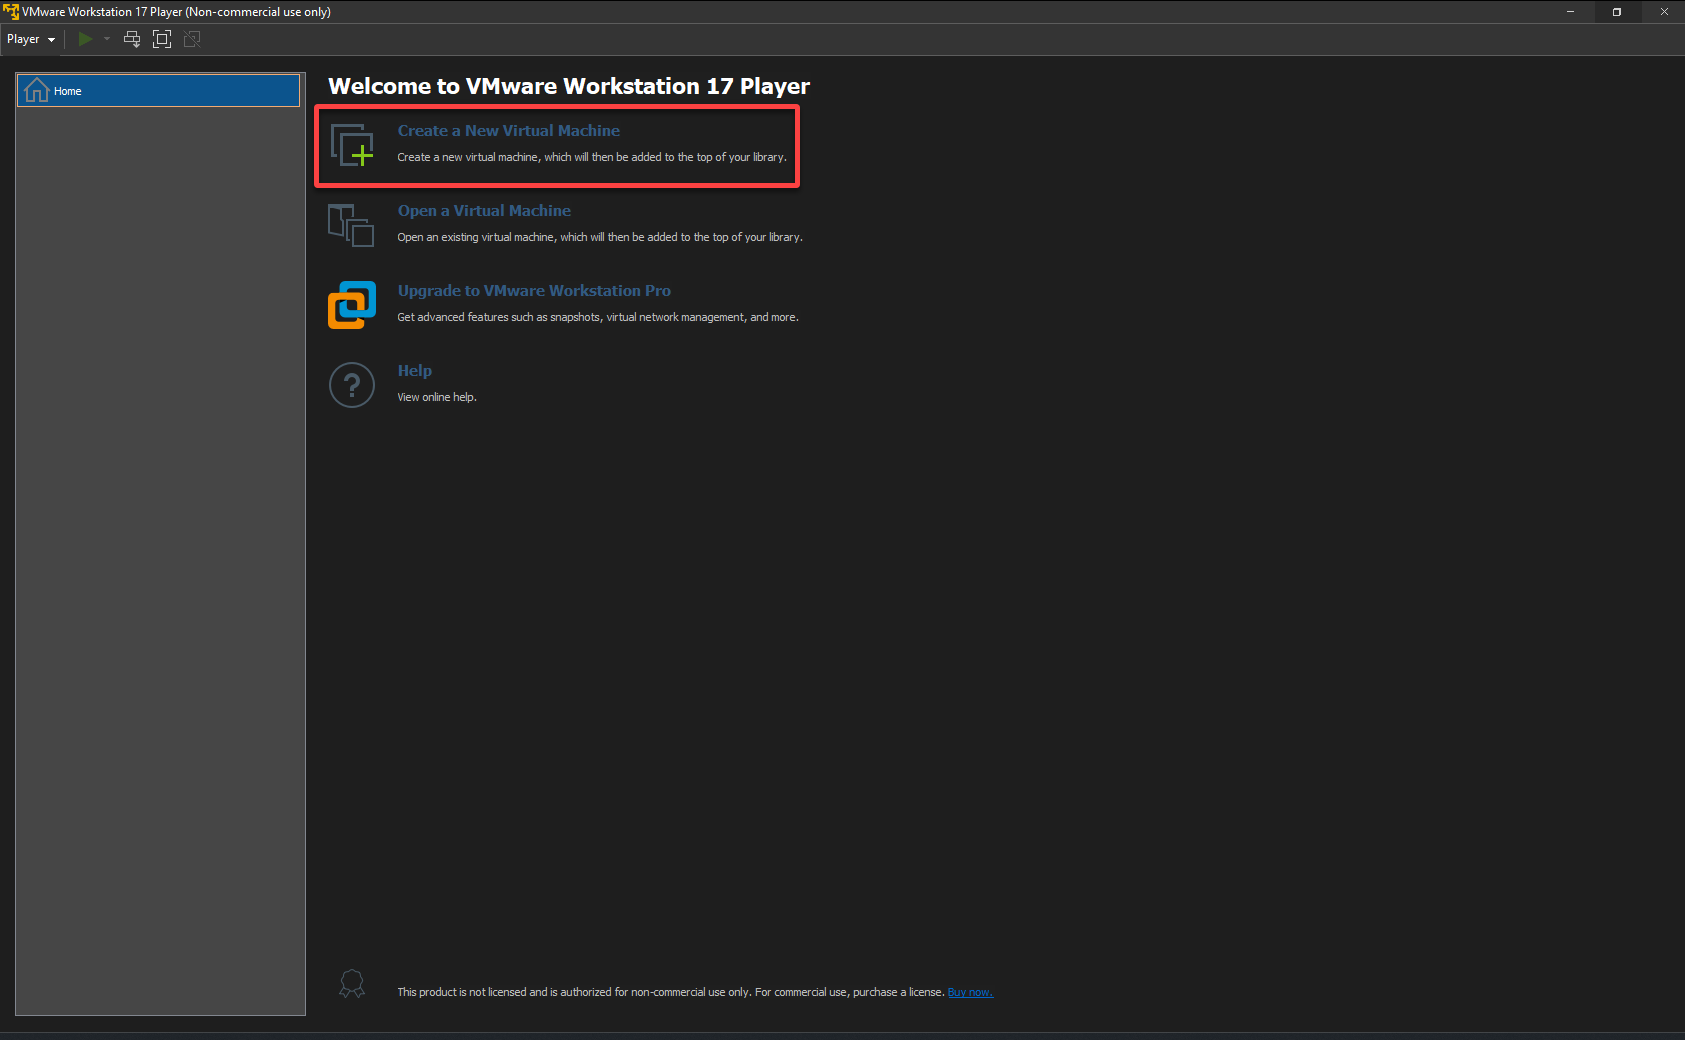
3. Next, click Create a New Virtual Machine, which opens a wizard to configure a new VM (step four).
4. Now, select the second option, browse your ISO image file for the OS you wish to install on your VM, and click Next.

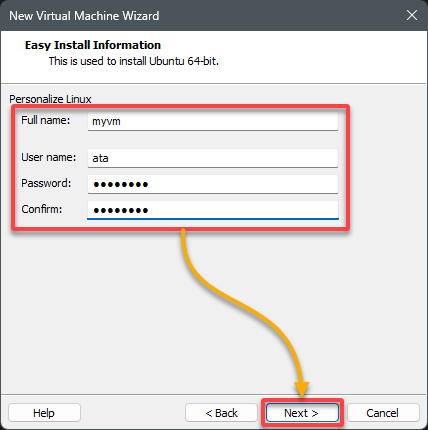
5. In the next screen, set the new OS administrator account credentials and click Next to confirm.
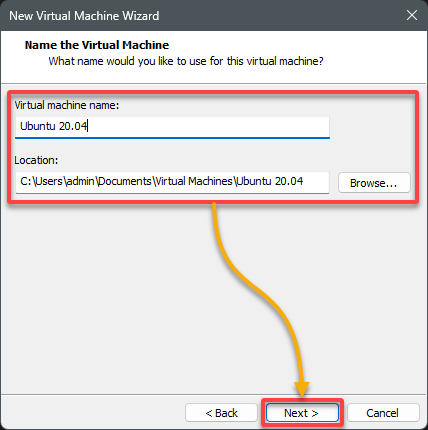
6. Provide a meaningful name for your VM (i.e., Ubuntu 20.04), choose a storage path for the VM files, and click Next.
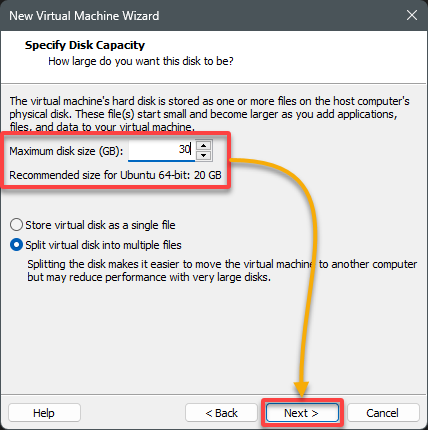
7. Decide on the amount of disk space to allocate to the VM and the maximum size the virtual hard disk can grow to, and click Next.
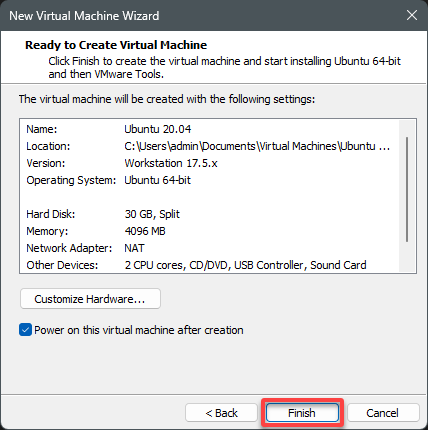
8. Now, click Finish to create the VM with your chosen settings, or click Customize Hardware to adjust the hardware specifications before finalizing.
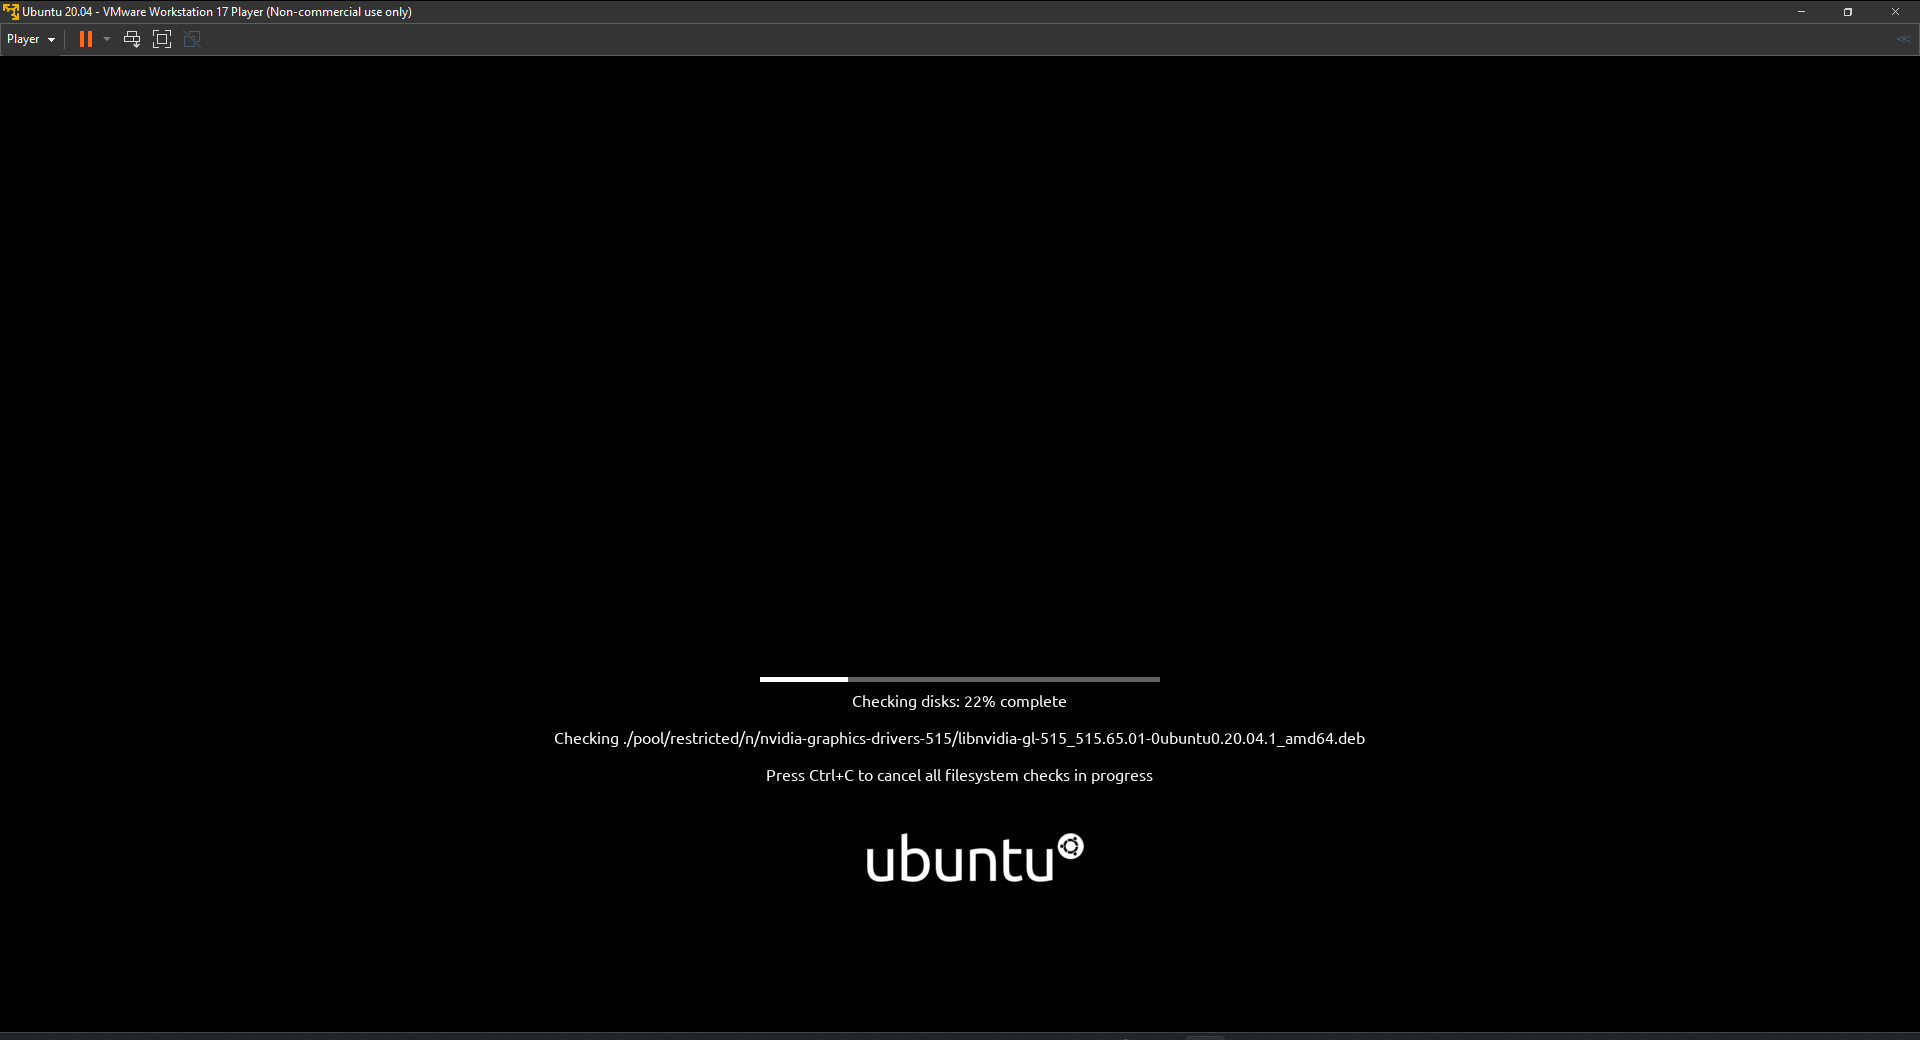
9. Ultimately, proceed by following the on-screen prompts to install the OS, replicating the process as if setting up a new computer.
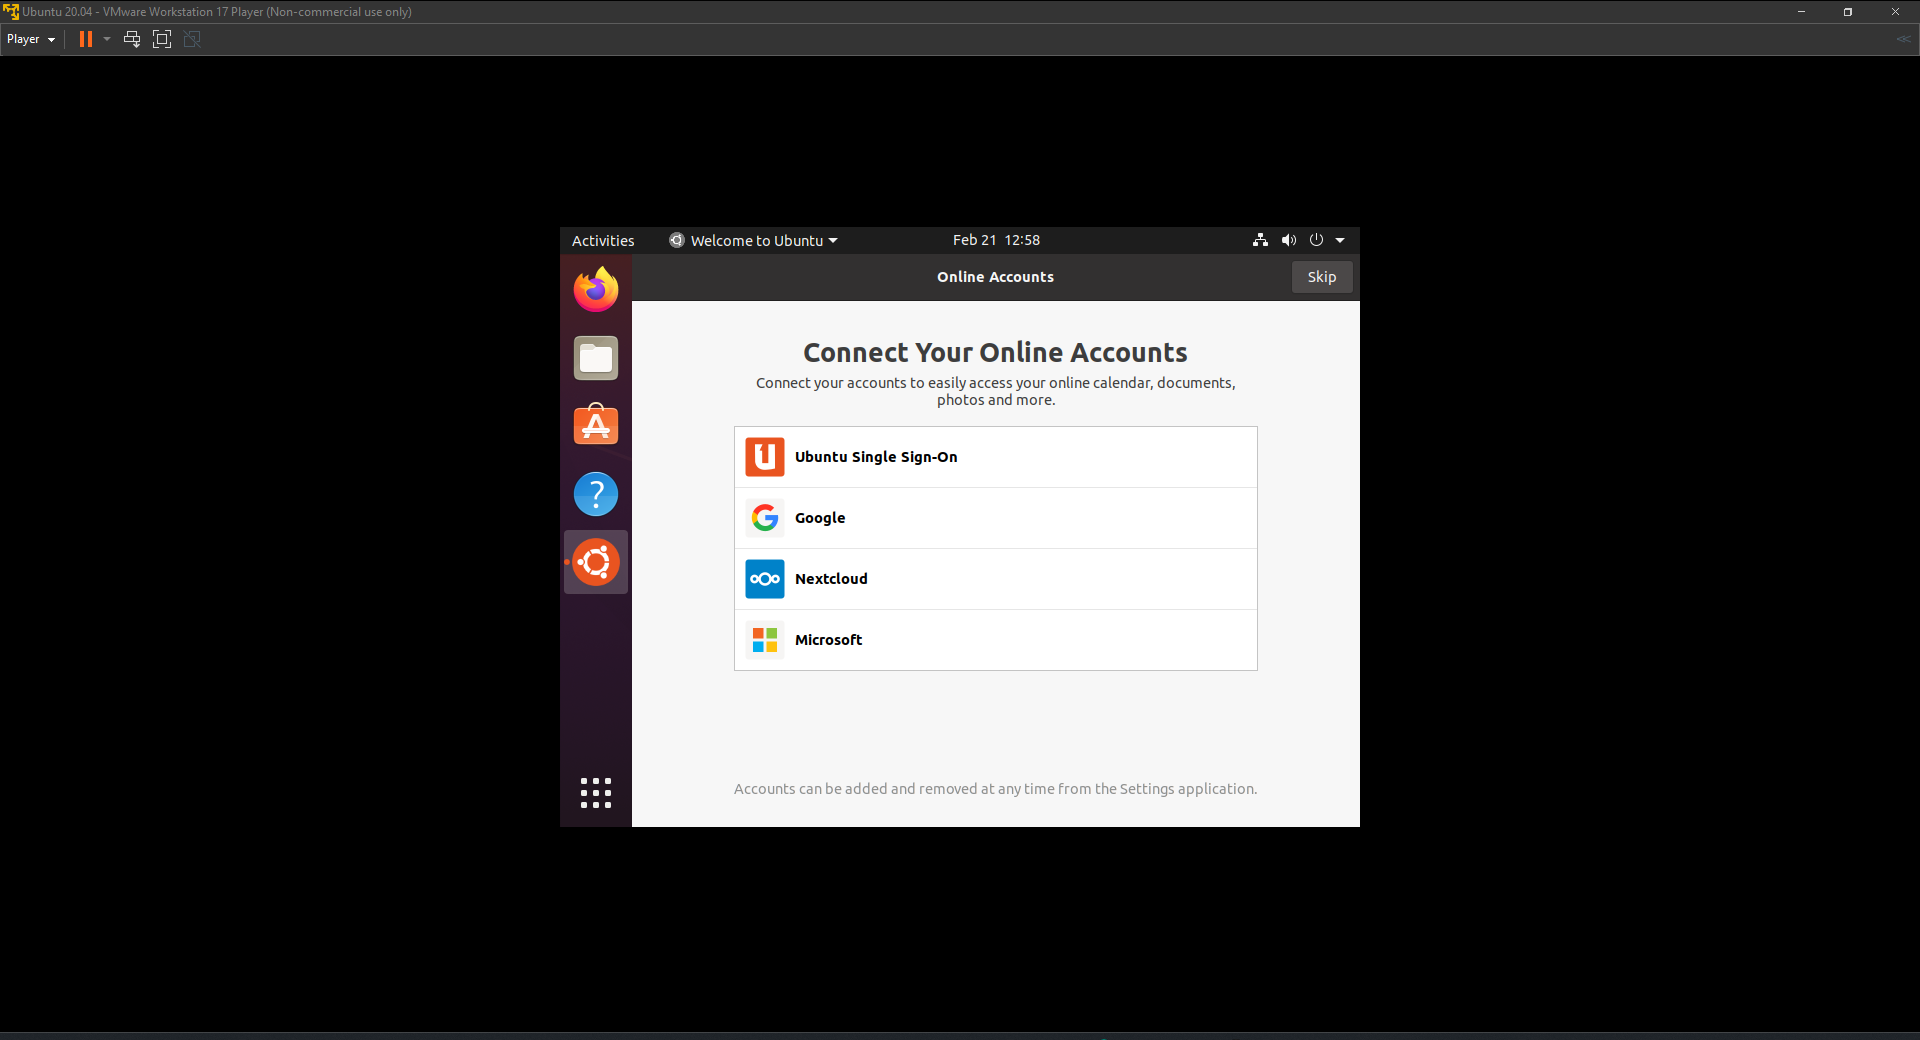
If everything goes according to plan, you now have a fully functioning Ubuntu Linux VM on your Windows PC, as shown below.
Enjoy the versatility of your new virtual machine and the opportunities it offers. Be it for testing, learning, and running different OSes and applications in an isolated and controlled environment.
Fixing the VMware Workstation Compatibility Error
When you are all set to dive into virtualization, a compatibility error can wrench your plans, just like this VMware Workstation and Device/Credential Guard are not compatible error.
Typically, this error occurs on Windows 10 and Windows 11 systems where Device Guard or Credential Guard is enabled. These features often conflict with VMware Workstation, as they use Hyper-V technology that is incompatible with VMware’s default settings.
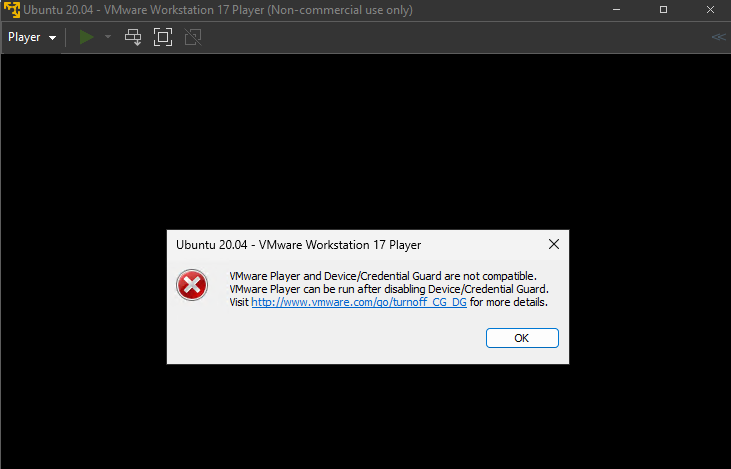
To fix this compatibility error, you must disable Device Guard or Credential Guard as follows:
1. Launch PowerShell with administrative privileges and execute the bceditcommand below to disable Hyper-V temporarily.
bcdedit /set hypervisorlaunchtype off 
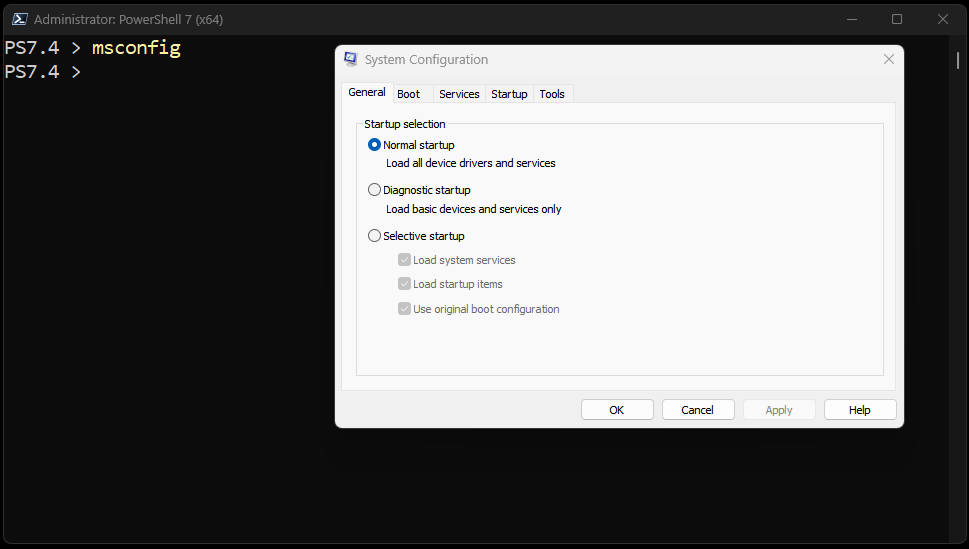
2. Once disabled, execute the following msconfig command to open the System Configuration window.
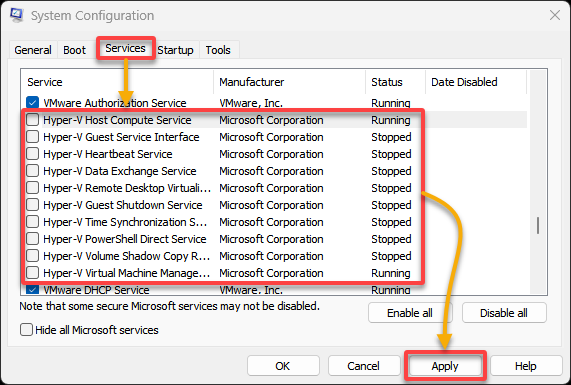
3. Disable Hyper-V-related services with the following:
- Navigate to the Services tab to view all services that start with the OS.
- Look for services related to Hyper-V and untick the boxes next to them.
- Click Apply, then OK to save and apply your changes.
4. Now, download the Device Guard and Credential Guard hardware readiness tool from the official Microsoft website and extract the downloaded zip file.
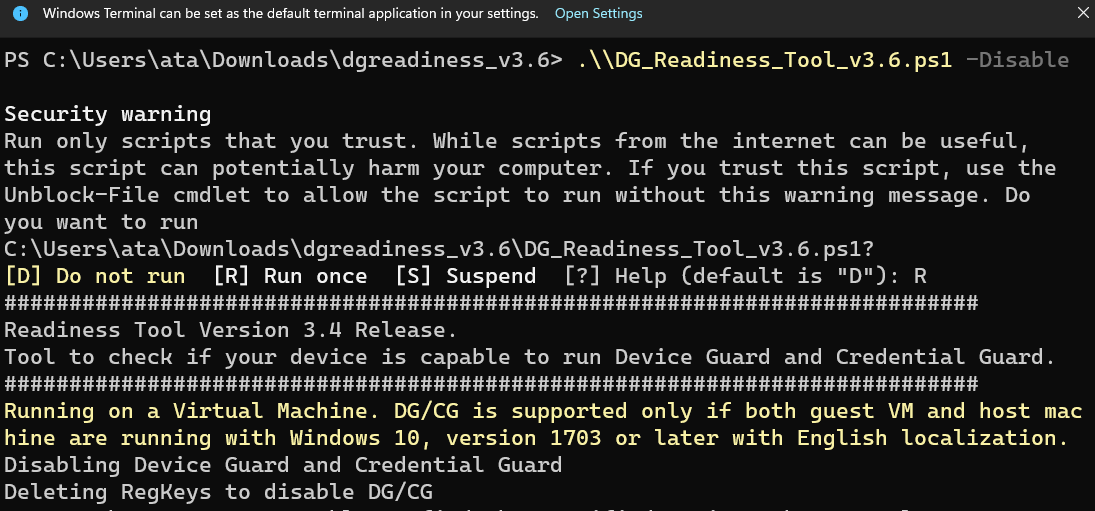
5. Within the extracted files, locate the PowerShell script named DG_Readiness_Tool_v3.6.ps1 (version number may vary).
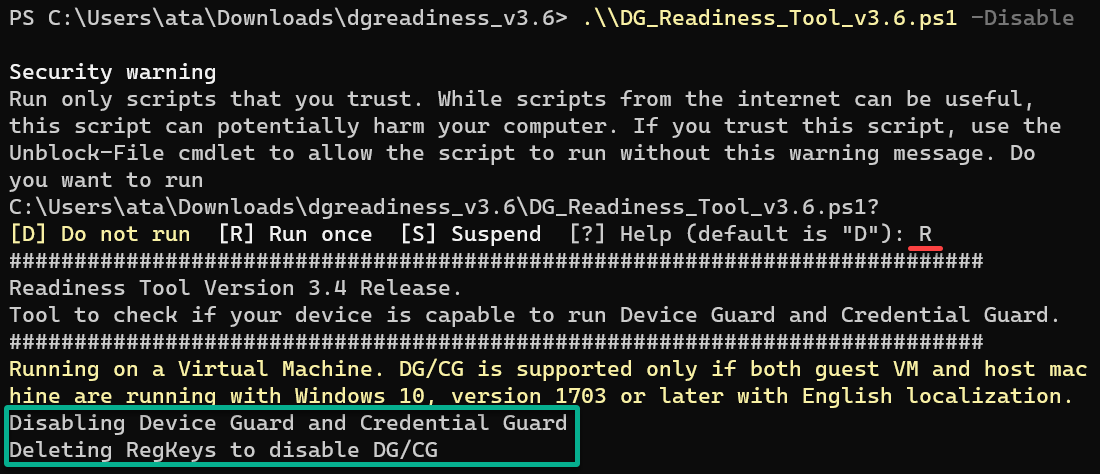
6. In your PowerShell console, navigate to where you extracted the tool and execute the script to -Disable Device Guard or Credential Guard.
.\\DG_Readiness_Tool_v3.6.ps1 -DisableInput R and press Enter when prompted to continue running the script.
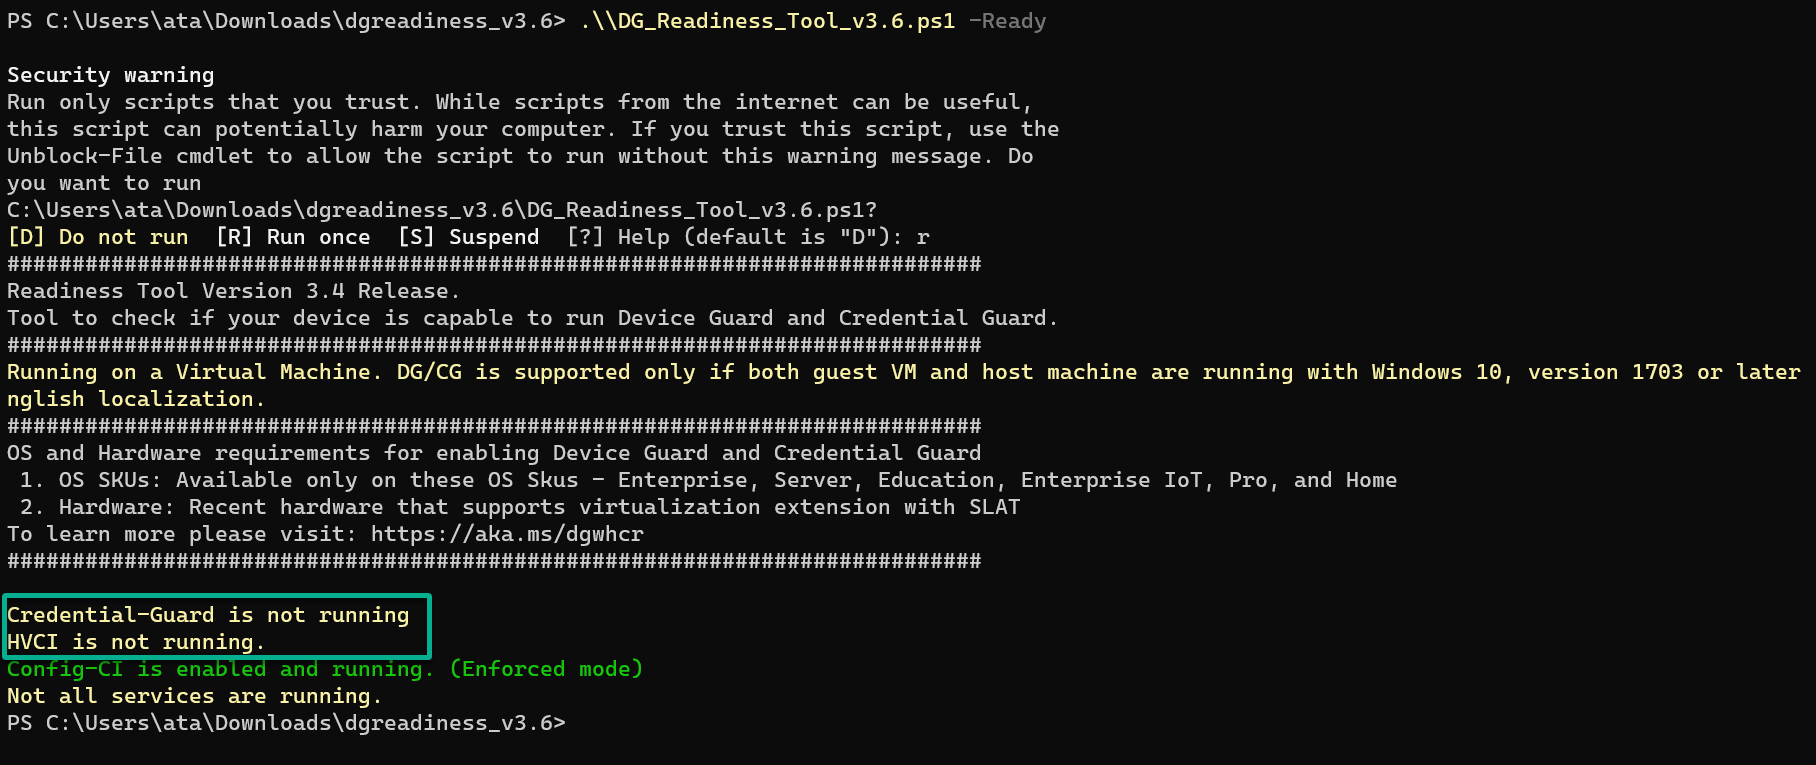
7. Subsequently, execute the same command to attempt disabling Device Guard or Credential Guard.
.\\DG_Readiness_Tool_v3.6.ps1 -ReadyThe output below confirms the script has performed the necessary changes.
8. Finally, restart your computer to ensure all changes take effect, and attempt to start your VM again.
Following the steps correctly fixes the compatibility error, allowing you to use VMware Workstation without Device Guard or Credential Guard interference.
Conclusion
As you wrap up this journey of setting up the VMware Workstation Player on Windows, you have now equipped your PC with a robust platform for delving into virtualization. No longer confined to physical hardware limitations, you have the freedom to explore, develop, and test across various OSes and applications within the safe bounds of VMs.
As you move forward, there are many possibilities and opportunities to explore. Why not automate the creation of VMs? Or integrating with other VMware tools and platforms?
Keep learning, keep growing, and always stay curious. The world of virtualization awaits you!


