


In the modern world, everyone is on the lookout for methods to enhance their productivity. If you’re part of this group, a virtualization software like VMware Fusion could be your solution.
This empowers you to operate multiple operating systems on a single Mac computer. This capability is invaluable when you need diverse software tools for varied projects. In this article, we’ll delve into the process of setting up and initiating a Windows VM on your Mac.
Excited to integrate into your workflow? Continue reading to harness the power of virtualization.
Prerequisites
This tutorial offers a hands-on approach. To ensure a smooth experience, ensure you possess the following:
- A macOS computer (2011 or newer) equipped with:
| A minimum of 4GB RAM |
| At least 50GB of free disk space. |
| An Intel CPU. It’s crucial to note that as of this guide’s writing, it doesn’t support Apple’s M1 chips. Attempting to install the Windows OS on an M1 Mac could result in a black screen error. |
- A Windows ISO image. For this guide, we’re utilizing Windows 10 21H2 Pro, but other editions are compatible.
How to Download and Install VMware Fusion
A standout feature is its compatibility with macOS. This feature enables you to run your cherished Mac apps on a Windows PC, and conversely.
It’s available in two editions: the player and the pro. While the pro version boasts additional functionalities, the player variant suffices for the majority of users.
The prices for the two versions might seem steep, but you have the option to avail a 30-day free trial to gauge if it offers value for money.
To download, follow the steps outlined below:
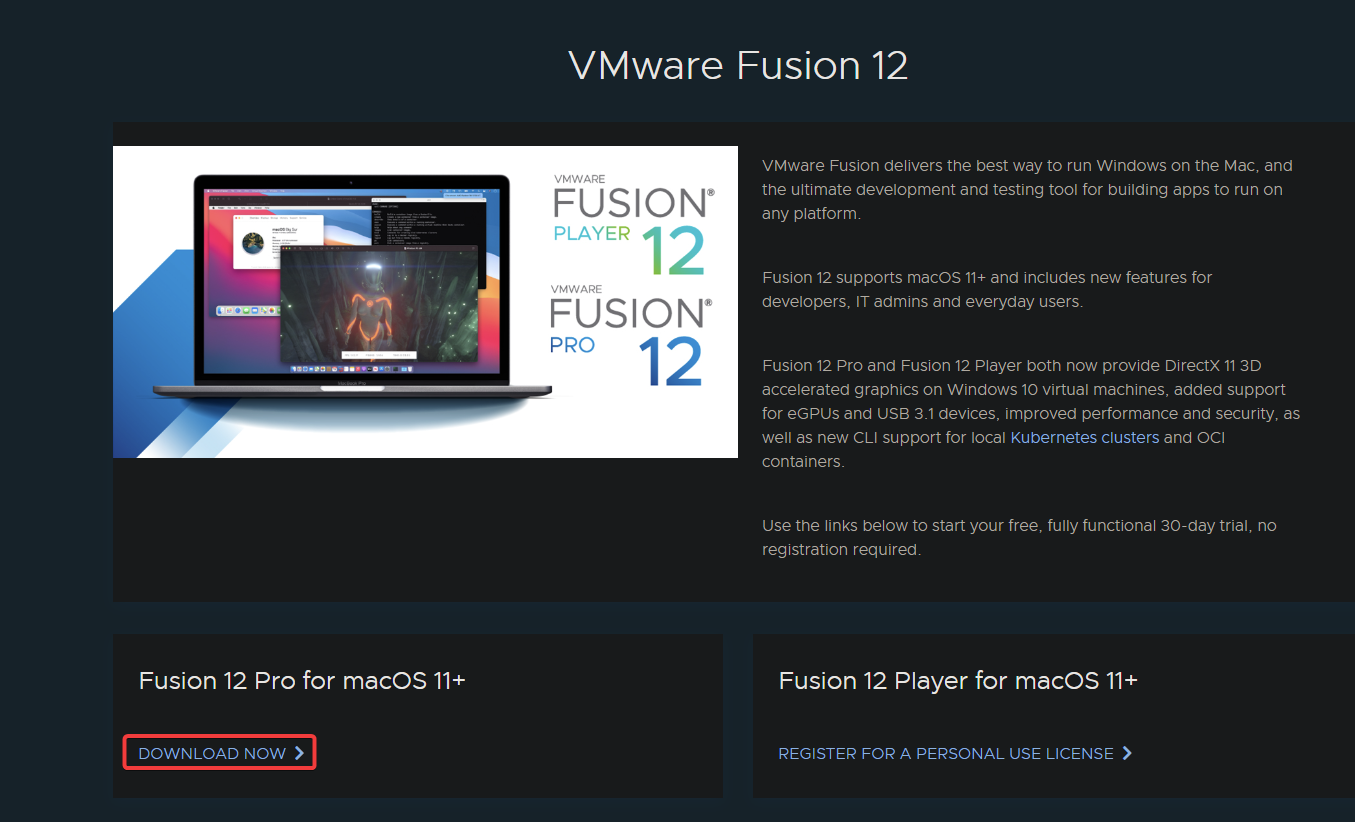
1. Launch your preferred web browser and navigate to the official download page.
2. Decide on the version that best fits your needs. For the purposes of this tutorial, select the DOWNLOAD NOW option under Fusion 12 Pro for macOS 11+ (the latest version at the time of this writing).
3. Store the disk image file (.dmg) in the Downloads directory on your computer. Given that the file size is approximately 800MB, the download duration might vary based on your internet connectivity.
4. Verifying File Download
Once the download completes, run the ls command in your terminal to list the contents of your Downloads folder to ensure the file exists.
ls DownloadsYou should notice a file named similarly to the one showcased below.

Mounting the Disk Image
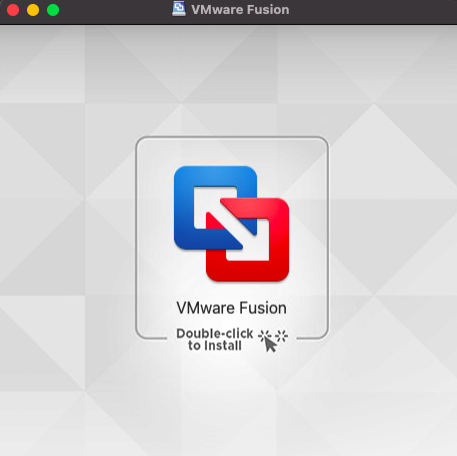
5. Double-click the .dmg file you downloaded to mount the disk image.
6. To begin the installation process, simply double-click on its icon.
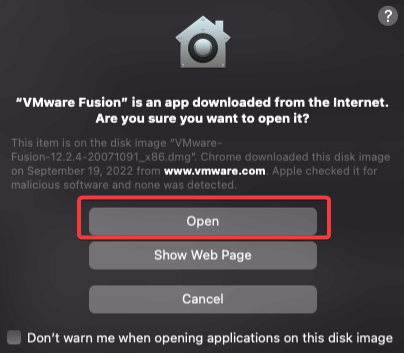
Opening the VMware Fusion Application
7. When the confirmation prompt appears, asking if you’re sure you want to open VMware Fusion, click Open.
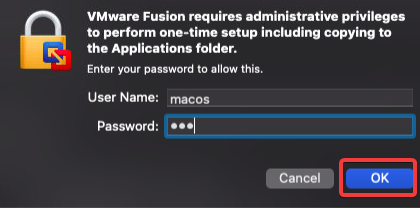
Initiating VMware Fusion Installation
8. macOS will prompt you for your user account password. Provide it and click OK. This authentication is required since you’re installing VMware Fusion, an application that will modify your system settings.
Understanding VMware Fusion’s Main Interface
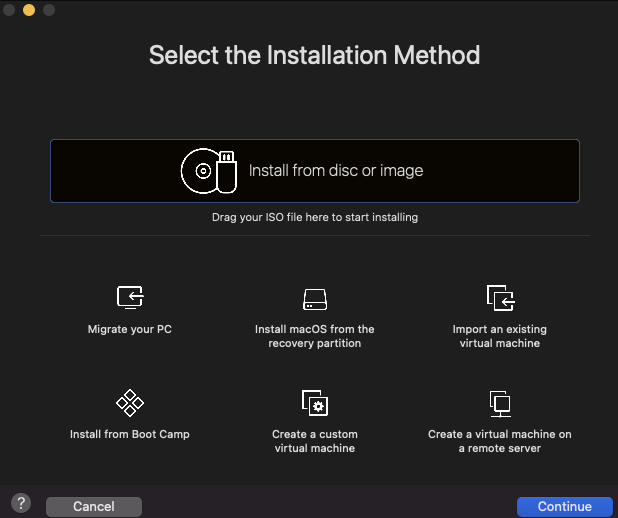
9. Once the installation finishes, you will see VMware Fusion’s main window. Here are the commonly-used actions and their respective functions:
| Action | Function |
| Install from disc or image | Install an operating system from a CD/DVD or an ISO image. |
| Import an existing virtual machine | Import a VM created with other software like Parallels Desktop, VMware Workstation, or VirtualBox. |
| Create a custom virtual machine: | Begin from scratch, especially if you’re installing an OS not mentioned in the previous options. |
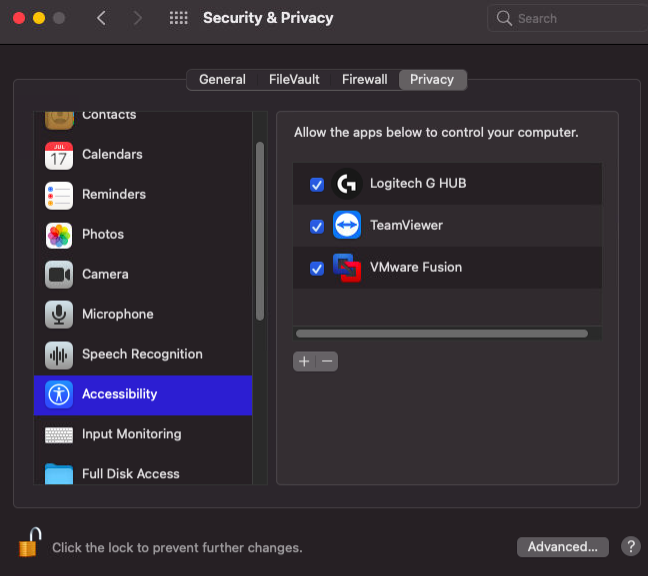
Configuring macOS Settings for VMware Fusion
10. Lastly, navigate to Settings → Accessibility → Privacy and check the box next to VMware Fusion. This step is crucial, allowing VMware Fusion to have control over your Mac and enabling smooth VM operations.
Constructing a New VM using VMware Fusion and Installing Windows
With VMware Fusion installed on your macOS, you’re geared up to initiate your first virtual machine (VM). If you’ve previously engaged with platforms like VirtualBox or Amazon’s EC2, the process with VMware Fusion will seem intuitive.
Dual booting is advantageous for operating multiple systems. However, it carries certain risks. VMware Fusion offers a seamless method to experience Windows without the commitment of dual booting.
To fabricate a VM on your macOS:
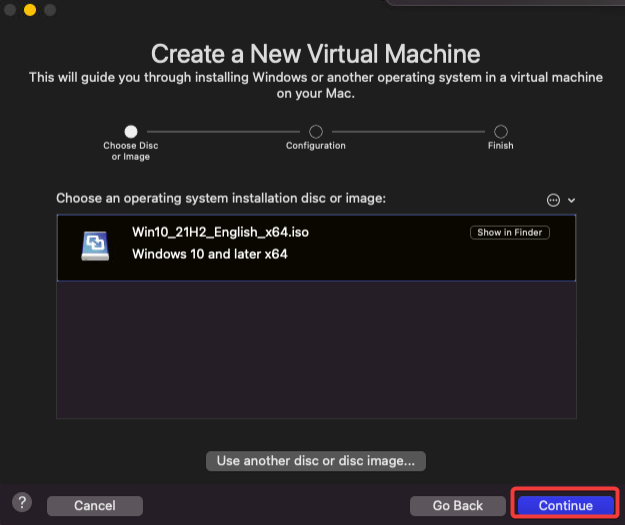
1. Start by dragging and dropping your Windows ISO image to the main window. This action will initiate the New Virtual Machine assistant.
Remember, VMware Fusion mandates the drag-and-drop technique for Windows ISO images. .exe files aren’t valid here as they aren’t bootable images. Though a .exe file can interface with an existing VM, discussing that process would diverge from this tutorial’s objective.
2. Once you observe the ISO image you introduced listed under the Choose Disc or Image section, proceed by clicking Continue.
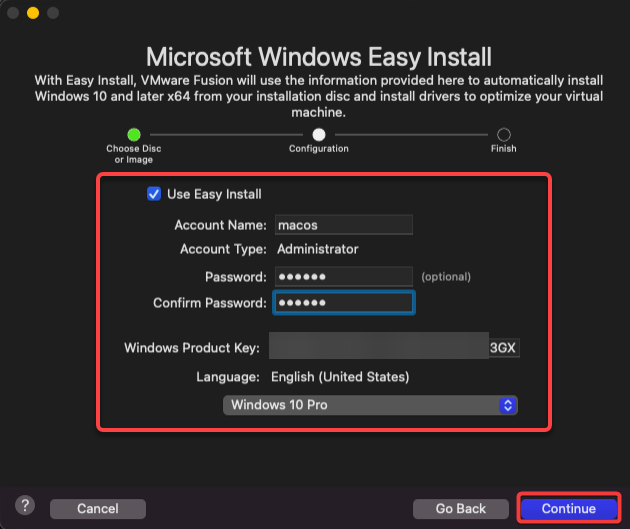
3. Following that, configure the Easy Install parameters for the fresh VM in VMware Fusion:
- Use Easy Install – Enable this checkbox to automate the VM installation process. Default settings, perfect for this tutorial, will be employed.
- Account Name – Establish a user account name, or stick with the suggested default, which will take form during Windows installation inside VMware Fusion.
- Password and Confirm Password – Craft and verify a password for this new account.
- Windows Product Key – Introduce a valid product key for Windows.
- From the dropdown, pick the apt version of Windows, ideally, Windows 10 Pro for this guide.
- Retain all other default configurations and click Continue.
Choosing Integration Levels for your Windows VM
4. It offers various integration levels for your Windows VM. Here’s what each one does:
| Integration Level | Function |
| More Seamless | With this choice, you’ll automatically share files and folders between your Windows VM and macOS. They’ll be accessible via the Finder app on macOS. While it offers convenience, there’s a trade-off: a compromised Windows VM might risk your macOS. |
| More Isolated | This keeps your Windows VM and macOS separate. No file sharing occurs, boosting security at the cost of some convenience. |
For the purpose of this tutorial, let’s select the More Seamless option and proceed by clicking Continue.

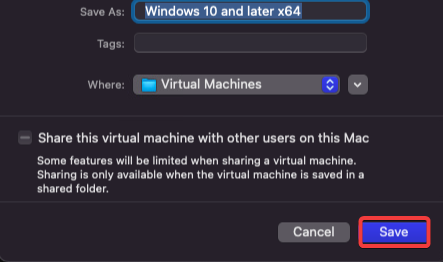
5. Once you’ve settled on your settings, review them one last time, then hit Finish. This will both initiate the creation of your Windows VM and kick off the installation process.

6. Upon prompting, save your VM. After this, the Windows installation will commence on your newly-created VM.
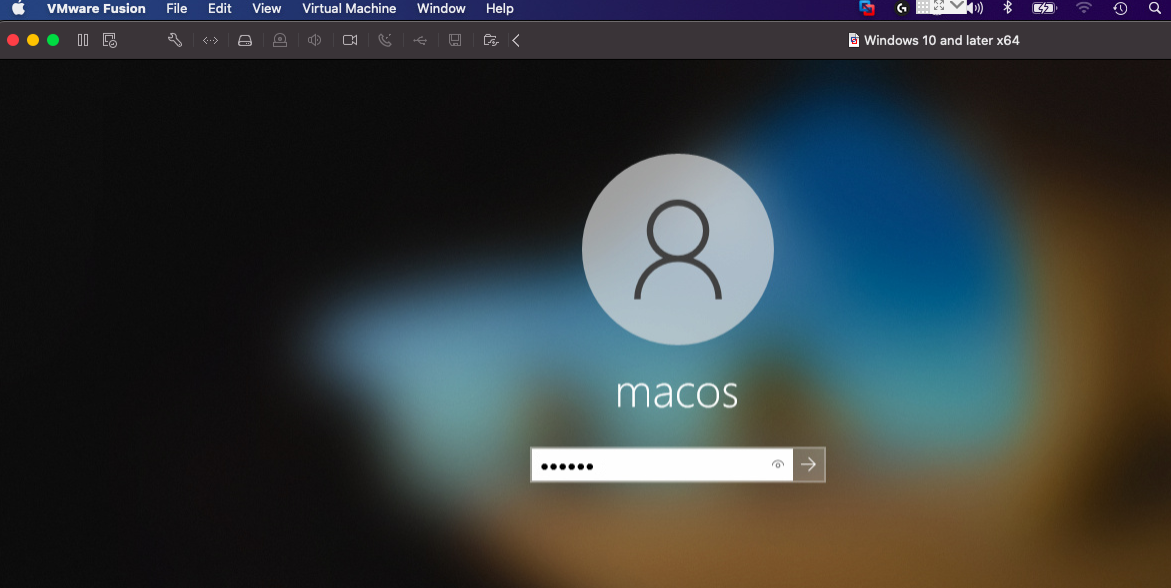
7. Simply follow the displayed instructions to wrap up the Windows installation on your VM. Upon completion, you’re greeted with the Windows login interface (as seen in step eight).
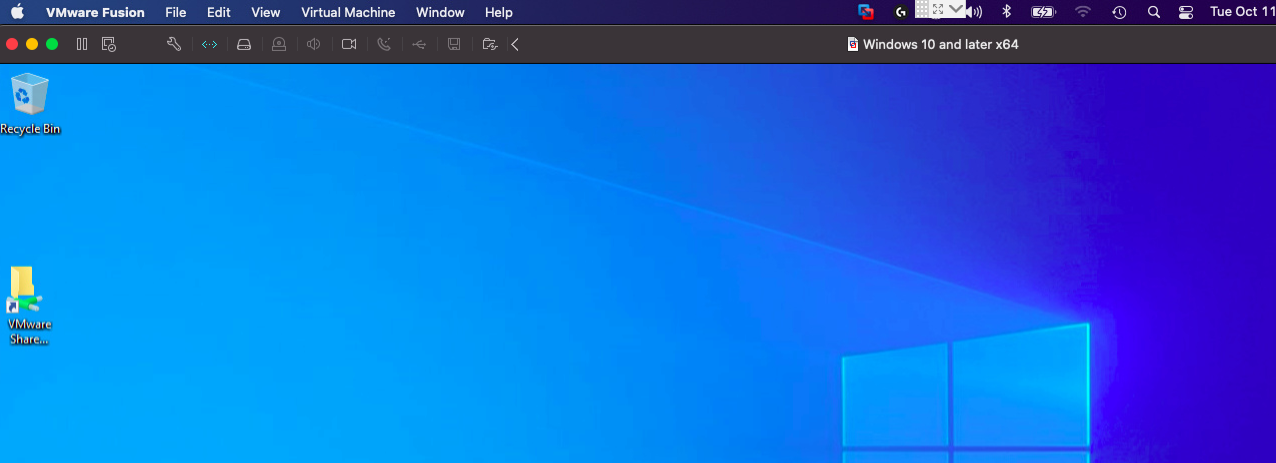
8. Input the user credentials you determined in step three to access your Windows VM.
Upon a successful login, it will display the Windows Desktop on your VM, as showcased below.
Rounding up Virtualization Capabilities
It emerges as a formidable ally for hosting VMs on a Mac. It’s user-friendly and packed with features. Through this tutorial, you’ve grasped how to set up a VM and then install a Windows OS on your Mac.
Why not delve further? Explore different operating systems, or even introduce additional applications to your Windows VM in VMware Fusion and operate them concurrently with Mac apps.


