


As you know, the macOS Terminal is one of the most powerful tools at your disposal. But did you know that an even more powerful tool is available to power users? Yes! iTerm, a terminal emulator for macOS, is a replacement for the Terminal.
In this tutorial, you’ll learn how to unleash the full potential of your macOS Terminal using iTerm, a powerful third-party terminal emulator.
Read on and take your macOS Terminal skills to the next level!
Prerequisites
This tutorial will be a hands-on demonstration. If you’d like to follow along, be sure you have a macOS computer with Homebrew installed. This tutorial uses Mac M1 Air running Monterey, although any relatively recent macOS should work fine.
Installing iTerm Using the Homebrew Package Manager
iTerm is a feature-rich terminal emulator that offers many features and customization options that are simply unavailable in the default macOS Terminal. But since iTerm is a third-party tool, you’ll have to install iTerm before you can it
There are different ways you can install iTerm, such as using Homebrew or the iTerm official installer. In this tutorial, you’ll install iTerm with Homebrew to start.
If you prefer to install the latest stable release, jump to the “Installing iTerm Using Installation File from Official iTerm Website” section.<>
To install iTerm using Homebrew:
1. Open the Terminal application, and run the below command to verify if Homebrew is already installed.
brew --version The output below indicates Homebrew is already installed.

2. Next, run the below brew update command to update Homebrew to ensure you have the latest package repository data.
brew update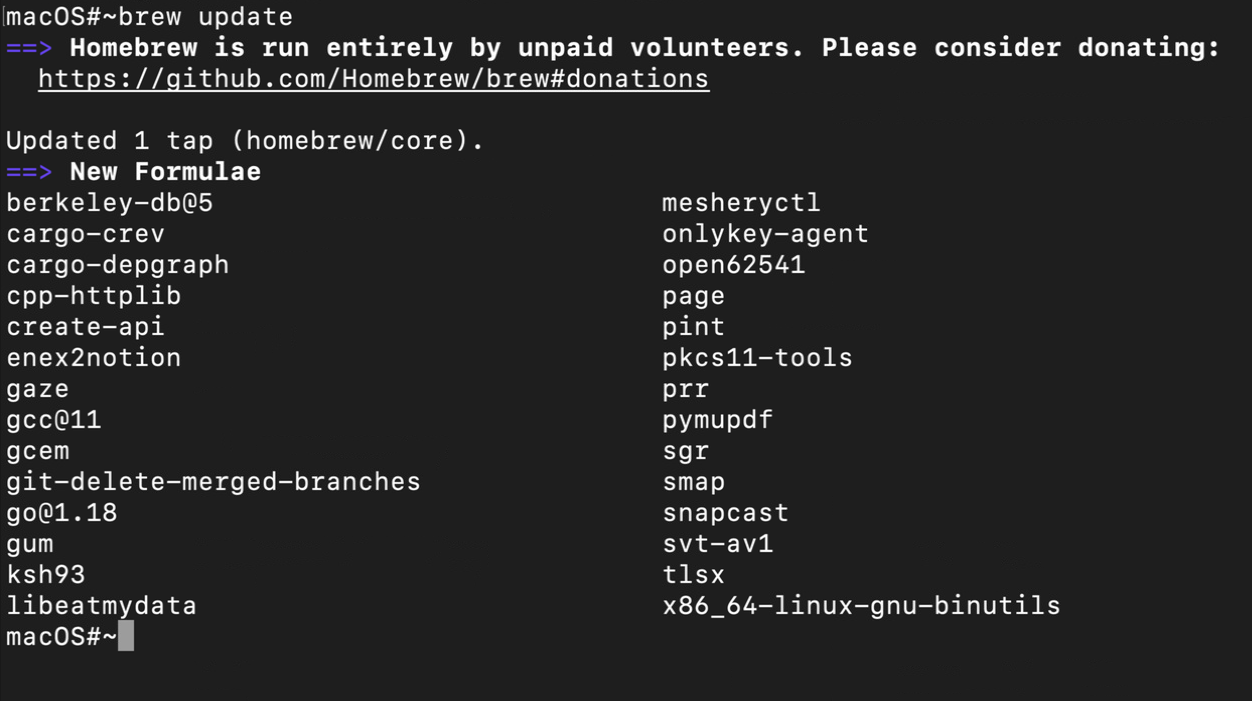
3. Once updated, run the following brew install command to install iTerm (iterm2).
The –cask flag tells Homebrew to install the software from a Cask, a Homebrew extension that allows the installation of macOS GUI applications. In this case, the iTerm2 Cask will be downloaded and installed.
brew install --cask iterm2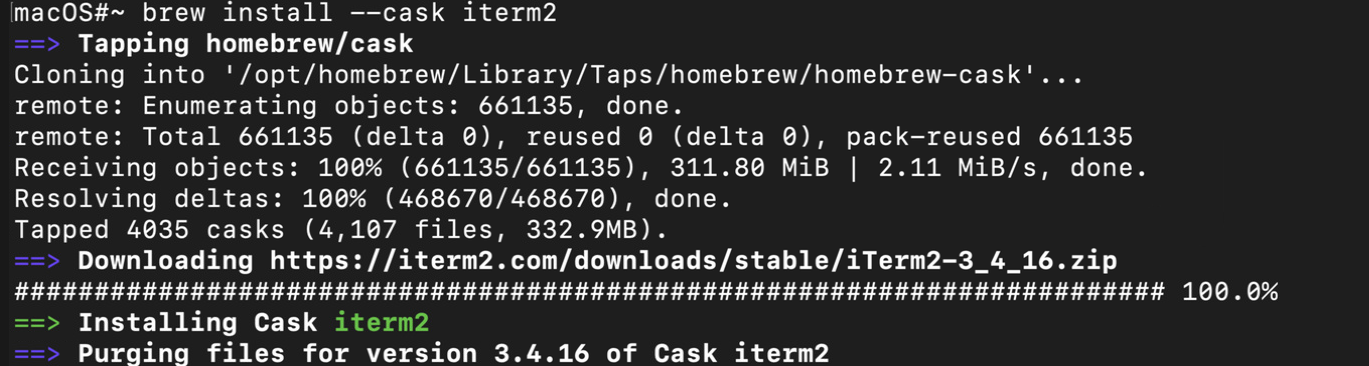
4. Now, run the mdfind command below to search for and verify all files with the com.googlecode.iterm2 identifier, which is associated with iTerm2. This command returns the location of the iTerm application.
mdfind "kMDItemCFBundleIdentifier == com.googlecode.iterm2”
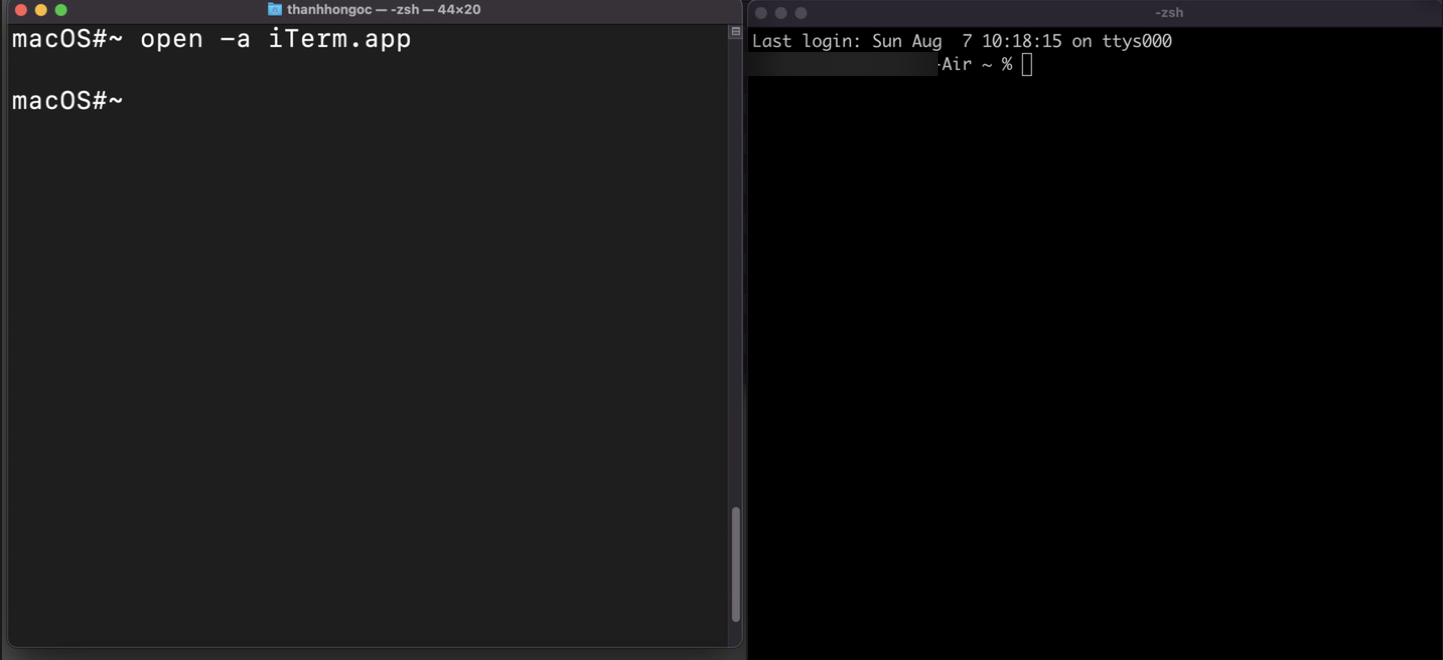
5. Lastly, run the below command to open the specified (-a) iTerm application (iTerm.app).
open -a iTerm.appThe screenshot below shows the default Terminal (left) and iTerm (right) applications.
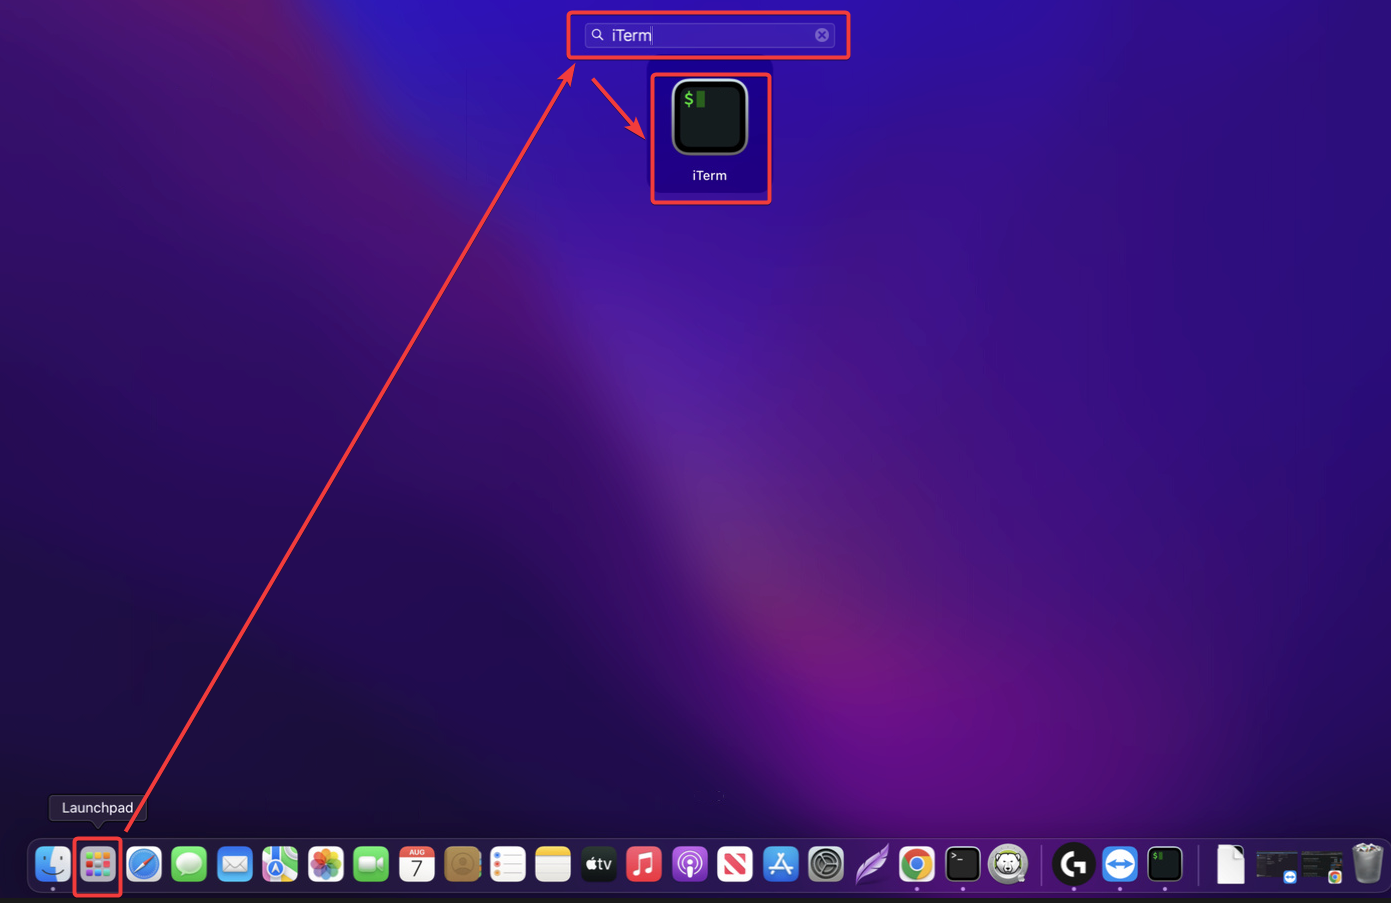
Alternatively, you can open iTerm via Launchpad by searching for iTerm in the search bar, as shown below.
Installing iTerm via the Official iTerm Installer
If you’re uncomfortable using Homebrew to install applications, another way to install iTerm is by using a zip file from the iTerm website. This method will do you a favor if you prefer to install iTerm’s latest stable release or if you prefer to install an older version of iTerm for some reason.
The only downside of this method is that it requires more manually downloading and moving files around than the Homebrew method.
To install iTerm via the official installer package:
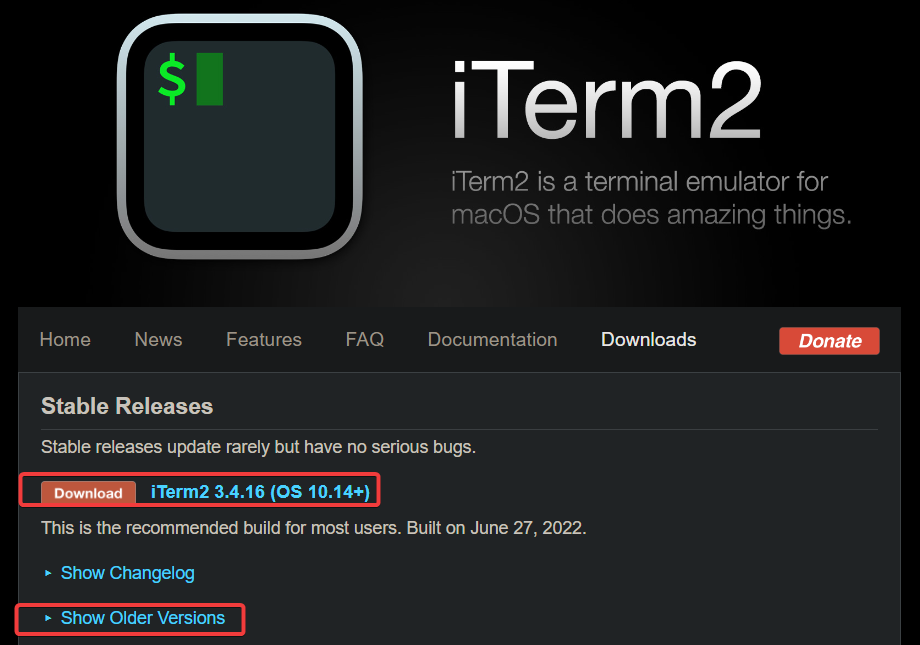
1. Open your web browser, and visit the official iTerm download page.
2. Next, click on the download link for the latest stable release, version 3.4.126, at this time of writing.
If you prefer to download an older version of iTerm, click on Show Older Versions and pick one available from the list.
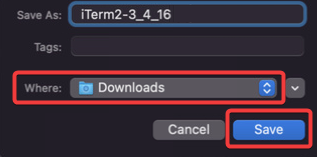
3. Select a location you can find easily (the Downloads folder, for example), and click Save to save the iTerm zip.
Once downloaded, you’ll have a file named iTerm<version>.zip in your specified location.
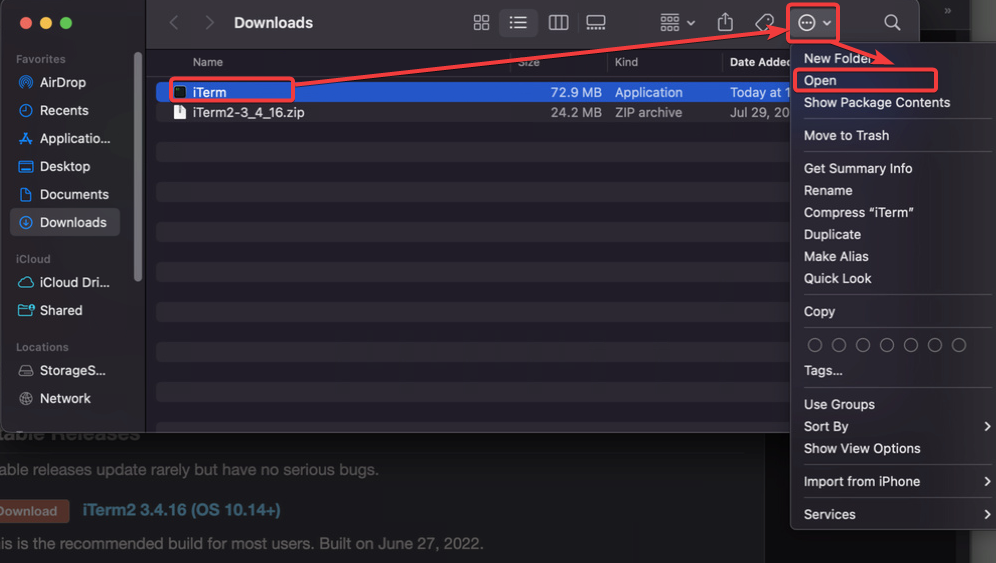
4. Now, open Finder, and unzip the downloaded zip file.
After unzipping, you’ll see a new iTerm file in the exact location as the original zip file, as shown below.

5. Select the iTerm file → click on the ellipsis icon → Open to install iTerm.
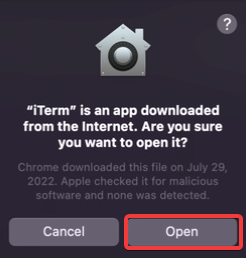
6. Click Open when prompted, as shown below. This prompt appears because the iTerm application is from an unidentified developer.
But no worries. The application can be trusted since you downloaded it directly from the iTerm website.
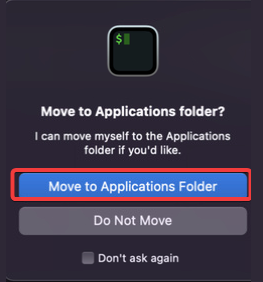
7. Finally, click Move to Applications Folder to complete the installation.
macOS asks you to move the iTerm application to the Applications folder for iTerm’s proper installation.
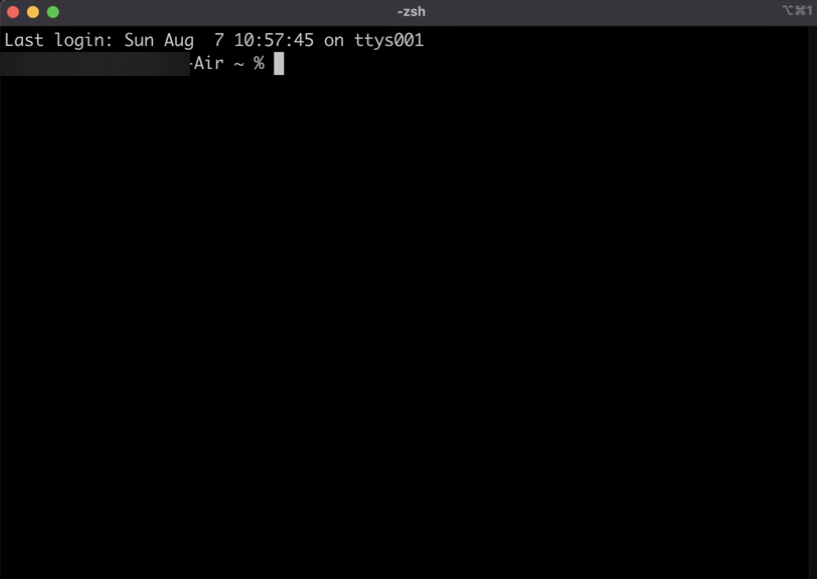
iTerm automatically launches after installation, as shown below.
Restoring Terminal Sessions Automatically
Now that iTerm is installed, it’s time to configure some of iTerm’s necessary settings, particularly the session restoration feature. This feature allows you to restore your iTerm terminal sessions when you relaunch the application.
This feature is useful if you often have multiple terminal sessions open and your sessions suddenly quit or if your computer crashes. You can pick up where you left off without losing your work.
To enable the session restoration feature:
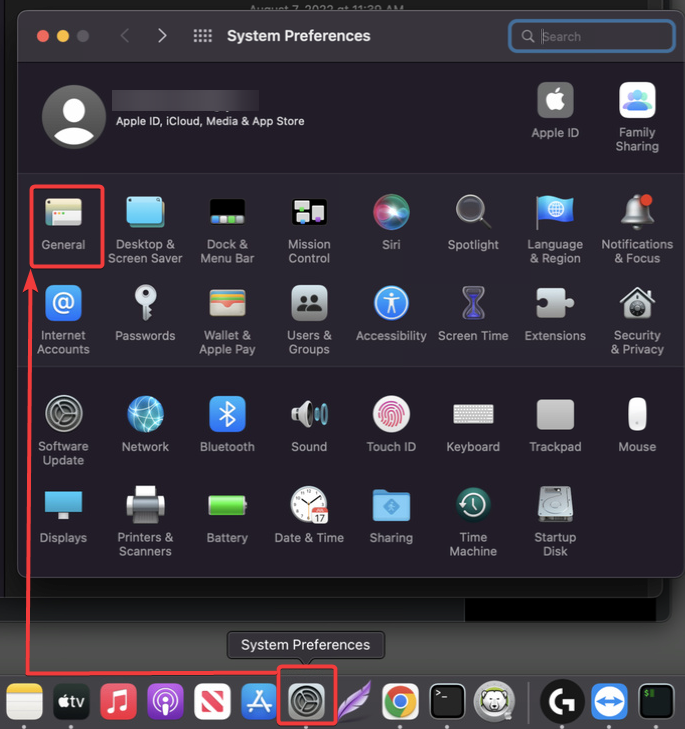
1. Open System Preferences → General to access the general settings.
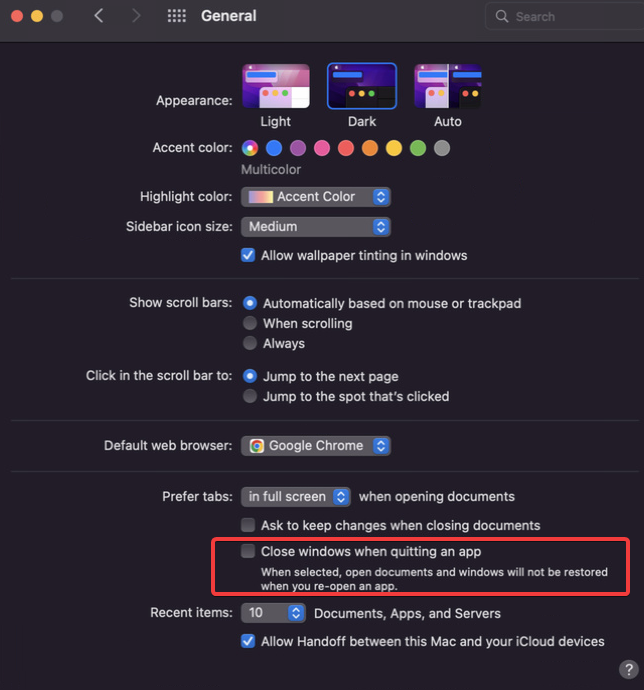
2. Next, untick the Close windows when quitting an app checkbox under the General settings.
This option is enabled by default and tells macOS to close all open windows when you quit an application. But the goal is for iTerm to keep its windows open so the session restoration feature can work properly.
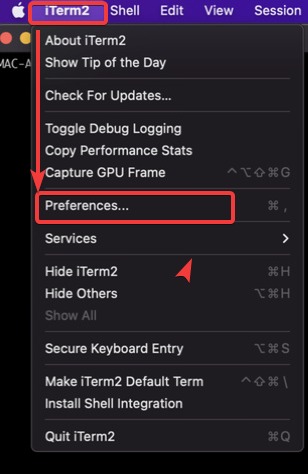
3. Click on iTerm2 menu → Preferences to open the preferences settings (step three).
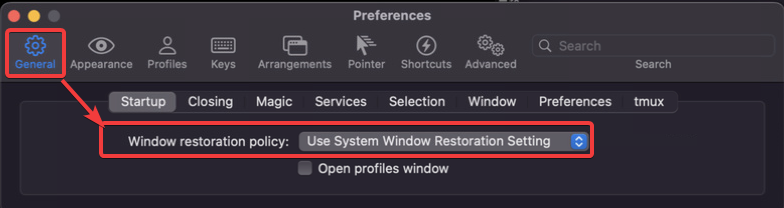
4. Under the General preferences, click on the Startup tab, and select the Use System Window Restoration Setting option from the dropdown.
This option tells iTerm to use macOS’ built-in session restoration feature. With this option selected, whenever you relaunch the iTerm application, your terminal sessions will be restored automatically.
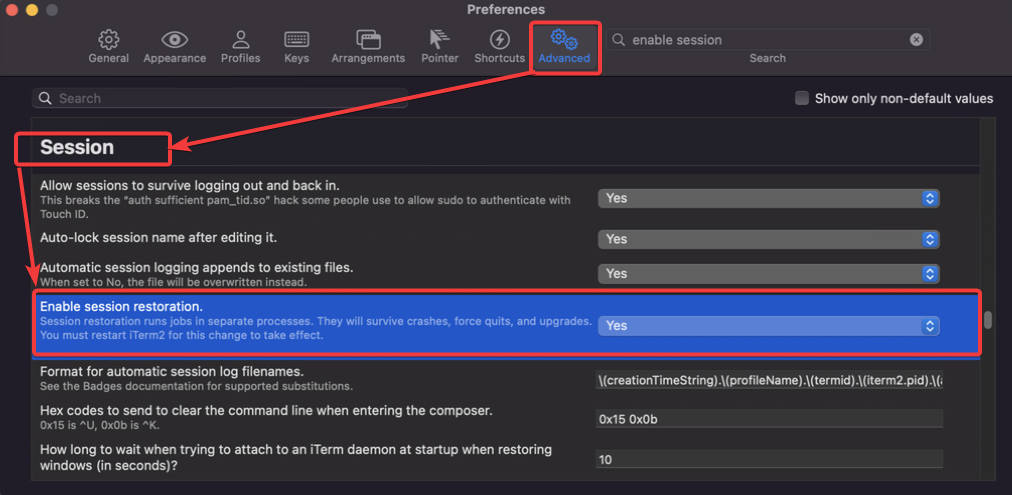
5. Now, navigate to the Advanced preference, and select Yes from Enable session restoration dropdown field under the Session section.
This option lets iTerm adequately save and restore your terminal sessions.
6. Open a new text file in your preferred text editor in iTerm and write some text in it, like “Nothing is lost”. And without saving the file, force quit iTerm to simulate a crash (Option + Right click on iTerm in the Dock > Force Quit).
7. Lastly, re-open iTerm, and your text file will still open in the text editor with the unsaved text you wrote intact, as shown below.
Now, you can save your work and continue where you left off without losing progress. The session restoration feature is truly a lifesaver.
Copying Texts to Clipboard by Highlighting
Shortcut keys are helpful, like when copying texts from a terminal, but eventually, get tiring. Why not copy texts as you highlight them?
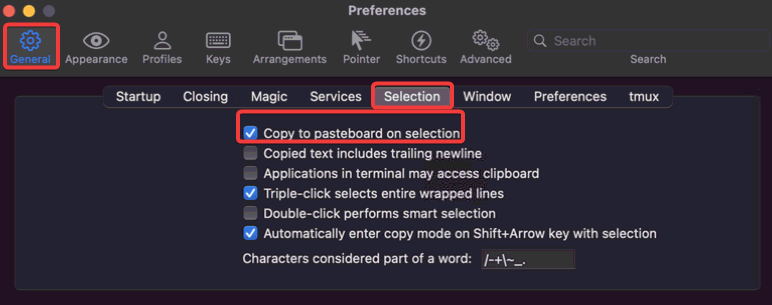
Another helpful feature that you should enable is the copy to pasteboard on selection feature. This feature allows you to copy texts automatically while highlighting them with your mouse.
On the Preferences window, navigate to the General → Selection tab, and tick the Copy to pasteboard on selection option to enable the copy on selection feature.
Now, highlight text in your iTerm terminal (left image) to automatically copy the text to your clipboard and paste the texts to your text editor (right image), as shown below.
Harnessing Auto Suggestion
Why type in an entire command or file path when iTerm can do the task for you? The auto-suggestion plugin lets you save time by suggesting possible completions for commands and file paths as you type them.
In this tutorial, you’ll install and enable the auto-suggestion plugin for iTerm using the ZSH shell.
But first, you’ll install the Oh My Zsh framework on your macOS machine, a community-driven framework for managing your ZSH configuration. Oh My Zsh comes bundled with thousands of helpful functions, helpers, plugins, and themes to make your terminal experience more efficient and customizable.
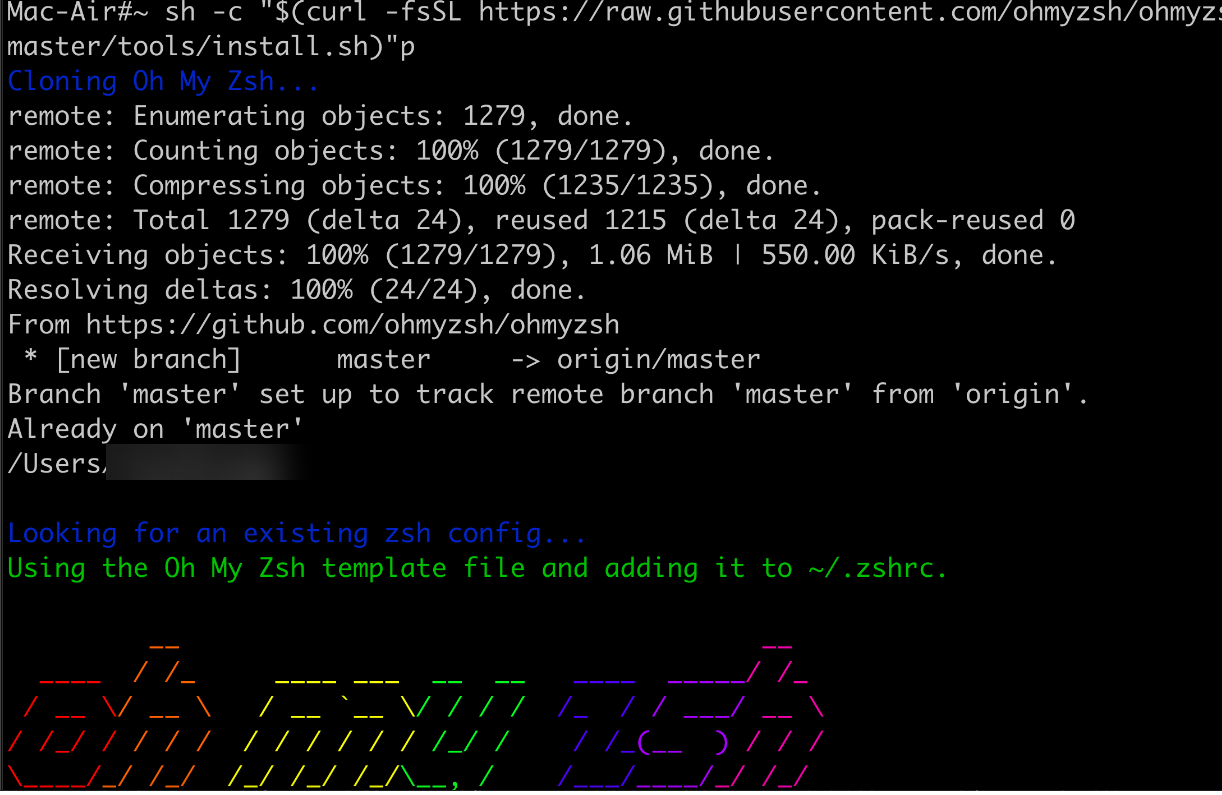
1. Run the following command to download (curl) and run (sh) the Oh My Zsh’s installer shell script (install.sh) to install Oh My Zsh.
sh -c "$(curl -fsSL https://raw.githubusercontent.com/ohmyzsh/ohmyzsh/master/tools/install.sh)"Once installed, you’ll notice your prompt change, as shown below.
2. Once Oh My Zsh is installed, run the below git command to clone the zsh-autosuggestions plugin into your Oh My Zsh custom plugins directory (ZSH_CUSTOM:-~/.oh-my-zsh/custom).
The zsh-autosuggestions plugin suggests possible completions for commands as you type them based on command history and completions.
git clone https://github.com/zsh-users/zsh-autosuggestions ${ZSH_CUSTOM:-~/.oh-my-zsh/custom}/plugins/zsh-autosuggestions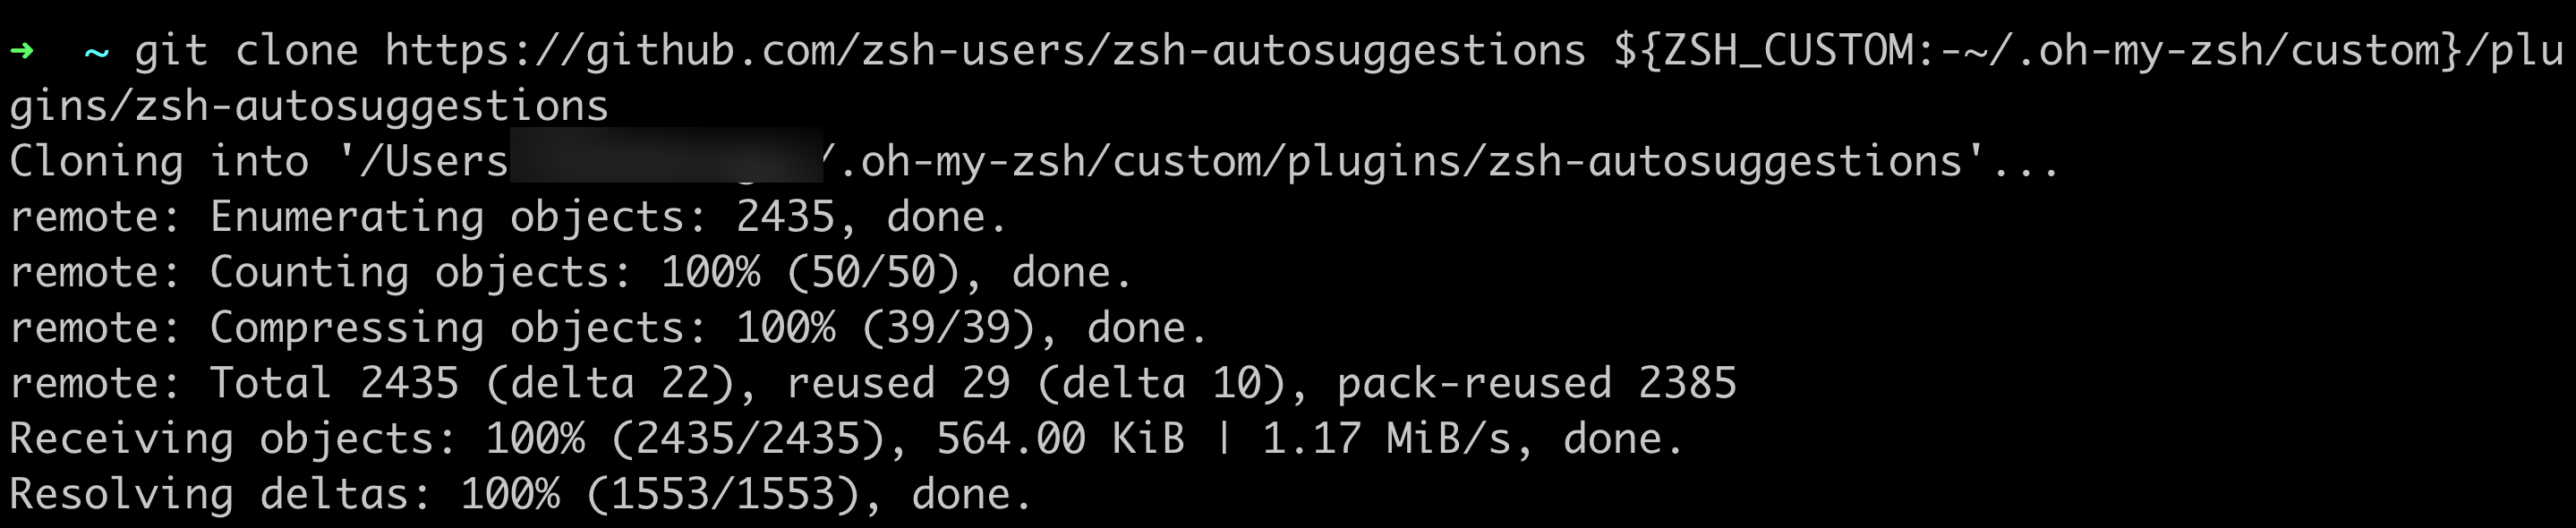
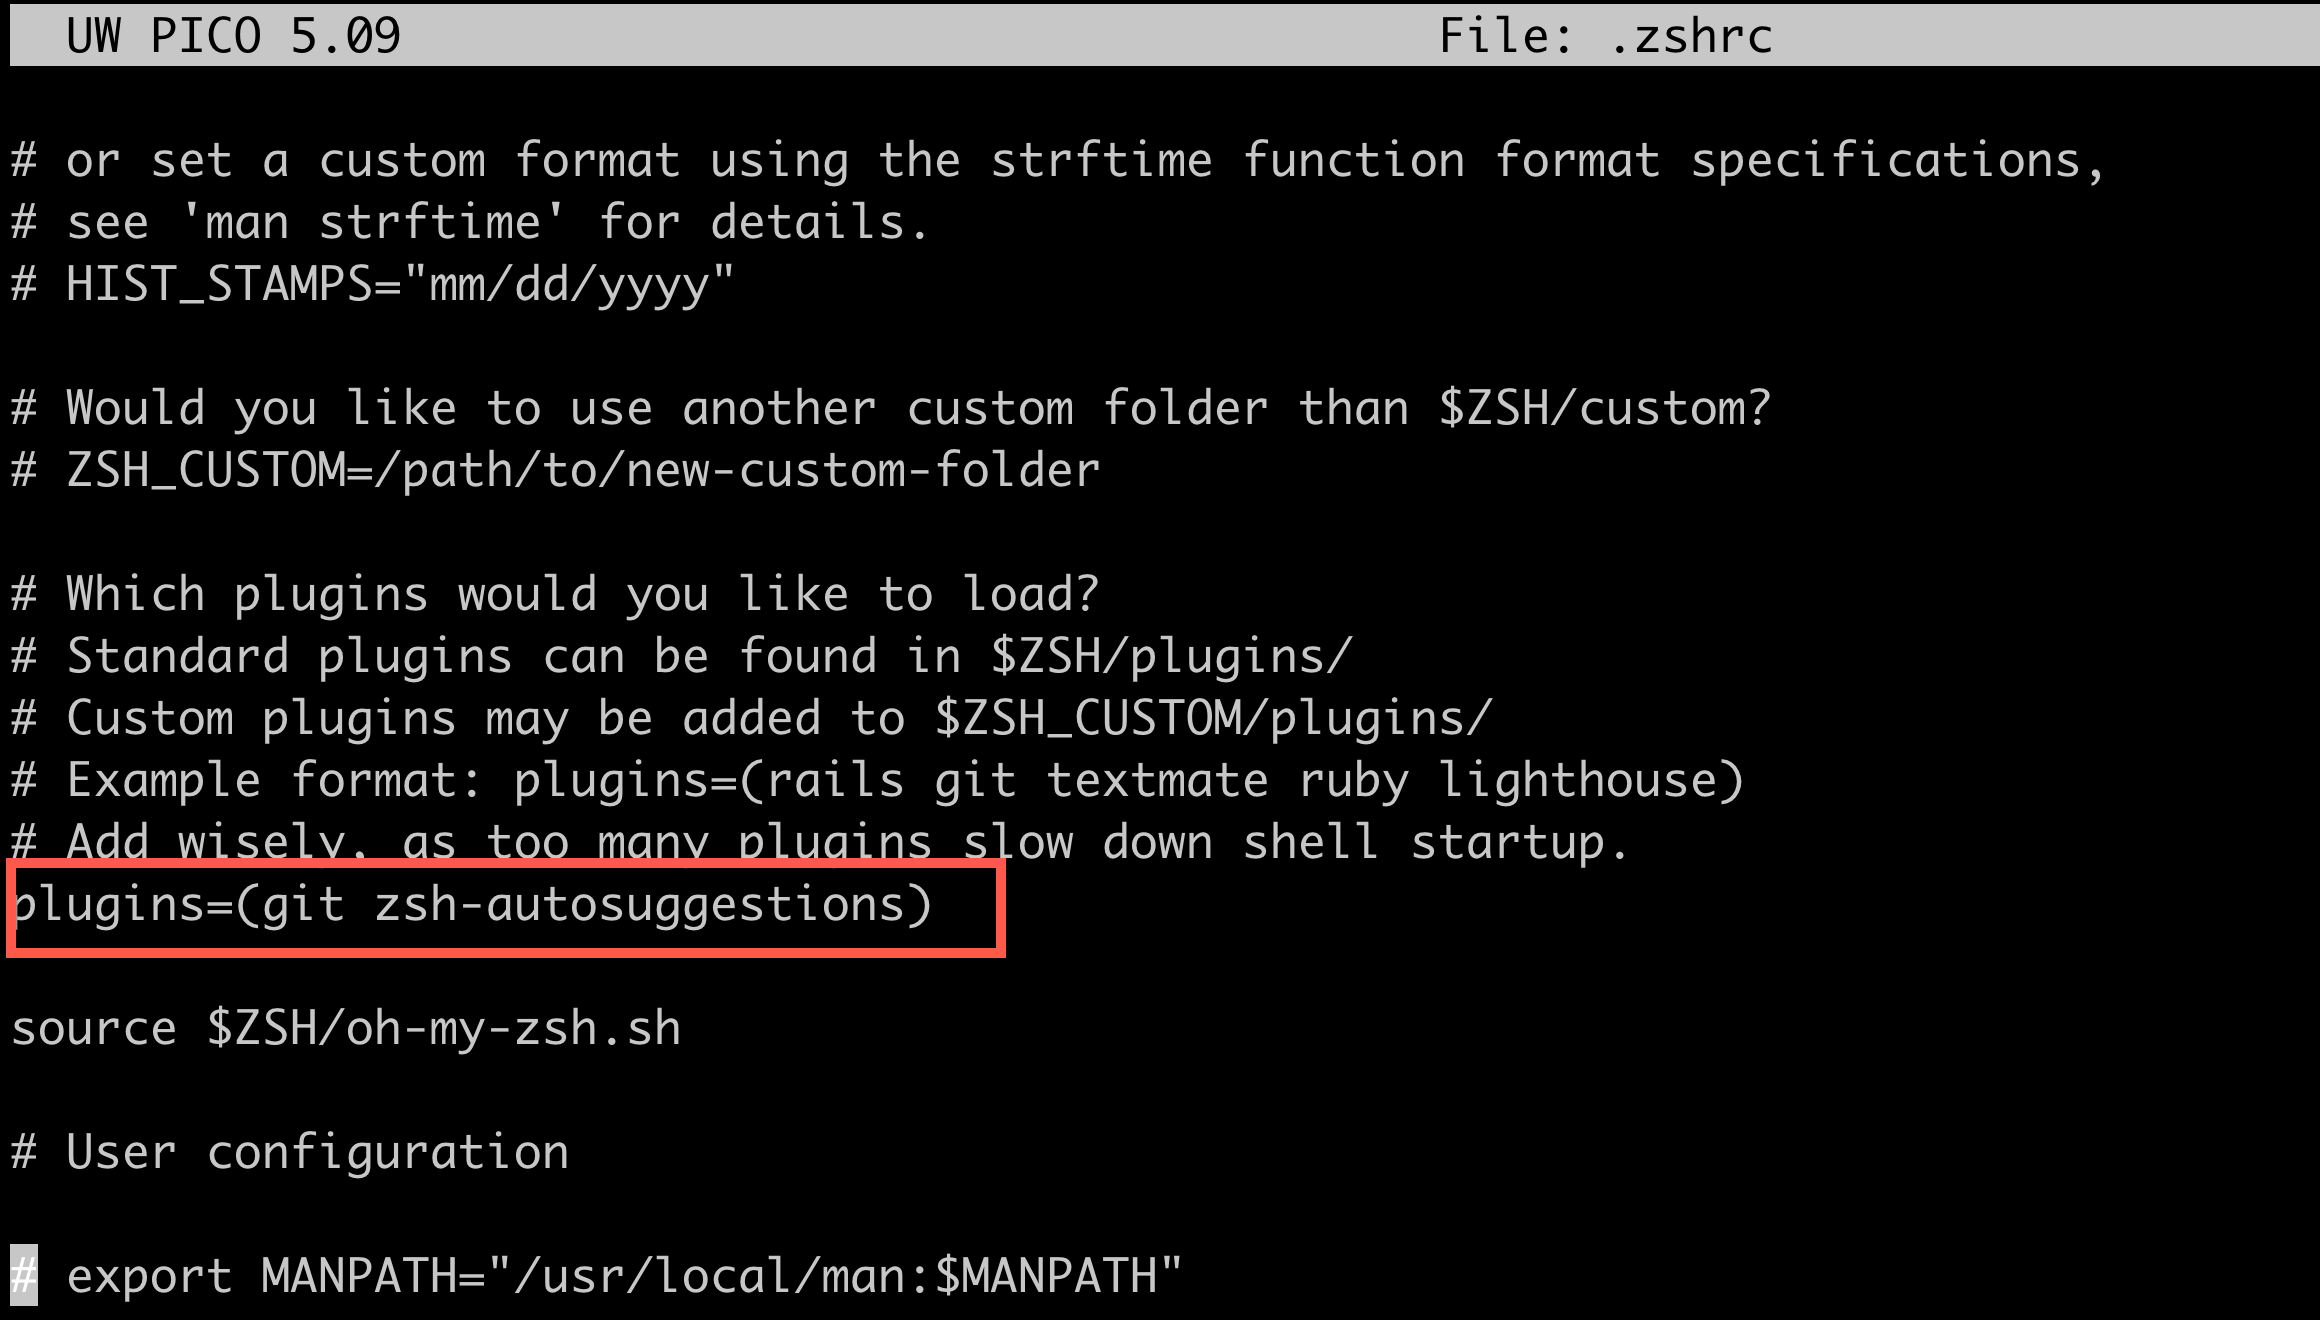
3. Open the .zshrc file (located in your home directory) in your text editor. This file contains your ZSH configuration.
4. Now, scroll down to the plugins directive, and add zsh-autosuggestions to the list of plugins, as shown below, which enables the zsh-autosuggestions plugin.
Once added, save the changes and close the file.
5. After enabling auto-suggestion, run the source command below, which doesn’t provide output but applies the changes you made to the ~/.zshrc file.
source ~/.zshrc6. Now, attempt to type a command you previously ran, and you’ll notice the suggestions appear, as shown below.
The suggestions appear in a different color than the text you are typing. This feature lets you distinguish which is which.
Press the right arrow key to accept a suggestion or continue typing to ignore the suggestion.

Highlighting Texts in Different Colors with Syntax Highlighting
The Syntax Highlighting plugin for ZSH enhances the appearance of the iTerm Terminal. How? By highlighting built-in commands, functions, parameters, and strings with different colors. This behavior makes reading and understanding command outputs less complex.
To install and configure the Syntax Highlighting plugin for iTerm:
1. Run the command below to clone the Syntax Highlighting plugin into your Oh My Zsh custom plugins directory.
git clone https://github.com/zsh-users/zsh-syntax-highlighting.git ${ZSH_CUSTOM:-~/.oh-my-zsh/custom}/plugins/zsh-syntax-highlighting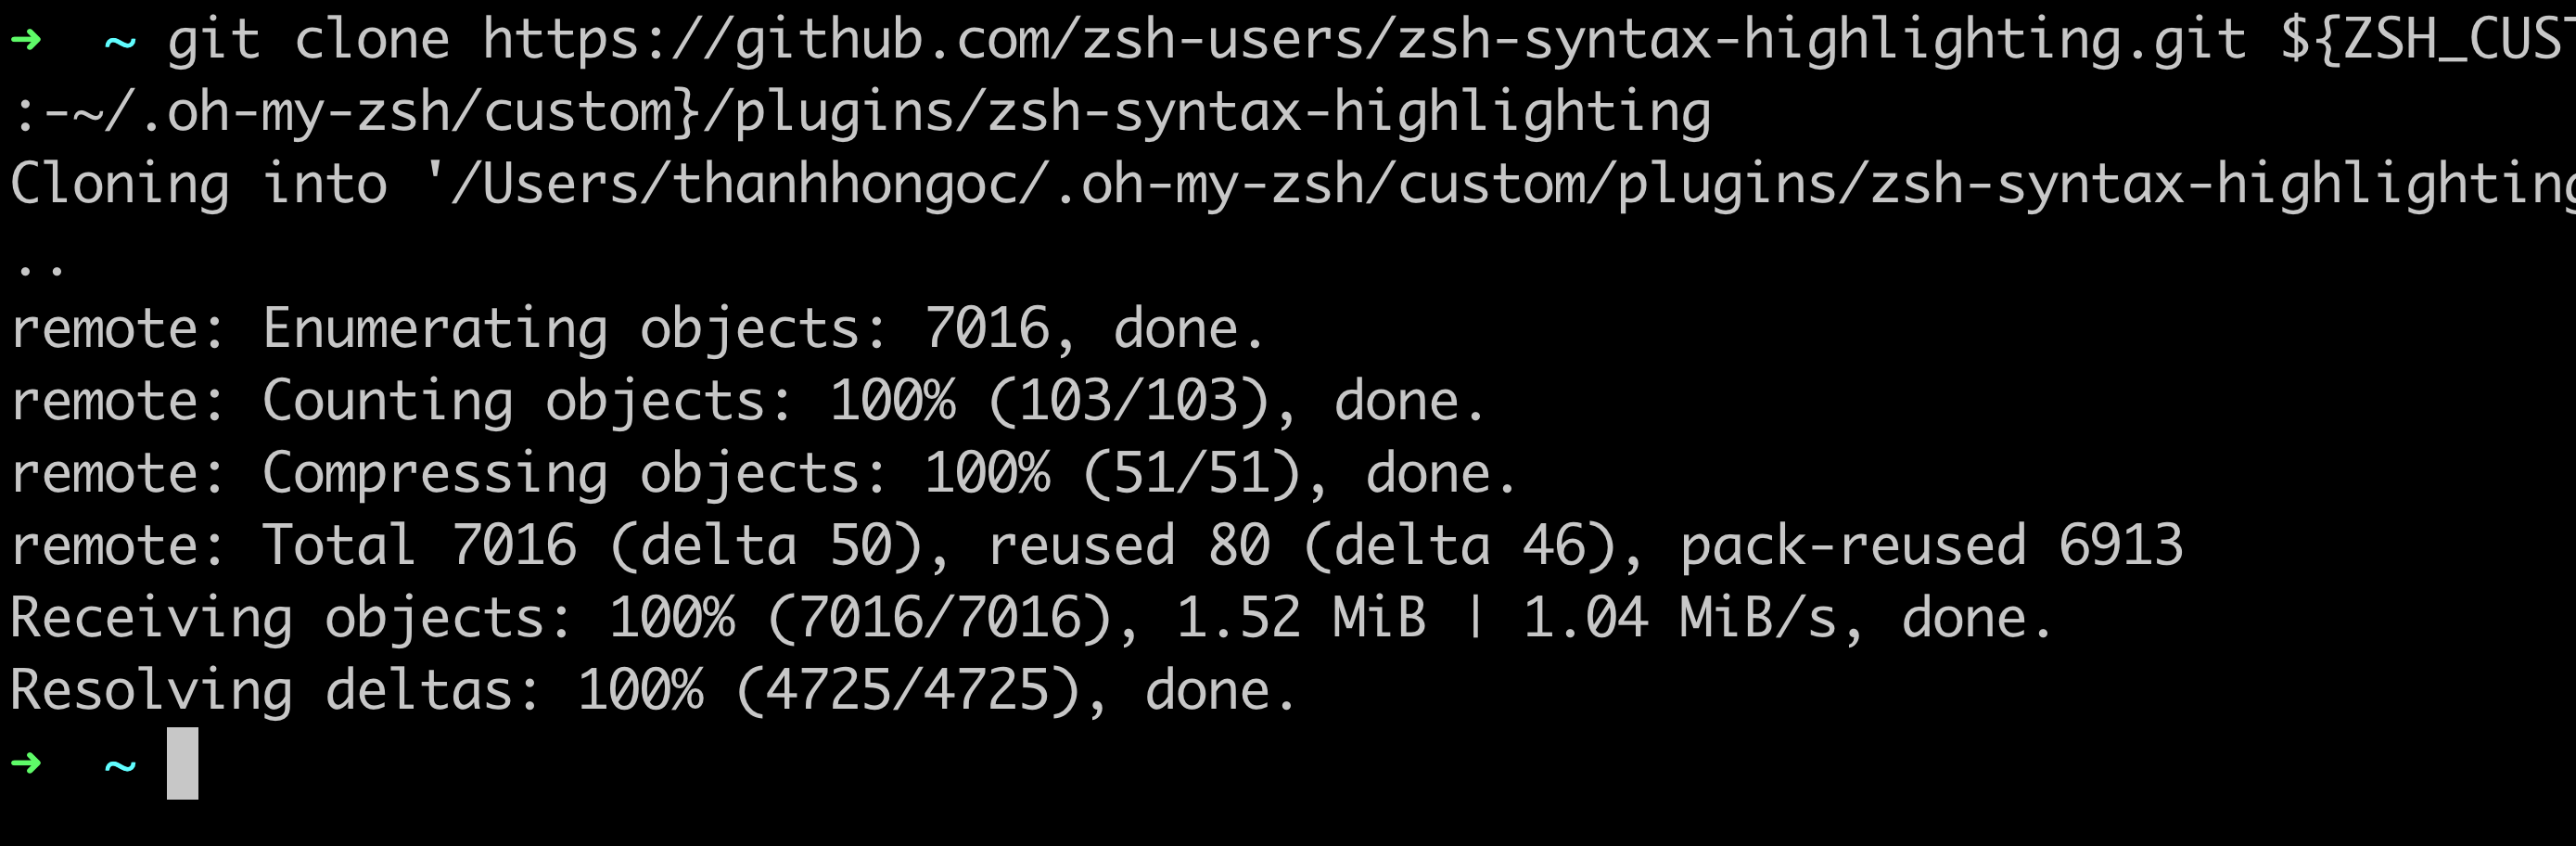
2. Next, open your .zshrc file in a text editor, and add the zsh-syntax-highlighting to the list of plugins, as you did in step four of the “Configuring Auto Suggestion” section.
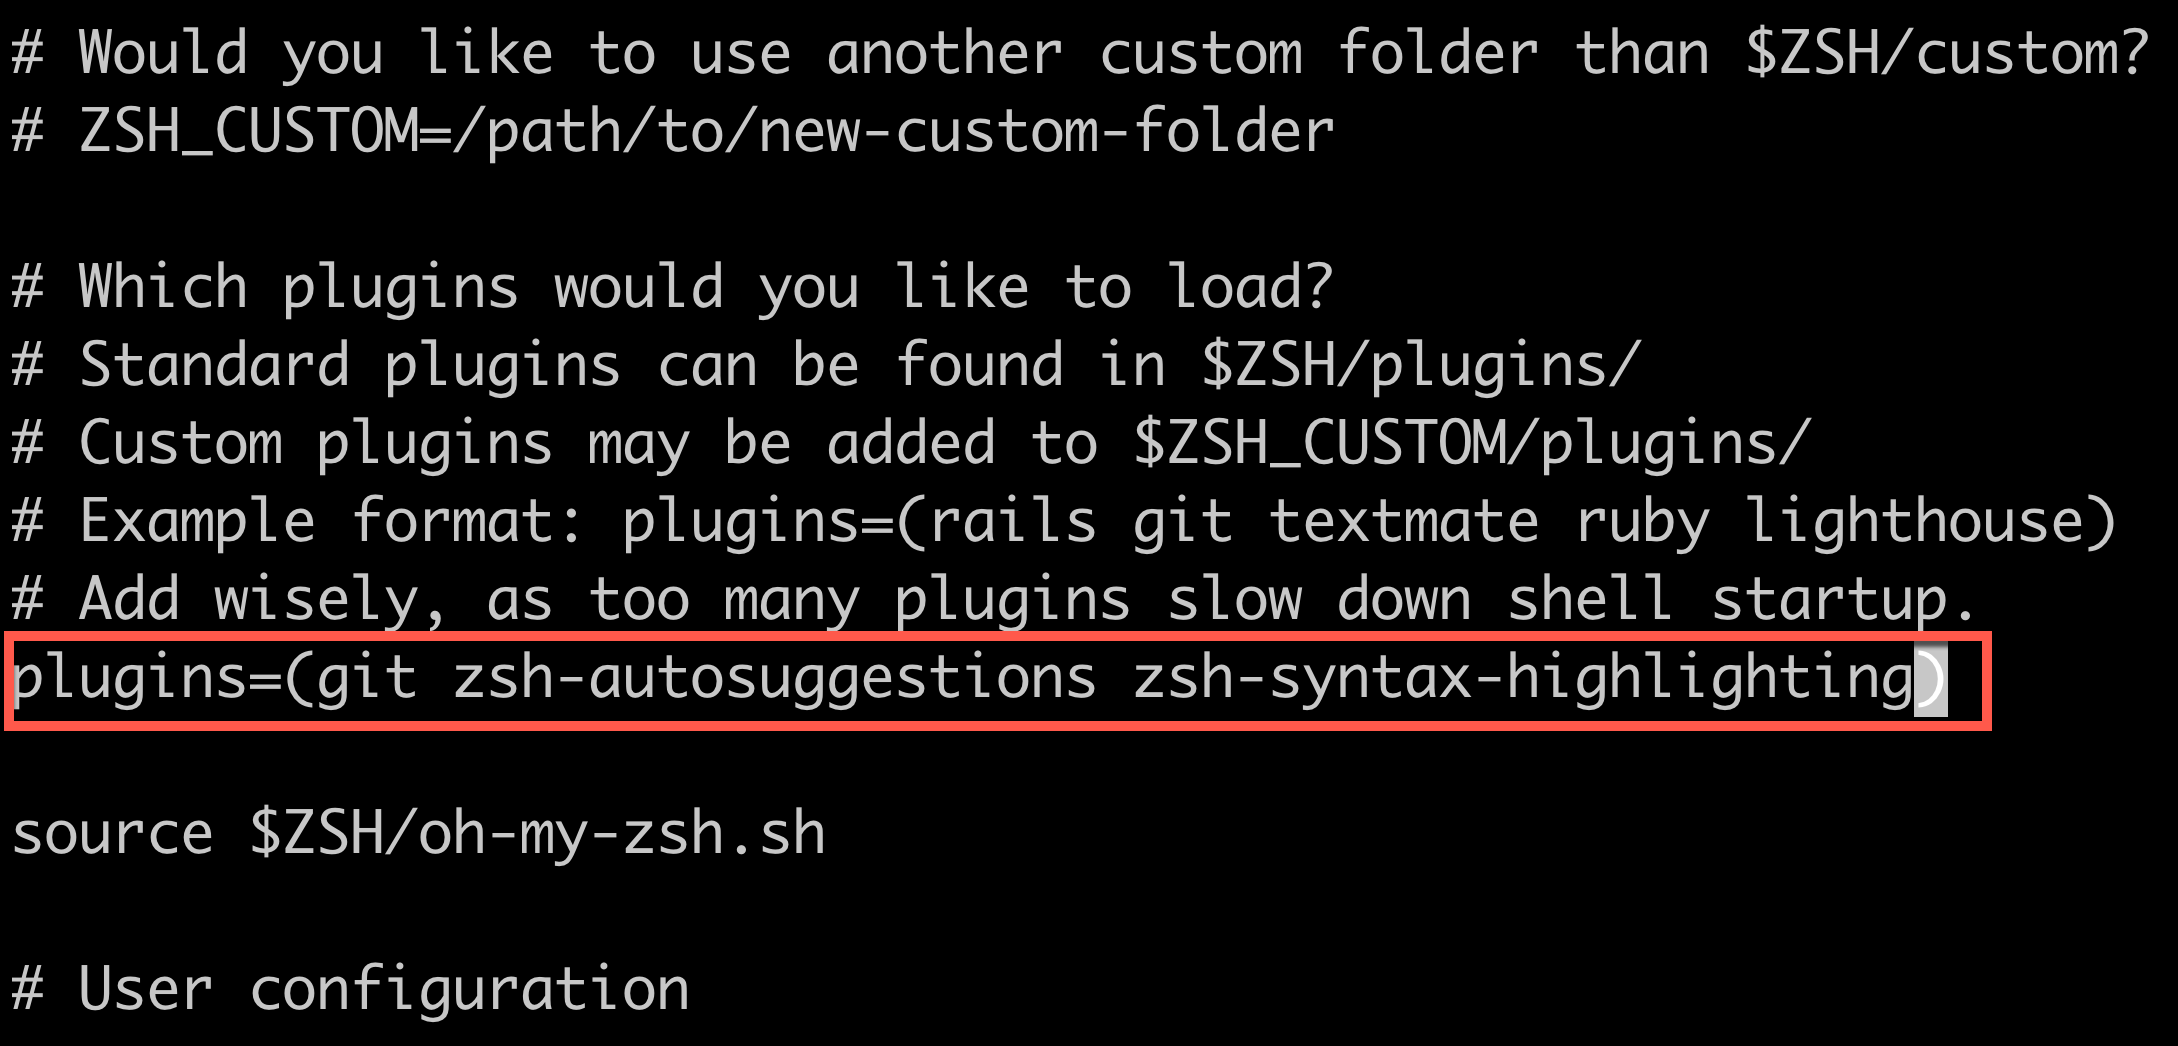
3. Source the .zshrc file to apply the changes.
source ~/.zshrc 4. Ultimately, type commands, and you’ll notice the built-in commands, functions, parameters, and strings appear in different colors, as shown below.

Conclusion
There’s nothing wrong if you’ve been used to how your Terminal looks and works. But iTerm is a game changer if you wish to level up your command-line experience.
And in this tutorial, you’ve learned how to install iTerm on macOS. You’ve enabled and experienced features first-hand like auto-suggestion and syntax highlighting for iTerm using the Oh My Zsh framework and custom plugins.
At this point, you should have a more efficient and aesthetically pleasing iTerm Terminal experience. With this newfound knowledge, you can now explore more of the hidden potential of your macOS Terminal. Why not try iTerm scripting?


