

If you’re a developer or coder, chances are you’re always looking for new tools to help streamline your workflow. Lucky for you, one of the best code editors you can find is Visual Studio Code on Mac.
Visual Studio Code (VS Code) offers many features to help you write code more efficiently. And in this article, you’ll learn how to install VS Code on your Mac and go through some of the best extensions and themes to get you started.
Read on and get ready to level up your workflow!
Prerequisites
This tutorial will be a hands-on demonstration. If you’d like to follow along, be sure you have a macOS device. This tutorial uses Apple Silicon (M1), so the steps may be slightly different if you have an Intel-based Mac.
Downloading Visual Studio Code For Mac
Visual Studio Code (VS Code) is a free, open-source code editor from Microsoft available for Windows, Linux, and macOS. But like other tools, you’ll have to download and install VS Code on your system.
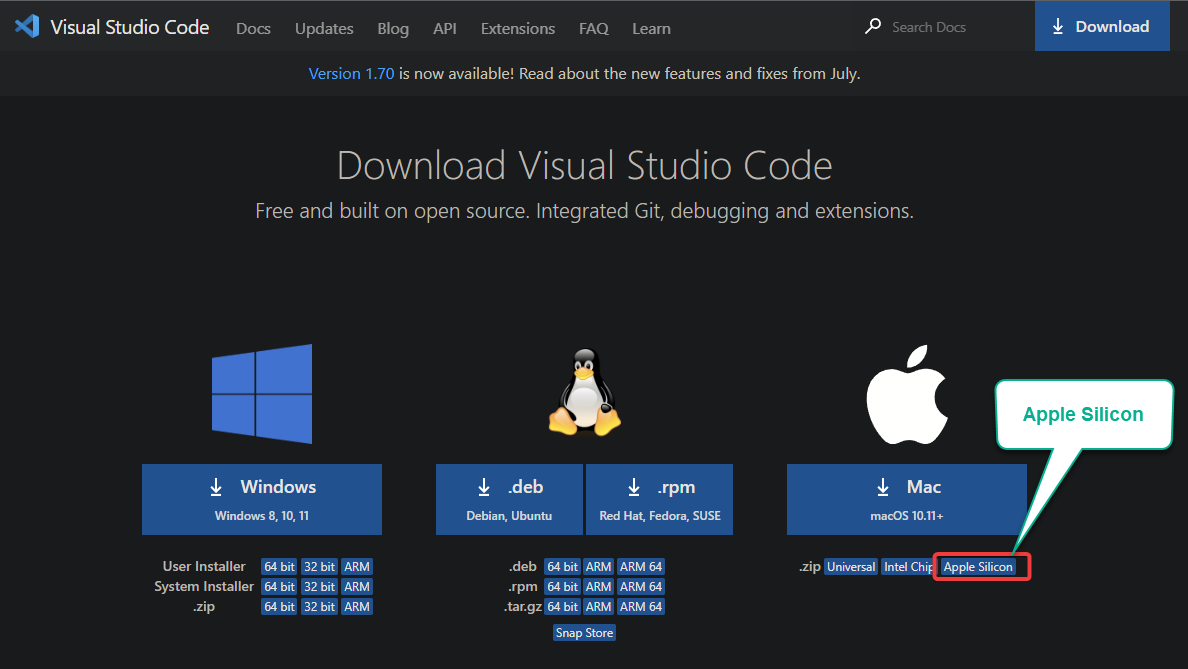
1. Open your favorite web browser, and head to the VS Code download page.
2. Next, click on Apple Silicon under the Mac icon to download VS Code’s package installer for Mac in a ZIP file. This Apple Silicon (M1) version is the latest chip developed by Apple.
If you have an older Mac with an Intel processor, click on Intel Chip instead.
3. Lastly, open your terminal and run the following ls command to verify VS Code’s package installer you downloaded.
ls -la ~/Downloads/VSCode-darwin-arm64.zipThe output below shows the zip file’s location.

Installing Visual Studio Code On Mac
Now that you have the VS Code installer downloaded, you’re ready to install VS Code on your Mac and experience a redefined code editor. VS Code is optimized so you can build and debug modern web and cloud applications more effectively.
Another great feature of VS Code is that it supports tons of programming languages through the use of extensions you can find in the marketplace.
To install VS Code on Mac:
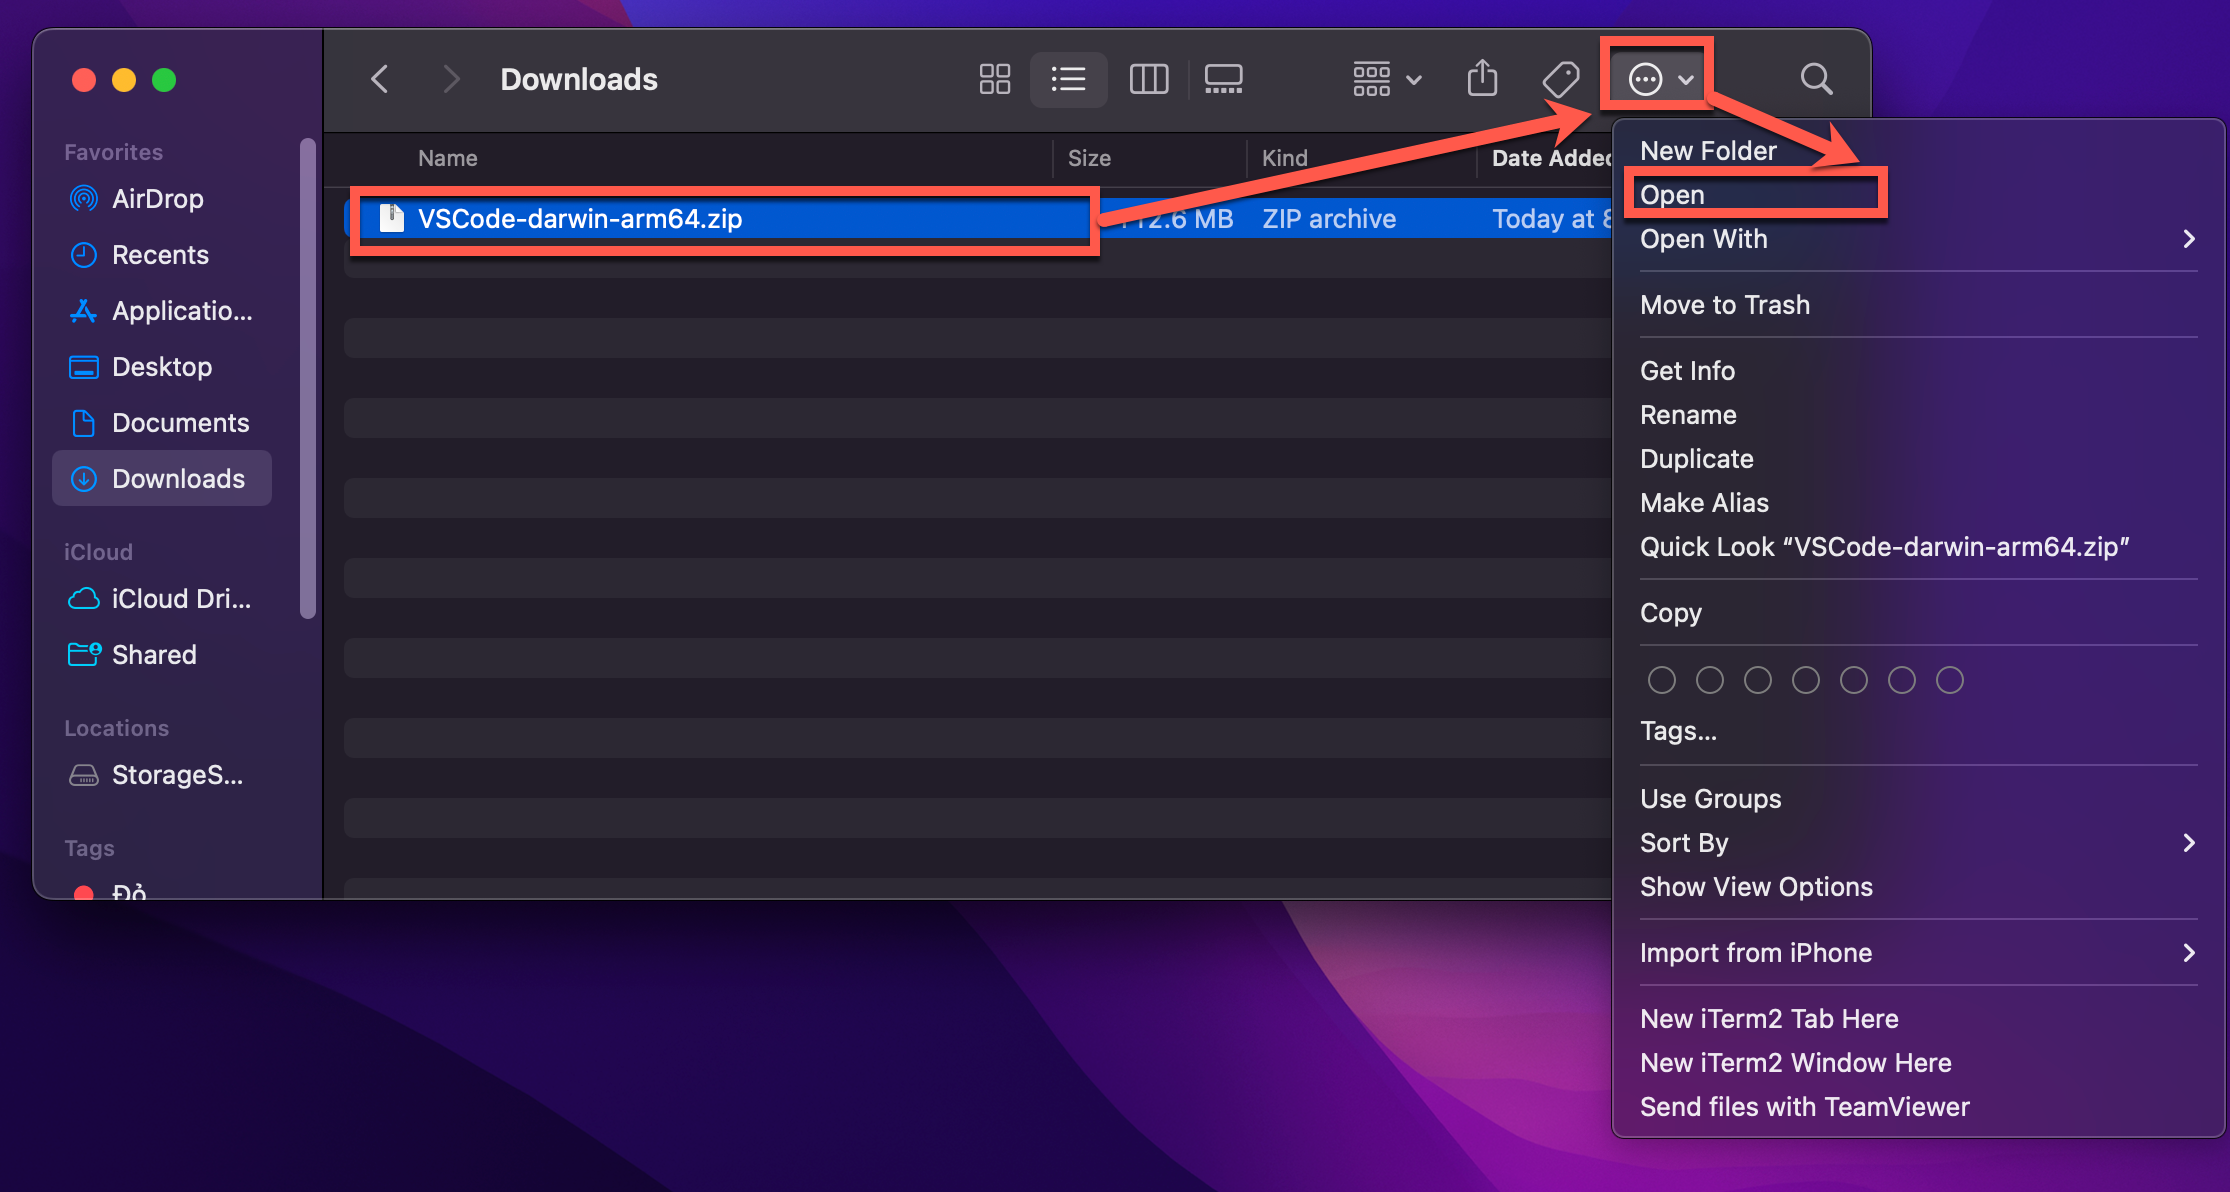
1. Select the downloaded VS Code zip file → click the ellipsis icon (top-right) → Open to unzip the ZIP file.
Once unzipped, you should have a new Visual Studio Code application in your Downloads folder.
2. Next, run the ls command below to verify the application file. This command lists the contents of the Visual Studio Code application file.
The \ symbol is an escape character that tells the terminal to treat the space as a regular character. You must use the escape character when there is a space in the file name.
ls -la ~/Downloads/Visual\ Studio\ Code.app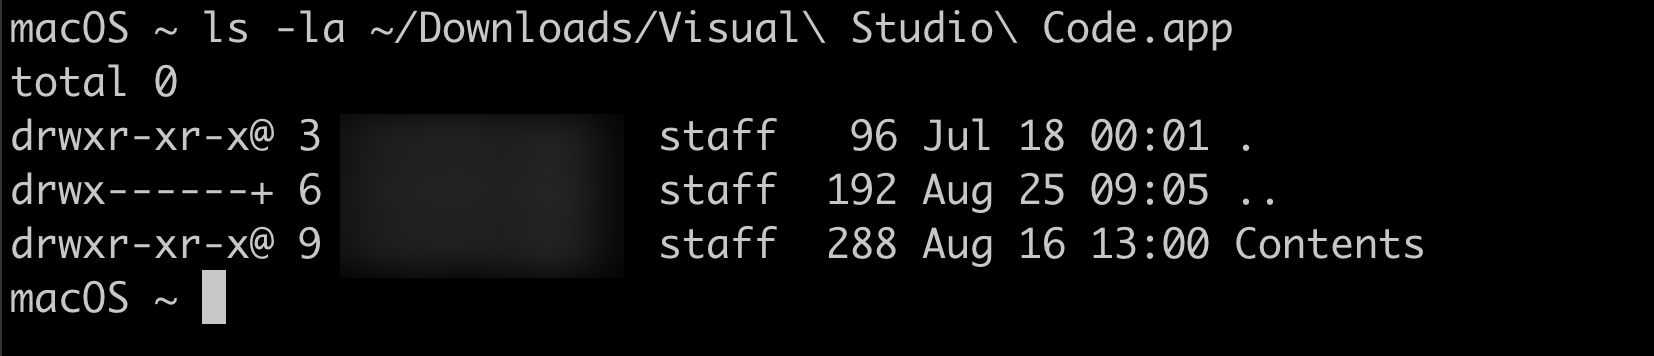
3. Run the open command below to launch the installer in a new instance (-n).
open -n ~/Downloads/Visual\ Studio\ Code.app
4. Now, click Open to continue with the installation when you get the prompt below.
This warning shows up because you downloaded the application from the internet, which you can safely ignore.

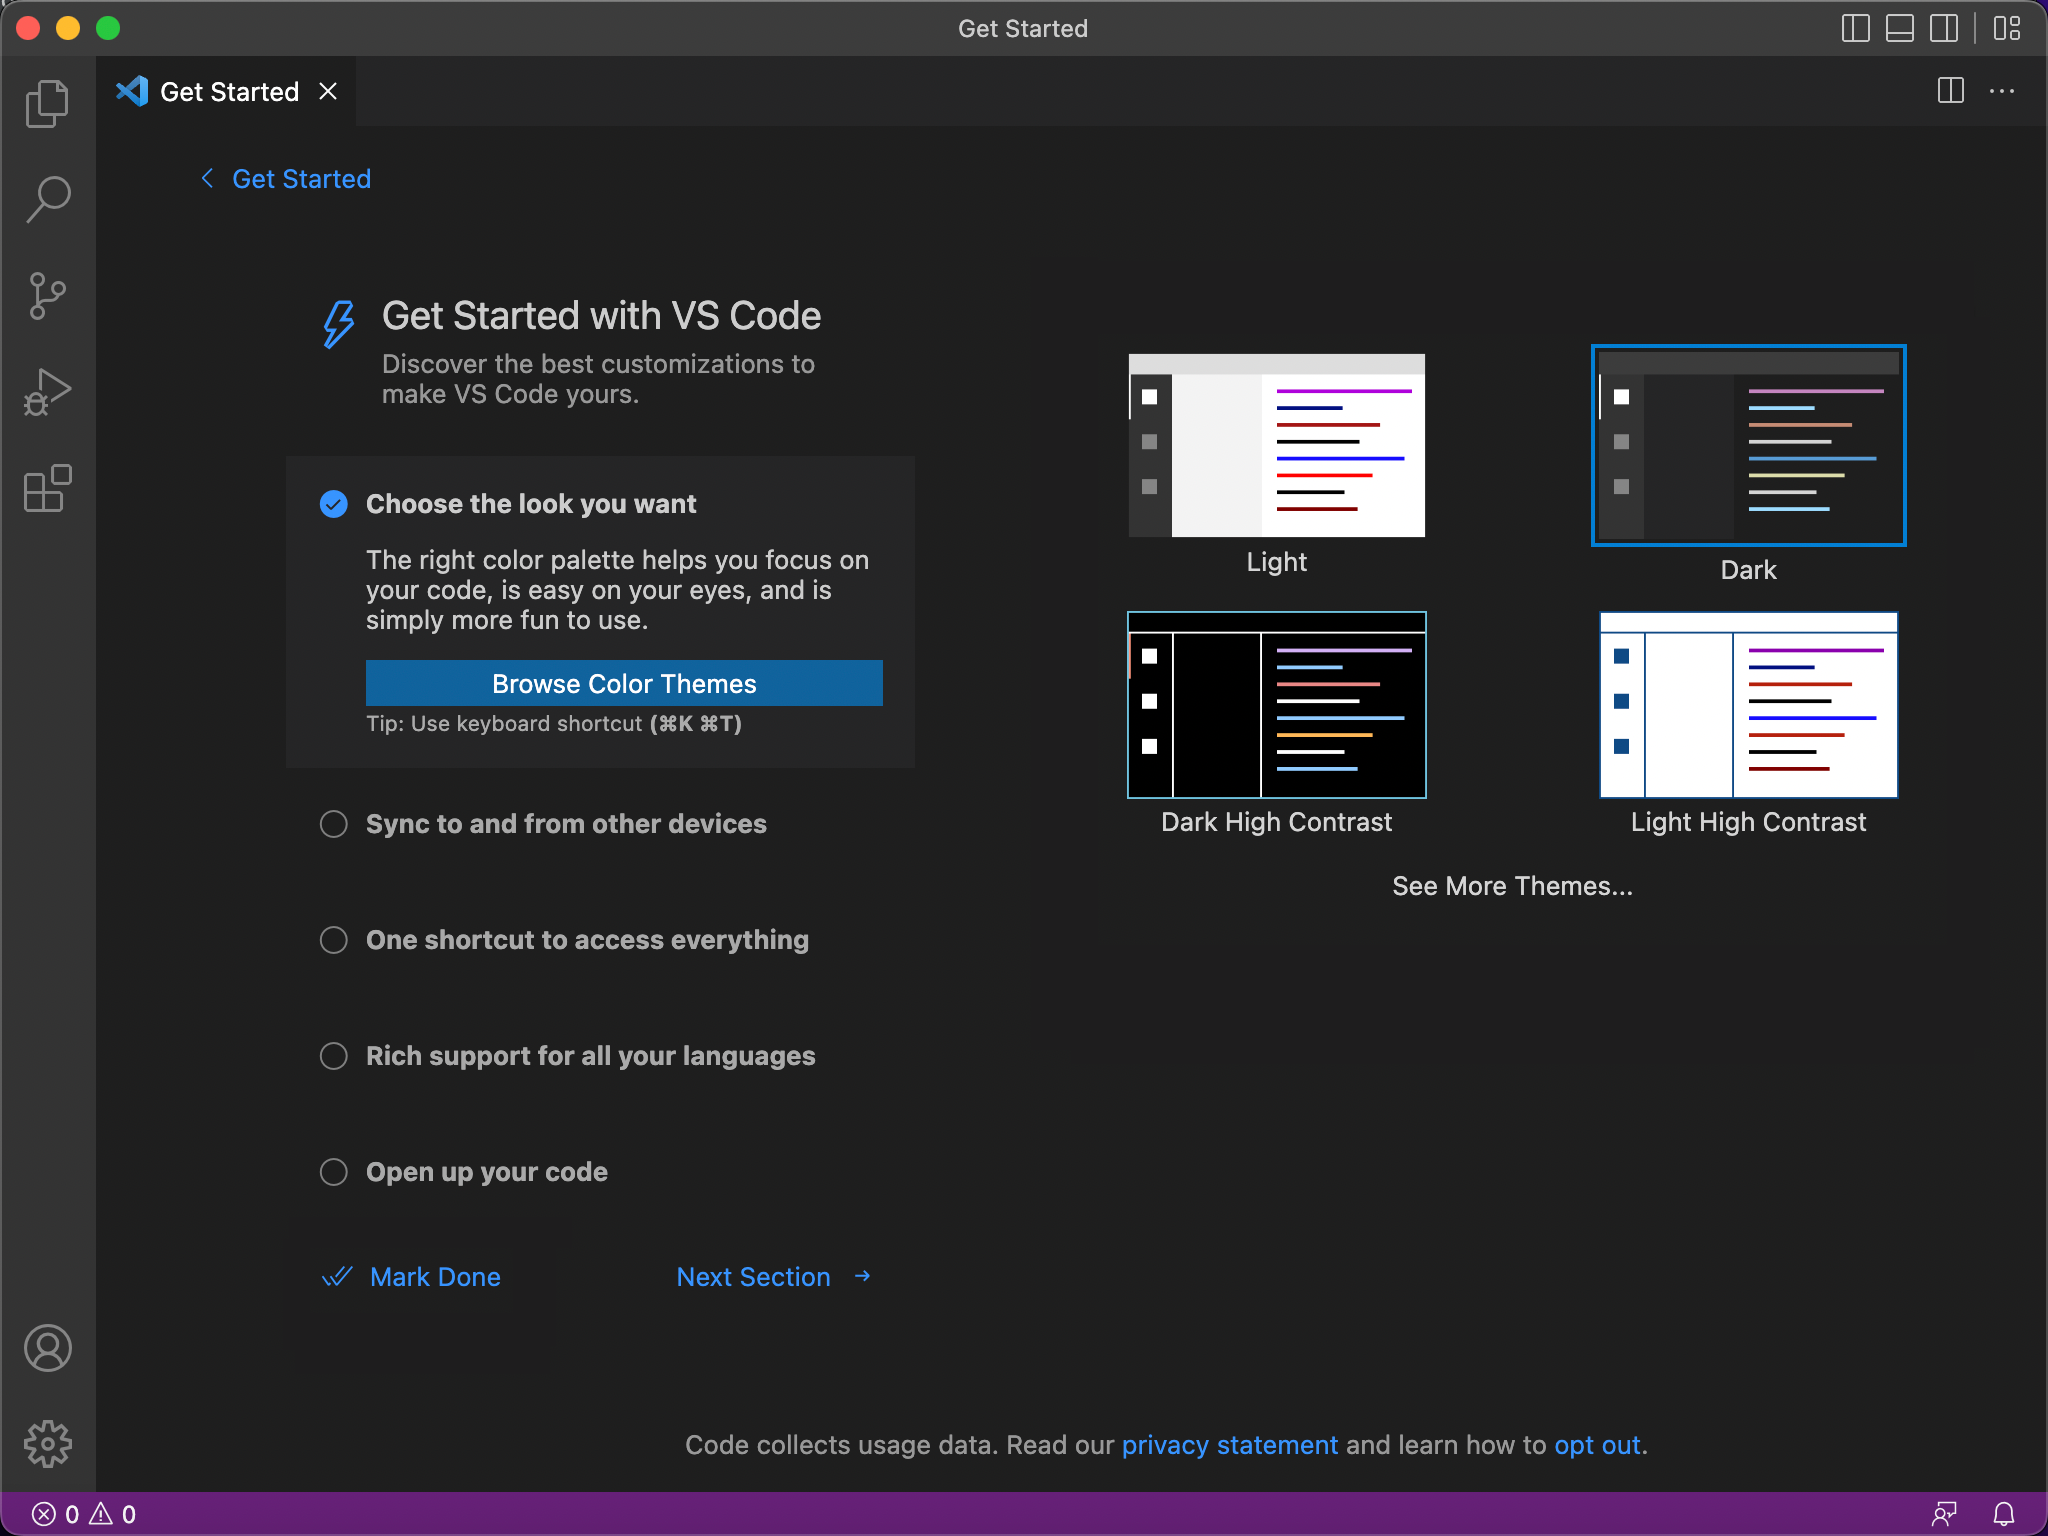
Once installed, the VS Code application opens, and you’ll be greeted with the Get Started page below.
Navigating VS Code’s GUI
You’ve successfully installed VS Code on your Mac, but before jumping into coding, familiarize yourself with VS Code’s GUI and features first.
VS Code code comes with lots of features that let you:
- Choose themes, and change how your editor looks.
- Open your project folder, so you can quickly go back and forth to your files and ensure your file structure is correct.
- Add a source control system, like Git.
- Quickly add extensions from the marketplace, and so on.
These are just a small portion of what VS Code can offer. See for yourself how each feature helps you in your workflow. Perhaps changing your theme would be a good start.
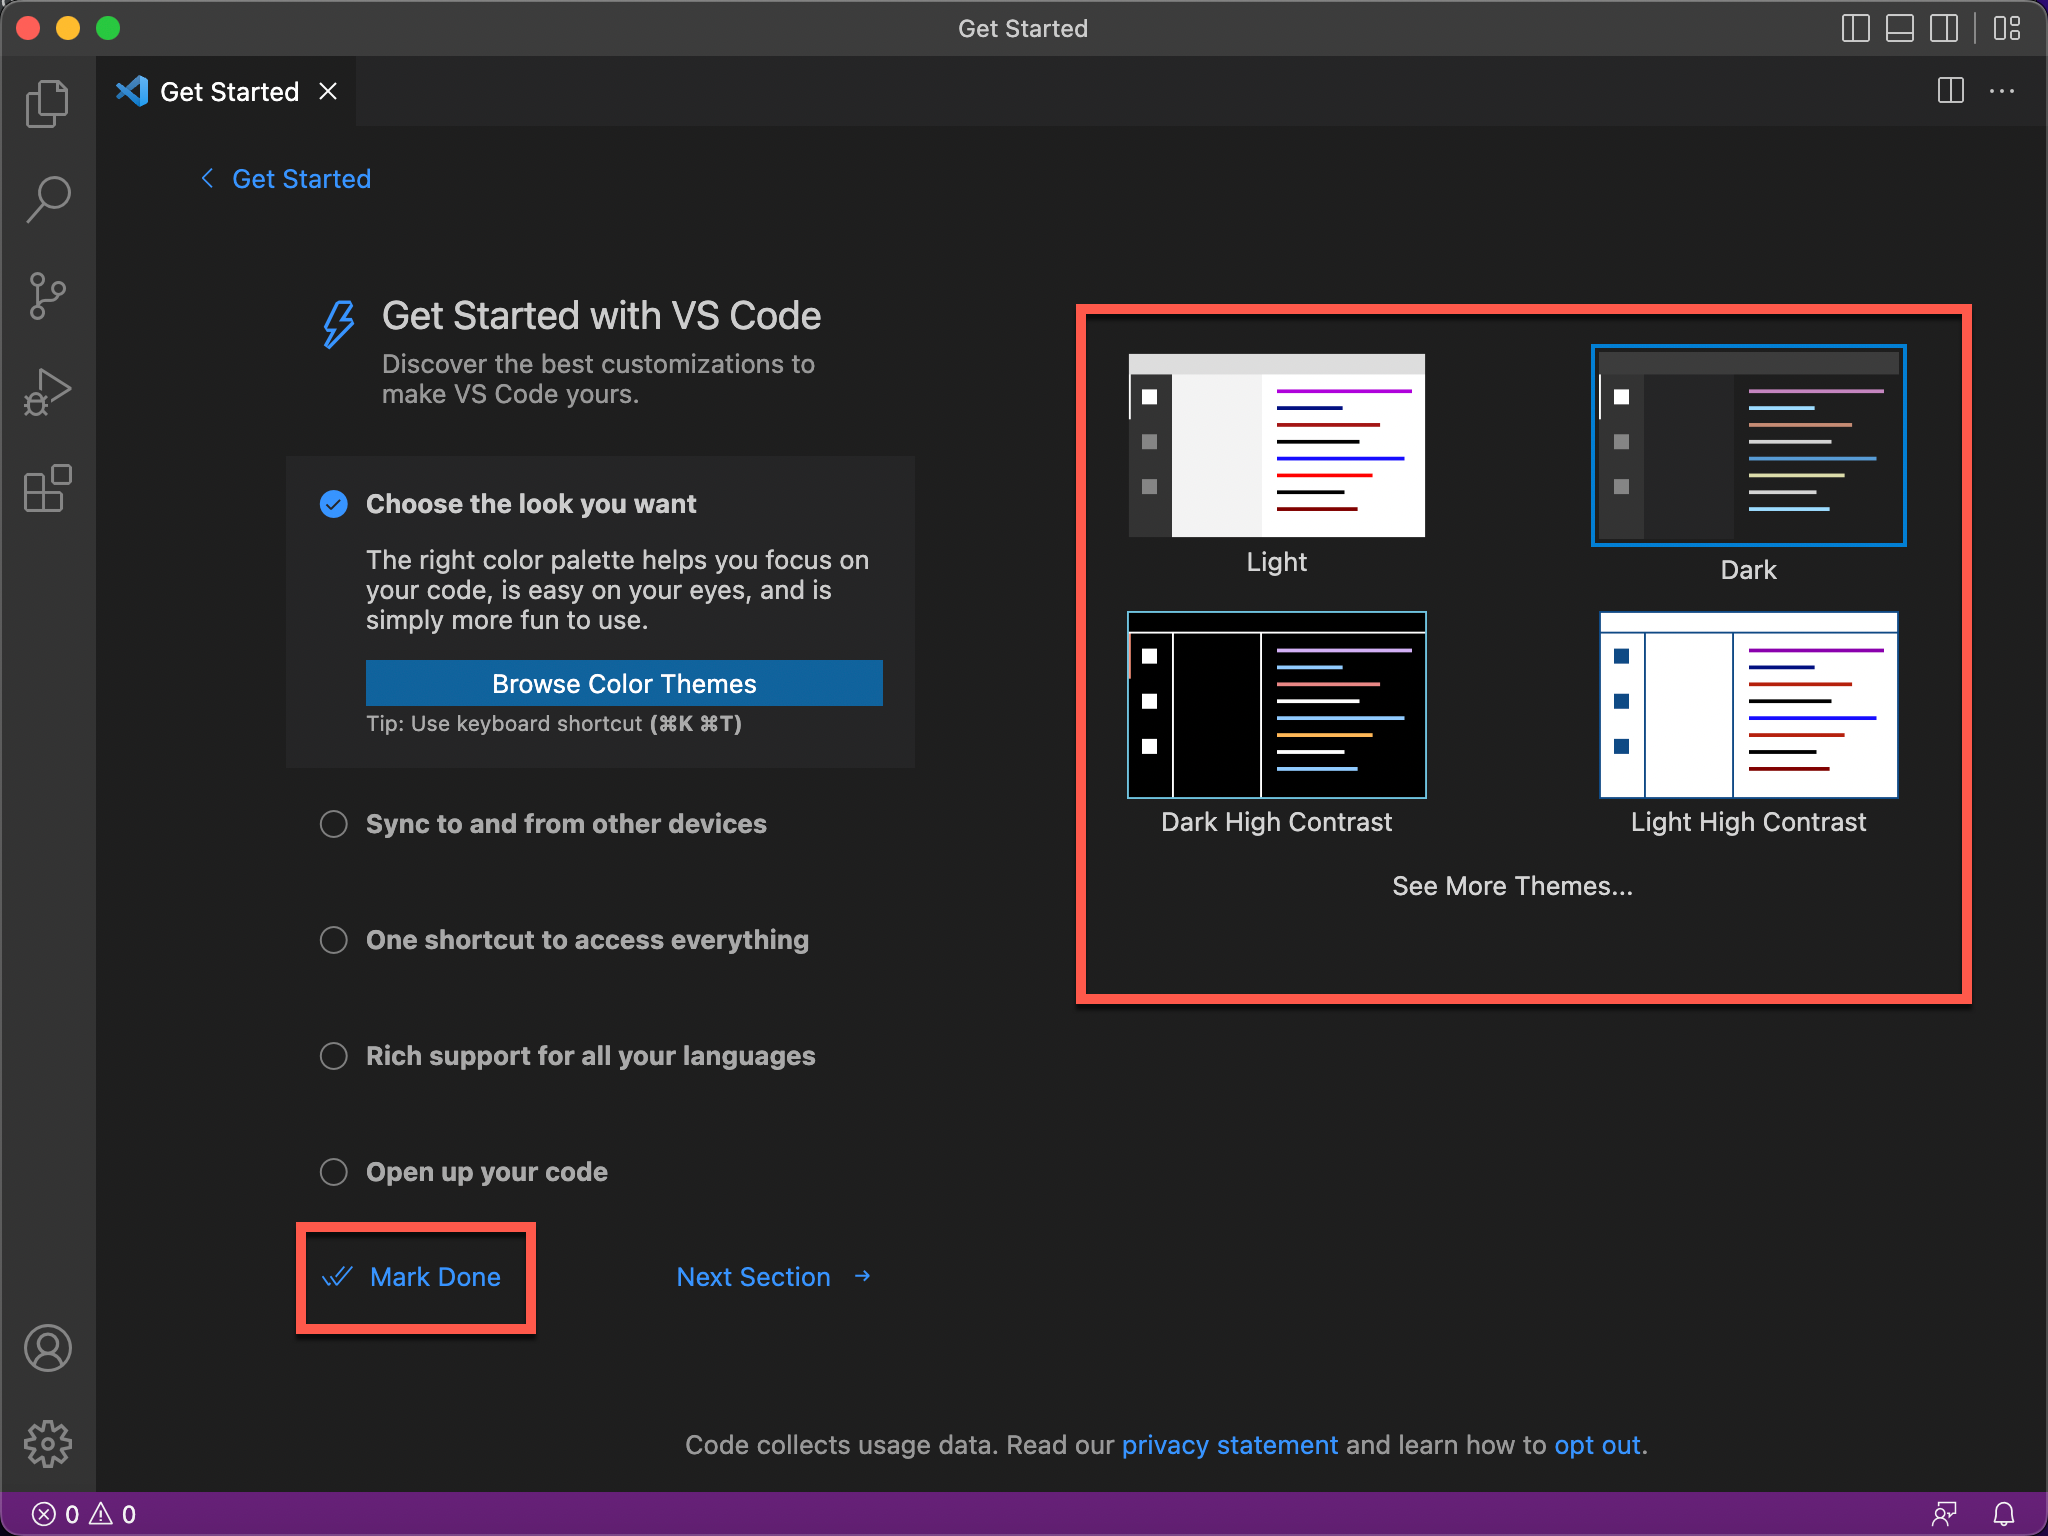
1. Select a theme for your editor as you like from the Get Started page, keep other settings at their defaults, and click Mark Done (lower-left).
If Light and Dark themes don’t suit your taste well, click on See More Themes and look for one that piques your interest.
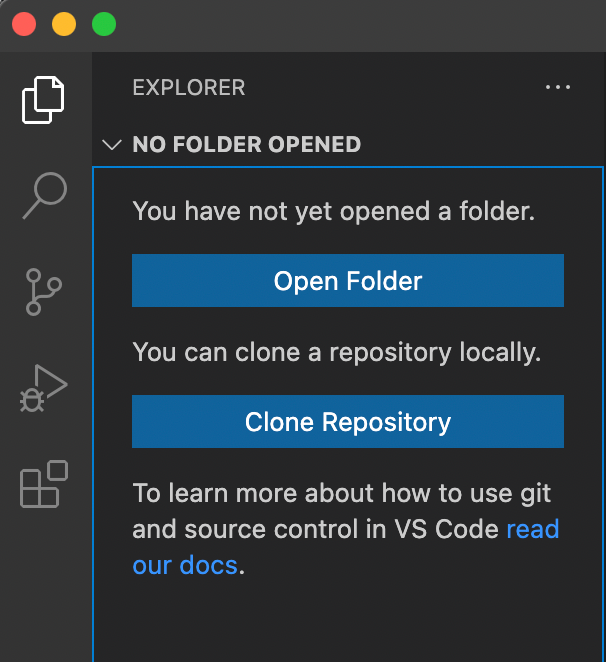
2. Next, explore the left-most side of VS Code, the Activity Bar, which has seven main sections. But start with one of the most important sections, the EXPLORER (Ctrl+Shift+E / Cmd+Shift+E).
The Explorer shows the files and folders in your project, where you can clone a repository. Additionally, the Explorer lets you perform different actions as follows:
- Create, delete, and rename your files and folders on your project.
- Move files and folders by dragging and dropping them inside your project folder.
Note that “drag and drop” works when moving files into the Explorer from outside VS Code. But if the explorer is empty, VS Code opens the file in your editor instead.
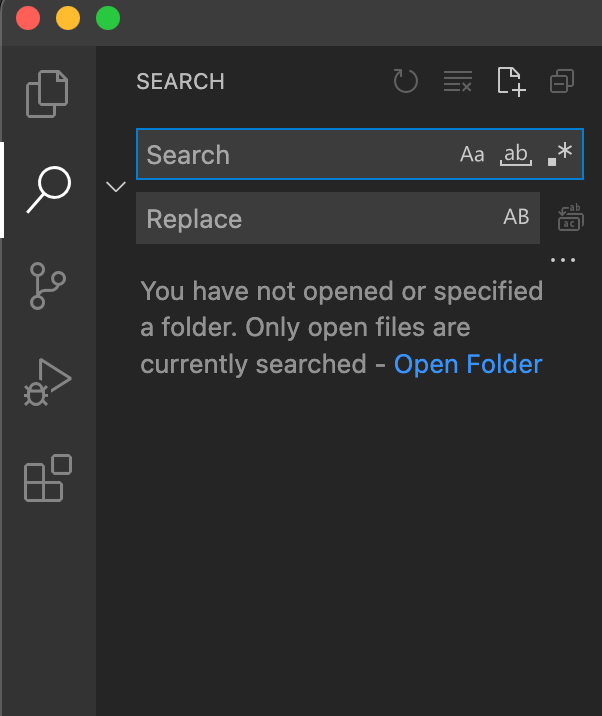
3. Click the Search icon (Ctrl+Shift+F / Cmd+Shift+F), which opens the SEARCH section, where you can search your project for files, symbols, and text.
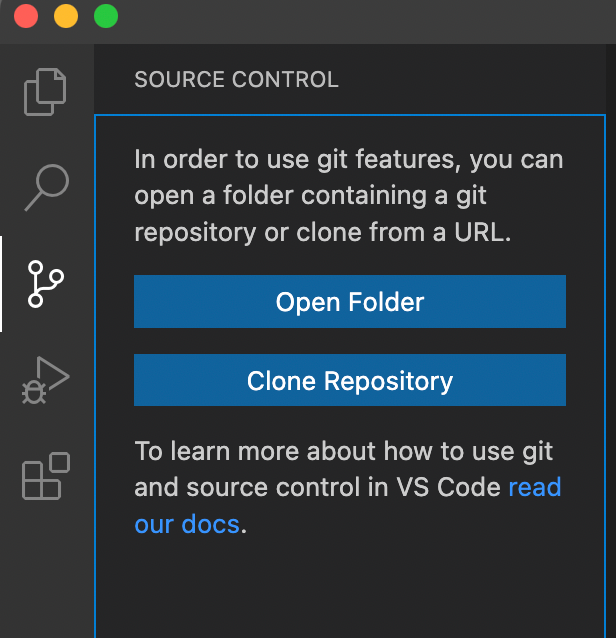
4. Now, click the Source Control icon (Ctrl+Shift+G / Cmd+Shift+G) to open the SOURCE CONTROL section, where you can manage your project with Git or another source control system.
VS Code comes with integrated source control management (SCM) with Git support included by default.
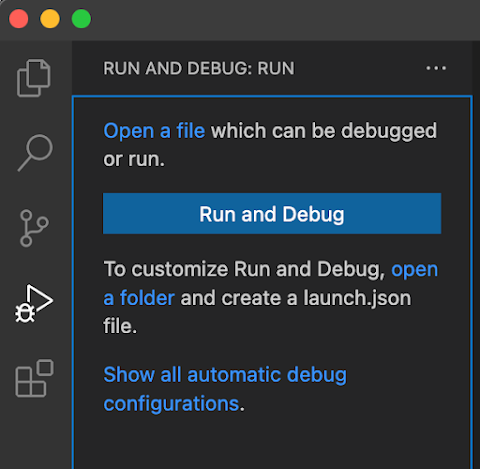
5. After the SCM, click on the Run and Debug icon (Ctrl+Shift+D / Cmd+Shift+D), which opens the RUN AND DEBUG: RUN section, where you can run and debug your project.
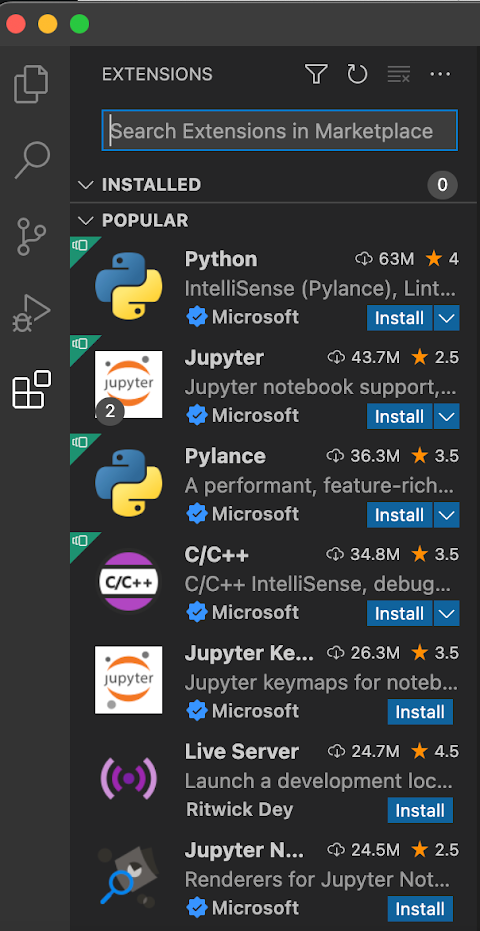
6. Lastly, click on the Extensions icon (Ctrl+Shift+X / Cmd+Shift+X) to access the EXTENSIONS section, where you can install extensions from the marketplace.
Launching VS Code via a Command Line Environment
Perhaps you spend most of your time in a command-line environment but need to write some code quickly. If so, configuring VS Code to launch via a command-line environment will favor you.
1. Press (Cmd+Shift+P or Ctrl+Shift+P) on VS Code to open the Command Palette, where you can access all VS Code’s functionality.
2. Type Shell Command: Install ‘code’ command in PATH in the Command Palette, and press Enter. This command adds the VS Code executable to your system’s PATH variable.
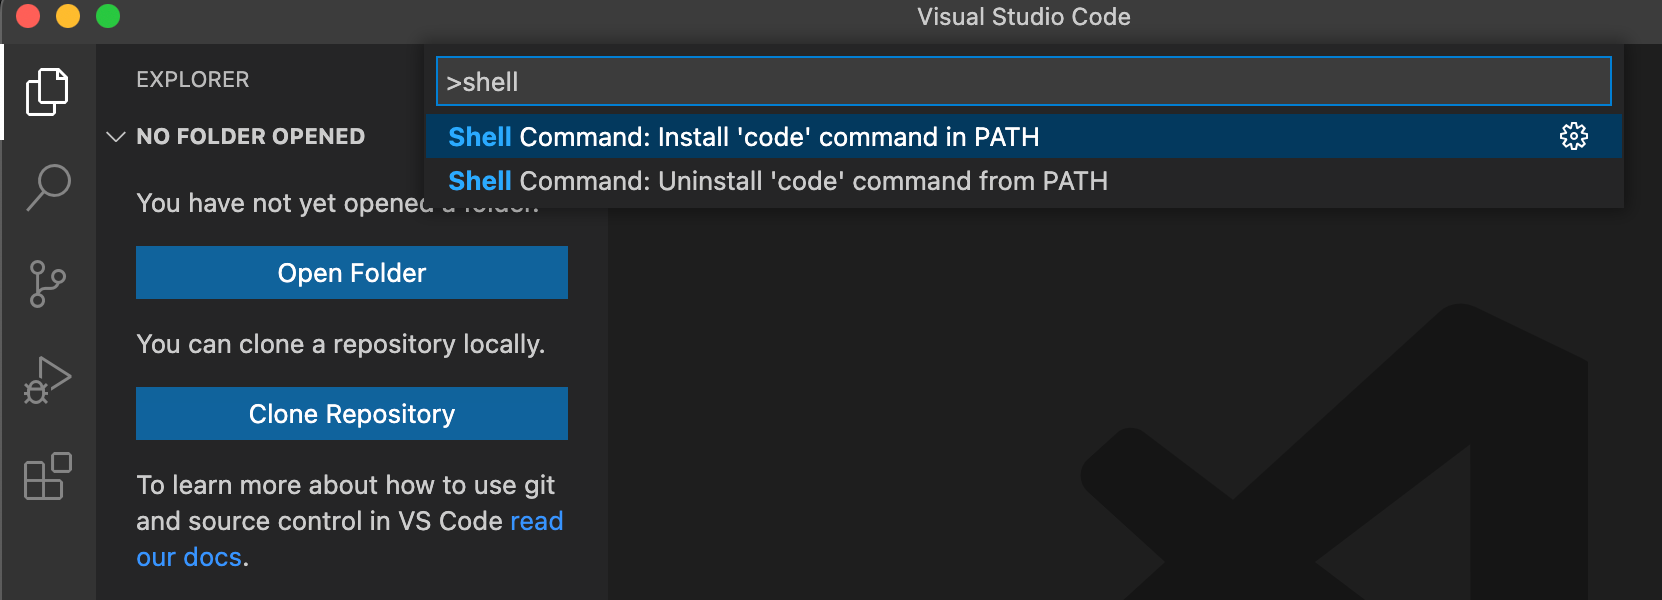
3. Once added, restart your terminal for the changes to take effect. The code command is now available in your terminal.
4. Now, create a text file, add some text, and save and close the file.
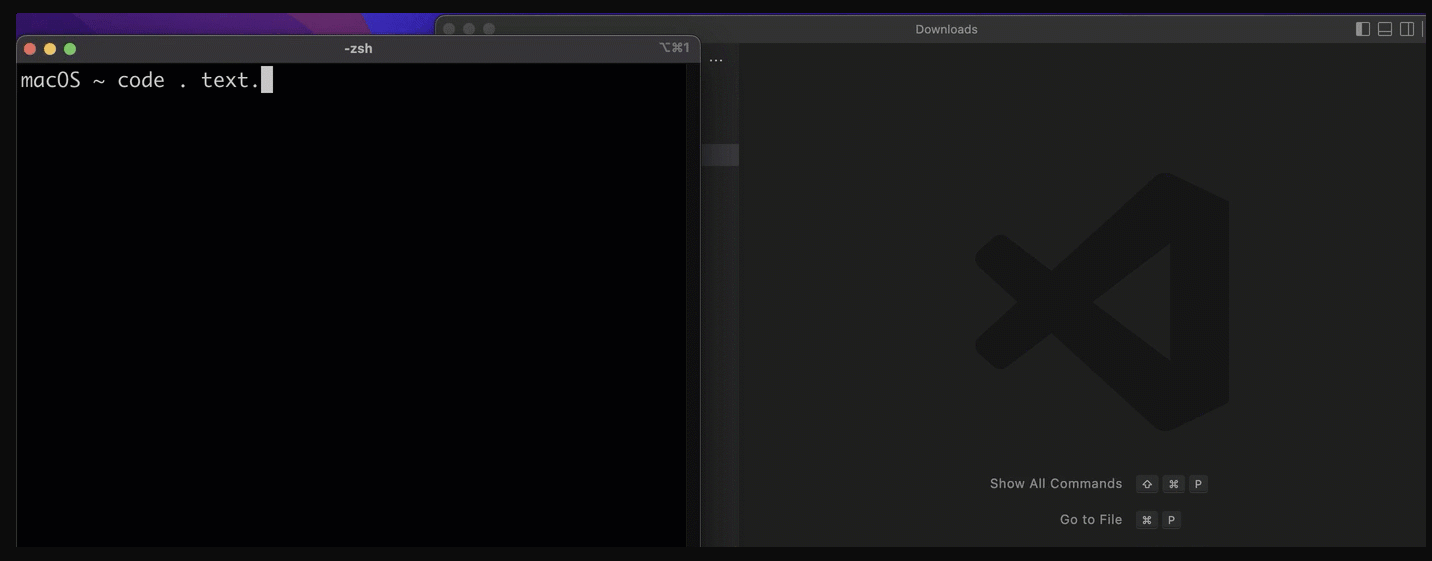
5. Finally, run the following commands to launch VS Code (code), passing in the file path of your text file (text.txt), in this case, from the working directory.
# Switch to the directory where you saved the text file
cd Downloads
# Launch VS Code and open the text file
code . text.txt
You will see VS Code (on the right) open with the contents of your text.txt file displayed in the editor window. You can now edit this file using VS Code’s great features.
Installing Extensions for Added Functionalities
One of the best things about VS Code is that it’s highly customizable. How? You can install extensions to add new functionality, and many different extensions are available.
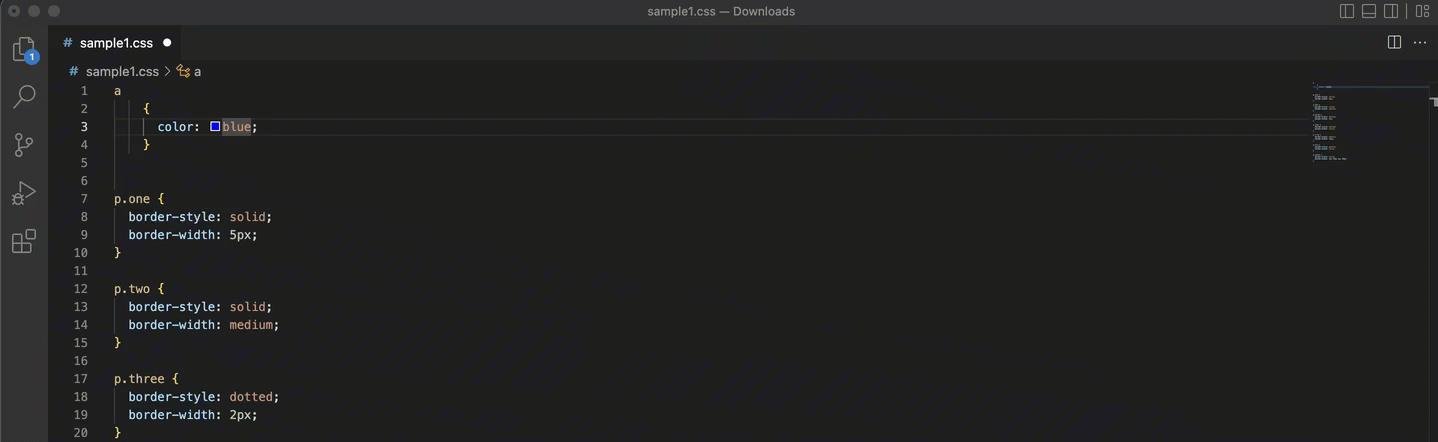
Perhaps you want to install the macOS Color Picker extension. This extension allows you to select native macOS color pickers when working with CSS, HTML, and JavaScript files.
1. Navigate to the Extensions menu in the Activity Bar, which has three sections:
- INSTALLED – This section shows the extensions already installed.
- RECOMMENDED – This section shows recommended extensions based on your opened file type. For example, you’ll see recommended JavaScript extensions if you work with a JavaScript file.
- POPULAR – This section shows the most popular VS Code extensions.
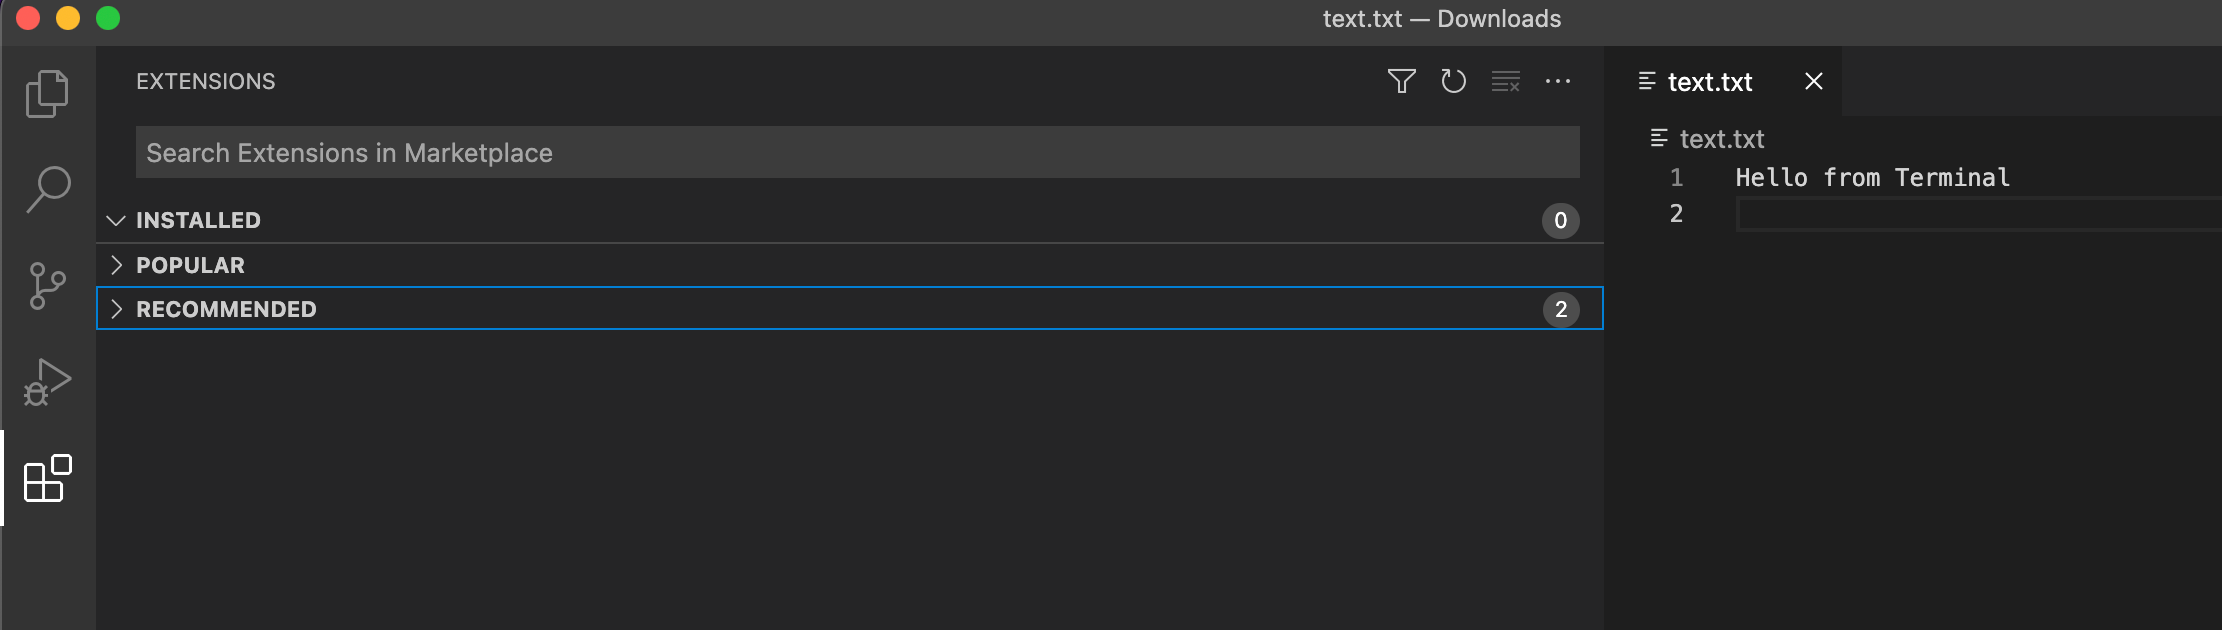
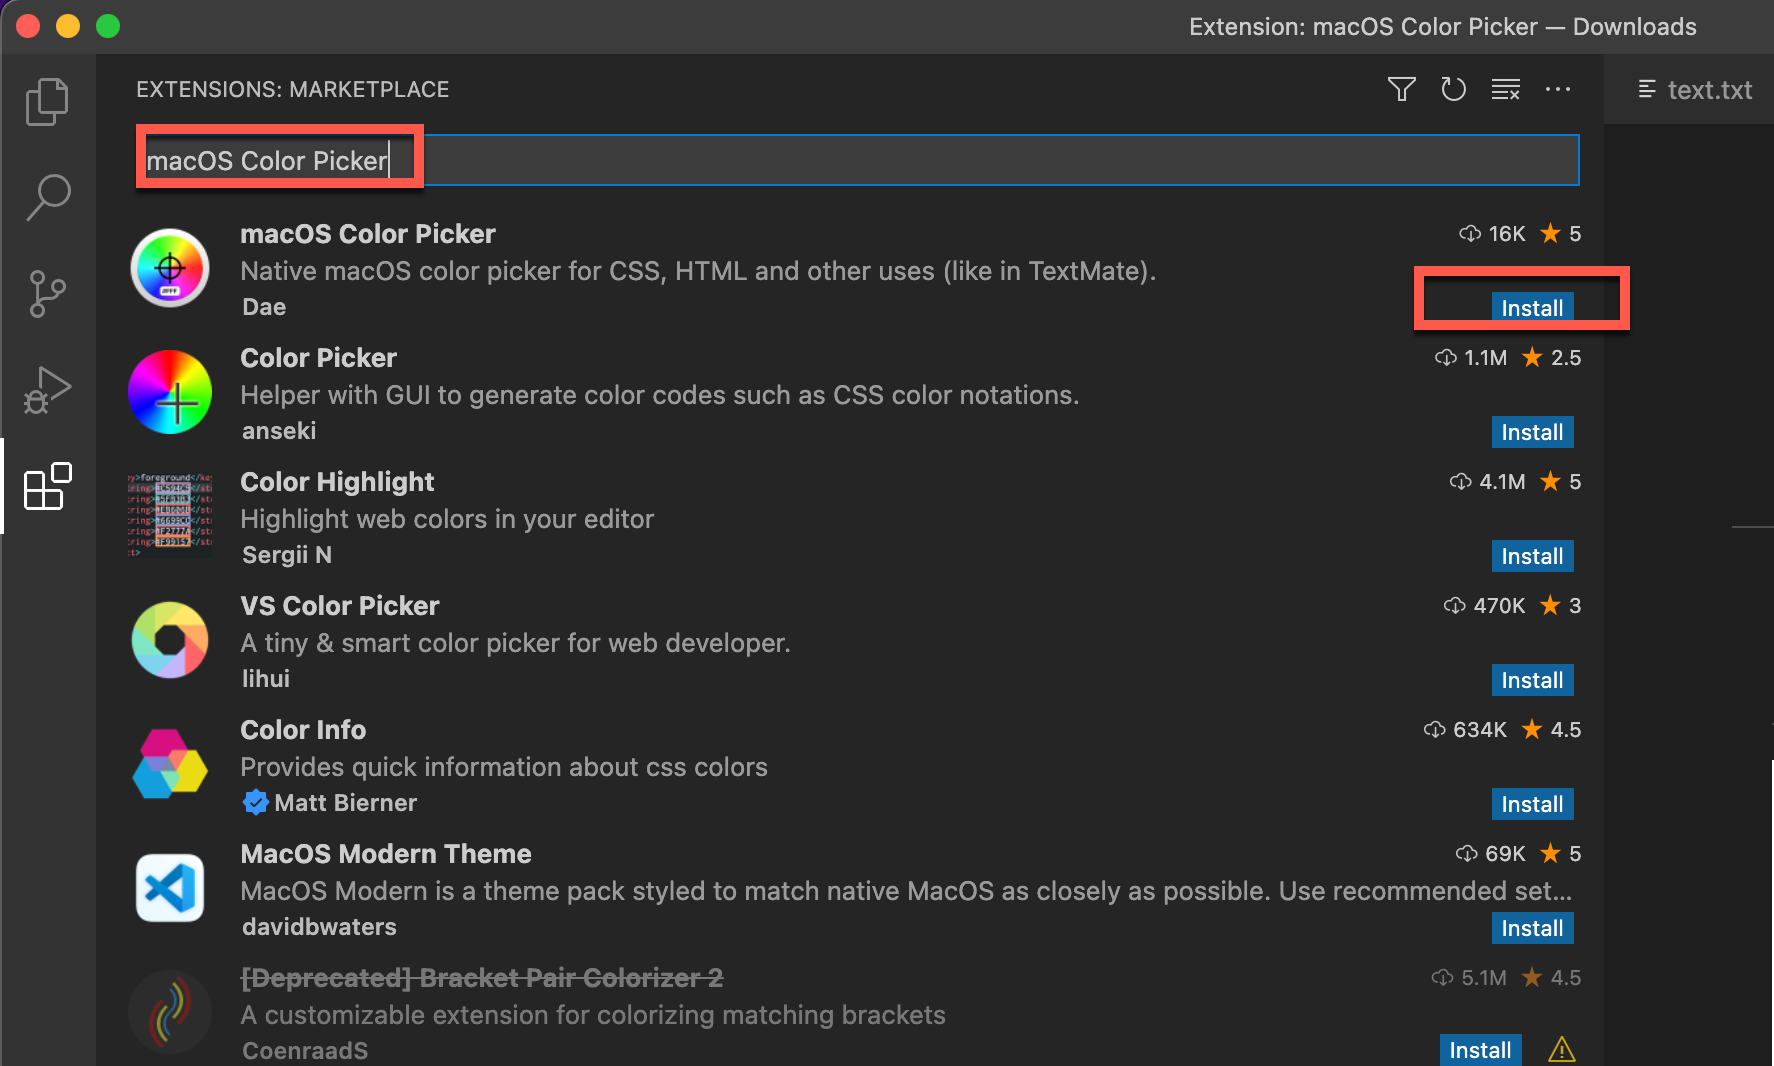
2. Type macOS Color Picker in the search box and press Enter. A list of matching extensions will be displayed in descending order (most matching extensions first).
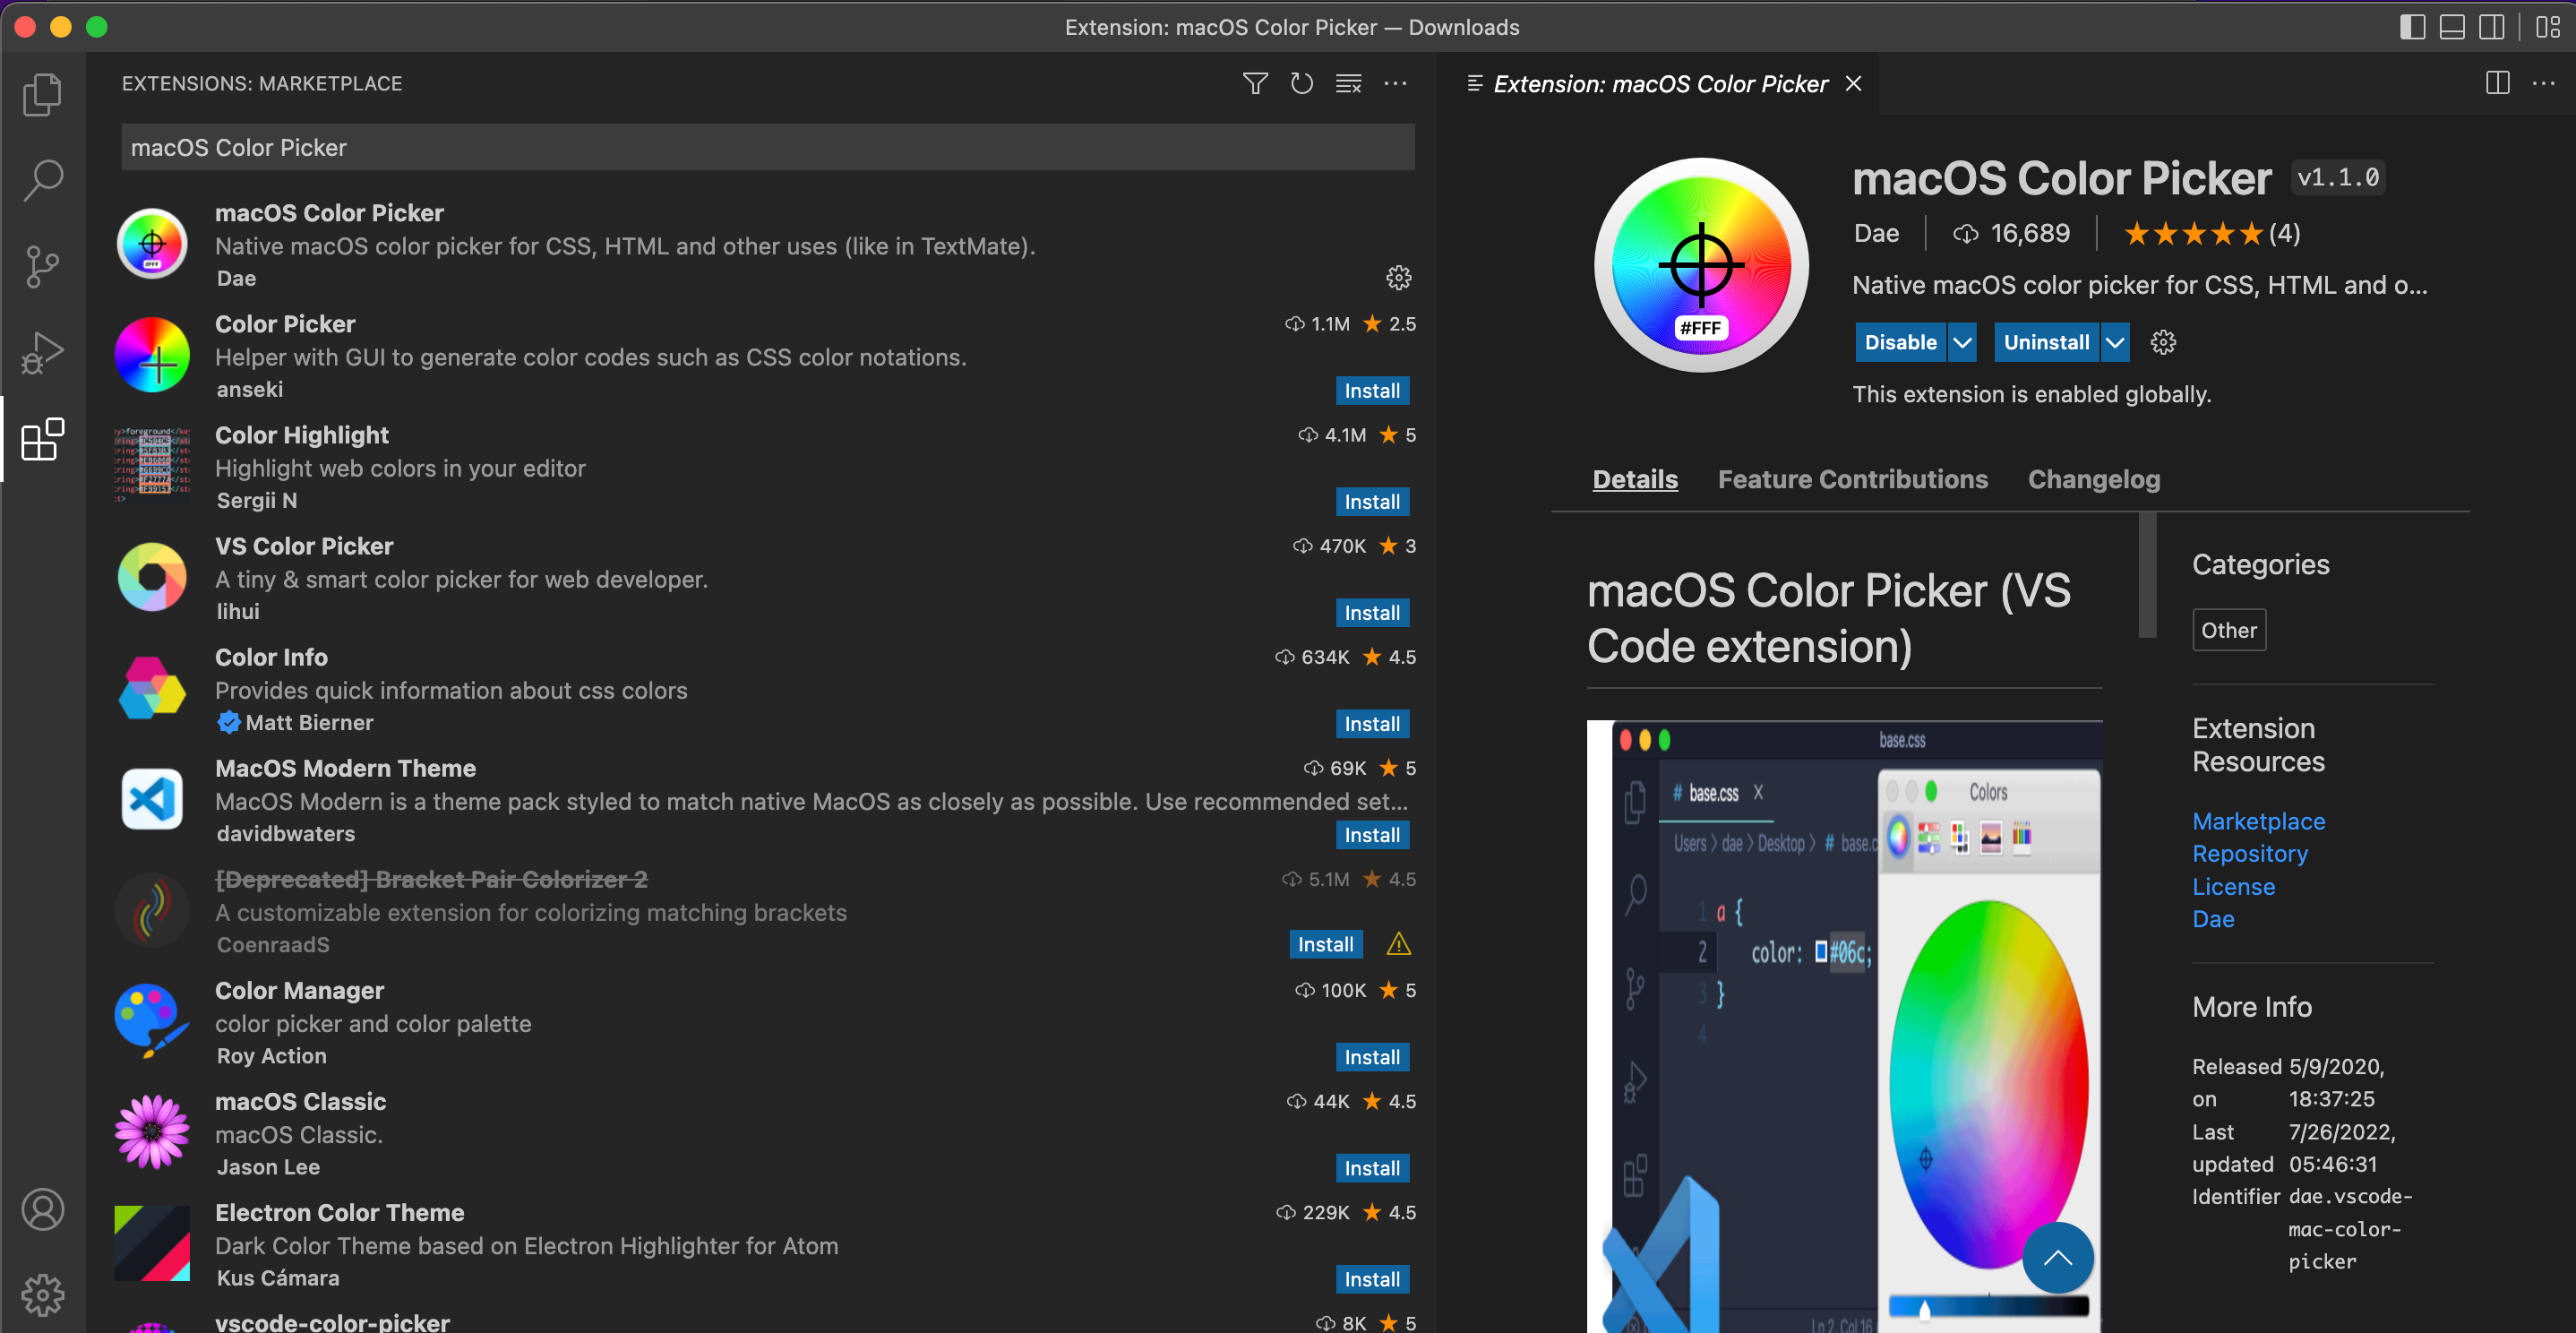
Once you see your target extension, click the Install button next to the extension. The Install button changes to a green Enable button, so click on it to enable the extension.
After installing the extension, an overview page for the extension displays on the right, as shown below.
3. Now open a CSS, HTML, or JavaScript file to test the new macOS Color Picker extension.
4. Finally, open the Command Palette (Cmd+Shift+P / Ctrl+Shift+P), type Open Color Picker, and press Enter. The macOS Color Picker pane opens, as shown below.
Use the color picker to select a color, which will be inserted into your code. This extension is a great way to quickly get the color values you need without remembering the hex codes.
Conclusion
In this tutorial, you’ve learned how to install VS Code on your Mac and extensions to add more functionalities, making writing codes more enjoyable. At this point, you can take full advantage of what VS Code offers when working on your next project.
But don’t stop here! With this newfound knowledge, why not use version control with Git and GitHub to keep track of your work?


