

Do you often need to test new software, like a Windows system, but avoid screwing up working configurations on your Mac system? Setting up a VM is a great solution. Not sure how? UTM Mac lets you run a Windows system on your Mac without breaking the bank!
UTM Mac, a full-featured system emulator, and VM host, is the ultimate solution for running Windows on macOS — completely free of charge. And in this tutorial, you will learn to set up UTM Mac and create your first Windows VM on your Mac.
Read on and experience fast and secure Windows 11 performance on your Mac today!
Prerequisites
This tutorial comprises hands-on demonstrations. If you wish to follow along, ensure you have the following:
- A Mac computer running macOS 10.13 (High Sierra) or later – This tutorial uses macOS 12 (Monterey).
- Homebrew CLI tool and the Xcode Development Tool are installed on your computer.
- At least 8GB of free RAM and 100GB of free storage.
Downloading and Installing UTM Mac
UTM Mac is a software solution based on QEMU that allows you to run a Windows OS on your Mac computer. What makes UTM Mac a great deal is that it is an open-source virtualization platform explicitly designed for macOS.
Installing UTM Mac lets you enjoy the features of both macOS and Windows on your Mac computer without the hassle of dual-booting or investing in additional hardware.
To download and install UTM Mac, follow these steps:
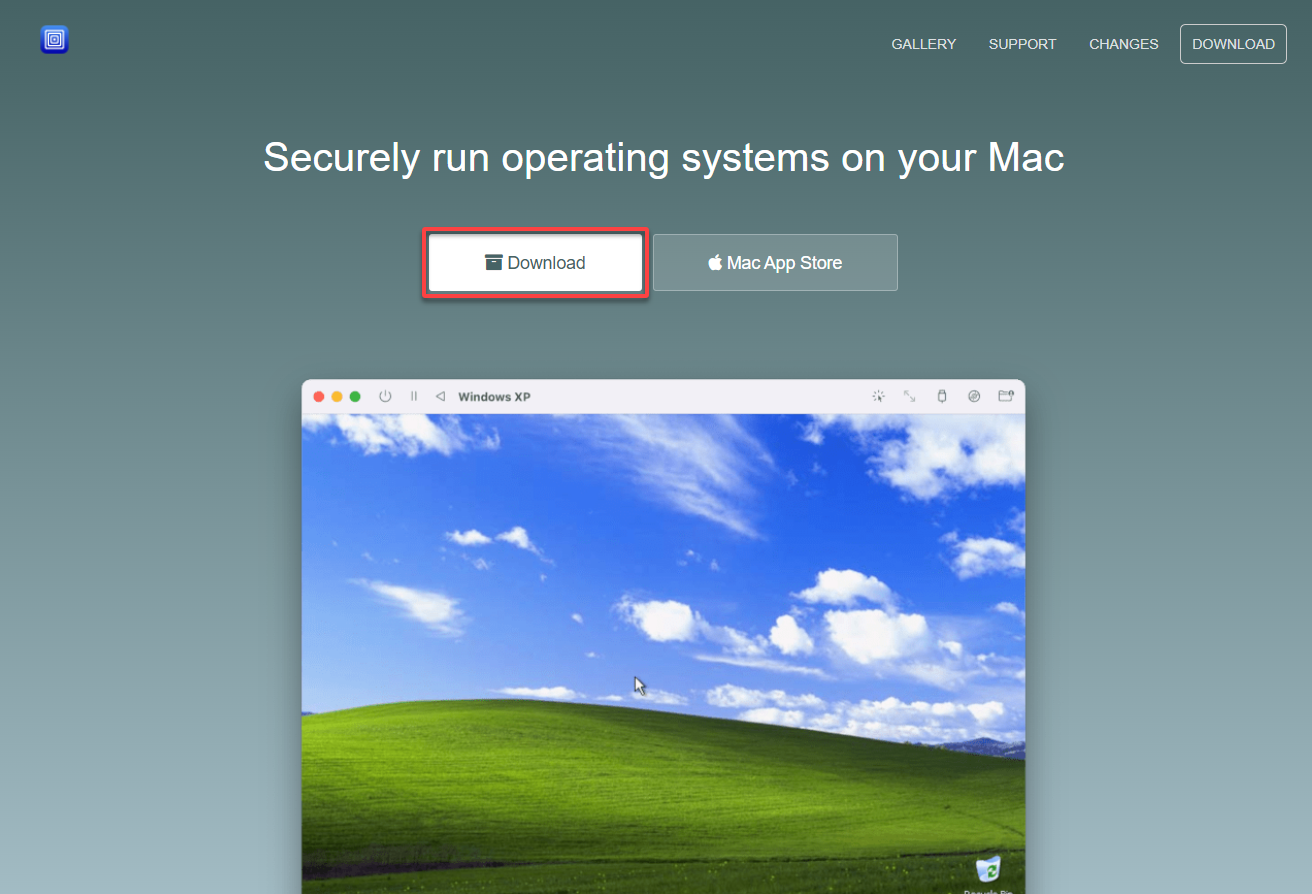
1. Open your preferred web browser, visit the official website, and download the latest version of UTM.
2. Next, open the downloaded file (UTM.dmg) to begin the installation.

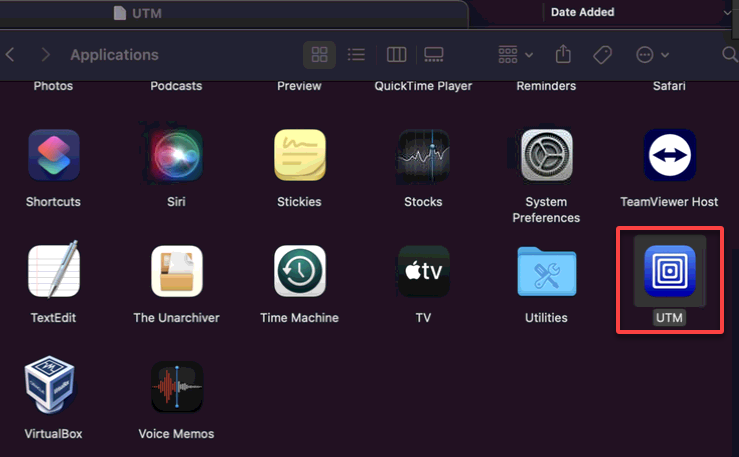
3. Drag and drop the UTM Mac icon onto the Applications folder alias to install UTM Mac.

4. Once the installation completes, launch UTM Mac from your Applications folder, as shown below.
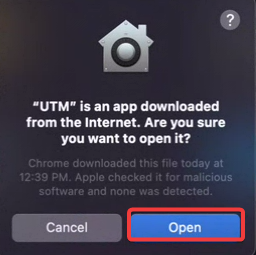
5. Lastly, click Open to authorize launching UTM Mac.
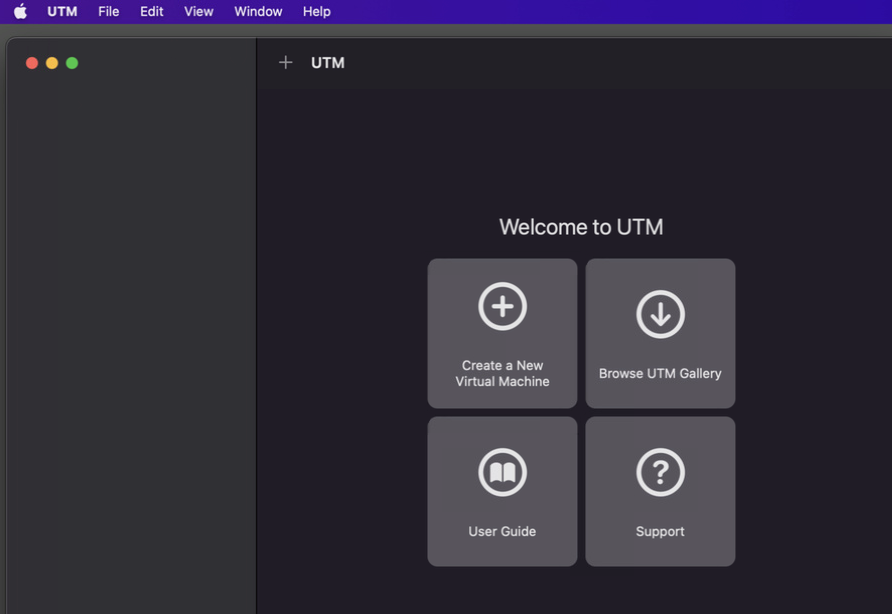
The main UTM Mac window appears, as shown below, where various options exist to configure and customize a VM environment.
You are all set to use UTM Mac and start running Windows on your Mac computer.
Preparing a Bootable Windows ISO Image File
UTM Mac is now running on your computer, but you must prepare a bootable ISO image file before installing a Windows system. This ISO image file is a digital replica of a Windows installation disc or DVD containing all the necessary files to install and set up the Windows OS.
To prepare a bootable Windows ISO image file:
1. Open your terminal, and run the following command brew command to update Homebrew, ensuring all packages are up-to-date.
brew update
2. Once updated, run the below command to install the necessary tools as follows for preparing the Windows ISO image:
| Tool | Function |
|---|---|
aria2 | Downloads the Windows ISO image file efficiently. |
cabextract | Extracts files from Microsoft Cabinet (CAB) files. Windows ISO files use CAB compression; this tool is required to extract the contents. |
wimlib | A library for working with Windows Imaging (WIM) files. WIM files are commonly used for Windows installation and can be manipulated using tools from wimlib. |
cdrtools | Creates and manipulates ISO images. |
brew install aria2 cabextract wimlib cdrtools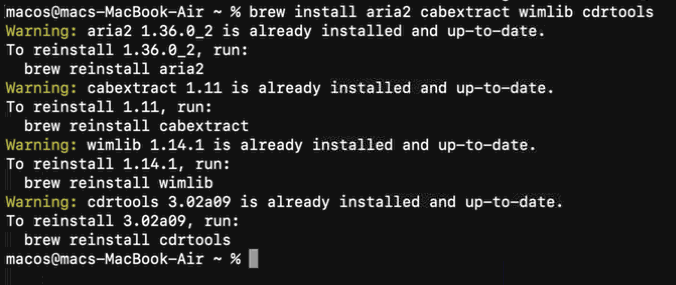
3. Next, run the below command to install the chntpw package. This package allows you to perform advanced tasks related to Windows systems within the UTM Mac environment.
brew tap minacle/chntpw && brew install minacle/chntpw/chntpw
4. Now, navigate to the Unified Update Platform (UUP) dump website, click the Windows 11 drop-down, and choose the 22H2 (the latest at this time of writing).
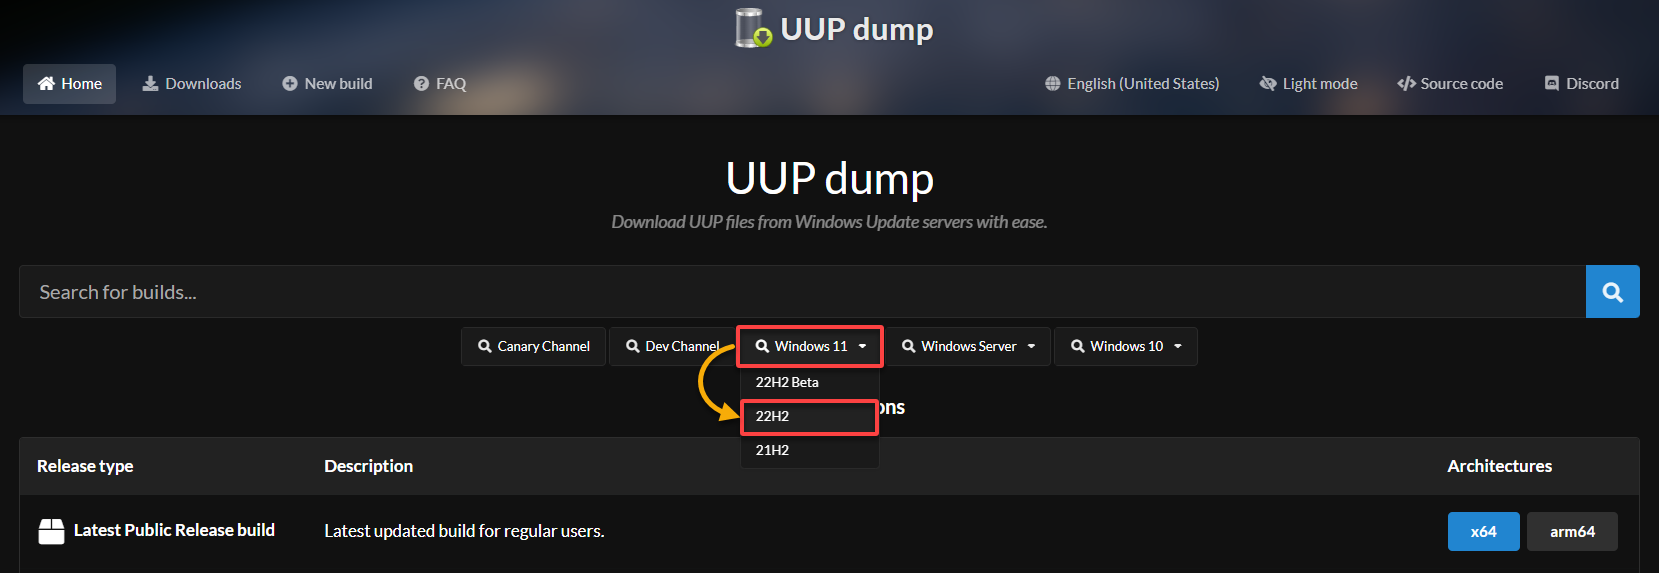
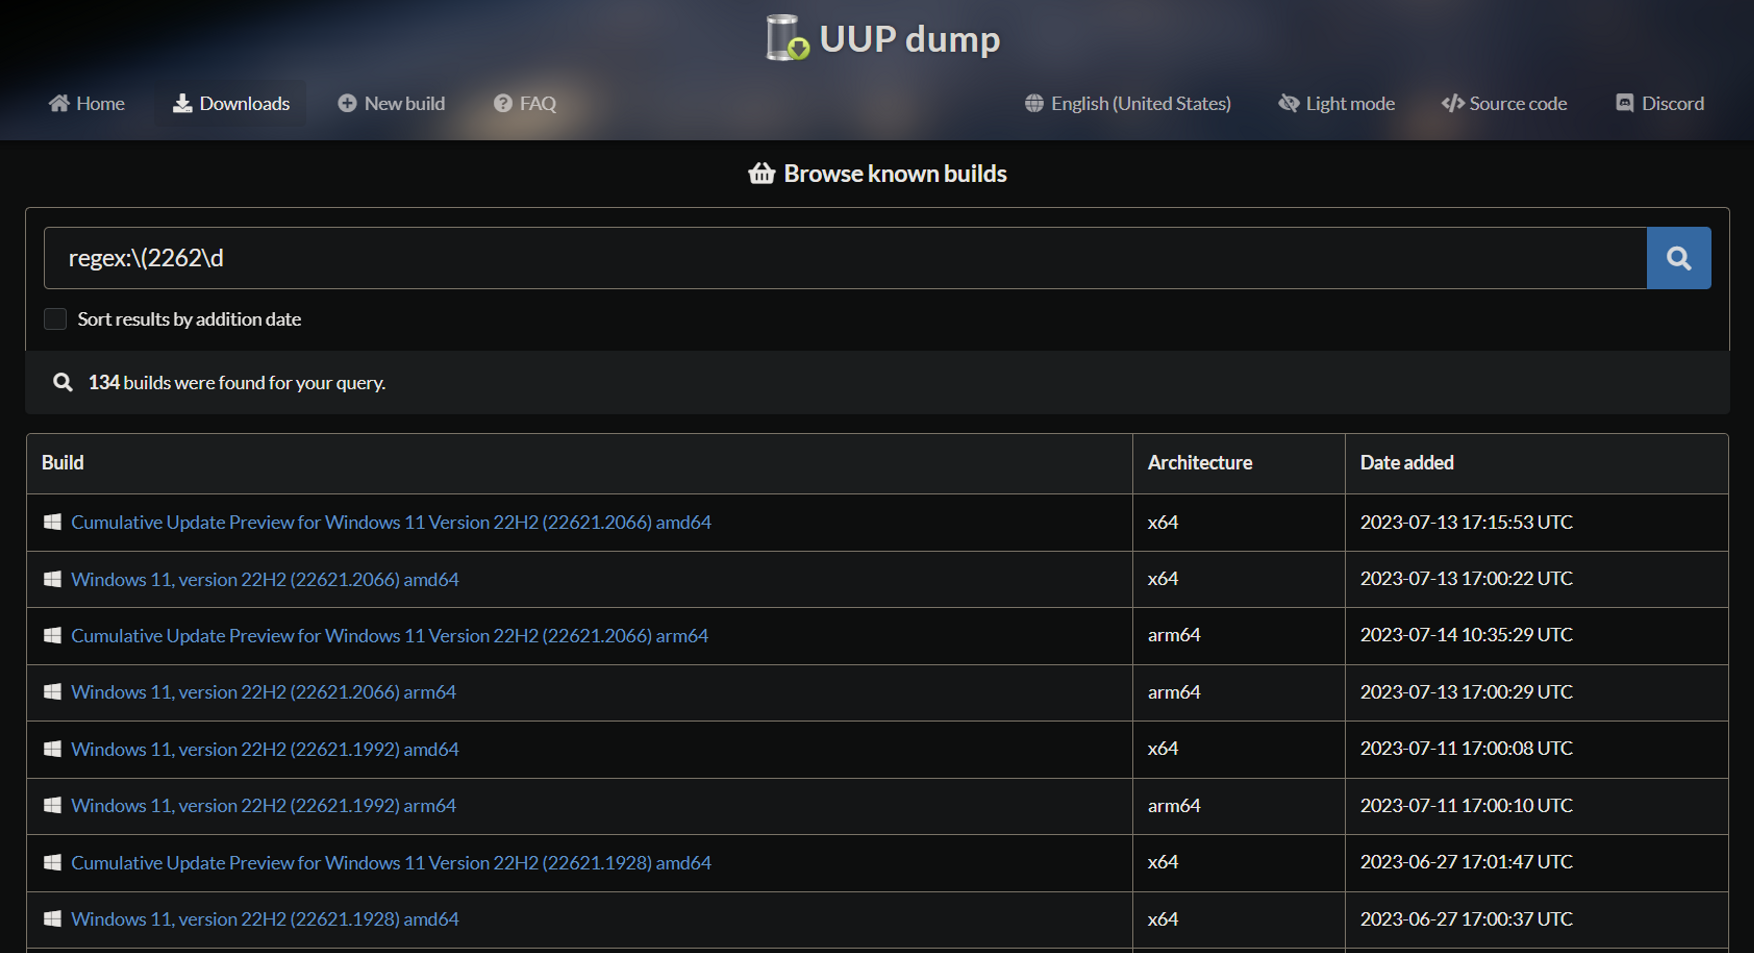
5. Click a UUP dump with the architecture type for your system from the search result to download an ISO image. This tutorial uses a Windows ISO image of the 22H2 version (build 22621.674).
If you use an Intel-based Mac system, select x64. Otherwise, choose arm64 for Apple Silicon-based systems.
The UUP dump website allows downloading Windows ISO images directly from Microsoft’s Windows Update servers. This service benefits users who want to retrieve clean, up-to-date Windows ISO files without needing third-party sources.
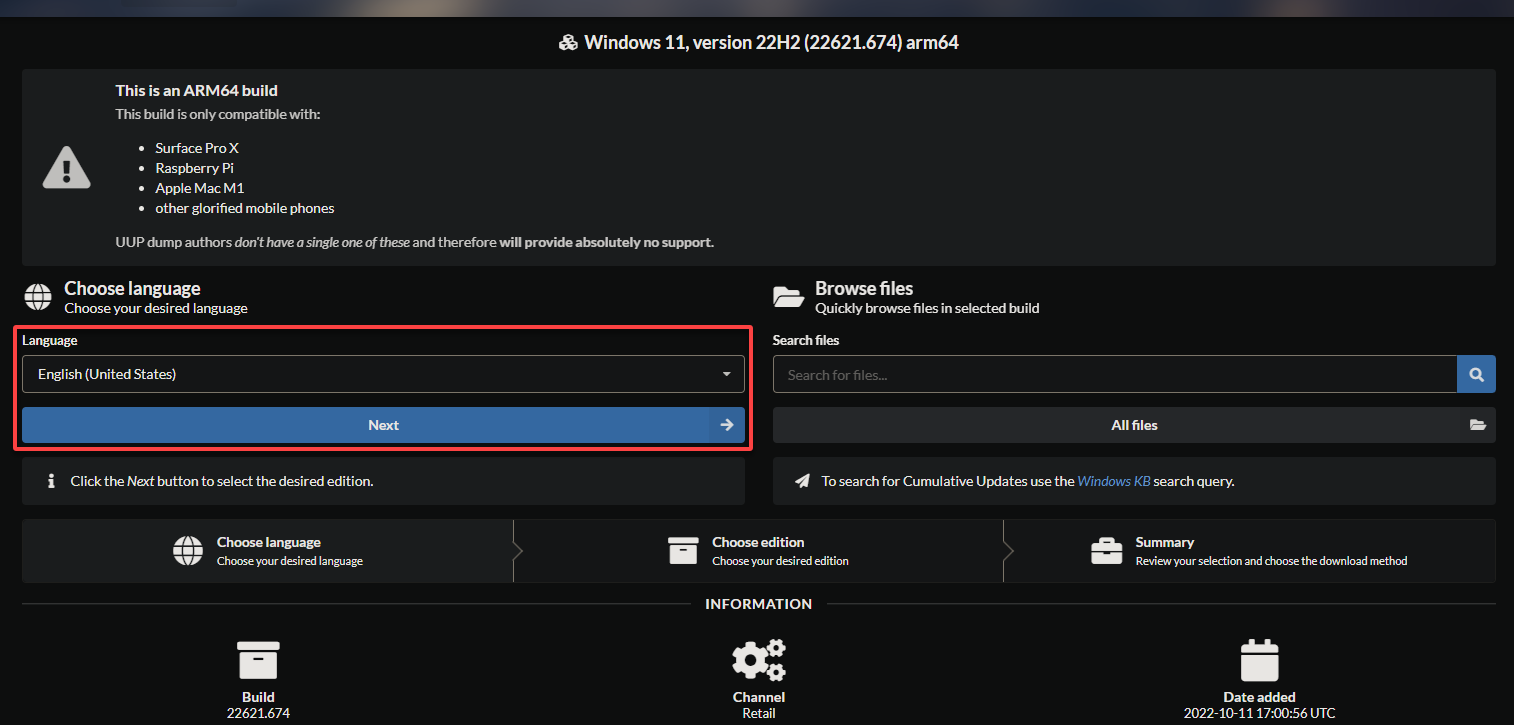
6. Choose your desired language for the UUP dump from the drop-down field and click Next.
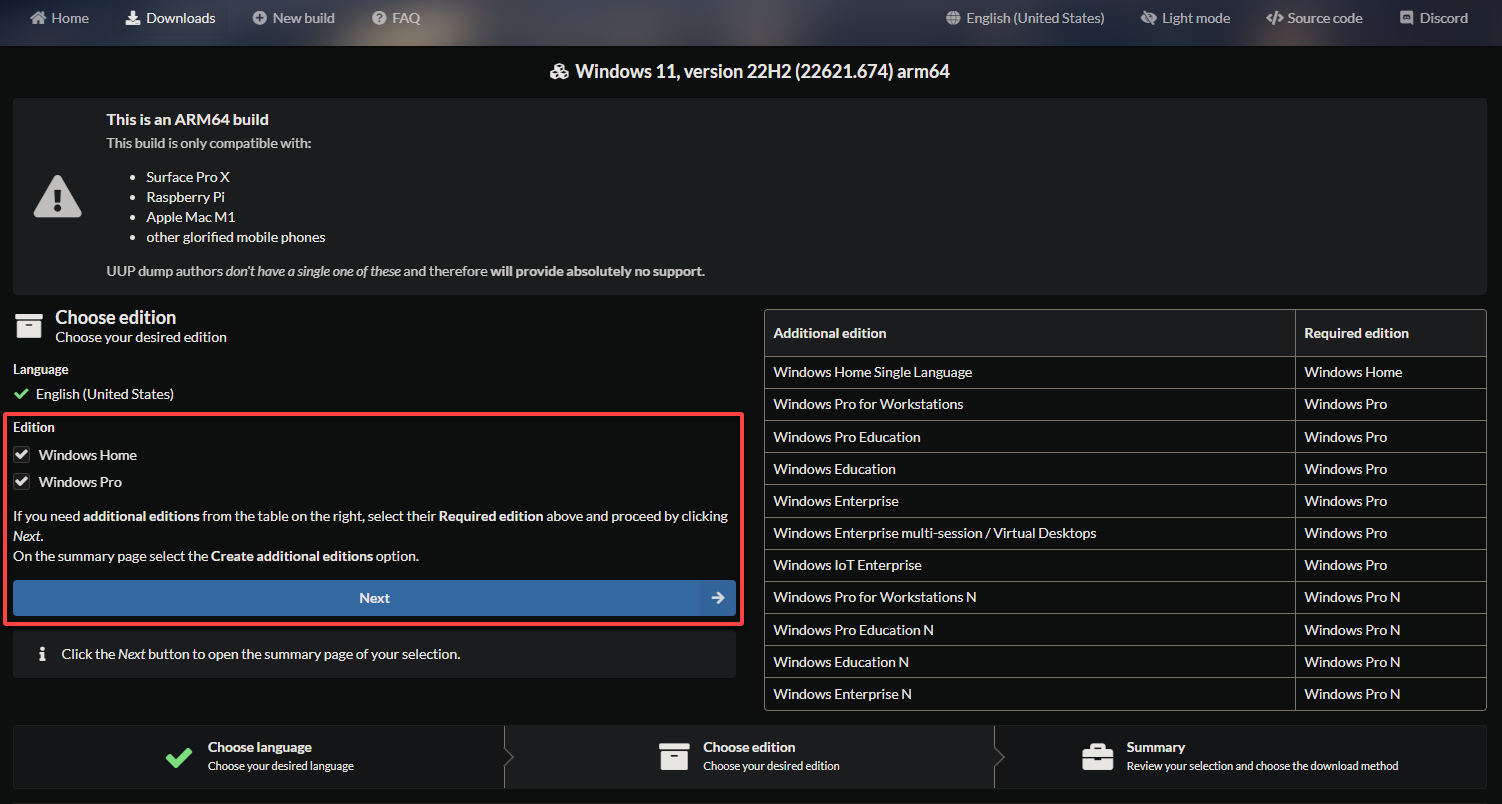
7. Keep the default selections for the Edition, and click Next to continue.
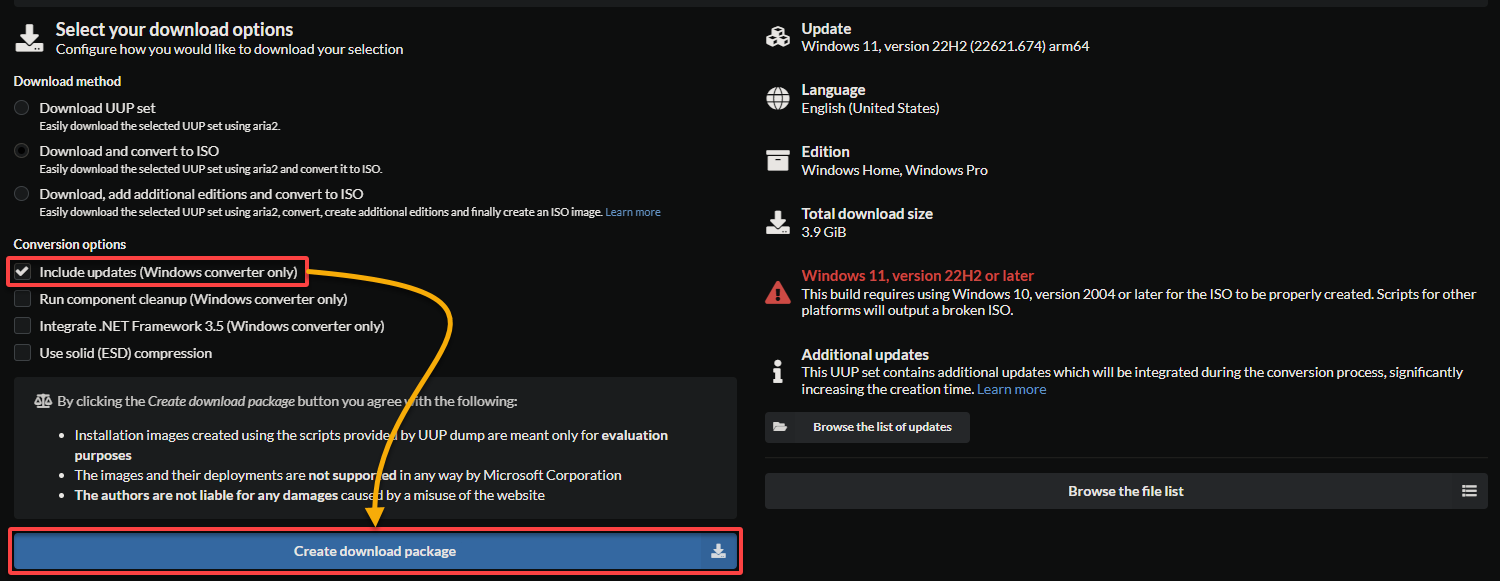
8. Configure the download options as follows:
- Download method – Ensure the Download and convert to ISO option is selected to convert the UUP set automatically to an ISO image.
- Conversion options – Tick the Include updates checkbox to ensure the downloaded UUP Dump package includes all the latest updates for the selected Windows version.
Once configured, click Create download package to download the UUP dump package to an ISO image.
9. Extract the ISO image’s contents to a local folder (i.e., convertiso). Doing so allows you to access the necessary files for creating the Windows ISO image.
10. Next, navigate to the extracted folder (convertiso) in your terminal, and run the below chmod command.
This command does not provide output but allows you to execute the uup_download_macos.sh file as a script, which automates downloading Windows. This file handles authentication, downloading packages, verifying checksums, and other related tasks.
chmod +x uup_download_macos.sh11. Run the following command to execute the script (uup_download_macos.sh) and initiate the download of the Windows ISO image from the UUP dump servers.
./uup_download_macos.sh Ensure you have a stable internet connection and let the download process complete uninterrupted. The download time may vary based on your internet speed and the size of the ISO image.
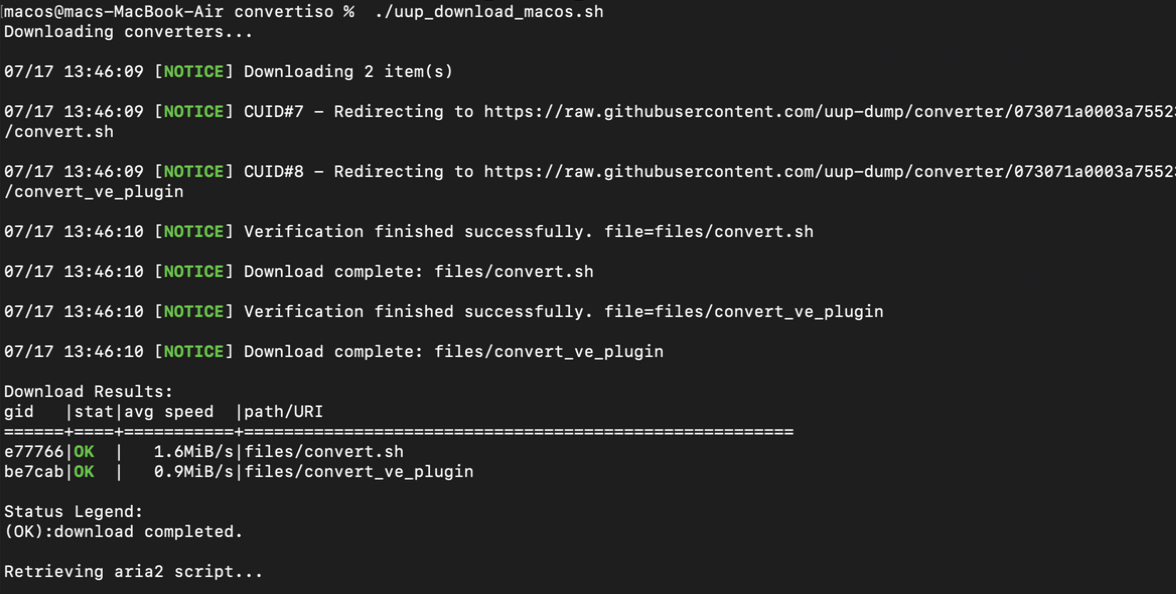
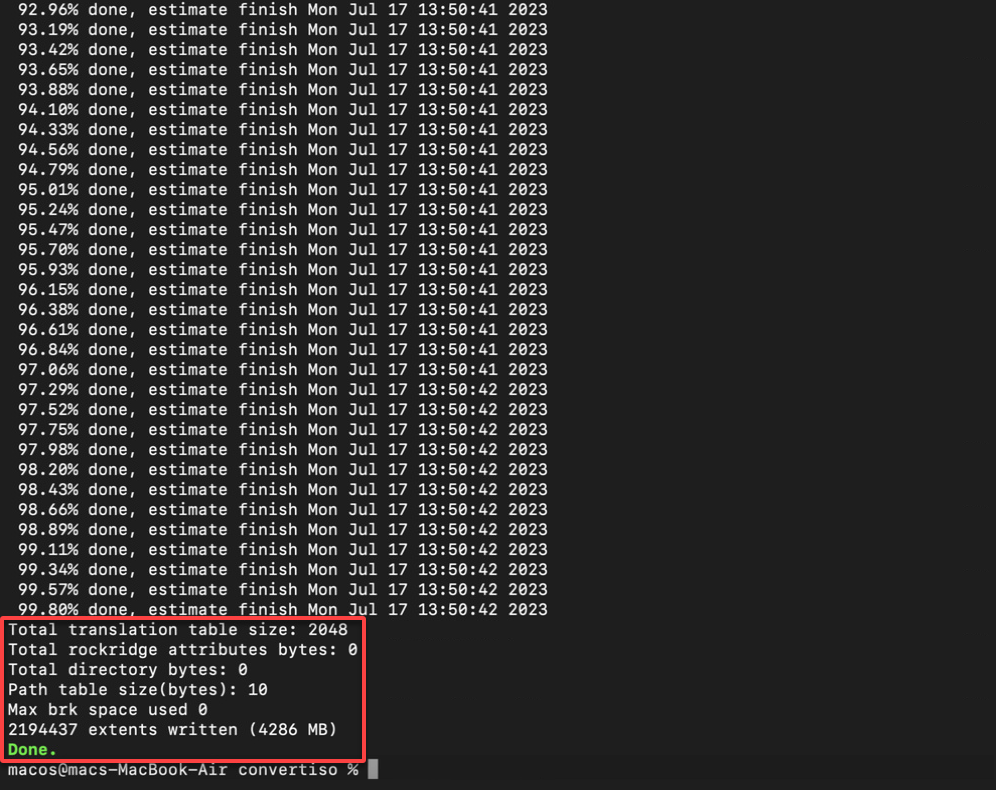
Once the download completes, you will see a similar message below.
If the download fails, re-download the UUP dump package starting from step four.
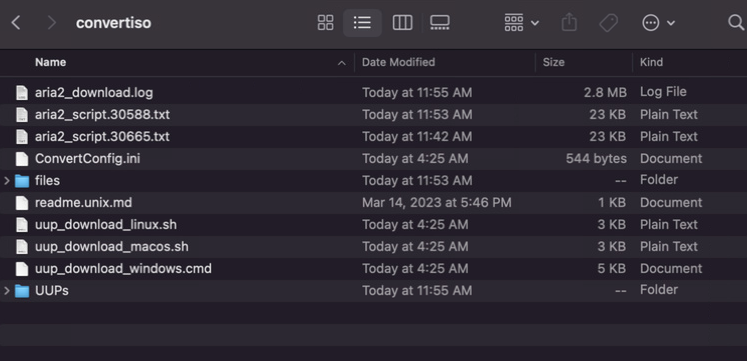
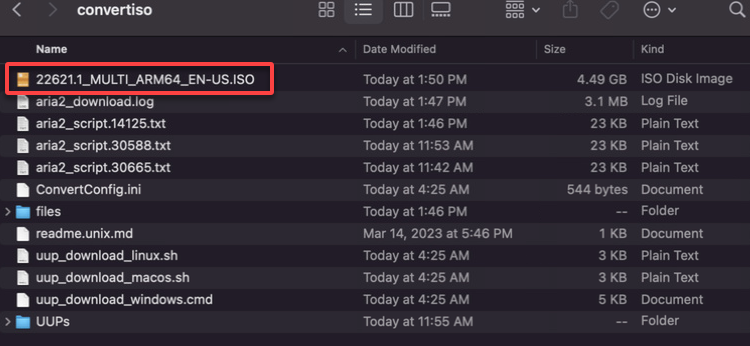
12. Finally, navigate to your convertiso folder to verify that the ISO image has been downloaded, as shown below.
Creating Your First VM via the UTM Mac
With a Windows ISO image ready, you will now create your first VM via the UTM Mac. Whether you wish to run multiple Windows instances or test out Windows on your Mac, UTM Mac makes your wish come true with a user-friendly GUI.
To create a Windows VM in UTM Mac:
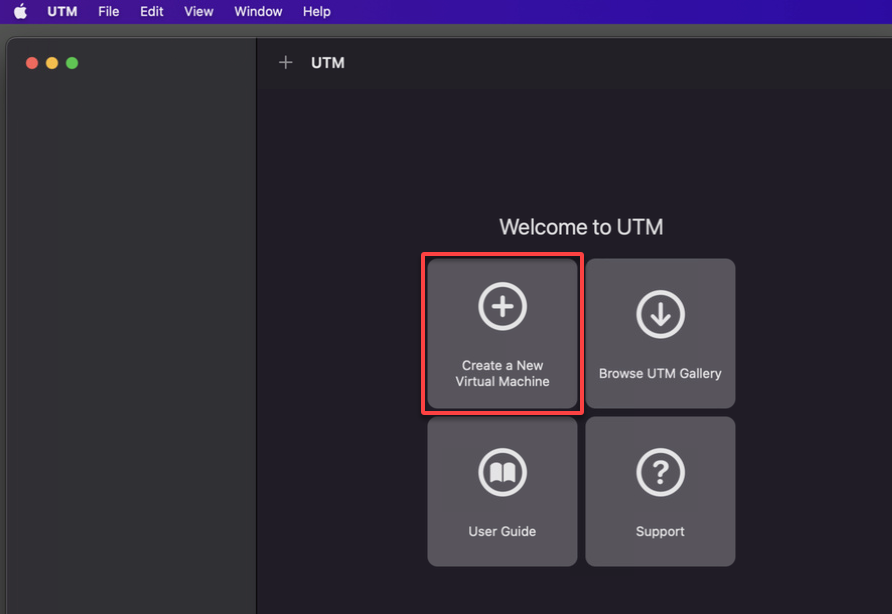
1. Launch UTM Mac, and click the Create a New Virtual Machine button to initiate the VM creation process.
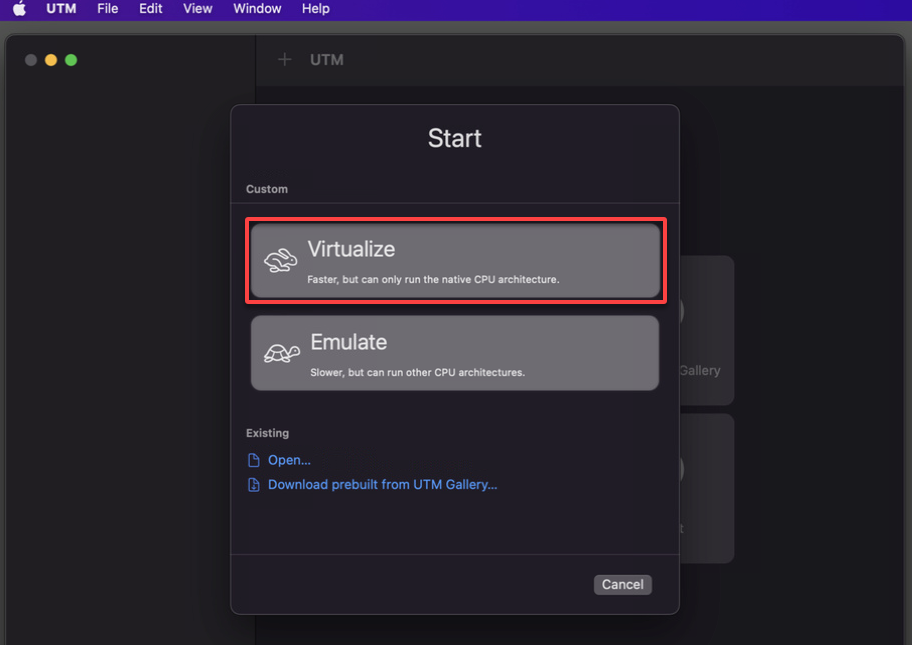
2. In the pop-up menu, select the Virtualize option, which allows you to create a VM from the Windows ISO image you downloaded.
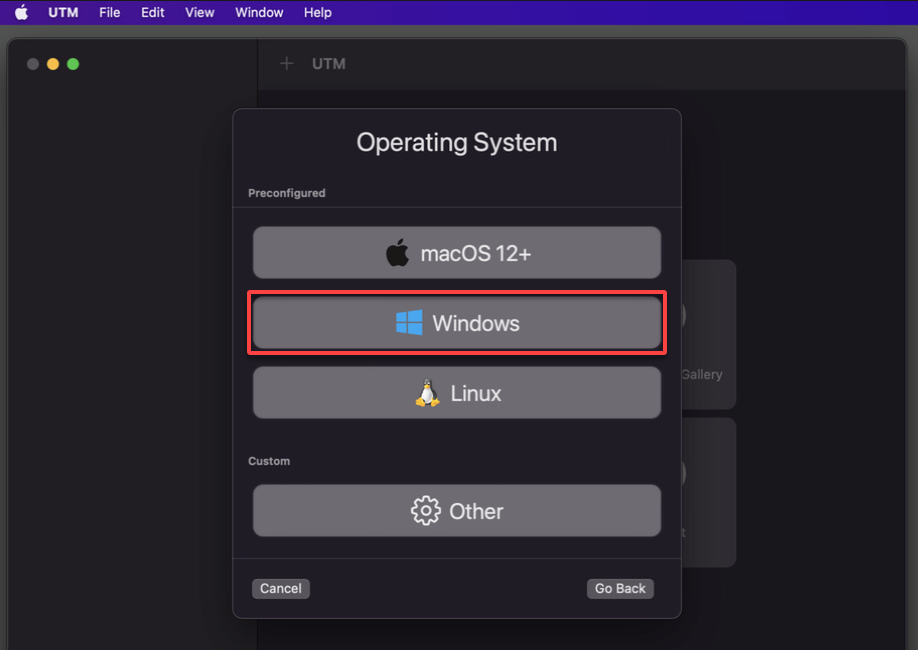
3. Select Windows in the Operating System section since you will create a Windows VM.
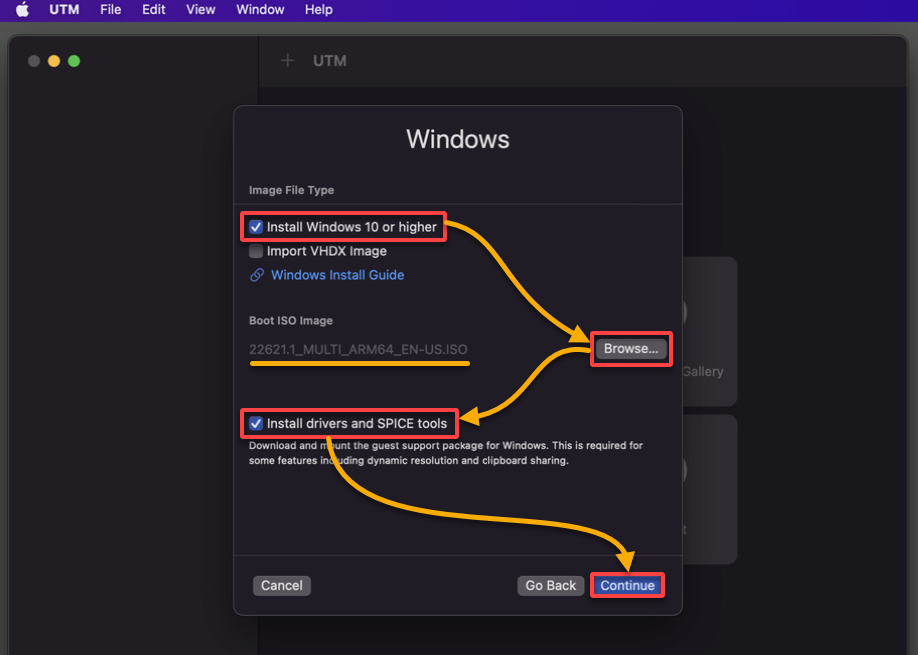
4. Configure the following settings for your Windows VM:
- Image File Types – Tick the Install Windows 10 or higher checkbox to use your Windows ISO image.
- Boot ISO image – Click Browse and select your Windows ISO image.
- Install drivers and SPICE tools – Tick this checkbox to install the drivers and SPICE tools for your VM. SPICE provides improved performance for display and clipboard integration.
Once configured, click Continue to proceed.
5. Configure the Hardware settings as follows:
- Drag the slider to set the memory size for your VM. You can adjust the allocation based on your system resources and requirements. Allocating sufficient memory ensures smooth performance when running Windows on a virtual machine.
- Keep the CPU option as is and click Continue.

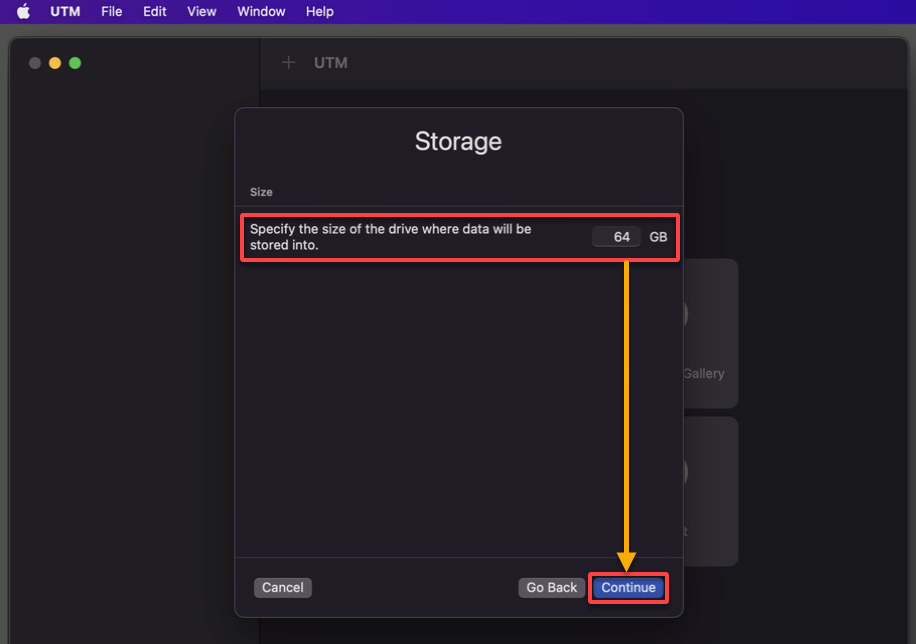
6. Next, set the virtual drive size for your VM based on your storage needs.
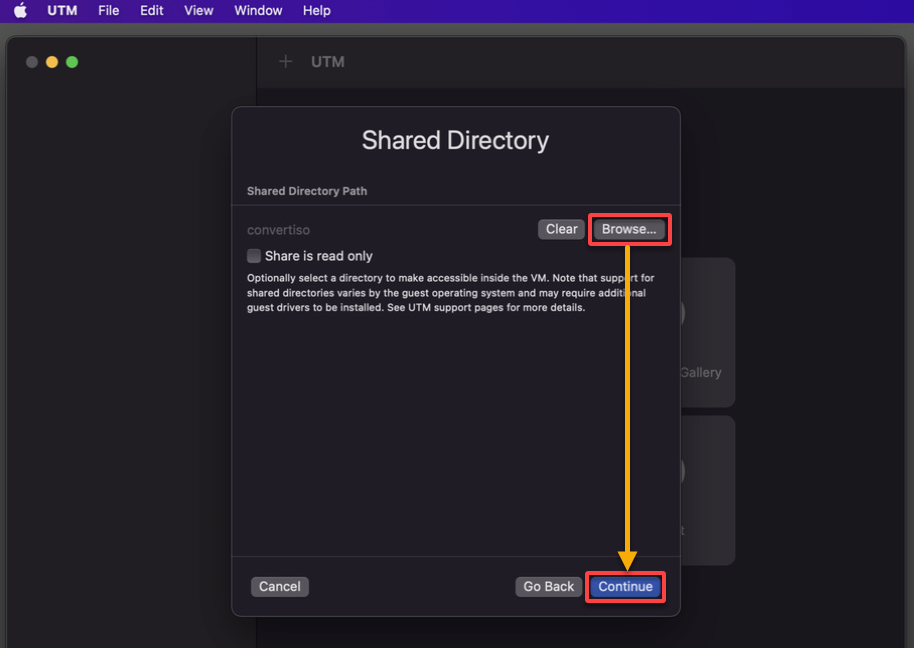
7. Click Continue since you do not need to select a shared folder for this tutorial.
But when necessary, you can optionally set a shared directory for seamless access to files between your VM and host system.
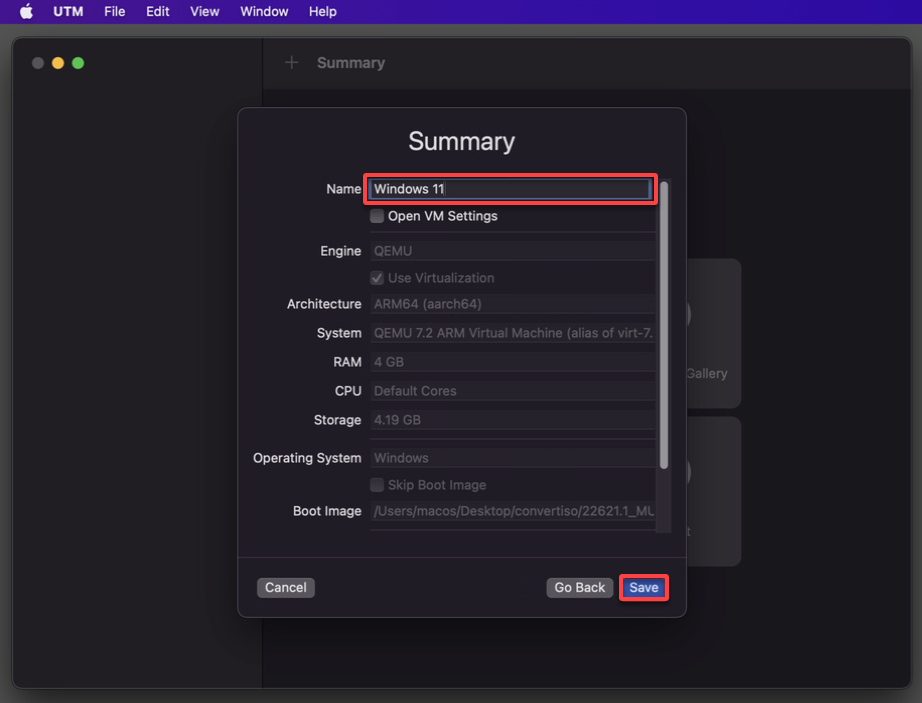
8. Lastly, provide a name for your Windows VM (i.e., Windows 11), review your selected configurations, and click Save to finalize creating your VM.
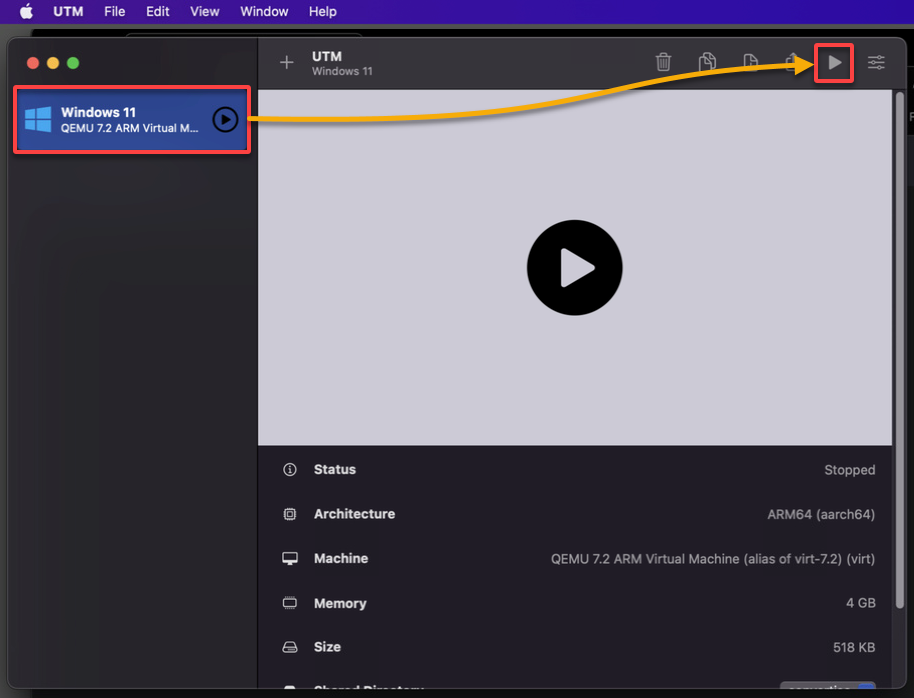
9. Once created, select your VM and click the play button to start your VM in UTM Mac.
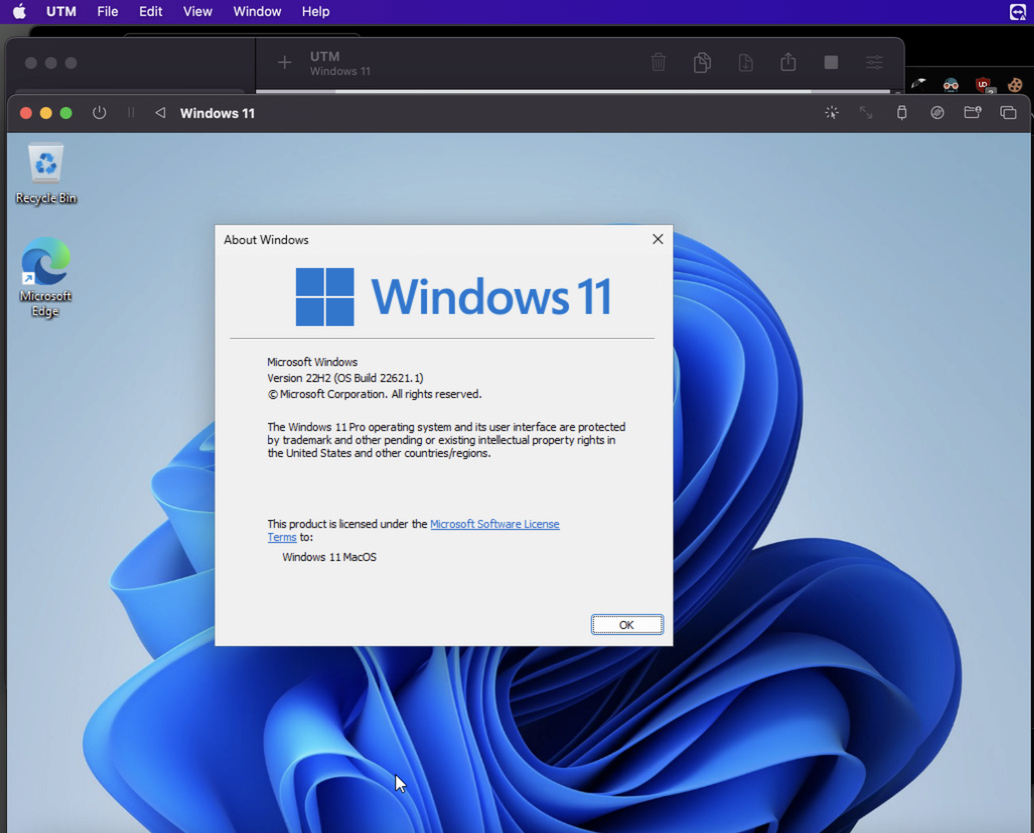
10. Follow the on-screen instructions to complete the Windows installation process within the VM.

After the installation, you can start using your Windows 11 VM on your Mac as you would on your typical Windows machine.
Conclusion
Throughout this tutorial, you have learned to set up your first Windows VM on your Mac via the UTM Mac, the ultimate solution for running Windows on macOS. The best part of it? Taking advantage of UTM Mac is completely free.
With UTM Mac, you can enjoy the convenience and cost-effectiveness of running Windows and other OSes on your Mac. But why stop here? UTM offers a range of powerful features explicitly tailored for Mac users.
Why not explore other features like multiple displays to enhance your Windows 11 experience on your Mac? Unlock the full potential of your Mac with UTM Mac today!


