


Data is one of the most important things for a business or individual. Losing data can be fatal. Well, yes, unless you have a reliable backup system in place. Why not consider UrBackup?
UrBackup is an open-source backup system designed for quick backup and file restoration. And in this tutorial, you’ll learn how to set up and use UrBackup to manage your backups.
Sounds interesting? Read on and let UrBackup save the day!
Prerequisites
This tutorial will be a hands-on demonstration. If you’d like to follow along, be sure you have a server and client machine. This tutorial uses a Windows Server 2019 as the backup server and Windows 10 as the client. You can use any server or client, but the instructions may differ slightly.
Downloading and Installing the UrBackup Server
UrBackup is open source client/server backup system that offers data security and a speedy restoration time. But before taking advantage of the UrBackup Server, you must install it on your server first.
1. Open your favorite web browser, and navigate to the official UrBackup server download page.
2. Next, click the UrBackup Server 2.5.26 (x86/x64) (Vista/7/8.1/10 + Server editions) version to download the latest installer. The MSI installer version might not work on older versions of Windows Server.

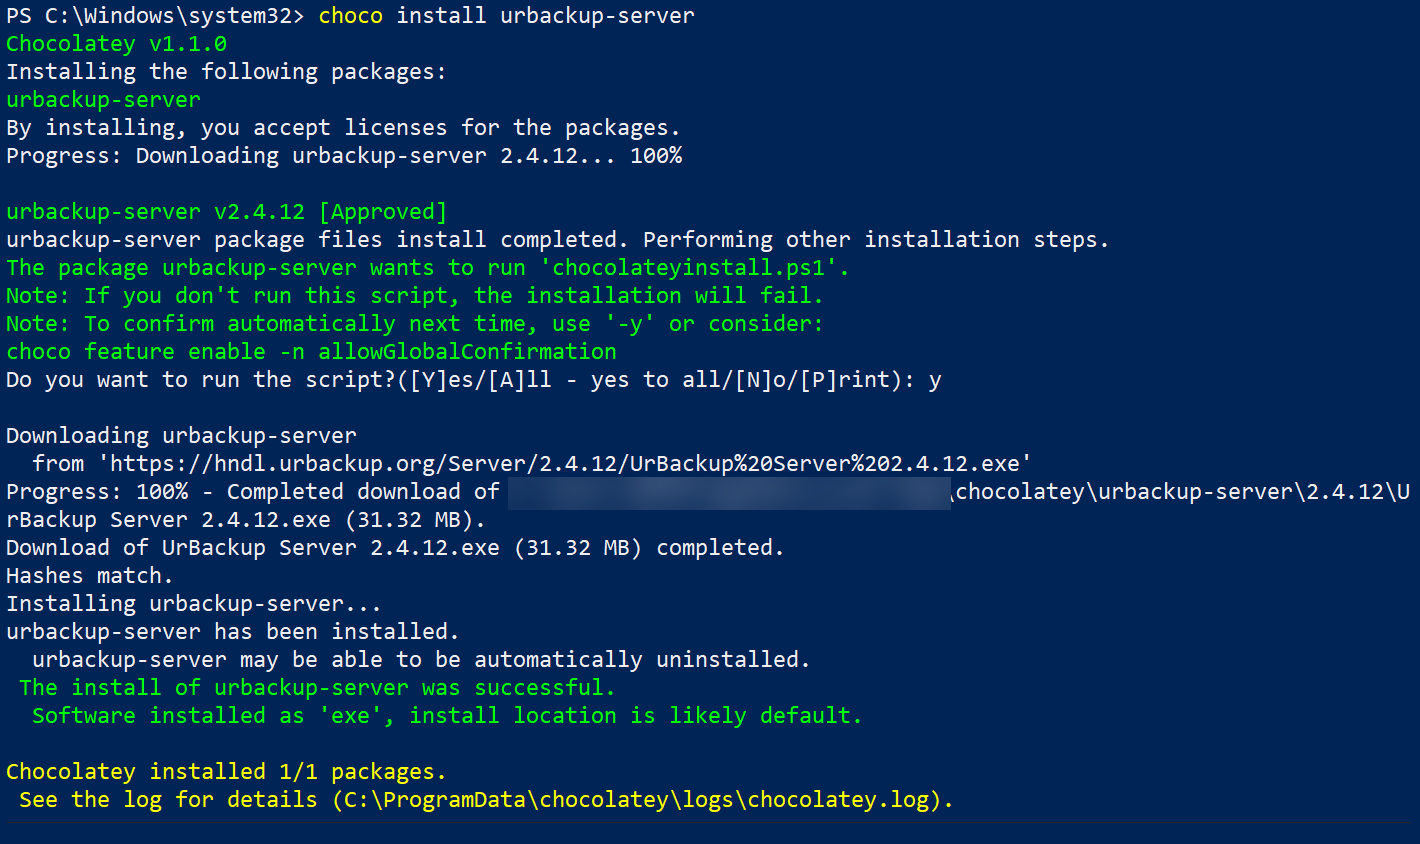
Perhaps you have Chocolatey installed on your server. If so, you can open PowerShell as administrator and run the choco install command below to install the UrBackup Server (urbackup-server).
choco install urbackup-server
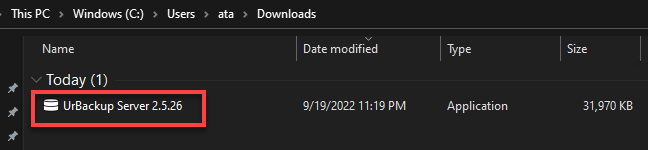
3. Once downloaded, launch the installer to begin installing the UrBackup Server.
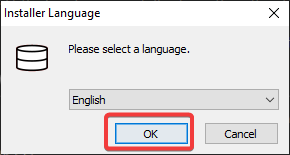
4. Select your preferred language during the installation, as shown below, and click OK to continue.
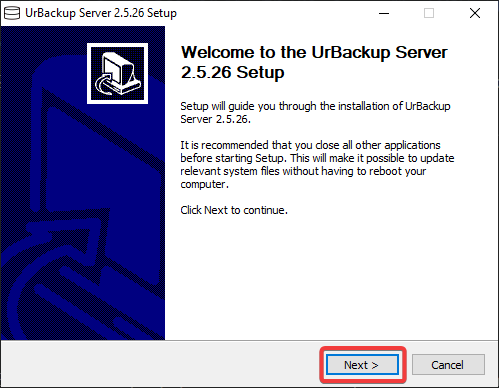
5. Now, click Next on the Welcome page to continue.
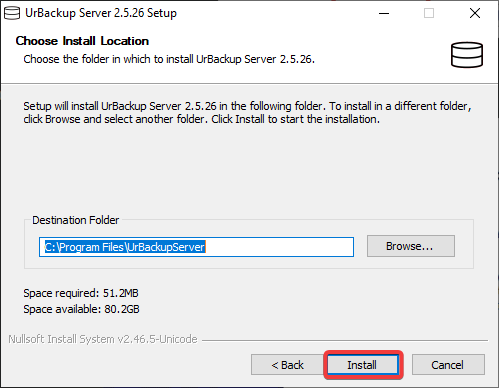
5. Click Browse to select UrBackup Server’s install location, and click Install to commence the installation.
6. Lastly, click Finish when the installation completes, which closes the installation wizard.
Configuring UrBackup Server
After installing, you’ll still need to configure the UrBackup Server to control each backup’s behavior. How? UrBackup has a web UI that lets you manage UrBackup Server settings and all your backups.
To configure UrBackup Server:
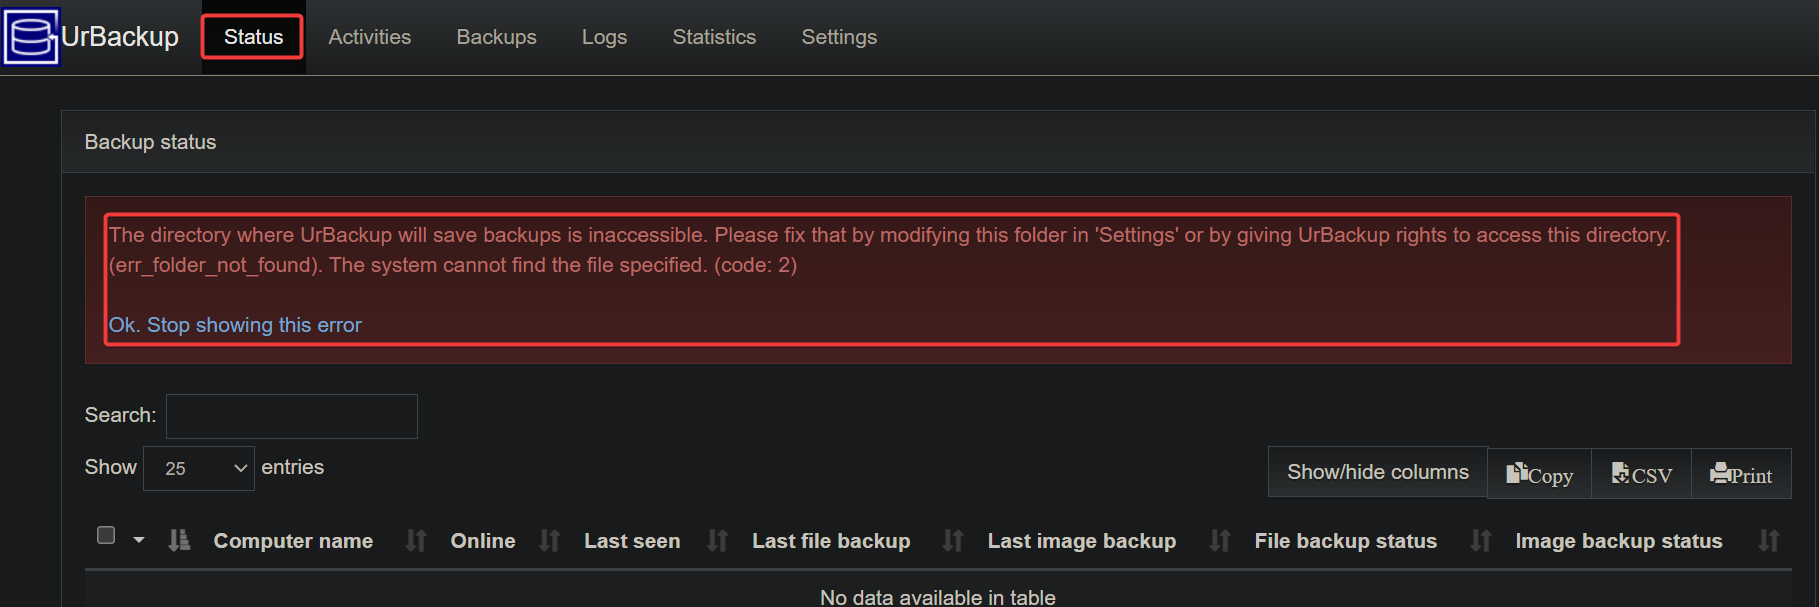
1. Navigate to http://localhost:55414 in your web browser to open the UrBackup Server web UI. You’ll see an error message saying the backup directory is missing under the Status tab, as shown below.
This error shows up since you haven’t configured the backup directory yet. No worries, you’ll fix this error in the following step.
2. Open PowerShell as administrator and run the following New-Item command to create a backup Directory called urbackup. But the directory’s name and path are arbitrary.
New-Item "C:\urbackup" -itemType Directory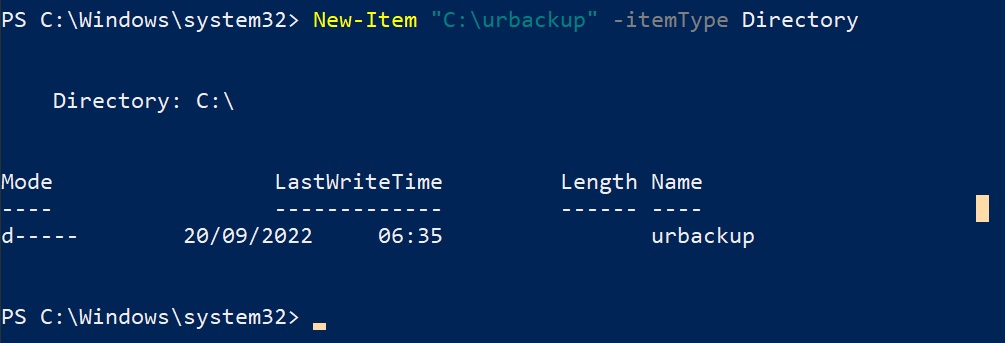
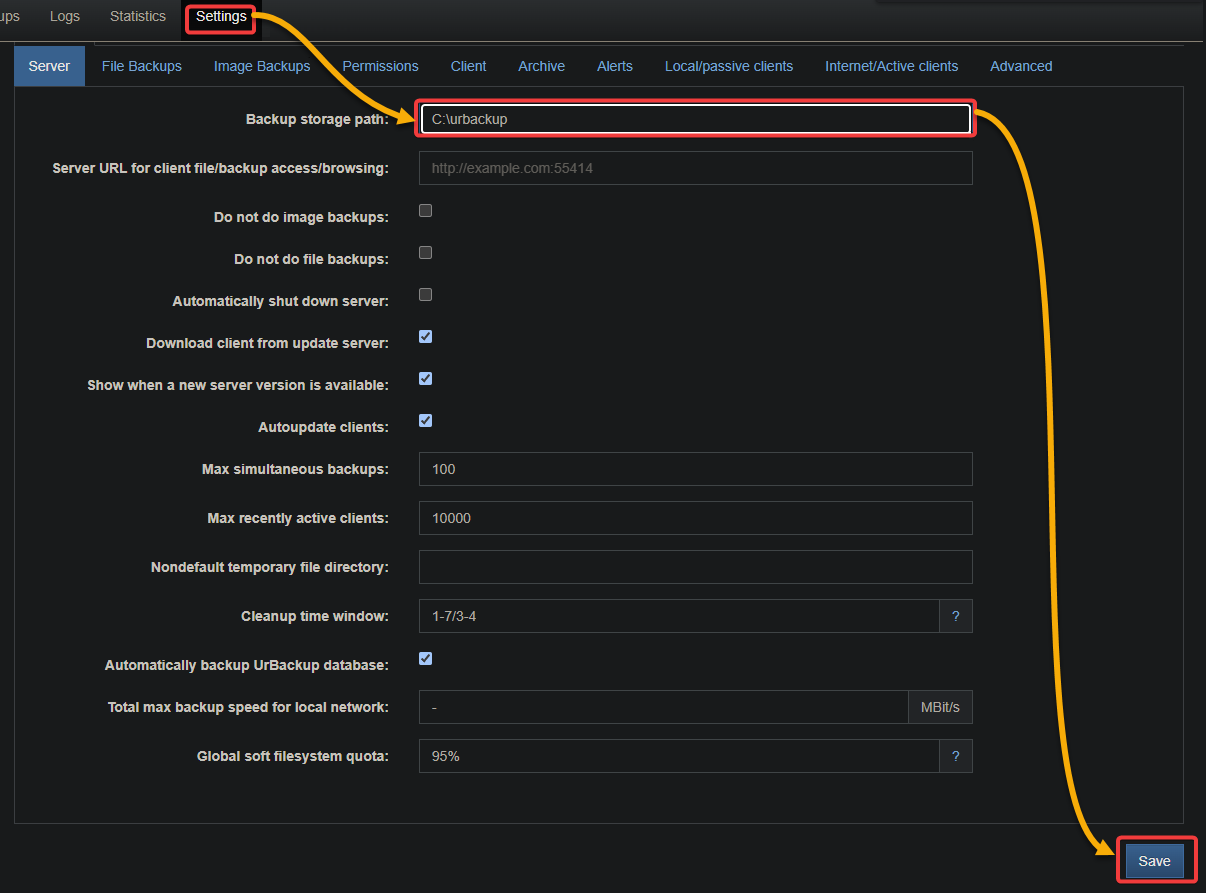
3. Next, click the Settings tab in the web UI to access UrBackup Server’s settings.
In the Backup storage path field, provide the path of your backup directory, which in this case is C:\urbackup, and click Save (bottom-right) to save the settings.
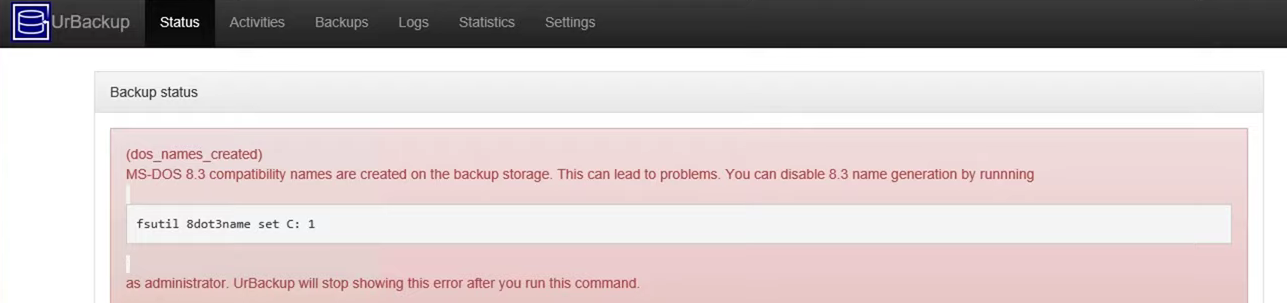
4. Navigate to the Status tab to verify that the error message is gone.
But this time, you’ll see another error message below since the Windows file system uses short names (8.3 format) for compatibility with older versions of Windows.
UrBackup can create these short names, but it’s not recommended as it can lead to problems. To avoid potential problems, you’ll disable 8.3 name generation on your Windows Server in the following step.
5. Run the following fsutil command to disable the 8.3 name generation (8dot3name).
fsutil 8dot3name set C: 1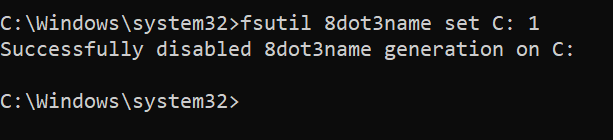
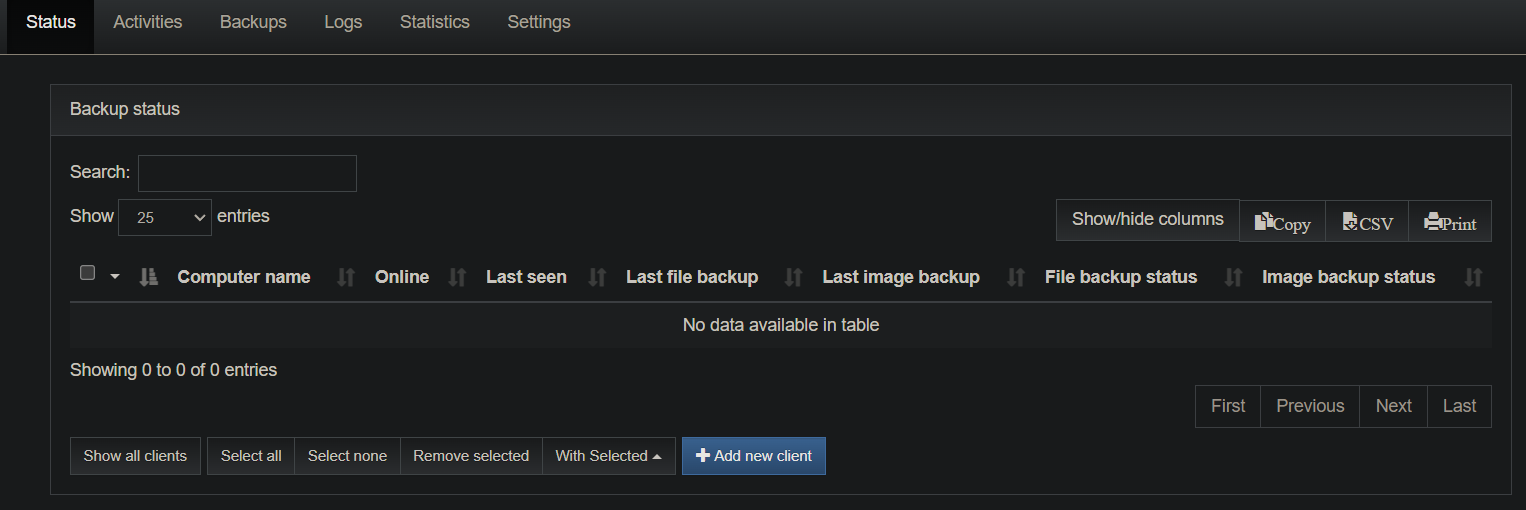
6. Finally, refresh the page to verify that all the errors are gone and that UrBackup Server is now running.
Configuring the UrBackup Client
After setting up UrBackup Server, you’ll need a client to back up. But first, you must install and configure UrBackup Client on your client machine.
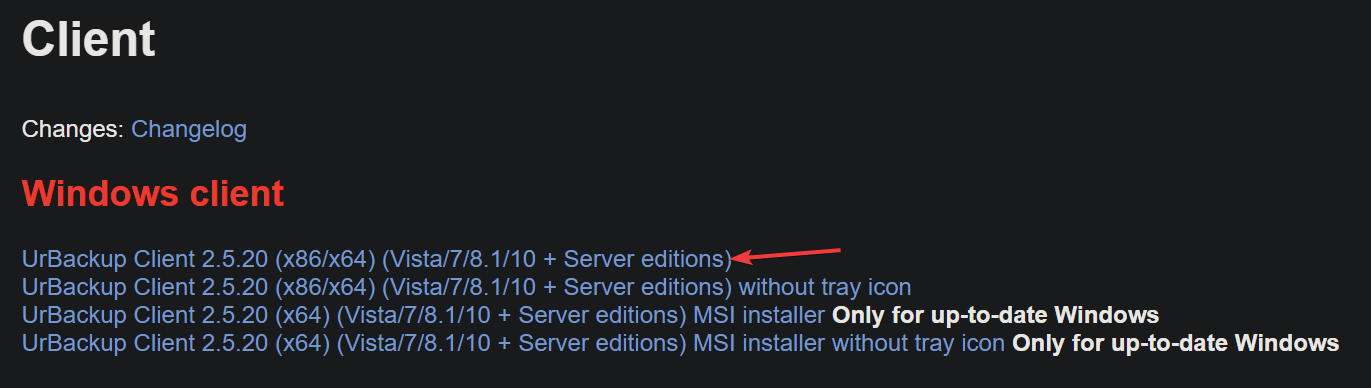
1. Navigate to the UrBackup Client’s official download page, and select the first version (UrBackup Client 2.5.20 (x86/x64) (Vista/7/8.1/10 + Server editions) to download the UrBackup Client’s installer.
2. Once downloaded, launch the installer and install the client as you did with the UrBackup Server. The first time you install the UrBackup Client, a pop-up window appears, where you can configure your UrBackup Client.
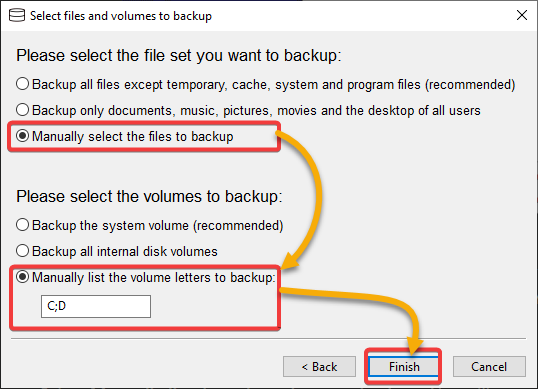
3. Select the following options to configure the UrBackup Client, and click Finish.
These options give you total control over what gets backed up. But feel free to change these options later.
- Manually select the files to back up – This option lets you always select files to back up.
- Manually list the volume letter to back up – This option lets you select the drive to back up.
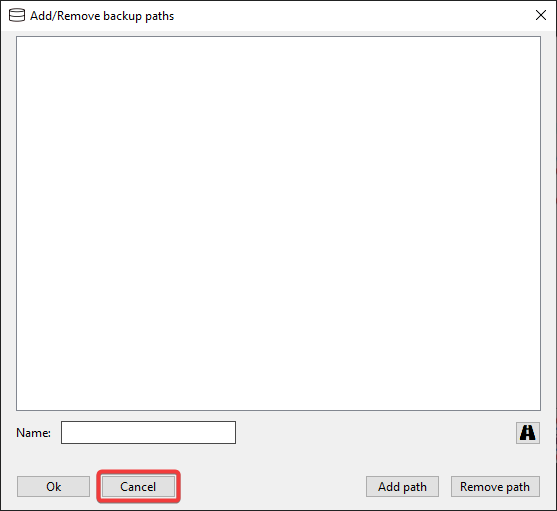
4. Finally, click Cancel on the Add/Remove backup paths windows since these are unnecessary for this tutorial.
At this point, the UrBackup Client is installed and configured.
Backing Up Files from Client to Server
Now that you have installed and configured the UrBackup Server and Client, it’s time to test the backup system. Depending on your needs, you may want to back up a full partition or the whole client’s system.
But for the sake of demonstration, you’ll only back up a small file in your client’s Documents folder.
To backup files from the client to your server using UrBackup:
1. Configure the file backup settings with the following:
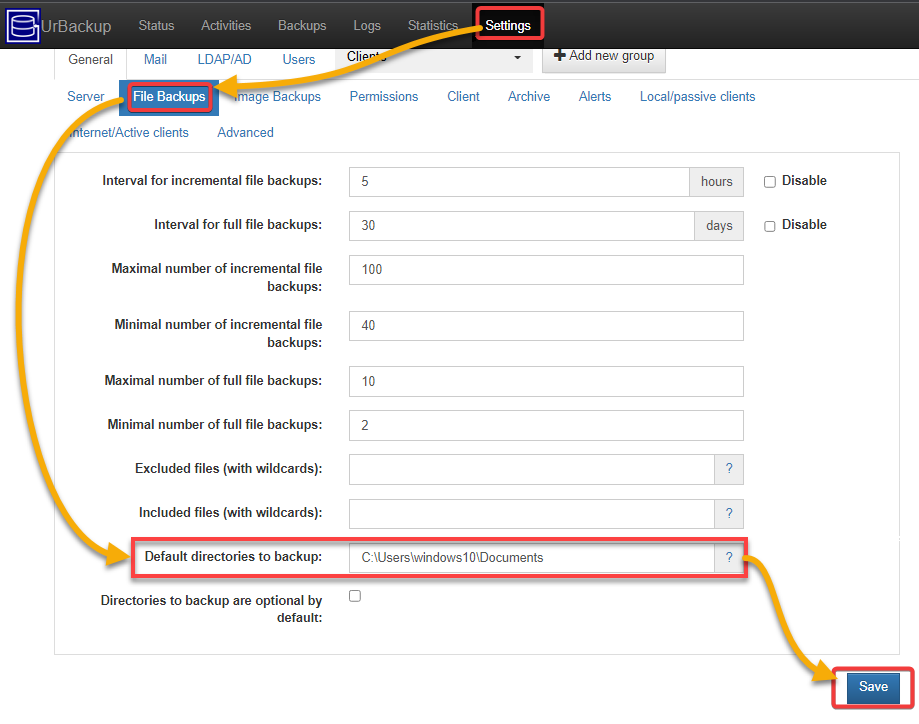
- On the backup server machine, click on the Settings menu tab in the UrBackup web UI to access the UrBackup server settings.
- Navigate to the File Backups tab, and provide the file’s directory path to backup. For example, C:\Users\windows10\Documents.
- Keep other default and click Save to save the changes.
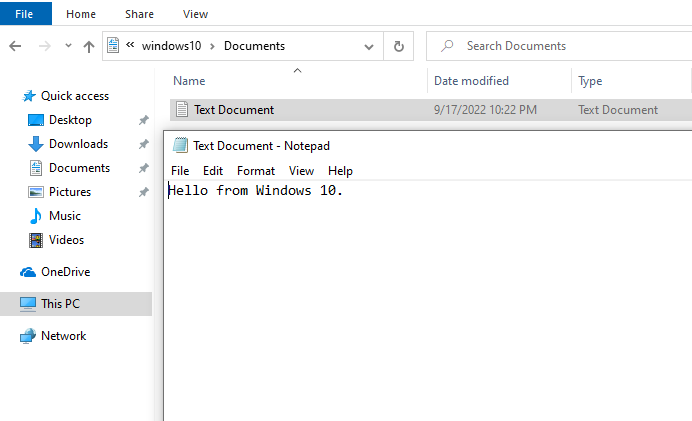
2. Next, create a text file (Text Document) in the Documents folder of your client machine with some content (Hello from Windows 10).
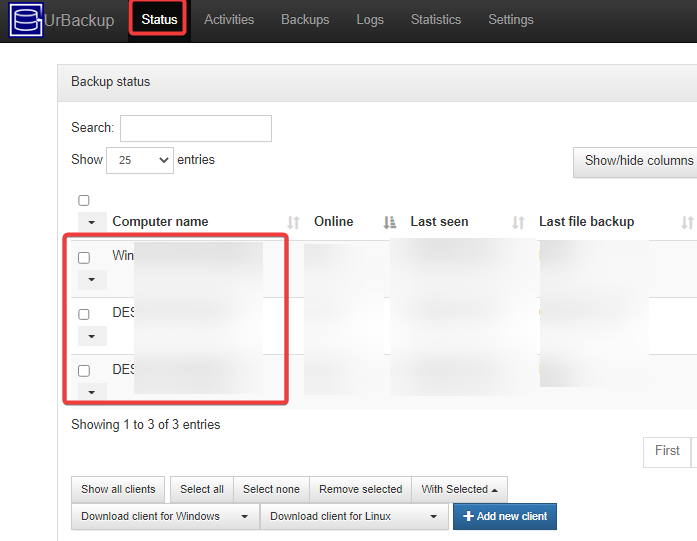
3. Navigate to the Status tab on the UrBackup Server web UI on your server. You will see that the client is now connected and has shown up in the list.
Since the client and the server are on the same network, the backup happens quickly and automatically.
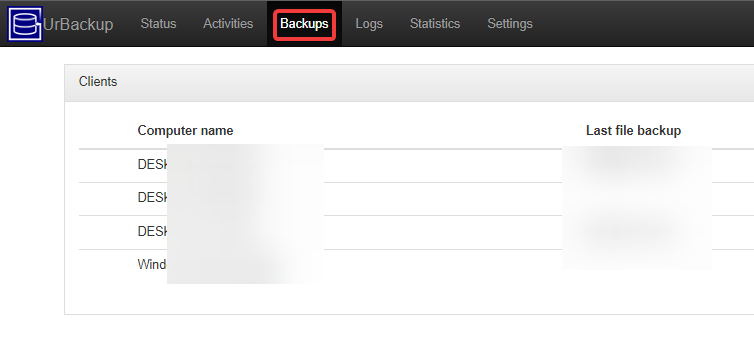
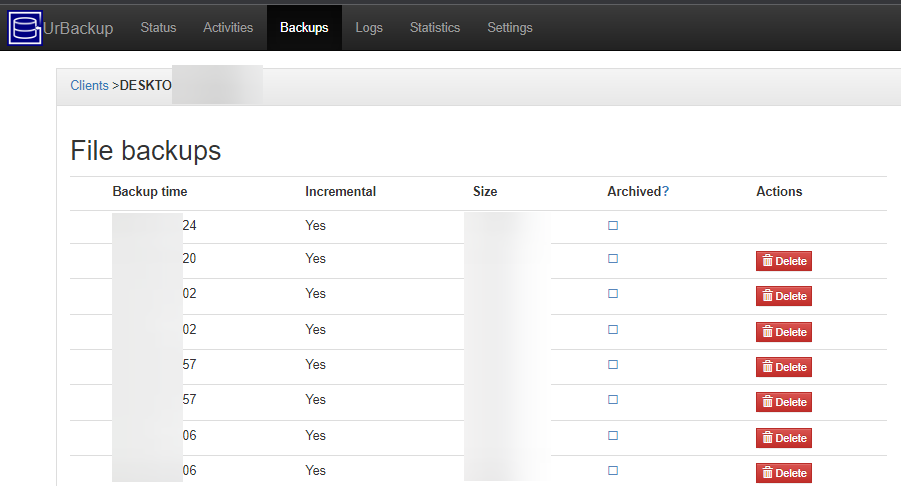
4. Now, navigate to the Backups tab, and click your client’s name to view the backed-up files. You’ll see a list of all the backups created for the selected client (step five).
5. Click the most recent backup to view more information about that backup.
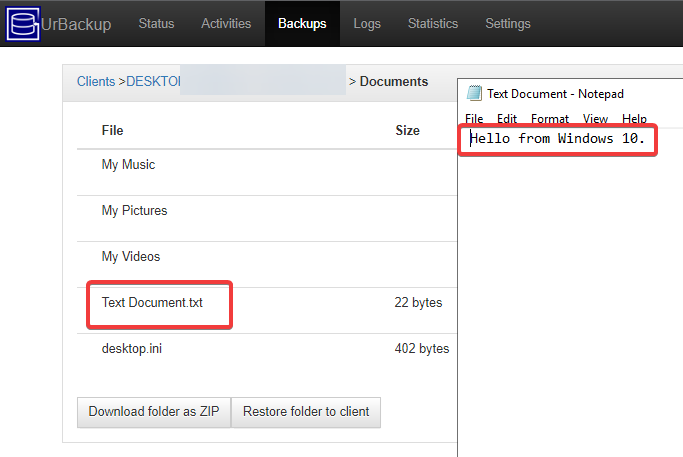
6. Next, click on the Text Document file to download and open the file on your server.
Verify the content is the same as what you provided to your client (Hello from Windows 10), as shown below.
Restoring Deleted Files
You’ve previously backed up a text file to your server, and that’s cool. But how exactly UrBackup secures your data?
Losing crucial files can be catastrophic, especially if the missing ones are project files. Worry not! Accidentally deleting files in your client machine is nothing to get frustrated about. So long as your file is backed up on your server, you can restore them to your client machine anytime.
To see how the file restoration works with UrBackup:
1. Switch to your client machine and delete the Text Document file from the Documents folder.
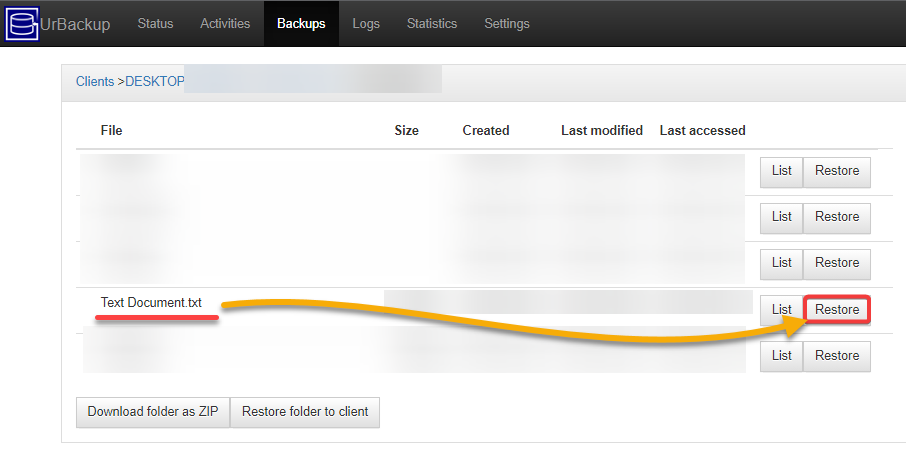
2. Now, click Restore next to the backup you want to restore (Text Document) in UrBackup web UI on your server.
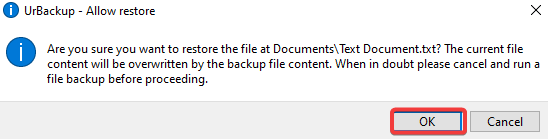
3. Click OK when prompted to continue the file restoration.
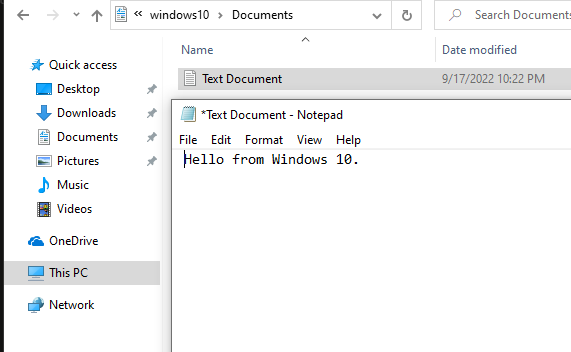
Once restored, you’ll see the following message.

4. Finally, navigate to the deleted file’s original location and verify that the file has been restored.
Conclusion
Data loss is a serious issue causing many problems for individuals and businesses. The good news is that in this tutorial, you’ve learned how to UrBackup as one solution for backing up and securing data. At this point, you already have a reliable backup system in place, which also lets you quickly restore deleted files.
As powerful as the UrBackup Server/Client system is, it’s worth noting that no backup system is 100% foolproof. Data loss can still occur due to hardware failure, software bugs, human error, or malicious attacks. So having multiple backup systems handy is always a good idea.
Now that your data is safe, why not secure your network connection next? Perhaps connect your clients using an HTTPS Connect web proxy? This HTTP Proxy uses TLS to encrypt all communication between clients and servers.


