

Do you ever feel you want to make Gnome your own? Look no further! Gnome Tweak Tools (Tweaktools) is a powerful tool that lets you customize every aspect of the Gnome desktop environment.
In this tutorial, you’ll learn how to install and use Gnome Tweak Tools to personalize your Gnome experience.
Read on and make Gnome your own!
Prerequisites
This tutorial will be a hands-on demonstration. If you’d like to follow along, be sure you have an Ubuntu Linux system. This tutorial uses Ubuntu 22.04 LTS with the Gnome desktop environment.
Installing Gnome Tweak Tools (Tweaktools) via the GUI
Users have loved the Linux system for its flexibility and customizability. But if you like to change how your system looks and feels, you need to install the Gnome Tweak Tool.
There are two ways you can install Gnome Tweak Tools (Tweaktools). The first way is through the Ubuntu Software store. The second way is via the terminal using the apt package manager.
If you like to click your way through customizing your desktop environment, installing the Gnome Tweak Tools via the Gnome desktop UI is in your favor.
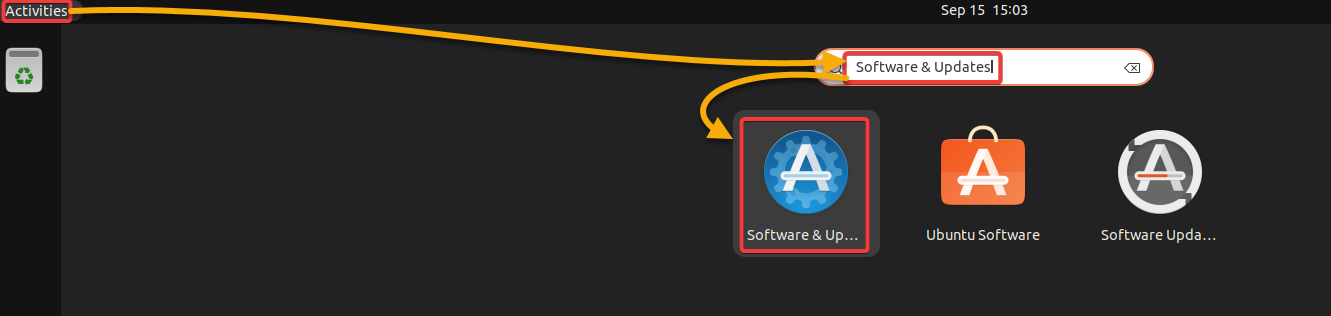
1. Search for and open the Software & Updates app.
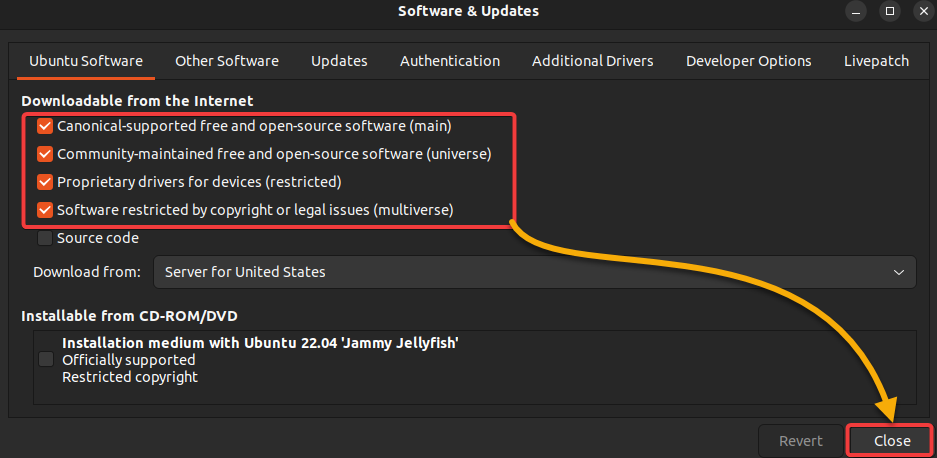
2. Next, tick all checkboxes under the Ubuntu Software tab except for the Source Code options, as shown below, and click Close.
This action enables all repositories you need for the Gnome Tweak Tools that are not part of the main Ubuntu repositories.
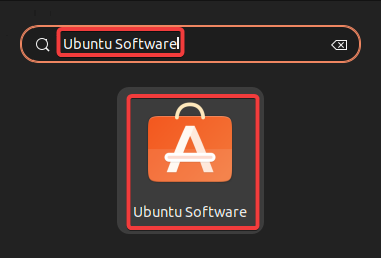
3. Open the Ubuntu Software app, where you can search for and install the Gnome Tweak Tools.
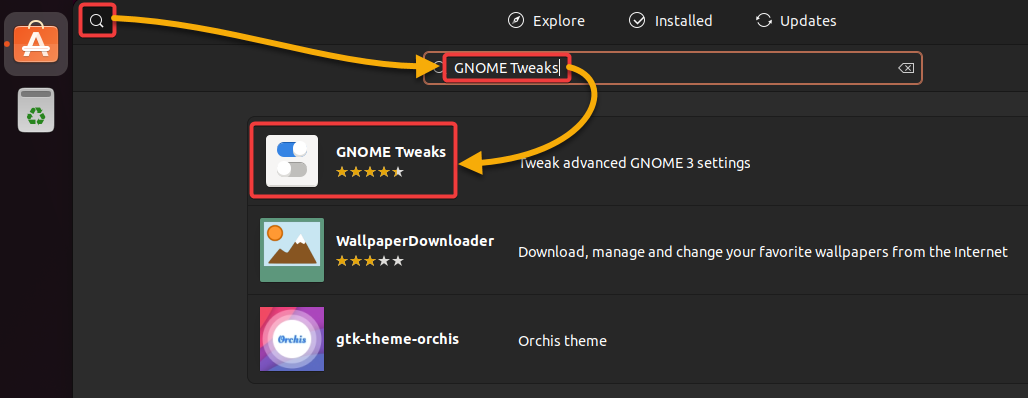
4. Now, click on the Search icon (top-left), type in GNOME Tweaks in the search bar, and click GNOME Tweaks from the result to open the Gnome Tweak tool’s detail page.
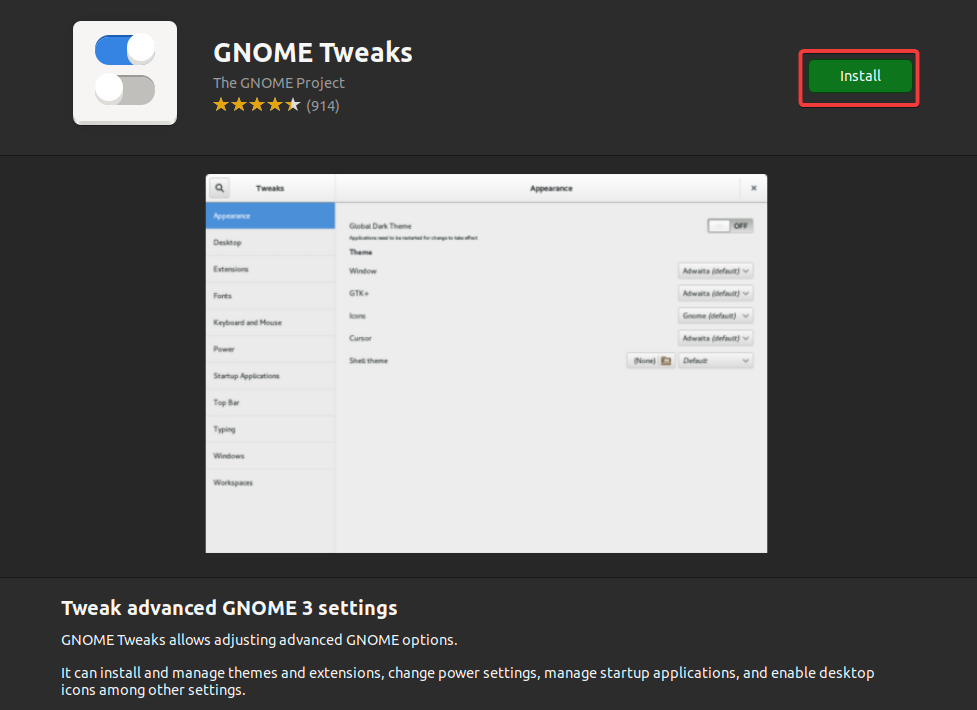
5. Click on the Install button to install GNOME Tweaks on your system.
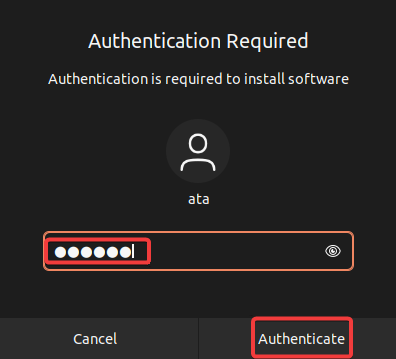
6. Provide your password when prompted to authenticate and start installing the Gnome Teak Tools.
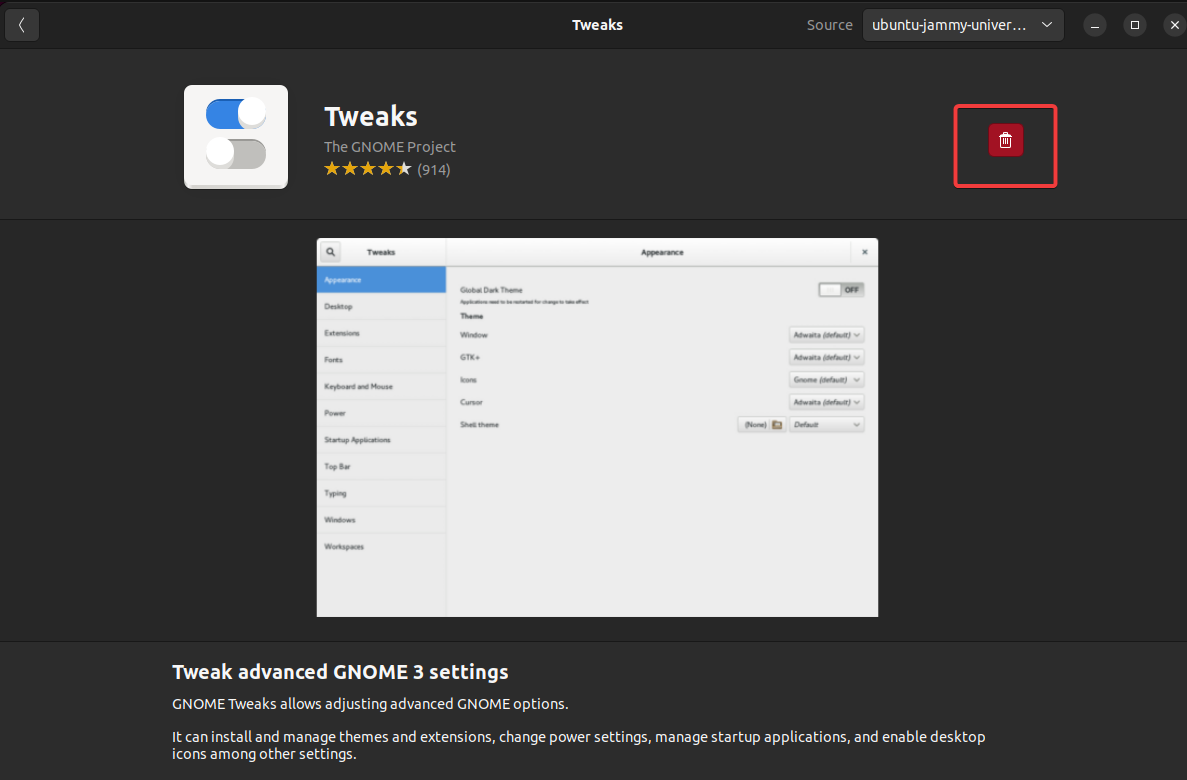
Once installed, you’ll see a red delete button, as shown below, which indicates you’ve successfully installed the Gnome Tweak Tools.
7. Search for and launch the Gnome Tweak Tools (Tweaks)
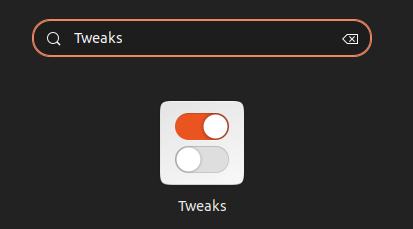
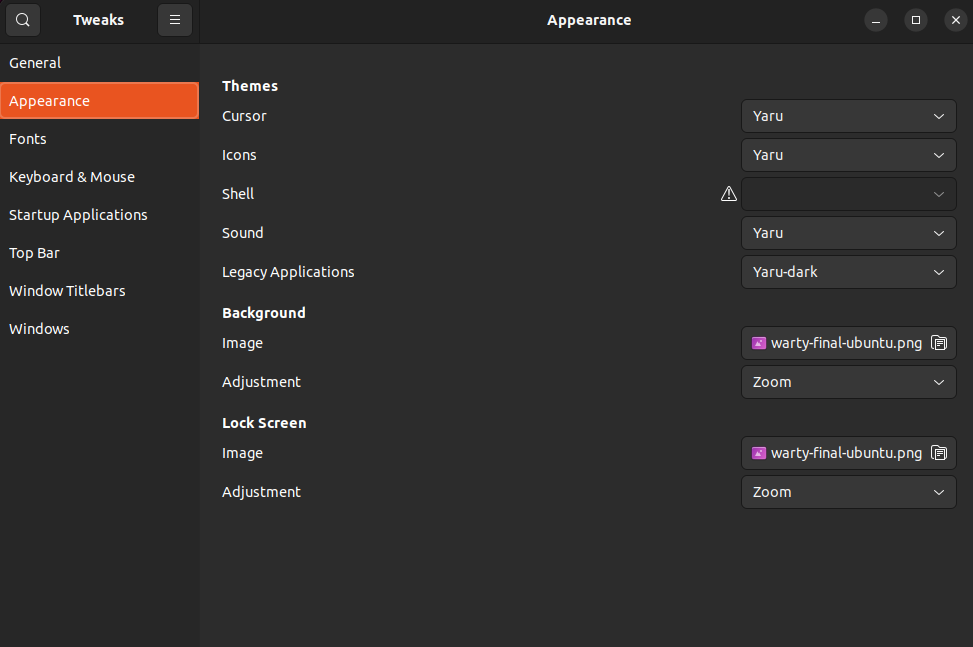
Below, you can see the main window of the Gnome Tweak Tools. From this point on, you can start customizing your system with a personal touch.
Installing Gnome Tweak Tools (Tweaktools) via the Terminal
If you’re working in the terminal most of the time, installing the Gnome Tweak Tools is just a few commands away. Like most applications, you can use the apt package manager in your terminal to install the Gnome Tweak Tools.
1. Open the terminal, and run the below apt update command to update the apt package index on your system.
sudo apt update -y
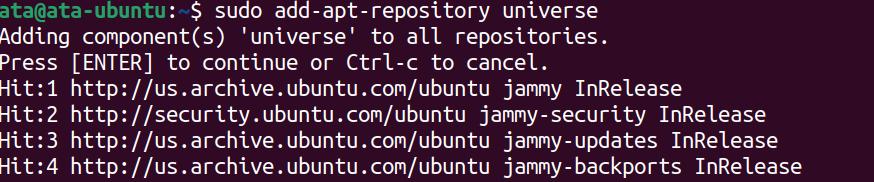
2. After the update, run the following add-apt-repository command to enable the universe repository.
Press Enter to enable the universe repository when prompted, as shown below.
3. Finally, run the below apt install command to install the Gnome Tweaks tool.
sudo apt install gnome-tweaks -y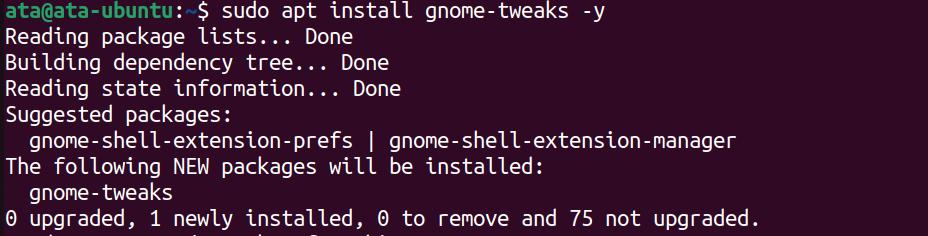
4. Lastly, run the following command to launch the Gnome Tweak Tools (Tweaks).
gnome-tweaks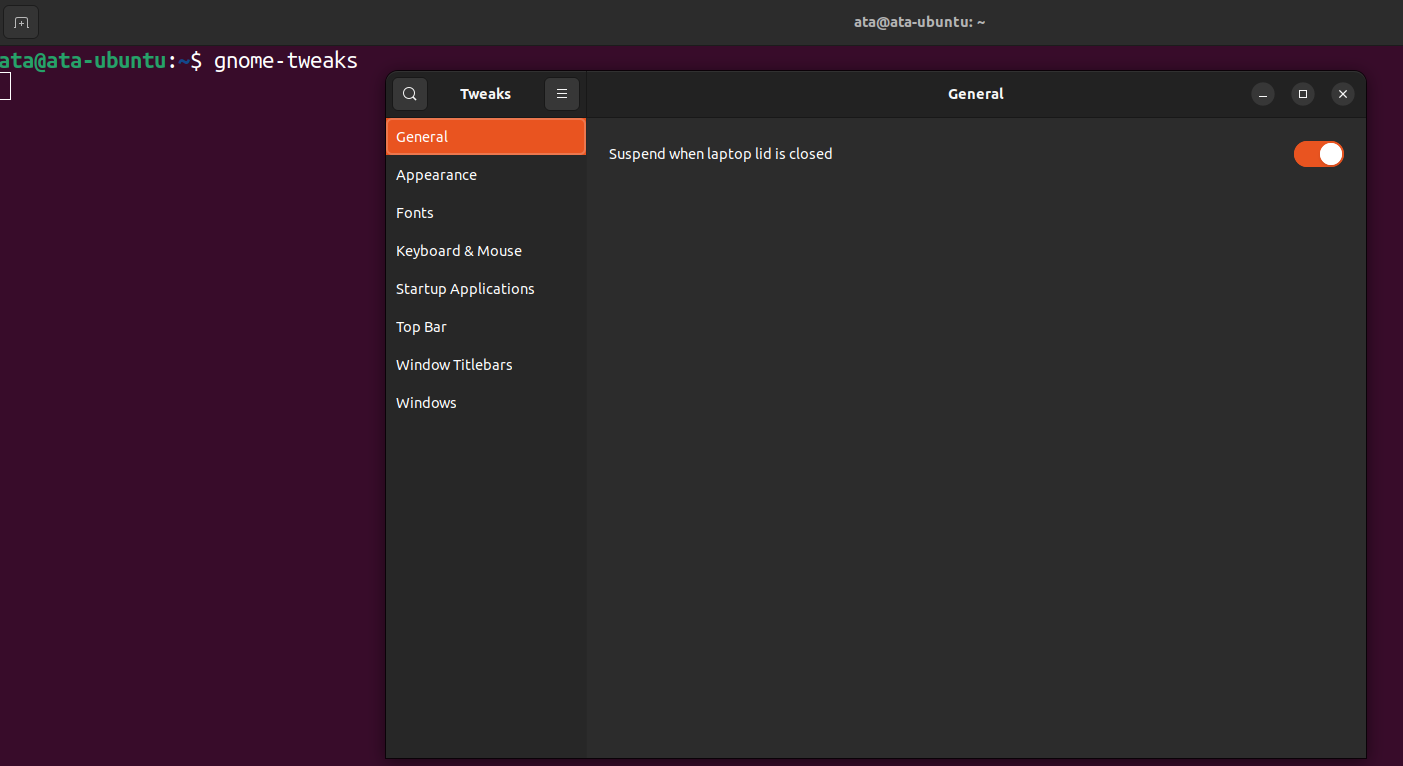
Tweaking Appearance by Changing Themes
Regardless of how you installed the Gnome Tweak Tools, you’re ready to change the looks of your system. And one of the most popular customization that the Gnome Tweak Tools offer is changing themes.
To change the theme of your desktop environment:
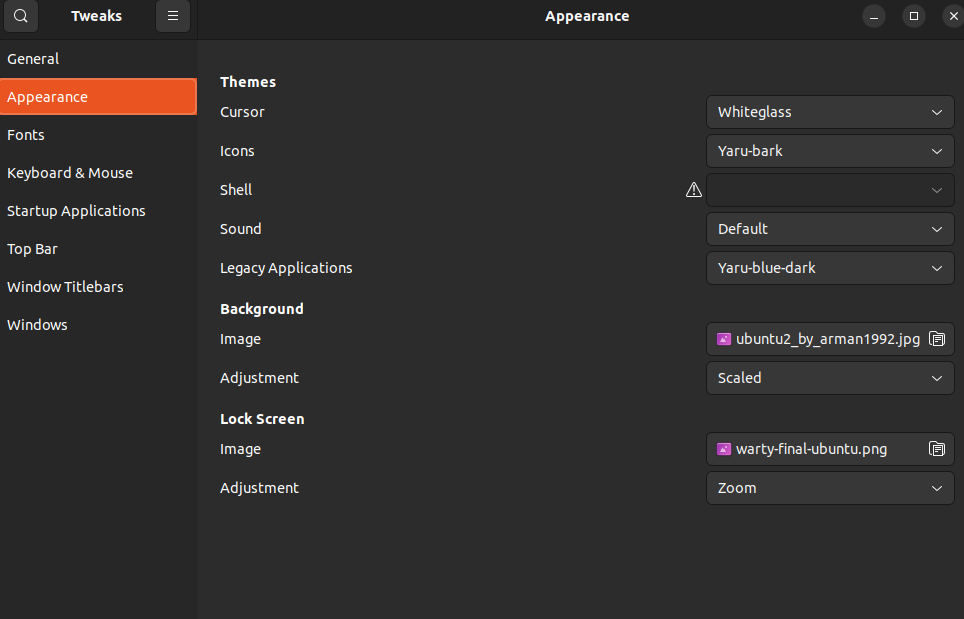
1. Click Appearance (left sidebar) on the Tweaks application to access the Appearance settings. You’ll see many options you can tweak to change the look and feel of your desktop environment.
2. Next, click the Cursor drop-down field, and select the theme you like, which controls the appearance of your mouse cursor. But this example uses the Redglass theme.
After selecting a theme, your mouse cursor immediately changes to the new theme (a red, glassy-looking cursor), as shown below.
3. Now, select the theme that you want to use for the icons. But this example uses the HighContrast theme.
Once you’ve selected the HighContrast theme, your desktop icons immediately change to the new theme, as shown below.
These configurations are just the most popular ones the Gnome Tweak Tools can offer since this tutorial simply cannot cover everything.
Limiting Startup Applications
Some applications start automatically by default when your system boots. But if you don’t want to run tons of applications as soon as you log in, limiting startup applications will do the trick.
Gnome Tweak Tools allows you to manage which startup applications, speeding up the login process by only starting the essential applications.
To manage startup applications:
1. Click Startup Applications (left sidebar) to see the list of startup applications.
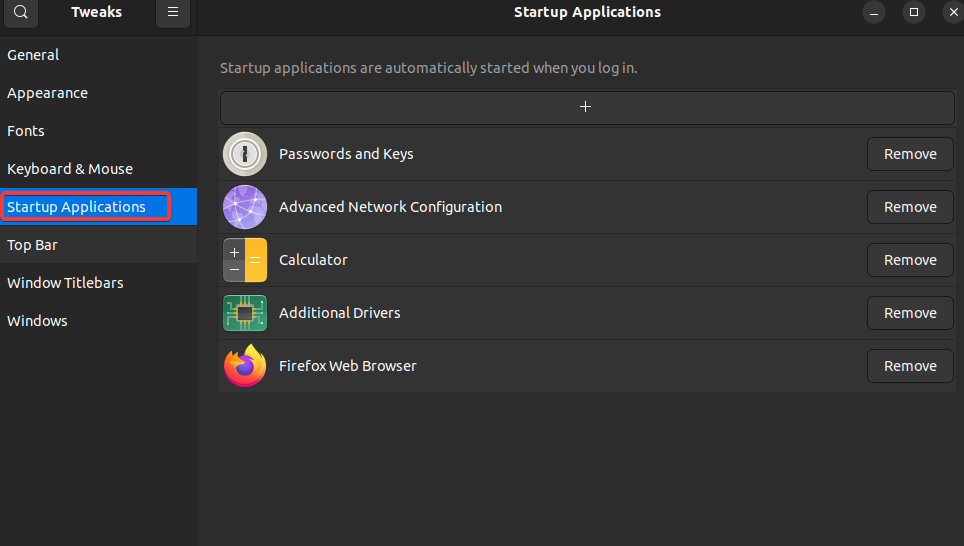
2. Next, click the Remove button adjacent to the application you want to remove from the list of startup applications.
3. Now, click the + button at the top, select a different application you want to add to the list, and click Add.
The application you added will now start automatically on bootup.
Take caution when adding startup applications. The more applications you have in this list, the longer the login process takes to complete.
Customizing UI Using Extensions
Aside from the default settings you can change with Gnome Tweak Tools, you may want to take your system customization up a notch. How? You can install many additional extensions to customize your desktop environment further.
To install additional extensions for the Gnome Tweak Tools:
1. Run the apt search command below to search for all available Gnome extensions (gnome-shell-extensions) in the Ubuntu repositories.
apt search gnome-shell-extensions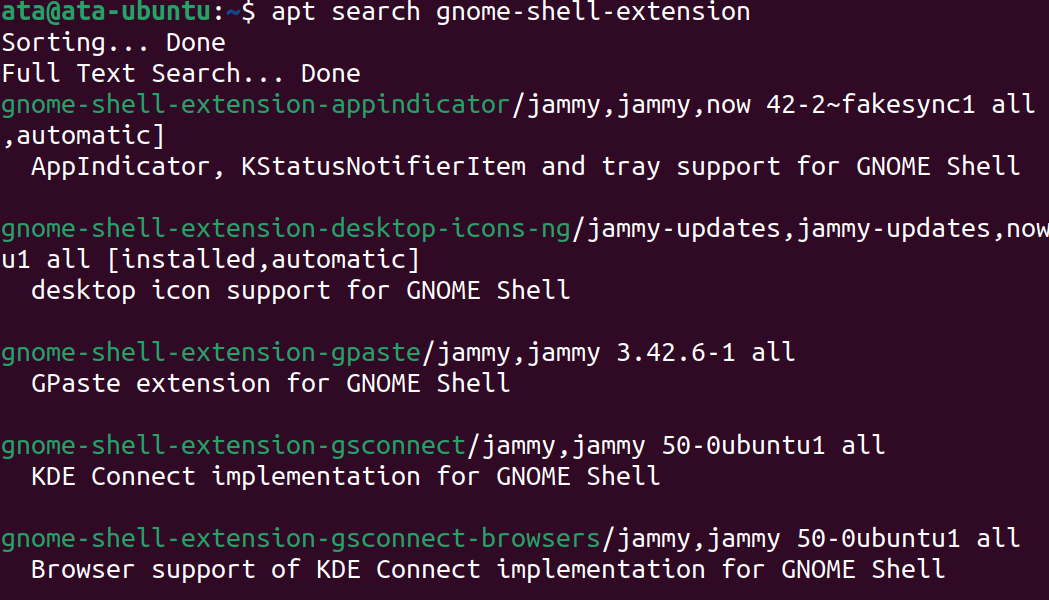
2. Next, run the following command to install the gnome-shell-extension-manager extension, which allows you to install, enable and disable Gnome shell extensions easily.
sudo apt install gnome-shell-extension-manager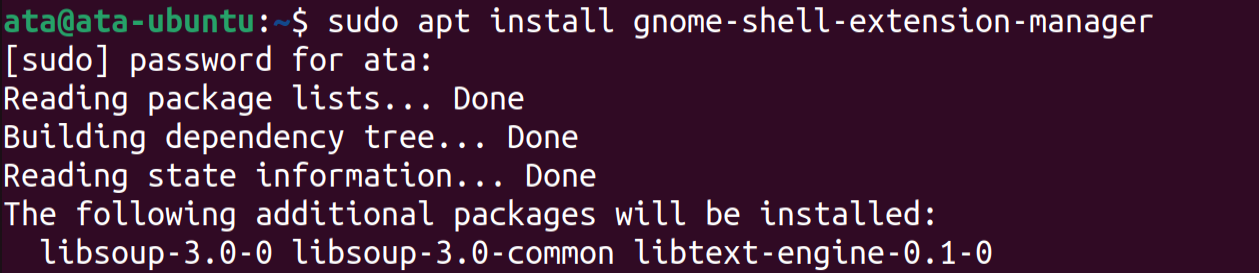
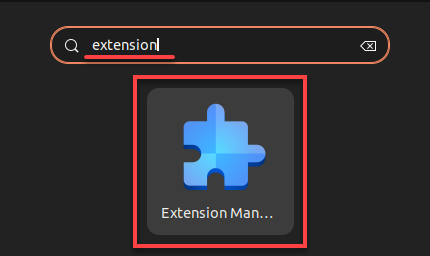
3. Once installed, search for and launch the Extension Manager.
4. On the Extension Manager, click Browse, and search for an extension like Dash to Panel in the Search bar. The Dash to Panel extension allows you to combine the app launcher and the horizontal dock into a single, unified panel resembling the Windows taskbar.
Look for your desired extension (Dash to Panel), and click Install to install that extension.
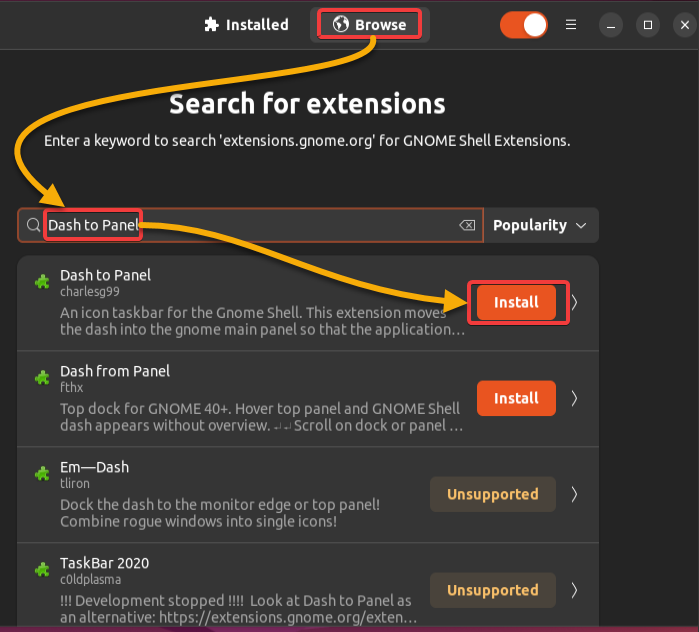
To search for additional extensions, visit the Gnome Extensions website, containing online repositories of extensions you can install on your system.
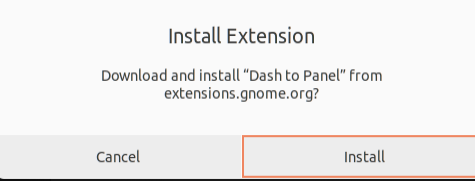
5. Click Install when prompted to confirm the installation.
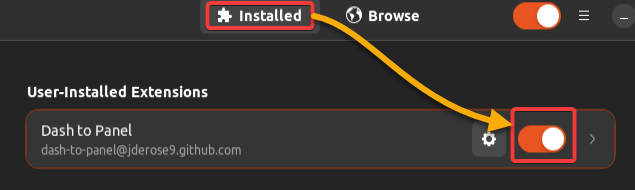
6. Finally, click on the Installed tab to verify the extension has been installed successfully.
The toggle button is on if the extension is enabled, as shown below. If not, click on the toggle button to enable the extension.
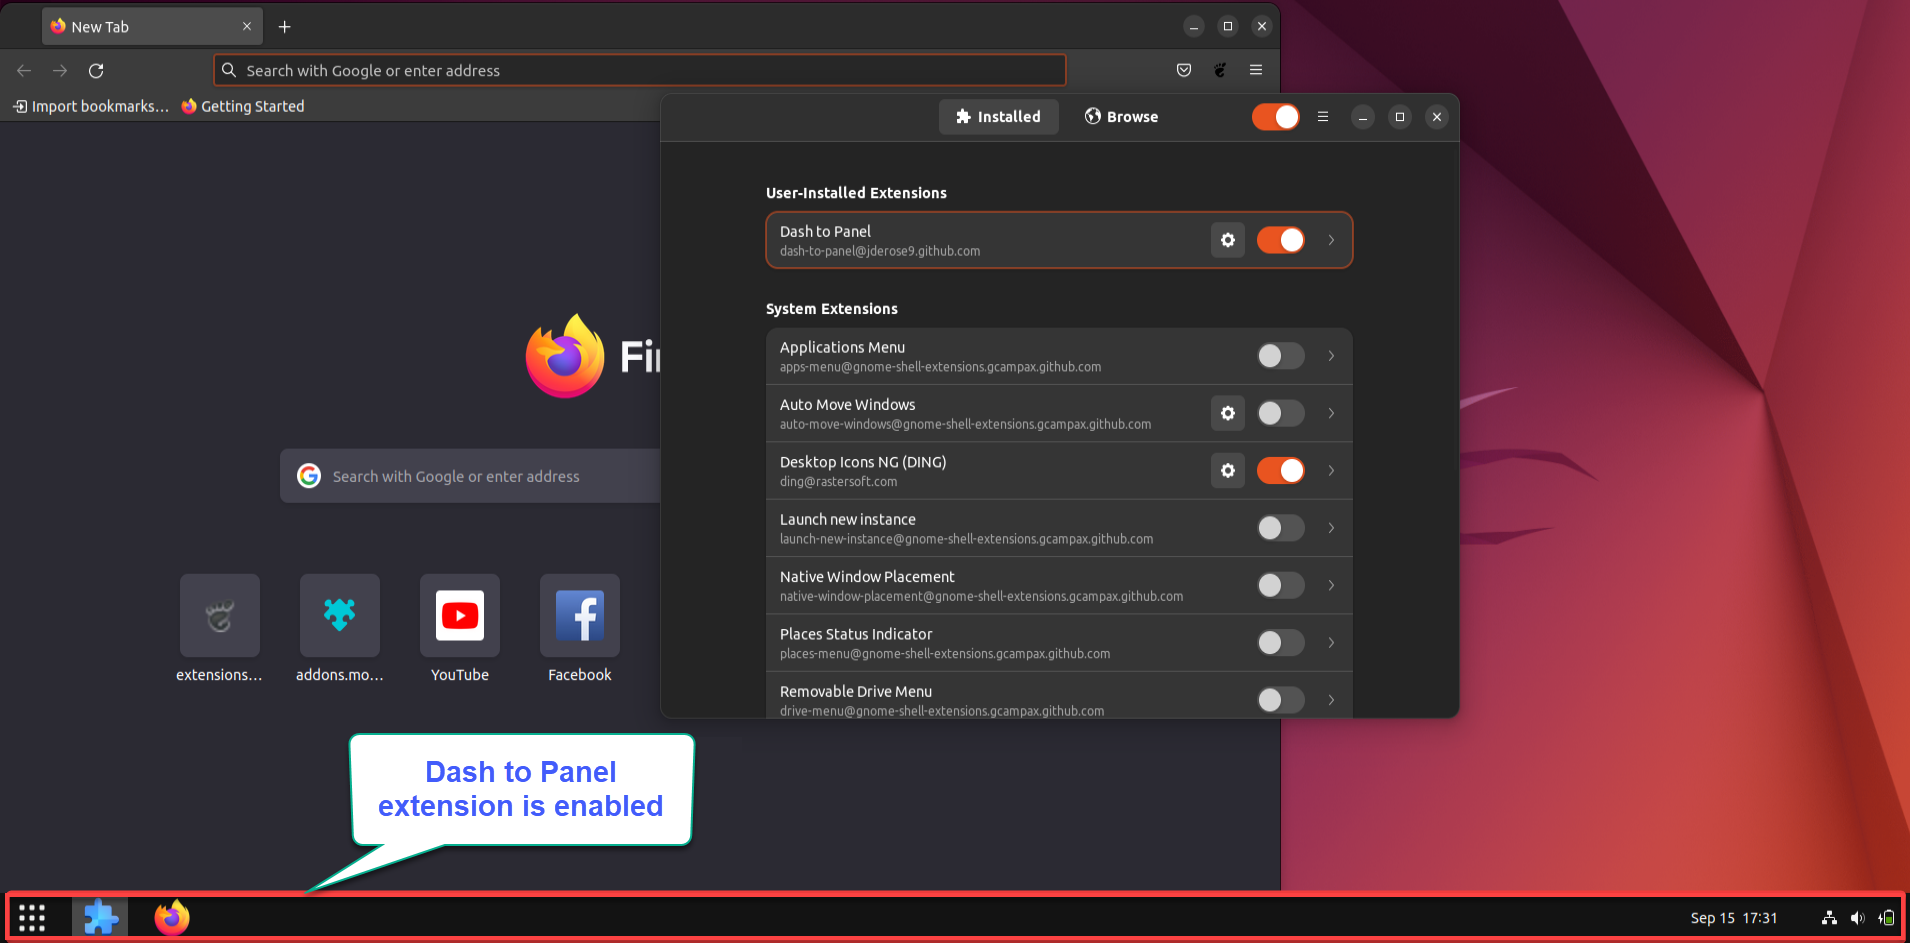
Below, you can see the Dash to Panel extension in action! The Dash and top bar are now combined into a single panel like a Windows taskbar.
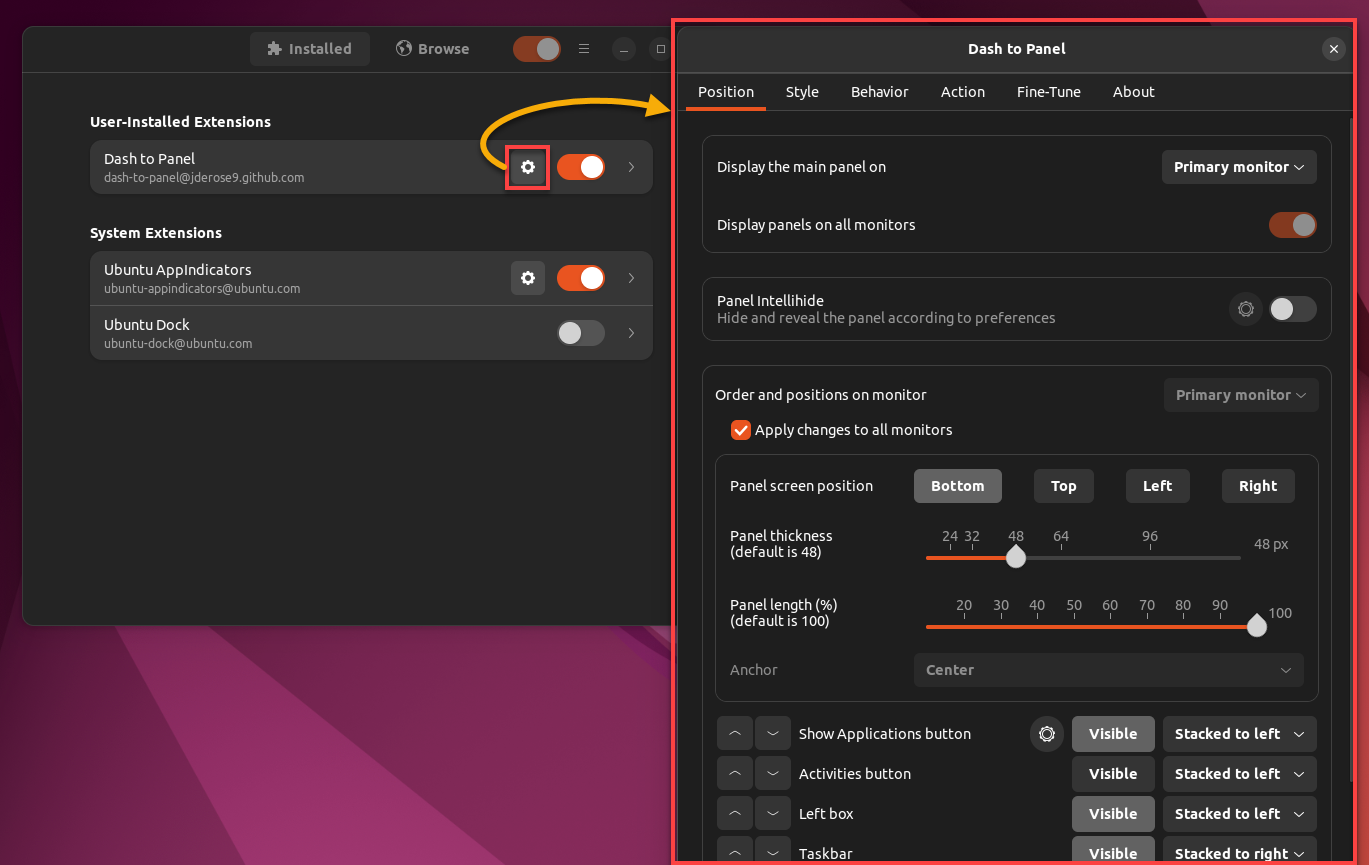
Perhaps you plan to customize your Dock further. If so, click the settings (gear) icon next to the extension name. The Dash to Panel extension’s settings window opens, where you can modify various options such as the thickness, the length, and more for your Dock.
Conclusion
The Linux system’s GUI already looks nice as it is. But admit it, the personal touch in customizing your desktop environment is much better. And in this tutorial, you’ve learned how to install and use Gnome Tweak Tools (Tweaktools) to customize and personalize your Linux operating system.
At this point, you should have a sound understanding of how to use the Gnome Tweak Tools and install additional extensions to customize your desktop environment further.
What you’ve seen in this tutorial is just the tip of the iceberg when changing the look and feel of your system. Take this opportunity to experiment with the various settings and options until you find a desktop configuration that suits your taste!


