


Are you looking to create and configure file systems quickly in AWS Cloud? Before scouring the internet for a solution, consider using the Amazon Elastic File System (Amazon EFS) and Terraform EFS module.
Amazon EFS provides serverless and scalable solutions to store huge data automatically as you add and remove files without affecting applications. And in this tutorial, you’ll learn to build and run a Terraform configuration to build an Amazon EFS from scratch!
Let’s dive in quickly!
Prerequisites
This post will be a step-by-step tutorial. If you’d like to follow along, ensure you have the following in place:
- A code editor – Even though you can use any text editor to work with Terraform configuration files, you should consider Visual Studio (VS) Code as it understands the HCL Terraform language well.
- Terraform – This tutorial uses Terraform v1.1.5 running on Ubuntu 20.04 LTS, but any operating system with Terraform will work.
- IAM role attached on Ubuntu 20.04 LTS with full privileges to create AWS EFS and related components.
- The Amazon EFS client installed on Ubuntu 20.04 LTS for connecting to AWS EFS.
Building the Terraform EFS Configuration for AWS
Since you’ll be using the Terraform EFS module to create a file system in AWS Cloud, you’ll first have to build a Terraform configuration for AWS EFS. The Terraform configuration will set your file system’s properties and the AWS EFS mount point.
1. Log in to the Ubuntu machine with your favorite SSH client.
2. Next, run the commands below to create a working directory called ~/terraform-amazon-efs-demo. This folder will contain all of the configuration files you’ll be working on in this tutorial
mkdir ~/terraform-amazon-efs-demo
cd ~/terraform-amazon-efs-demo
3. Open your preferred code editor, and create a file called main.tf inside the ~/terraform-amazon-efs-demo directory.
Copy/paste the following configuration to the main.tf file, and save the changes. This main.tf file is the Terraform configuration for the AWS EFS.
The below Terraform configuration creates the following resources:
- EFS file system named (
Myfilesystem)
- EFS lifecycle policy – used to inform when to transition files into and out of the file system.
- EFS system policy – defines what a client can do with EFS file systems, such as mounting or just the reading file.
- EFS mount target in the specified subnet that you’ll mount with your AWS EC2 instance later in this tutorial.
Your subnet id will be different than the id specified in the below code.
# Creating Amazon EFS File system
resource "aws_efs_file_system" "myfilesystem" {
# Creating the AWS EFS lifecycle policy
# Amazon EFS supports two lifecycle policies. Transition into IA and Transition out of IA
# Transition into IA transition files into the file systems's Infrequent Access storage class
# Transition files out of IA storage
  lifecycle_policy {
    transition_to_ia = "AFTER_30_DAYS"
  }
# Tagging the EFS File system with its value as Myfilesystem
  tags = {
    Name = "Myfilesystem"
  }
}

# Creating the EFS access point for AWS EFS File system
resource "aws_efs_access_point" "test" {
  file_system_id = aws_efs_file_system.myfilesystem.id
}
# Creating the AWS EFS System policy to transition files into and out of the file system.
resource "aws_efs_file_system_policy" "policy" {
  file_system_id = aws_efs_file_system.myfilesystem.id
# The EFS System Policy allows clients to mount, read and perform
# write operations on File system
# The communication of client and EFS is set using aws:secureTransport Option
  policy = <<POLICY
{
    "Version": "2012-10-17",
    "Id": "Policy01",
    "Statement": [
        {
            "Sid": "Statement",
            "Effect": "Allow",
            "Principal": {
                "AWS": "*"
            },
            "Resource": "${aws_efs_file_system.myfilesystem.arn}",
            "Action": [
                "elasticfilesystem:ClientMount",
                "elasticfilesystem:ClientRootAccess",
                "elasticfilesystem:ClientWrite"
            ],
            "Condition": {
                "Bool": {
                    "aws:SecureTransport": "false"
                }
            }
        }
    ]
}
POLICY
}
# Creating the AWS EFS Mount point in a specified Subnet
# AWS EFS Mount point uses File system ID to launch.
resource "aws_efs_mount_target" "alpha" {
  file_system_id = aws_efs_file_system.myfilesystem.id
  subnet_id      = "subnet-019d9a5b90ab436c9"
}
4. Create another file in ~/terraform-amazon-efs-demo and name it provider.tf, and populate the file with the content below.
Including all configuration values in a single configuration file is possible. But to keep things clear for developers and admins, breaking the logic and variables into separate files is preferable.
The provider.tf file contains Terraform providers as Terraform depends on the plugins to connect or interact with cloud providers or API services.
# Declaring the AWS Provider
provider "aws" {
   region = "us-east-1"
}The tutorial creates resources in the us-east-1 region. But a list of regions that AWS support is also available.
5. Finally, run the tree command to verify all required files in the ~/terraform-amazon-efs-demo directory, as shown below.
tree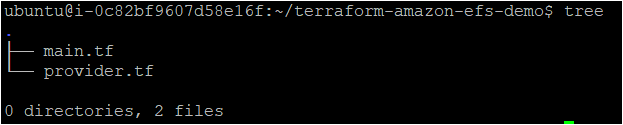
Creating the AWS EFS with a Terraform Configuration
Now that you have the Terraform configuration file and variables files set up, it’s time to initiate Terraform and create the AWS EFS.
To provision the AWS EFS, like all other Terraform configurations, Terraform uses three commands in sequence (terraform init, terraform plan, and terraform apply).
If the Terraform configuration files you created are not correctly formatted, you can run the terraform fmt command to fix them.
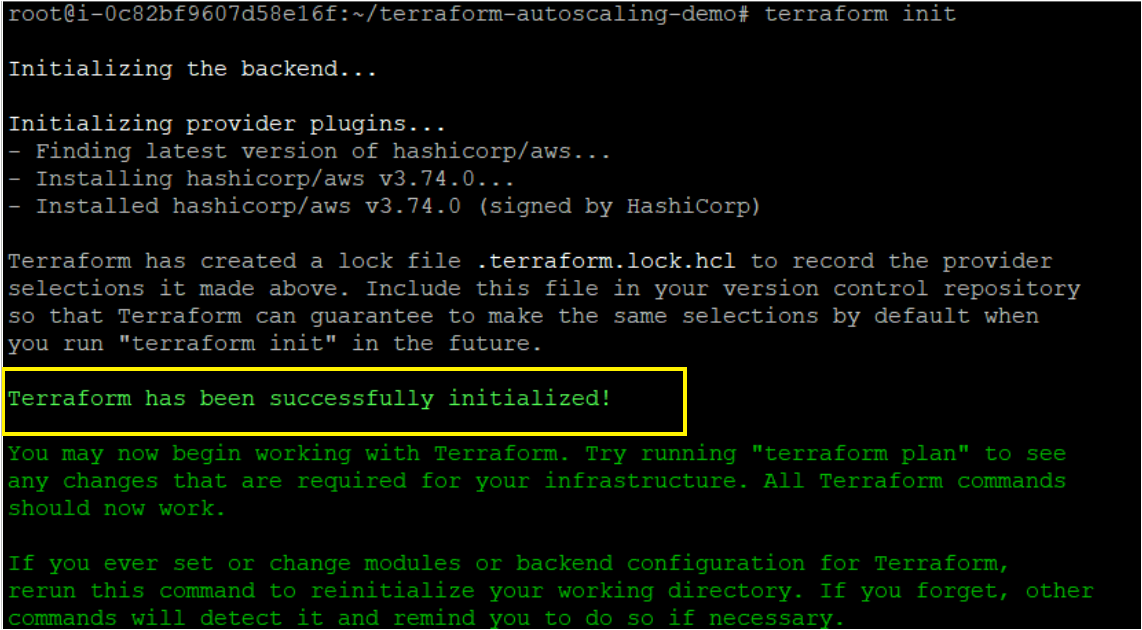
1. Run the terraform init command in the ~/terraform-amazon-efs-demo directory to initialize the plugins and providers required to work with resources.
terraform initIf all goes well, you’ll see the message that says Terraform has been successfully initialized in the output, as shown below.
2. Next, run the terraform plan command to ensure your syntax of configuration files is correct and gives you a blueprint of resources that will be provisioned in your infrastructure.
terraform planOnce the command completes, you’ll see a message like Plan: “X” to add, “Y” to change, or “Z” to destroy in the output. Below, the Plan shows 4 to add as four resources need to be created.

3. Finally, run the terraform apply the command to provision the AWS EFS and related components using each configuration (*.tf) in the current directory.
The –auto-approve parameter automatically accepts all prompts while running the command.
terraform apply --auto-approve
Verifying the AWS EFS in AWS Cloud
By now, you should have created the AWS Elastic File System and related components with Terraform. But how do you know they exist in your AWS cloud? Verify the AWF by manually checking in the AWS Management Console.
1. Open your favorite web browser and log in to the AWS Management Console.
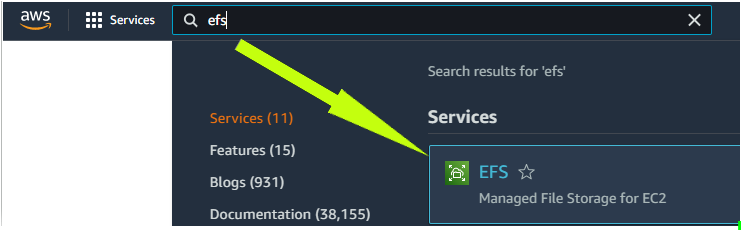
2. On the console’s home page, click on the search box, search for and click ‘EFS’ to access the EFS dashboard. Your browser automatically redirects the page to the EFS dashboard.
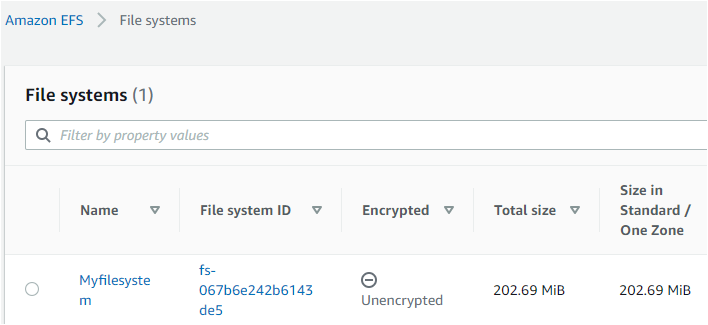
3. Notice that the file system you specified in your main.tf file is created successfully, as shown below.
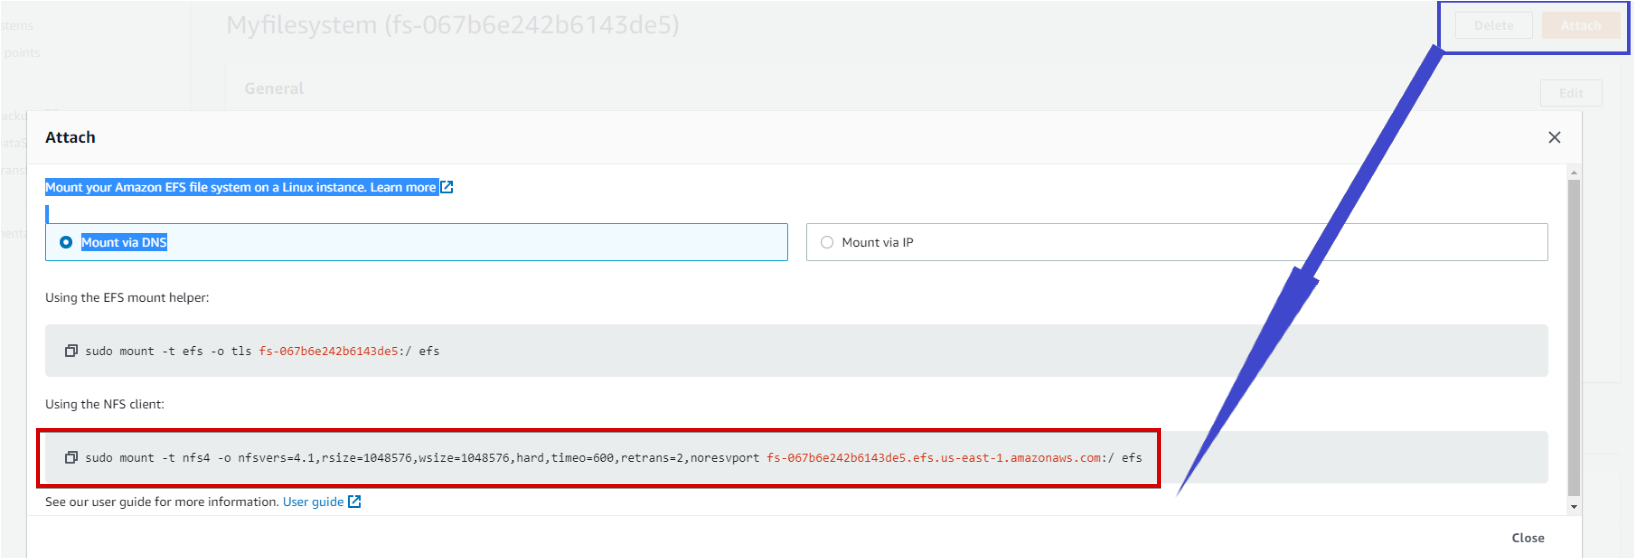
4. On the same EFS page, find and click on the attach button (upper-right), and copy the NFS client command that you will use to mount the Ubuntu machine with this EFS.
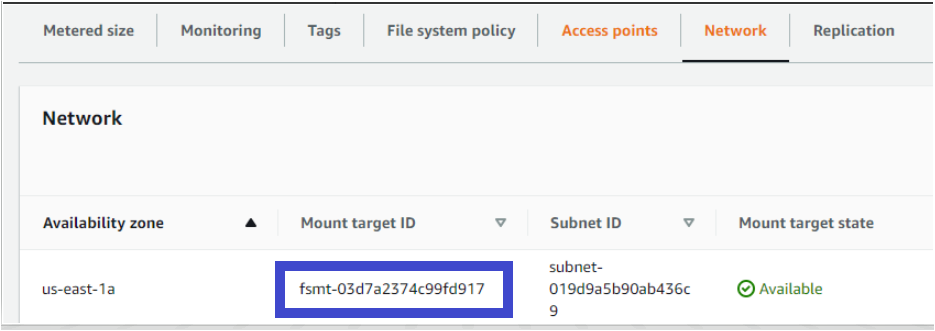
5. Finally, verify the EFS mount target under the network tab. The Mount target state should be Available, which denotes that the mount target can be used for mounting.
Mounting AWS EFS in AWS EC2 instance
Previously, you verified all the components of AWS EFS in AWS Cloud, which is great. But unless you add the data in AWS EFS, they are not doing much. You’ll have to mount AWS EFS in the AWS instance and add data from your AWS instance.
1. Run each command below to create a working directory named ~/efs-mount-point in your home directory. This directory is what you’ll mount to the AWS EFS and store the data.
mkdir ~/efs-mount-point
cd ~/efs-mount-point
2. Next, run the mount command below to mount your Amazon EFS file system on your ubuntu machine.
The below command mounts the file system you created to the current directory (~/efs-mount-point), where nfsvers=4.1 is used when mounting on EC2 Linux instances. In the command below, fs-067b6e242bX143de5.efs.us-east-1.amazonaws.com is set as the AWS EFS endpoint.
sudo mount -t nfs4 -o nfsvers=4.1,rsize=1048576,wsize=1048576,hard,timeo=600,retrans=2,noresvport fs-067b6e242bX143de5.efs.us-east-1.amazonaws.com:/ efs-mount-point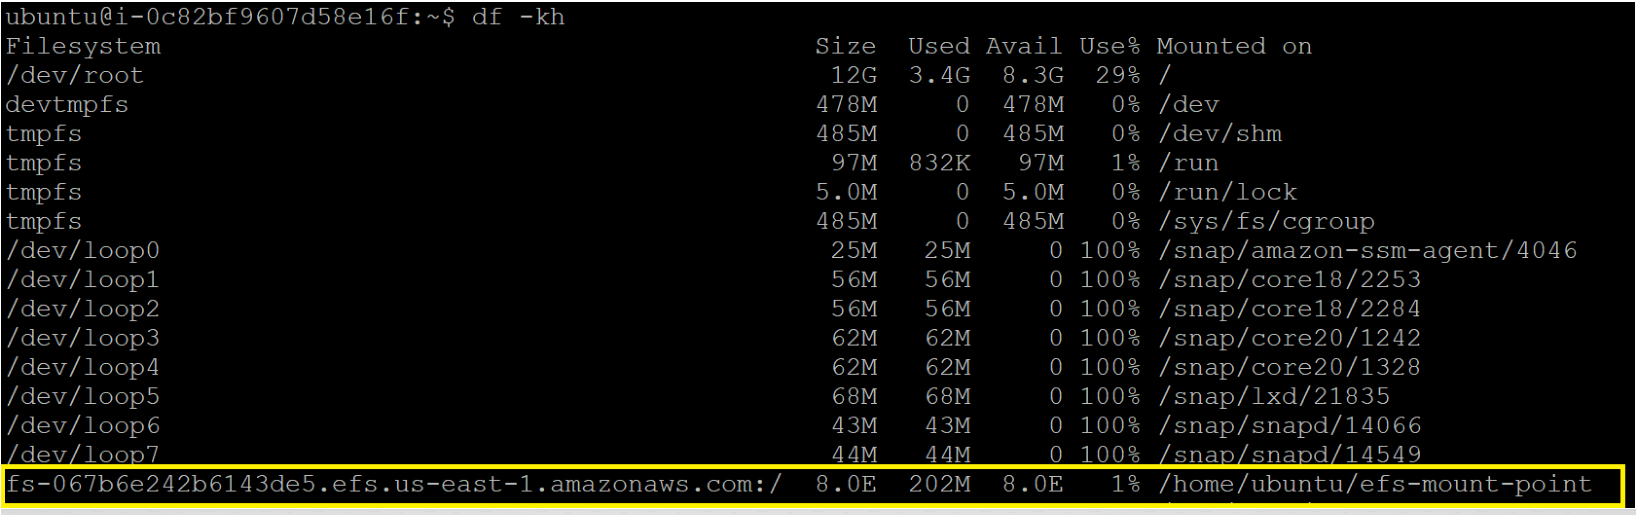
3. After successful mounting, run each wget command below to add the data into the directory by installing two packages.
AWS EFS automatically grows and shrinks as you add or remove files, so there’s no need for management or user intervention.
wget http://212.183.159.230/100MB.zip
wget https://dlcdn.apache.org/tomcat/tomcat-9/v9.0.58/bin/apache-tomcat-9.0.58-deployer.tar.gzYou can see below that both packages are now installed, and the size of the packages is around 103MB.

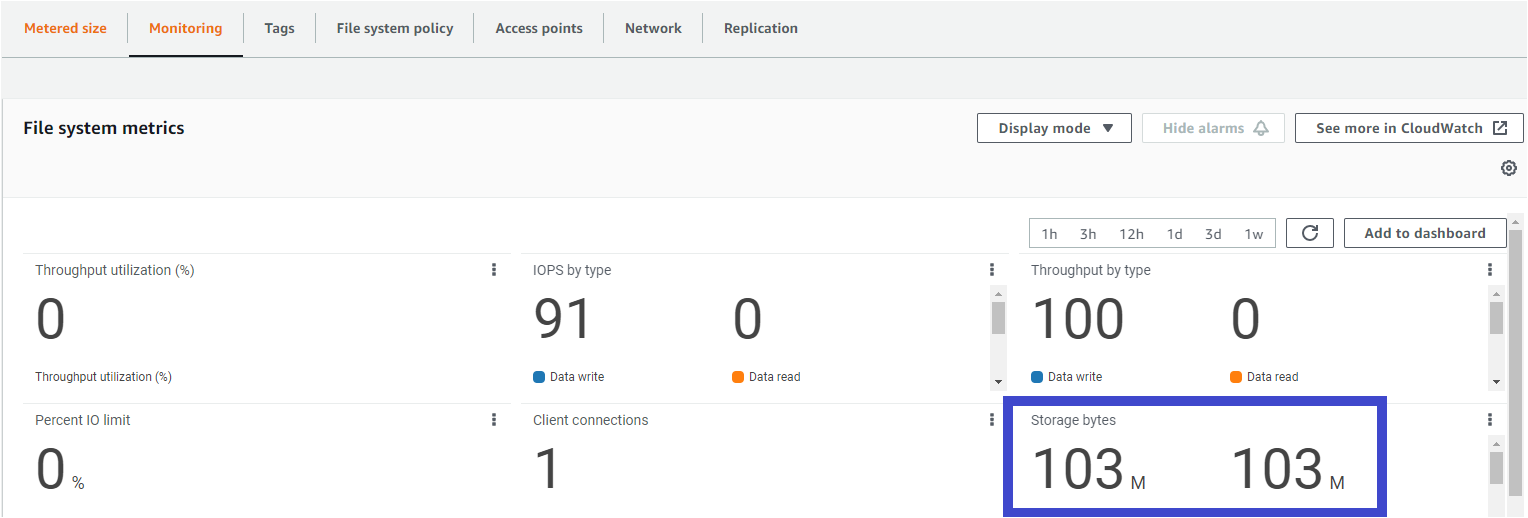
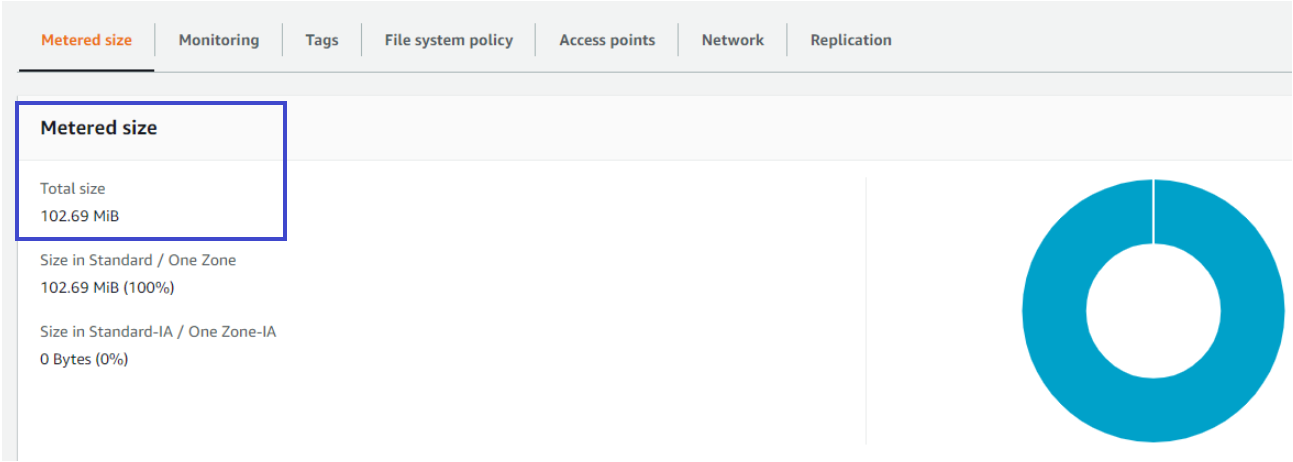
4. Finally, hop over to AWF EFS from AWS Management Console and check the stats of the storage.
As you can see below, both the Monitoring and Metered size tabs show the data you uploaded is around 103MB. And this output confirms the successful addition of data from the EFS client.
Conclusion
In this tutorial, you’ve learned how to use Terraform to deploy an AWS EFS and its components with Terraform EFS module. You also learned how to securely mount other devices such as AWS EC2 instances with AWS EFS.
Now that you have EFS created on the AWS Cloud, what do you plan to store in your newly created EFS? Why not learn to modernize application development with Persistent File Storage?


