


If you are looking for a better way to manage software in your Linux system, you may want to check out Snapcraft. With Snapcraft, you can search for, install, and manage software with a few clicks while finding, sharing, and creating new snaps with the community.
In this tutorial, you will learn how to install Snapcraft, create a basic snap and install it on your Linux system.
Ready? Stay tuned and explore how Snapcraft can make your software management life easier!
Prerequisites
This tutorial will be a hands-on demonstration, and you will need a Linux system to follow along. This tutorial uses Ubuntu 20.04, but any derivatives will work.
Installing Snapd (Snap Daemon) and Snapcraft
Before creating or even running snaps, you first need to install Snapd, a daemon required to run snaps. Snapd also lets you install and enable Snapcraft on your system.
To install Snapd on Ubuntu:
1. Run the following apt update command to update your Ubuntu repositories.
apt update -y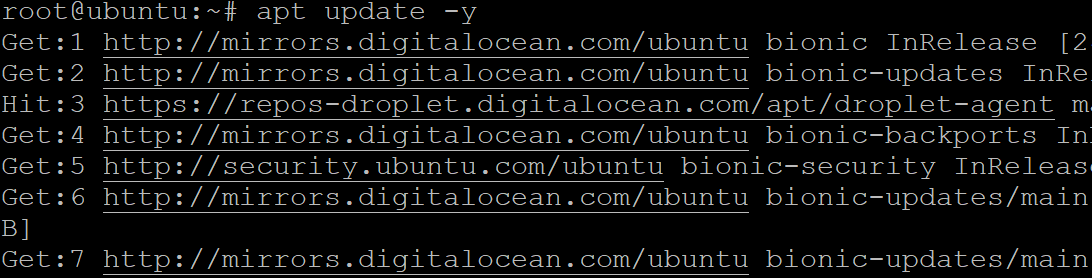
2. Next, run the below apt install command to install Snapd.
apt install snapd -y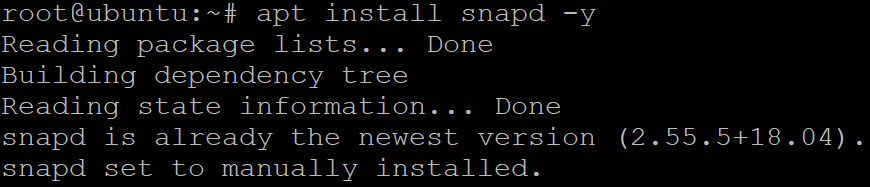
3. Once installed, run the snap command below to check the version of Snapd installed on your system.
snap --version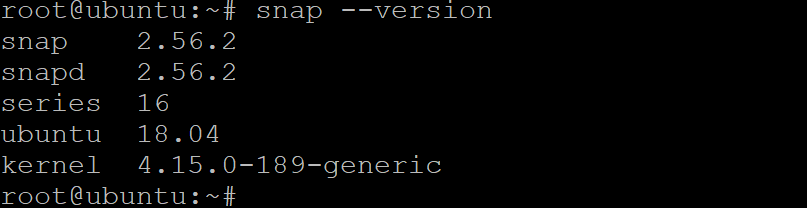
4. Lastly, run the snap install command below to install snapcraft.
Snapcraft is a powerful tool that lets you create snaps for various applications. You just need to declare the dependencies for your snap, and Snapcraft will do the rest.
snap install --classic snapcraftBelow, you can see the output confirms Snapcraft has been installed successfully.

Initializing a Snap Project with Snapcraft
Now that you have Snapcraft installed, you are ready to create snaps. A snap is a self-contained application package that includes all the dependencies and libraries required to run an application. With a snap (pun intended), you can quickly install and manage applications on Linux.
Snaps are also secure and isolated from the rest of your system, which helps keep your system safe from malware. You can even upload your snaps to the Snap Store for others to use, or you can download snaps from the Snap Store to use on your system.
To see how Snapcraft works in action, you will create a simple snap for a “hello world” application. But first, you need a project directory to initialize a Snapcraft project:
1. Run the following commands to create a directory (mkdir) for your snap and move into that directory (cd). This directory will hold all files related to your snap, where you will also run all the following commands.
You must omit spaces in your directory names when working with Snapcraft to avoid problems, such as build failures.
# Create a project directory
mkdir -p ~/mysnaps/hello
# Change the working directory
cd ~/mysnaps/hello
2. Now, run the snapcraft command below to initialize (init) your Snapcraft project.
This command creates a snapcraft.yaml and other environment files in the current directory. This file is used to declare dependencies and different settings for your snap.
snapcraft init
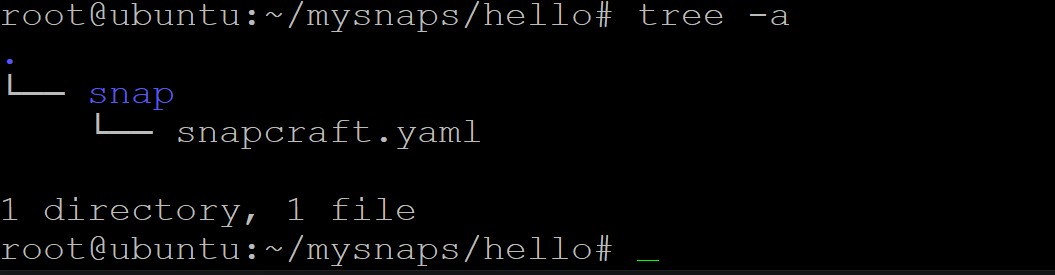
3. Finally, run the below tree command to check your snap directory. tree -a
tree -aAt this point, you should have a directory structure that looks like the one below. This structure is known as a snap tree.
Configuring and Building a Snap
After initializing your Snapcraft project, you are almost ready to create your snap with Snapcraft. But first, you need to declare some metadata for your snap. This metadata includes the name, version, summary, and description of your snap. And you can also specify the license for your snap and confinement level.
How? By editing the automatically generated snapcraft.yaml file when you initialized your project.
1. Open the snapcraft.yaml file in your preferred text editor.
nano snap/snapcraft.yaml2. Next, replace the pre-generated contents of the file with the following lines to declare metadata for your snap.
But do not close the file yet since you will add parts of the configuration one at a time to understand better how the snap is configured.
# Your snap's name (must be in lowercase) and can contain letters, numbers, and hyphens.
name: hello
# The base snap that your snap will be built on top of.
# core18 base is based on Ubuntu 18.04 (Bionic Beaver).
base: core18
# The current snap's version (incremental)
version: '2.10'
# One-line snap description
summary: GNU Hello, the "hello world" snap
# Long snap description. It can span multiple lines and can contain Markdown formatting.
description: |

 GNU hello prints a friendly greeting.

# Sets the snap's security grade (devel).
# devel grade - used for development snaps that are not for general release.
# stable grade - used for snaps considered ready for production use.
# candidate grade - used for snaps ready for final testing (before stable grade).
grade: devel
# Sets the snap's confinement level (devmode)
# devmode - the least secure level where snap has full access to the host system.
# strict - the most secure level where snap has limited access to the host system.
# classic - somewhere in between where snap has limited access to the host system
          # with some security features disabled.
confinement: devmode
3. Add the following code below the confinement line to expose an app.
This code tells Snapcraft that your snap contains an app called hello that can be run with the bin/hello command.
apps:

 hello:

  command: bin/hello
4. Now, add the following code at the end of the snapcraft.yaml file which adds a part to your snap. A part describes the components of your snap, how they should be built, and where they can be found.
This code adds a part called gnu-hello, based on the official hello package from Ubuntu 18.04.
Note that your snap can contain multiple parts, but you will just need one in this tutorial.
parts:
  gnu-hello:
    source: http://ftp.gnu.org/gnu/hello/hello-2.10.tar.gz
    plugin: autotools
At this point, you should have a snapcraft.yaml file that looks like the one below. Save the changes and close the file.
# Your snap's name (must be in lowercase) and can contain letters, numbers, and hyphens.
name: hello
# The base snap that your snap will be built on top of.
# core18 base, which is based on Ubuntu 18.04 (Bionic Beaver).
base: core18
# The current snap's version (incremental)
version: '2.10'
# One-line snap description
summary: GNU Hello, the "hello world" snap
# Long snap description. It can span multiple lines and can contain Markdown formatting.
description: |

 GNU hello prints a friendly greeting.

# Sets the snap's security grade (devel).
# devel grade - used for development snaps that are not for general release.
# stable grade - used for snaps considered ready for production use.
# candidate grade - used for snaps ready for final testing (before stable grade).
grade: devel
# Sets the snap's confinement level (devmode)
# devmode - the least secure level where snap has full access to the host system.
# strict - the most secure level where snap has limited access to the host system.
# classic - somewhere in between where snap has limited access to the host system
          # with some security features disabled.
confinement: devmode

# Expose an application called "hello" that can be run with the bin/hello command.
apps:

 hello:

  command: bin/hello

# Adding parts to describe the components of your snap,
  # how they should be built and where they can be found.
parts:
  gnu-hello:
    source: http://ftp.gnu.org/gnu/hello/hello-2.10.tar.gz
    plugin: autotools
5. Finally, run the below snapcraft command after all the hard work to build your first snap.
snapcraftThe first time you run the snapcraft command, you will be prompted to install Multipass, as shown below. Multipass manages virtual machines for building snaps, and Snapcraft uses virtual machines to build snaps in a clean and isolated environment.
Type y and press Enter to continue.

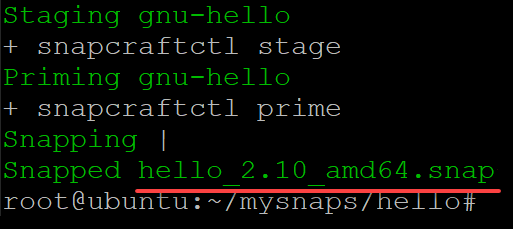
The building process downloads all dependencies and builds them from the source, which takes a while to complete. Once built, you will see an output similar to the one below.
As you can see, hello_2.10_amd64.snap is the package that was created, which is your snap package and can now be installed on any Linux distribution that supports snaps.
Testing Your Snap
You have successfully built your snap, but how do you know it works? Put your newly-created snap to the test by installing it on your system and running your “hello world” application.
1. Run the following snap command to install your newly-created snap package (hello_2.10_amd64.snap) on your system.
snap install --devmode hello_2.10_amd64.snap
2. Next, execute the hello command below, which you declared in the snapcraft.yaml file to run the hello app included in your snap.
helloIf everything worked as expected, you should see the “Hello, world!” message printed on the screen as shown.

3. Finally, run the snap list command below to get the installed snap’s (hello) information.
snap list hello
Conclusion
Software management can be tedious work unless you have a dependable tool at your disposal. And in this tutorial, you learned how to install and use Snapcraft to create a simple snap to manage and install software on your Linux system without hassle.
After seeing how Snapcraft works, why not start creating more complex snaps and upload them to the Snap Store for others to install and use?


