


Nowadays, surfing the web or trying out new software has become nerve-wracking, full of uncertainties and potential risks. How do you navigate this digital minefield safely? Sandboxie has an excellent way of creating a secure environment for your activities.
In this tutorial, learn how to set up Sandboxie on Windows to safeguard your system from potential damage.
Read on and protect your system from harm!
Prerequisites
Before you dive into the installation process, ensure you have the following in place so you can follow along:
- A Windows 7 operating system (OS) or later – This tutorial uses Windows 11 for demonstrations.
- Google Chrome is installed on your Windows machine.
- A user with administrative privileges.
Downloading and Installing Sandboxie
With the requirements out of the way, you can start installing Sandboxie, which offers two editions: Classic and Plus. But for this tutorial, you will focus on the Plus version, which boasts an updated feature set and a modern user interface.
To download and install Sandboxie-Plus, carry out the following:
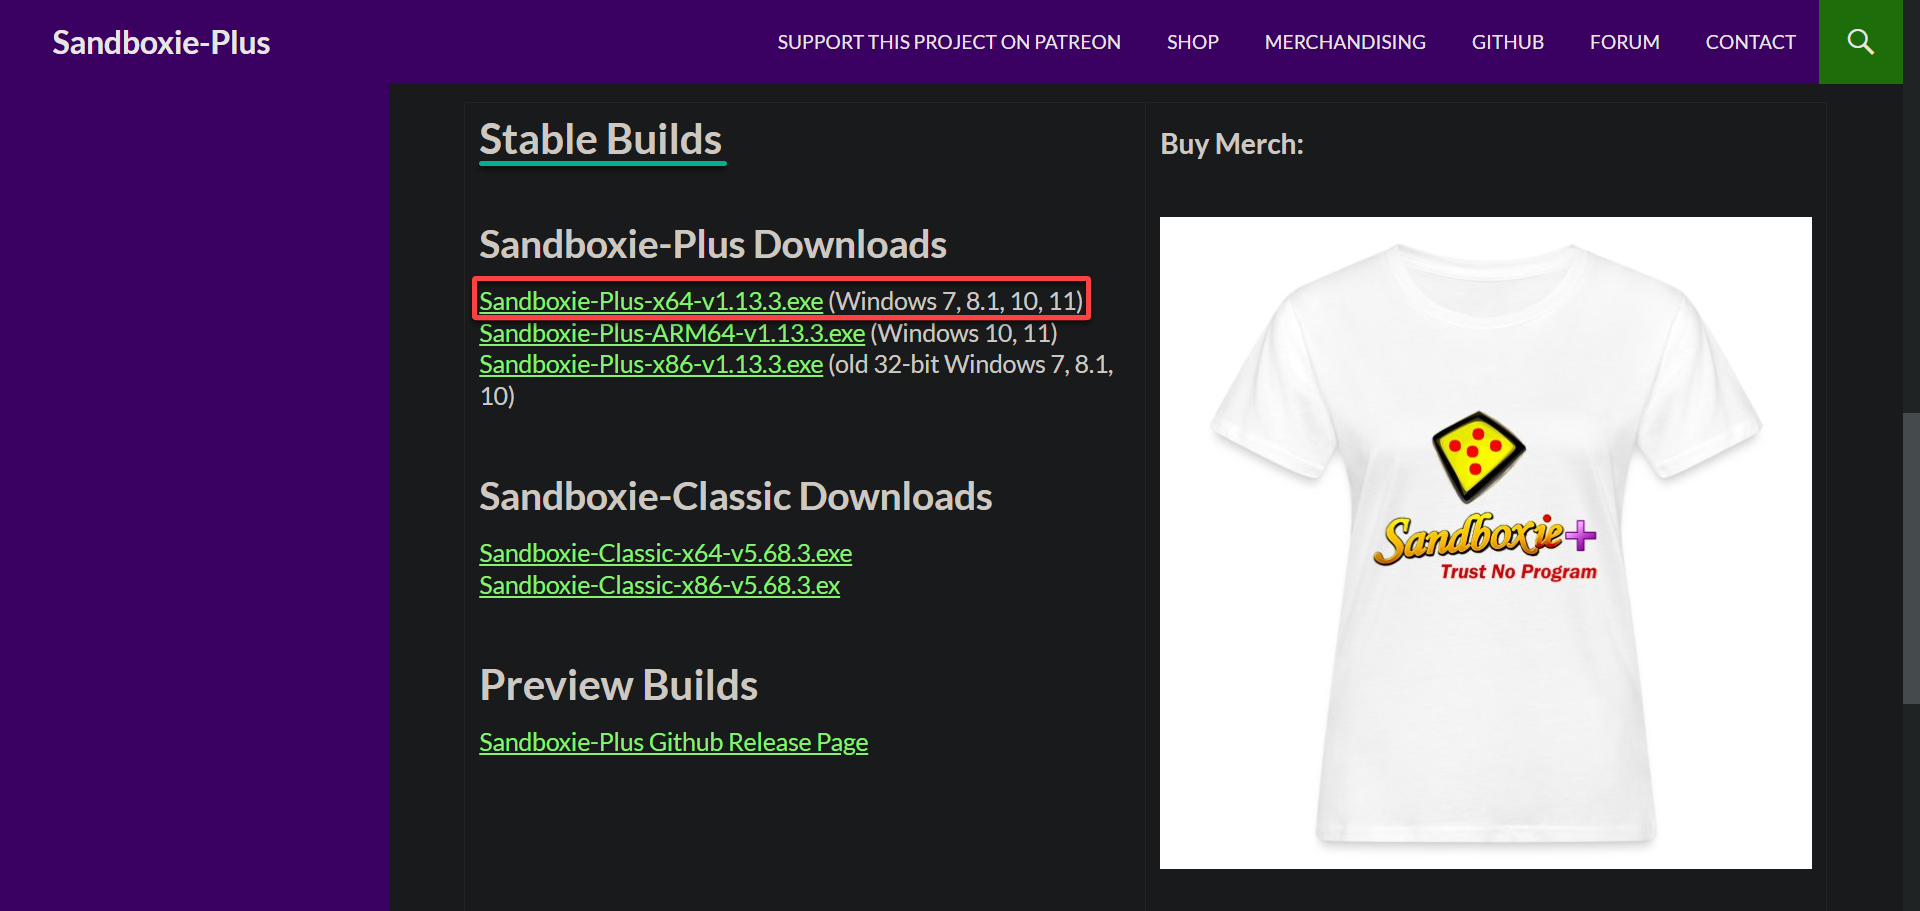
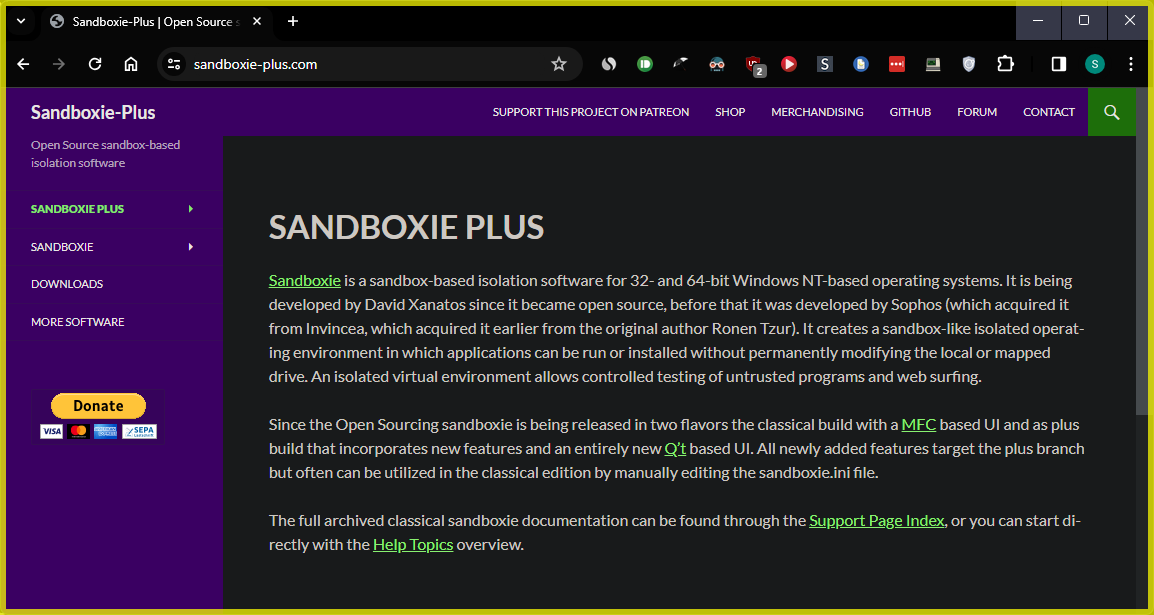
1. Open your web browser and navigate to the official Sandboxie website.
2. Next, scroll down to the Stable Builds section and click the most recent version link for Sandboxie-Plus under Sandboxie–Plus Downloads to download the installer.
The latest version, at this time of writing, is Sandboxie-Plus-x64-v1.13.3.exe.
3. Once downloaded, double-click the installer file to initiate the installation process.
4. Choose your preferred language from the dropdown field, and click OK to confirm.

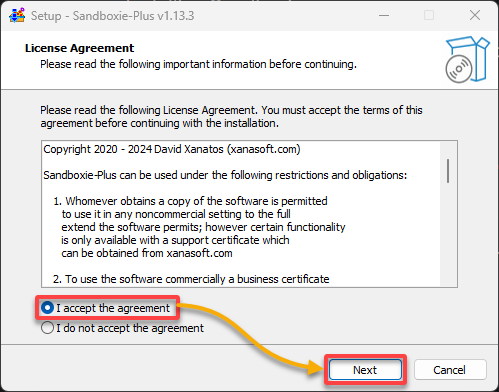
5. Read through and accept the license terms and conditions, then click Next to proceed.
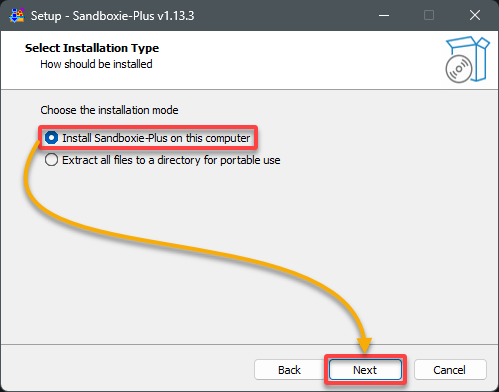
6. Select your desired installation type, and click Next.
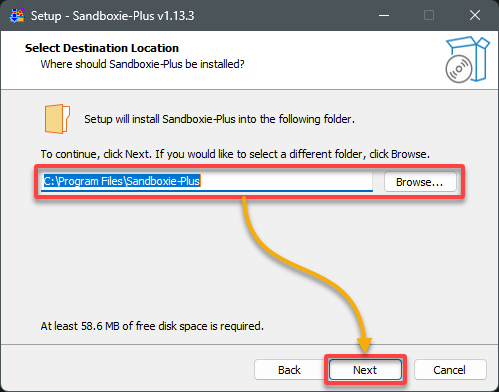
7. Now, choose the destination folder for Sandboxie-Plus or accept the default location, then click Next to confirm.
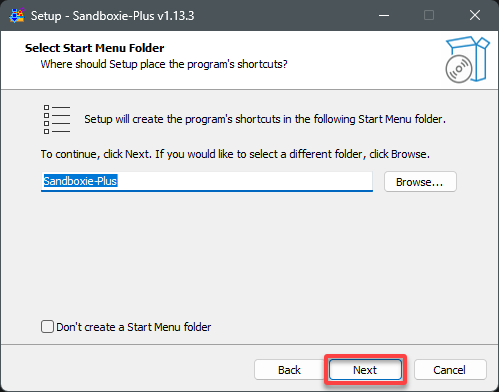
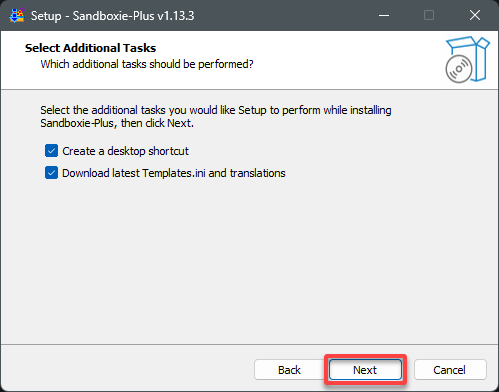
8. Click Next twice to keep the default settings for the Start menu folder and additional tasks
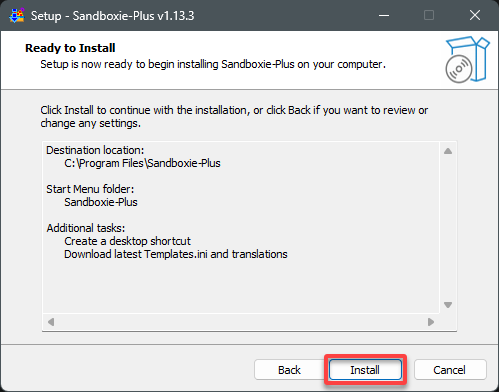
9. Review your settings and click Install to begin the installation process, which may take a few minutes to complete.
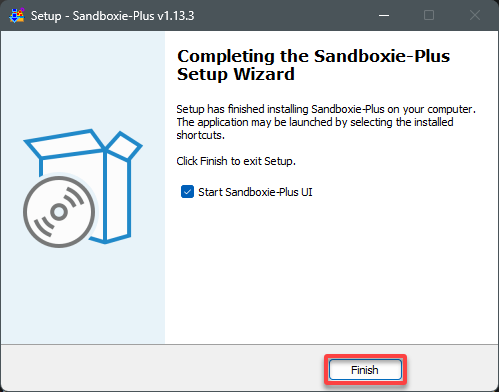
10. Once installed, click Finish to exit the setup wizard and launch Sandboxie-Plus.
Configuring Sandboxie-Plus with a Personal Touch
With Sandboxie installed, you now dive into fine-tuning your sandbox environment with a personal touch. By fine-tuning Sandboxie-Plus to your liking, you ensure a seamless, personalized experience that enhances security and peace of mind.
1. On the Setup Wizard, choose how you would like to use Sandboxie-Plus and click Next to proceed. This tutorial’s choice is Personally, for private non-commercial use.

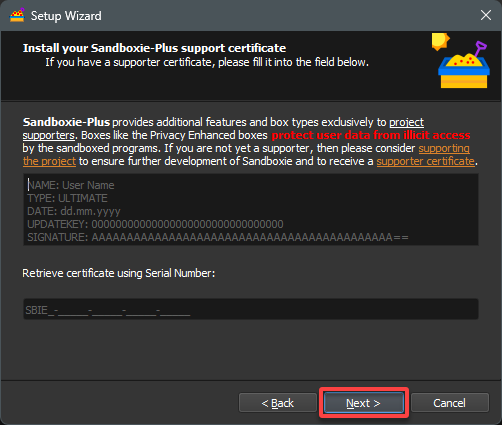
2. Next, insert the key if you have a license in the designated field to unlock the software’s full features, then click Next.
But if you do not have a license, leave the field empty and click Next to proceed with the free version.
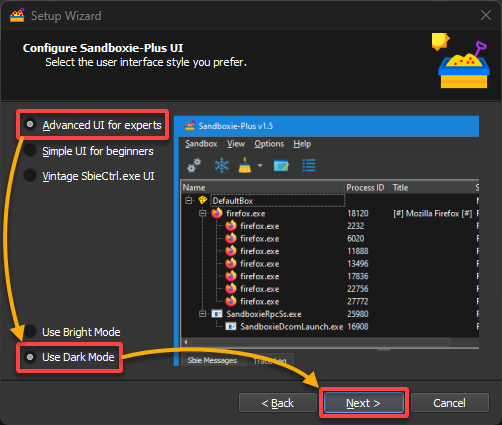
3. Configure the Sandboxie-Plus UI as follows:
- Select Advanced UI for experts to access a broader range of settings and controls.
- Select Use Dark Mode for visual comfort.
Once configured, click Next to confirm and proceed.
4. Now, tick all the checkboxes to integrate Sandboxie-Plus seamlessly with your OS, and click Next to continue.
This feature lets you quickly send files or launch applications in a sandboxed environment from the Windows context menu.

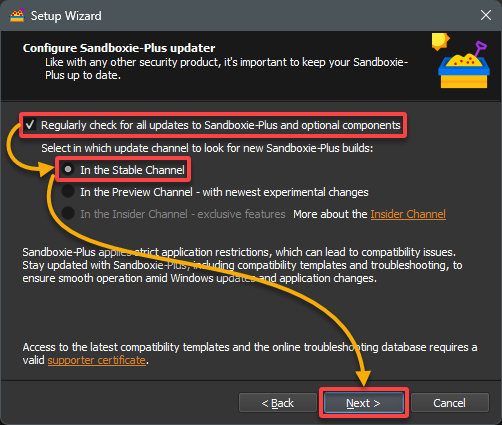
5. Tick the box at the top, then choose the In the Stable Channel option to set Sandboxie-Plus to check for updates regularly, and click Next.
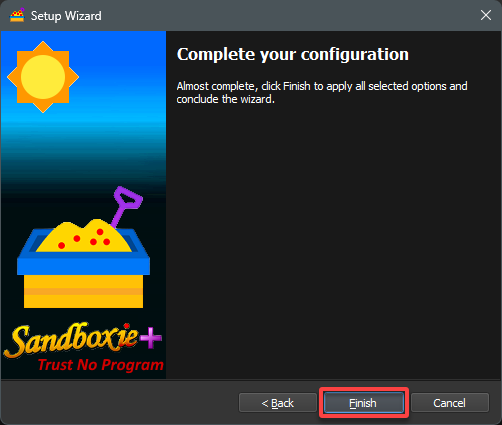
6. Finally, click Finish to complete the configuration process.
Sandboxie-Plus is now ready, and you can explore its capabilities in a secure and controlled environment.
Securing Google Chrome Browsing with Sandboxie-Plus
After installing and configuring Sandboxie-Plus, you are now equipped with a powerful tool for running applications in a secure, isolated environment. What better way to test Sandboxie than by securing your browsing on Google Chrome?
To secure your Google Chrome browsing with Sandboxie-Plus, execute the following:
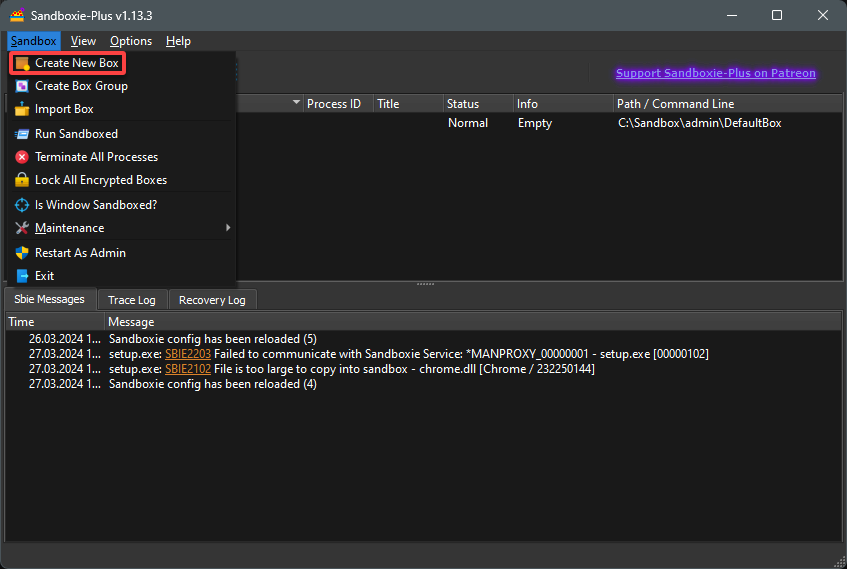
1. On Sandboxie-Plus, click the Sandbox menu and choose Create New Box to define a new sandbox. A sandbox is a secure, isolated environment where you can run programs without the risk of them making permanent changes to your system or spreading malware.
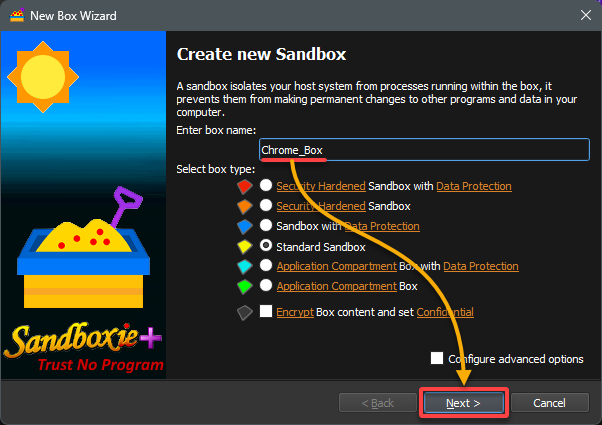
2. Next, provide a meaningful name for the sandbox (i.e., Chrome_Box), choose the Standard Sandbox option, and click Next.
The Standard Sandbox option applies a default set of settings to your sandbox.
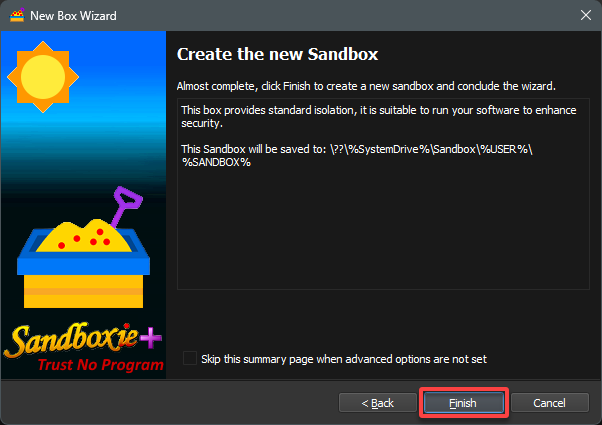
3. Click Finish to complete the creation of your new sandbox.
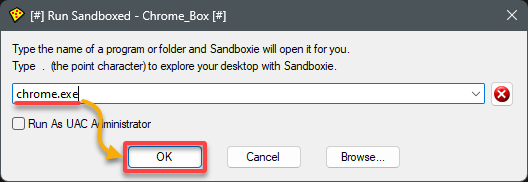
4. Now, right-click on the newly created sandbox, hover Run, and choose Run Program.
This action brings up a dialog box that allows you to execute a program within the secure confines of your newly created sandbox (step five).
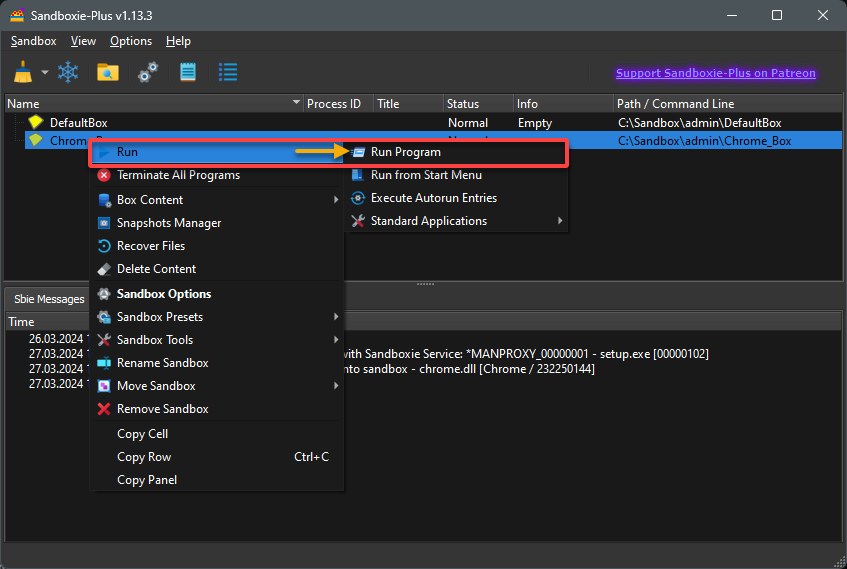
5. Finally, enter chrome.exe into the text field and hit Enter (or click OK) to launch Google Chrome within the sandbox.
If everything works correctly, Google Chrome launches within the confines of your sandbox (Chrome_Box).
As illustrated below, you will notice a yellow border surrounding the Google Chrome window, signifying that it operates securely within Sandboxie.
By following these steps, you can run any other executables within a sandbox, providing an additional layer of security for your computing activities.
Confining Programs via Sandboxie Command Line Interface (CLI)
The Sandboxie-Plus UI has a user-friendly appeal, but when you need more control and efficiency, the CLI is a game-changer. The CLI caters to advanced users, IT professionals, and developers by offering the flexibility to automate tasks and streamline sandbox management.
To confine programs via Sandboxie CLI, proceed as follows:
Open Command Prompt (CMD) and execute the following command to initiate PowerShell session (as administrator) isolated within a sandbox.
This approach allows you to perform tasks that require elevated rights without affecting the host system.
"C:\Program Files\Sandboxie-Plus\Start.exe" /elevate powershell.exe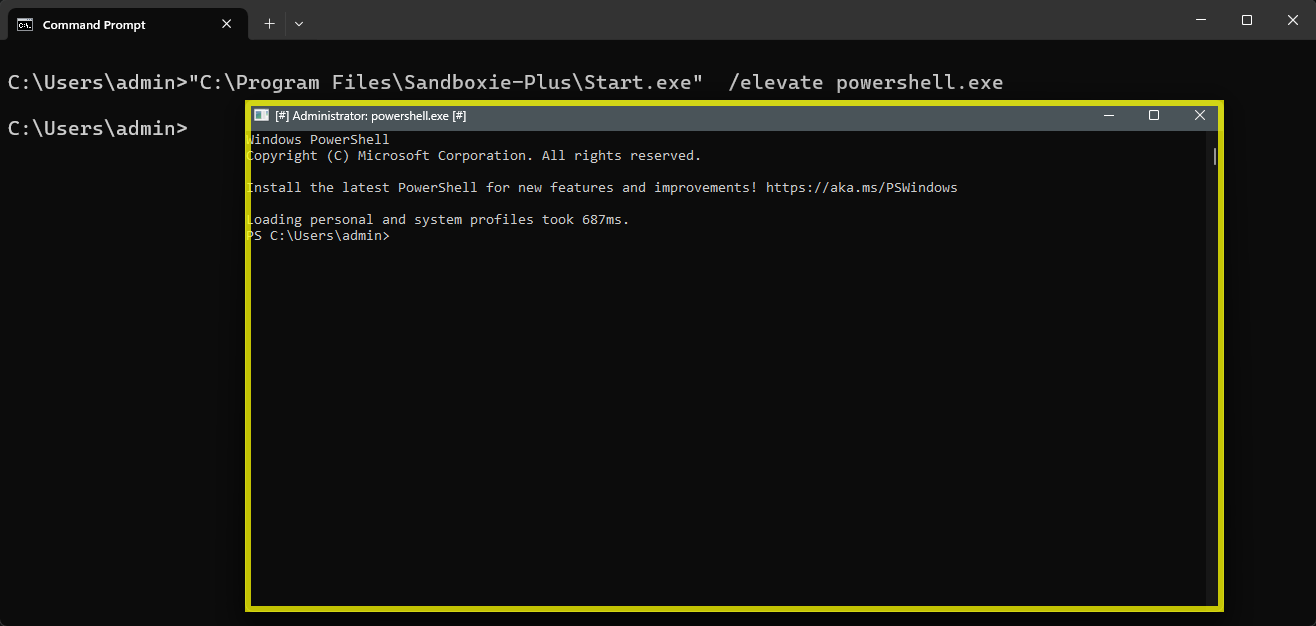
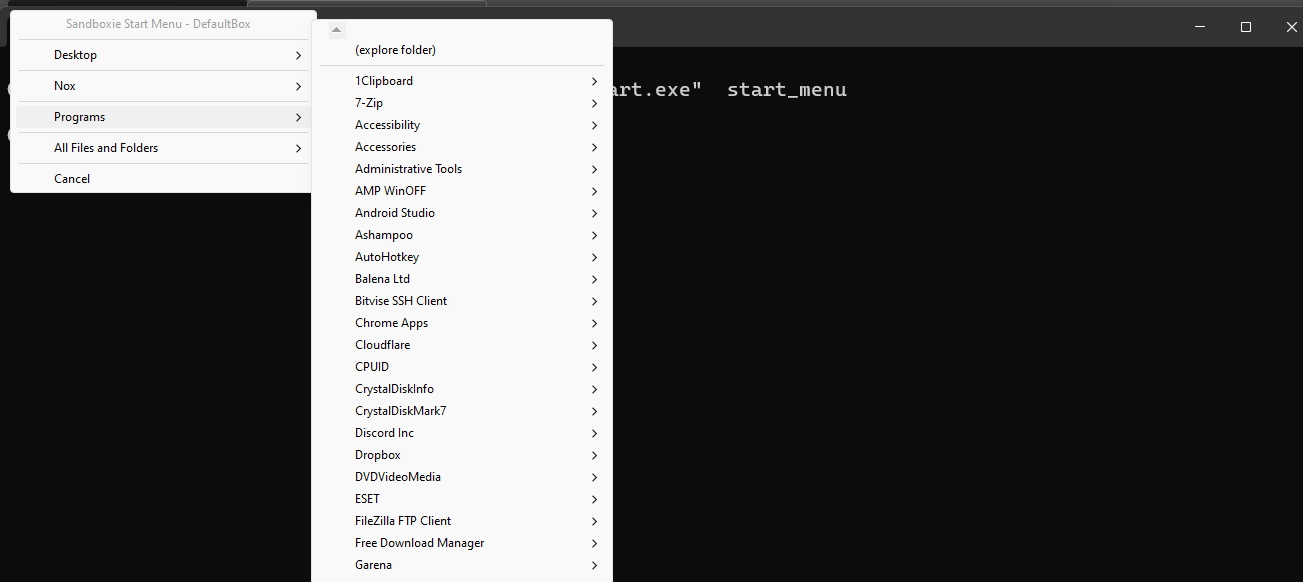
Now, run the command below to simulate a more traditional user environment within a sandbox to invoke the start_menu.
"C:\Program Files\Sandboxie-Plus\Start.exe" start_menuA sandboxed Start menu, as shown below, allows you to launch any installed programs in an isolated environment. This approach is an excellent way to test software or settings without affecting your actual system.
Conclusion
With Sandboxie on your side, you have safeguarded your digital activities on Windows. Sandboxie is an essential tool for testing new software, opening suspicious files, or simply browsing the internet.
Now that you are familiar with the basics of the Sandboxie CLI, why not explore the advanced features and functionalities that Sandboxie offers?
By choosing Sandboxie, you are not just messing around with some software but investing in a safer, more resilient digital experience!


