


Running applications safely has never been this easy! Being a part of Windows 10, there is practically no need to set up a virtual machine anymore. Using Windows 10 sandbox mode, you can create a safe, isolated space to perform application testing.
Not a reader? Watch this related video tutorial!In this article, you’ll learn how to enable Windows 10 Sandbox mode and how you can use it to test applications.
Prerequisites
- Windows 10 Professional, Education or Enterprise versions Build 18305 or later. This tutorial uses Windows 10 Professional build 19043.
- An x64 Windows PC with at least 4GB of RAM, 1GB of free disk space and two CPU cores.
- Hardware virtualization support
What is the Windows 10 Sandbox?
The Windows 10 Sandbox is a temporary, lightweight environment to run applications in total isolation. Inside of sandboxed environment, application runs in a compartmentalized area on your PC that’s completely separate from your host Windows 10 installation.
The sandbox is like a temporary instance of Windows. When you close the sandbox, everything inside of it is removed. Creating a new sandbox brings up an entirely new instance every time.
The Windows 10 Sandbox uses hardware-based virtualization to provide a secure environment complete with it’s own kernel including uses the integrated kernel scheduler to manage system resources.
Verifying Hardware Virtualization
Since Windows 10 sandbox uses your PC’s hardware virtualization capabilities, you must enable it. Many PC manufacturers enable this feature by default but it’s important to first check and enable it manually, if necessary.
To check if your PC has hardware virtualization enabled, you may do so via the Task Manager and also the command line. Both options are acceptable and are dependent on your personal preferences.
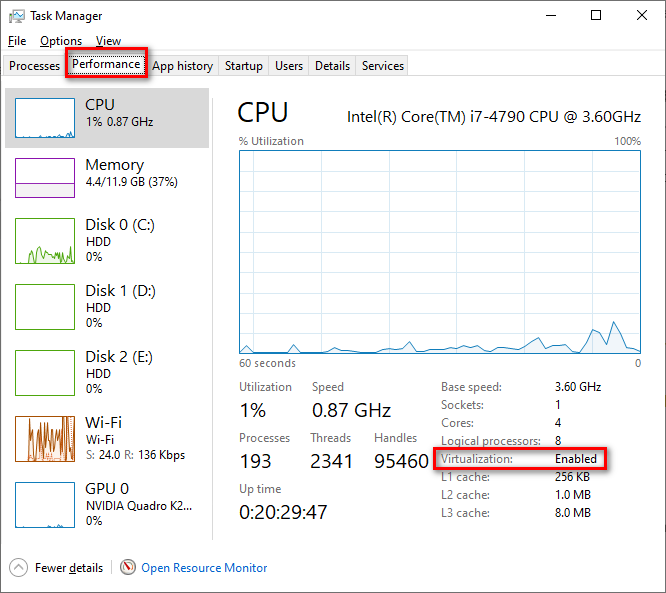
To check the status of hardware virtualization on your PC with Task Manager, open Task Manager by pressing Ctrl + Shift + Esc. Next, click on the Performance tab. Notice the value for the Virtualization field, shown below. If the value shows as Enabled, you’re good to go. If not, read the next section for tips on how to enable it.
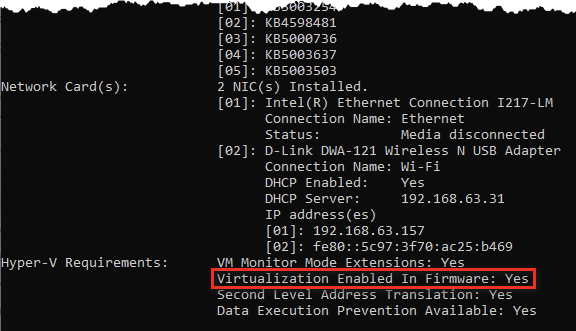
You can also check if hardware virtualization is enabled by using the command line. To do so, open a command prompt and type systeminfo . Scroll down a little bit until you see the Hyper-V Requirements section. In this section, you’ll see a field labeled Virtualization Enabled In Firmware. If it’s No, continue reading.
Enabling Hardware Virtualization
If virtualization is not enabled on your PC, this tutorial cannot provide specific instructions. Each PC manufacturer provides a way to enable hardware virtualization differently. But, if you’re using a Dell, HP or Lenovo PC, you’ll find some quick tips below on how to enable it.
When your PC is just booting up:
- Dell – Press the F2 key to access the BIOS/UEFI setup and navigate to the Advanced tab where you should see Virtualization.
- HP – Press the F10 key to access the BIOS/UEFI setup and navigate to the System Configuration tab where you should see an option to enable Virtualization.
- Lenovo – Press the F1 key to access the BIOS/UEFI setup and navigate to the Security tab where you should see an option to enable Virtualization.
Installing/Enabling Windows 10 Sandbox Mode
Once you’ve ensured you have hardware virtualization enabled, it’s time to install Windows Sandbox! To do that, you have two options; either using Control Panel or PowerShell. Like with hardware virtualization, each method performs the same task but is up to you to decide your preferred way.
Installing Windows Sandbox via Control Panel
To install Windows Sandbox via Control Panel, you’ll need to enable a specific Windows feature. Let’s do that now.
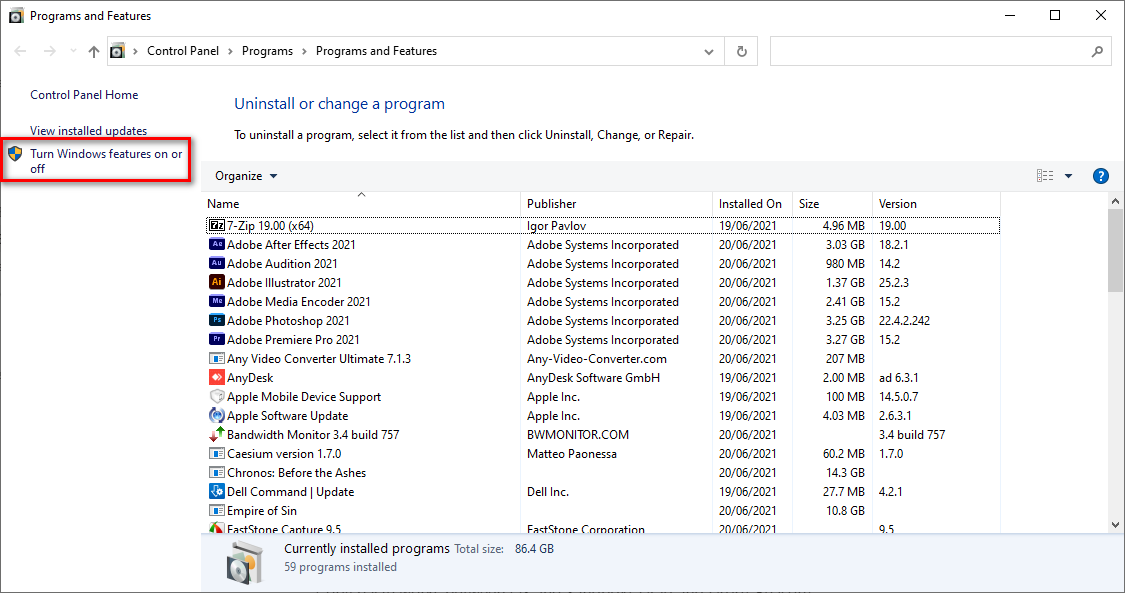
1. Clicking on the Start menu and typing appwiz.cpl. This action should bring up the appwiz.cpl option in the Start menu. Click on that to open Programs and Features.
2. Click on the Turn Windows Features on or off link from the menu on the left side of the window.
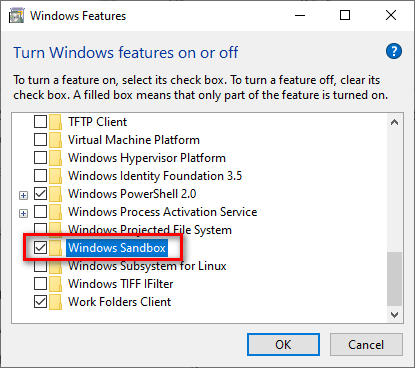
3. Scroll down the Windows Features dialog box until you find Windows Sandbox. Once you’ve found it, select it and and click OK.
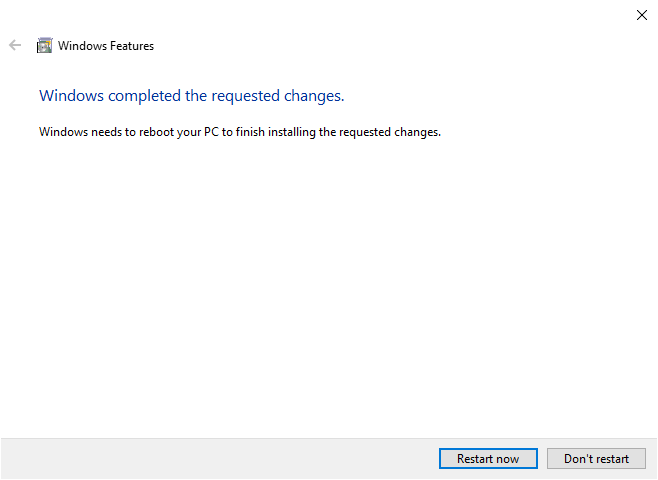
After you attempt to enable the Windows Sandbox feature, you should see a window pop up which searches for the required files and install them. After a couple of minutes, the installation should complete.
When complete, click on Restart now to restart your computer.
Installing Windows Sandbox using PowerShell
If you prefer the command line, you can also enable Windows 10 sandbox mode via PowerShell. To do so:
1. Open PowerShell as an administrator.
2. Run the Enable-WindowsOptionalFeature cmdlet as shown below to enable the Windows Sandbox feature. The All parameter tells the cmdlet to install all parent features of the optional feature and Online tells the cmdlet to look at the currently running Windows instance vs. looking at an image.
PowerShell uses the DISM name for the feature which is
Containers-DisposableClientVM.
Enable-WindowsOptionalFeature -FeatureName "Containers-DisposableClientVM" -All -OnlineYou should then see an overlay with a progress bar indicating that the entered command is running.

3. When prompted, hit Enter to restart your computer to apply the changes.

Running Windows 10 Sandbox Mode
Now that you have Windows Sandbox enabled, let’s try it out!
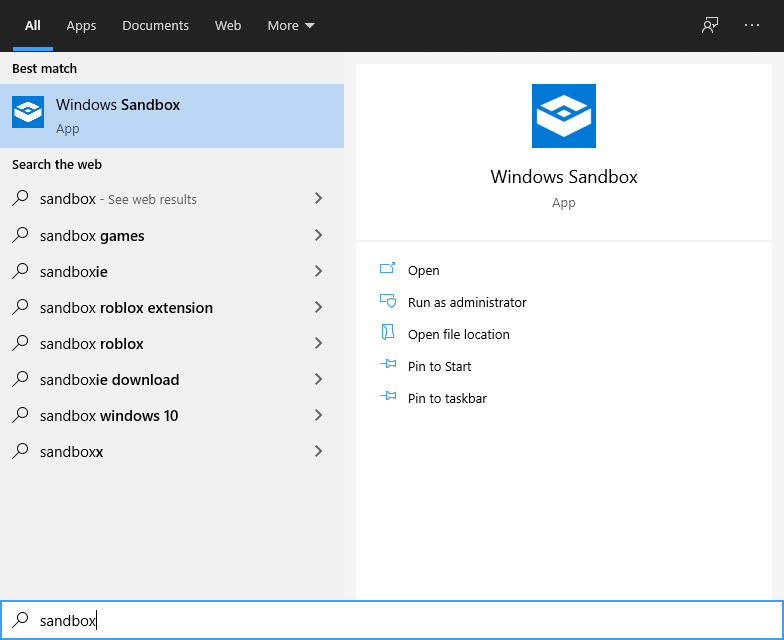
Click on your Start menu and type sandbox. You should now see a Windows Sandbox application pop up. Click on that to open a new Windows Sandbox instance.
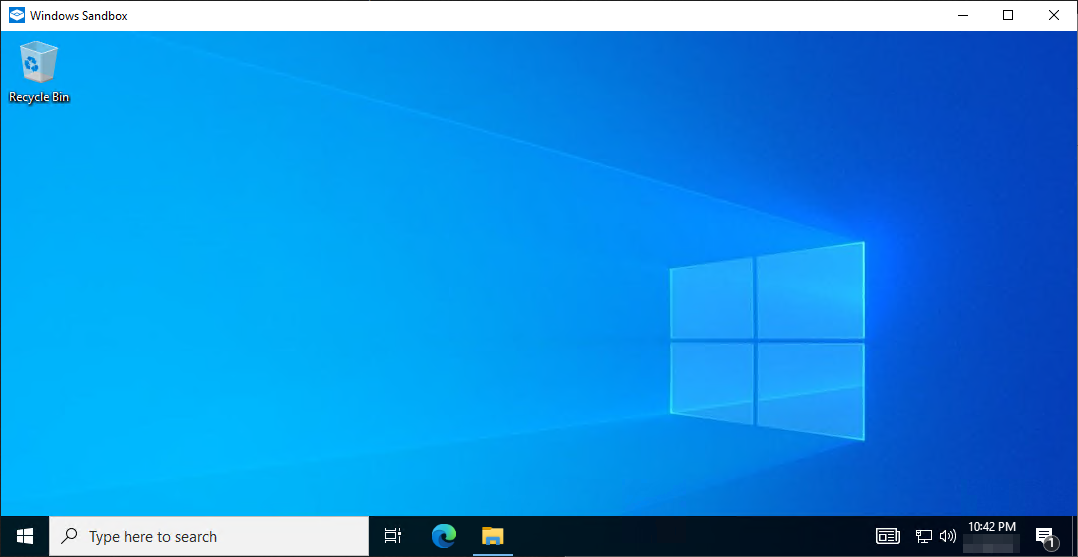
On a seven year old PC, it took less than three minutes for Windows Sandbox to open up!
When open, you’ll see a new Windows Sandbox window, as shown below.
Low Resource Consumption
You’d be surprised at how resource efficient Windows Sandbox is. Without anything going on in the sandbox, the memory utilization is not even 50MB! Minimize Windows Sandbox and check out the CPU utilization. You’ll see that it drops to 0% if there’s nothing running so you don’t need to worry about exhausting your PC’s resources.

No Software Updates Necessary
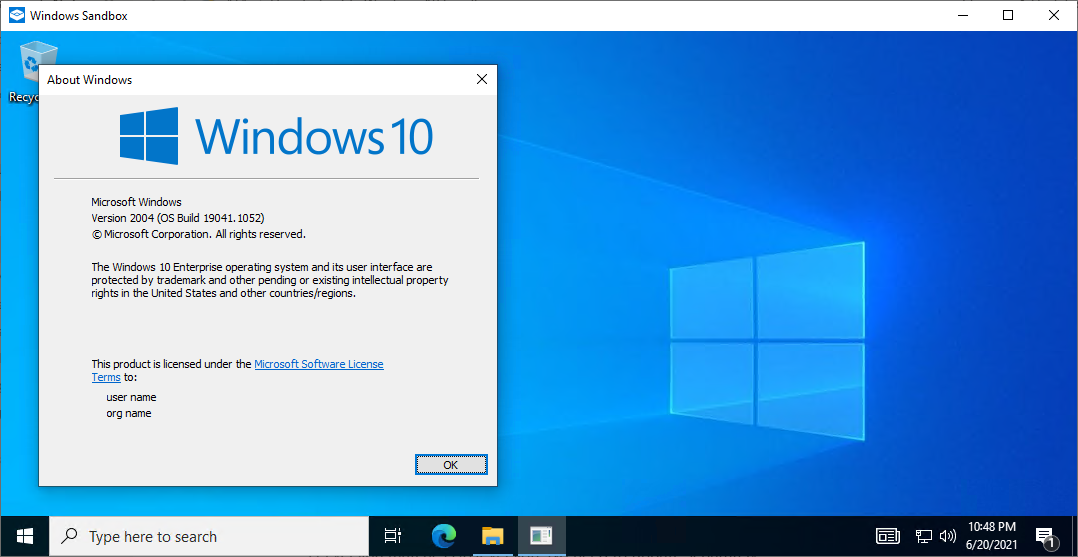
The Windows Sandbox is essentially a replica of your host system. If you update your host system, you’re updating the Windows instance in your Sandbox too!
Copying and Pasting
Just as if Windows Sandbox were a network share or even a virtual machine somewhere, you can also copy and paste files to and from it, as shown below.
You can’t drag and drop files between the host and the Sandbox or vice versa, unfortunately.
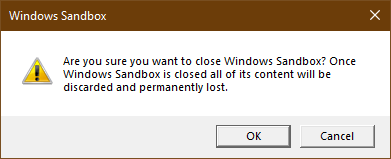
Stopping the Windows 10 Sandbox
Stopping the Sandbox is just as easy as starting it. Since the Sandbox is just represented as another window, hit the X in the upper-right corner just as you would any other windows. When you do, you’ll the Sandbox will remind you that all changes will be lost.
Conclusion
The Windows 10 Sandbox mode is a built-in way to quickly bring up an isolated Windows instances for testing untrusted software. Because no extra software is necessary, the Sandbox is relatively easy to set up.
What other uses can you think up for the Windows Sandbox?


