


Have you ever wished for a holistic overview of all your Amazon S3 data? Amazon S3 Inventory might be what you need. This tool lets you see an inventory of all the objects in your S3 bucket daily or weekly.
S3 inventory provides a detailed list of your objects and offers information about many metadata fields, such as storage class and size. This feature makes S3 inventory a valuable tool to AWS admins who want to keep track of their data usage and costs.
This tutorial will teach you how to set up an Amazon S3 Inventory configuration for your S3 buckets. Also, you will quickly look at the generated report and see how to interpret the data. Read on and never lose track of your Amazon S3 data again!
Prerequisites
This tutorial will be a hands-on demonstration. If you’d like to follow along, be sure you have the following.
- An active AWS account. You can create an AWS account for free here.
- An IAM user with the AmazonS3FullAccess managed policy. Refer to Creating an IAM User with S3 Access Permission to guide you in creating this IAM user.
- The latest AWS CLI v2 must be installed and configured on your computer. Refer to Installing or updating the latest version of the AWS CLI and Setting Up an AWS Profile On Your Computer. This tutorial will use AWS CLI v2.7.20 on Ubuntu 20.04.
- AWS S3 buckets with some data. This tutorial uses two S3 buckets: test-bucket117 as the source of the S3 inventory report and test-bucket118, which will receive the s3 inventory.
Creating an Amazon S3 Inventory Configuration
Amazon S3 Inventory helps you by providing a complete inventory of the objects in your buckets on a scheduled basis, weekly or daily. You can use this data to track the growth of your storage and analyze the types of objects stored in your buckets.
Follow the below steps to configure an S3 Inventory.
1. Open a web browser and sign in to the AWS Management Console.
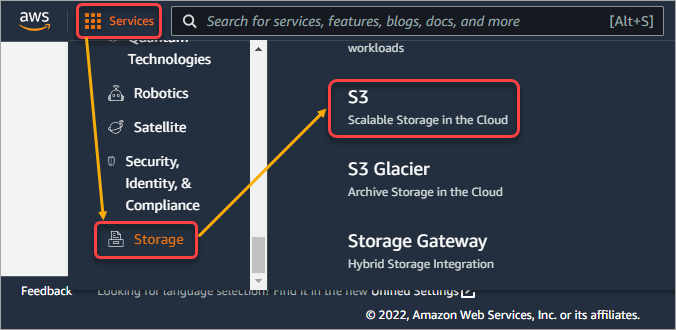
2. Click Services → Storage → S3 to open the Amazon S3 console.
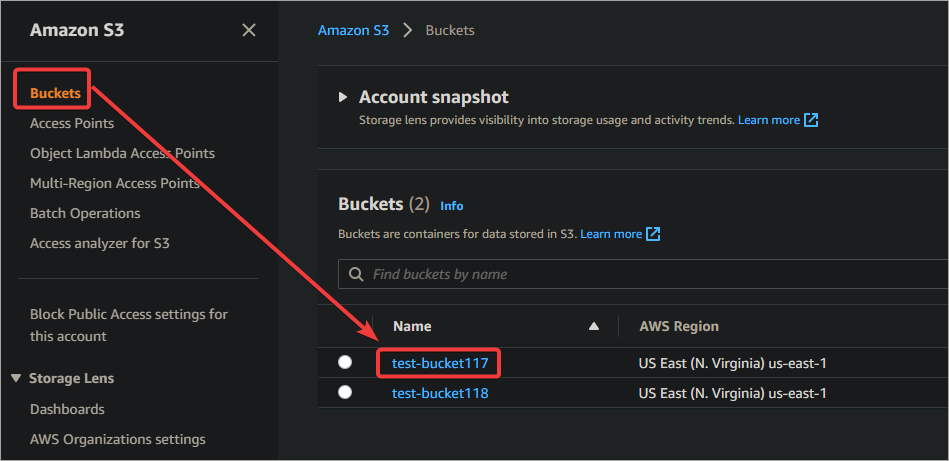
3. Click Bucket on the left and click a bucket on the list of buckets on the right. This example opens the bucket named test-bucket117.
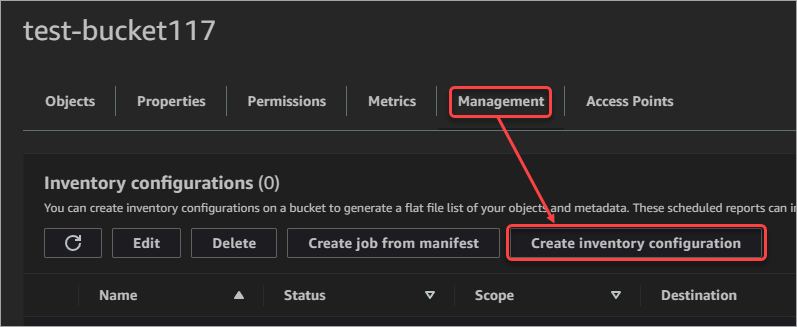
4. Click on the Management tab, scroll down, and click Create inventory configuration under Inventory configurations to create a new inventory configuration for the bucket. This action opens the Create inventory configuration page.
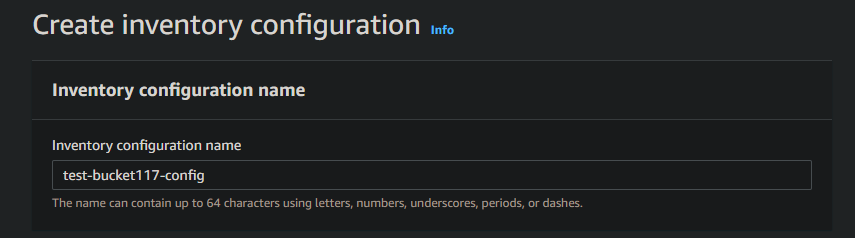
5. Provide the following information on the page.
- Inventory configuration name: Enter a name for the inventory configuration (test-bucket117-config). The length of the name can be from 1 to 64 characters, using lowercase letters, digits, dashes, and hyphens. You cannot change this name after you create the inventory configuration so choose it carefully.
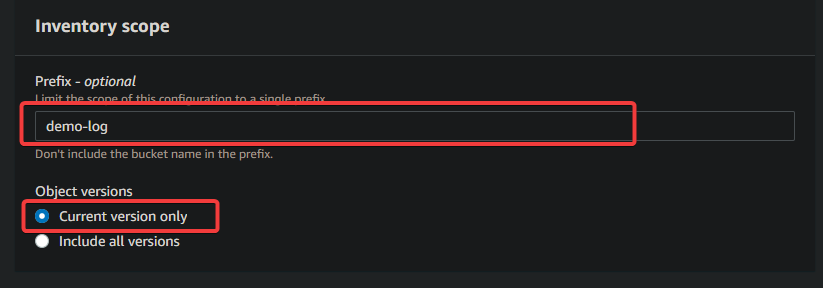
- Prefix – optional: This value limits the inventory report to only the keys that begin with the specified prefix. Useful if you have a large bucket and want to generate reports only for a subset of your data. You can leave this field blank if you want the report to include all objects in the bucket. This example uses the demo-logs prefix.
- Object versions: You can include object versions in the inventory report. Helpful for tracking different versions of the same object. For this tutorial, you’ll only include the current version of each object.
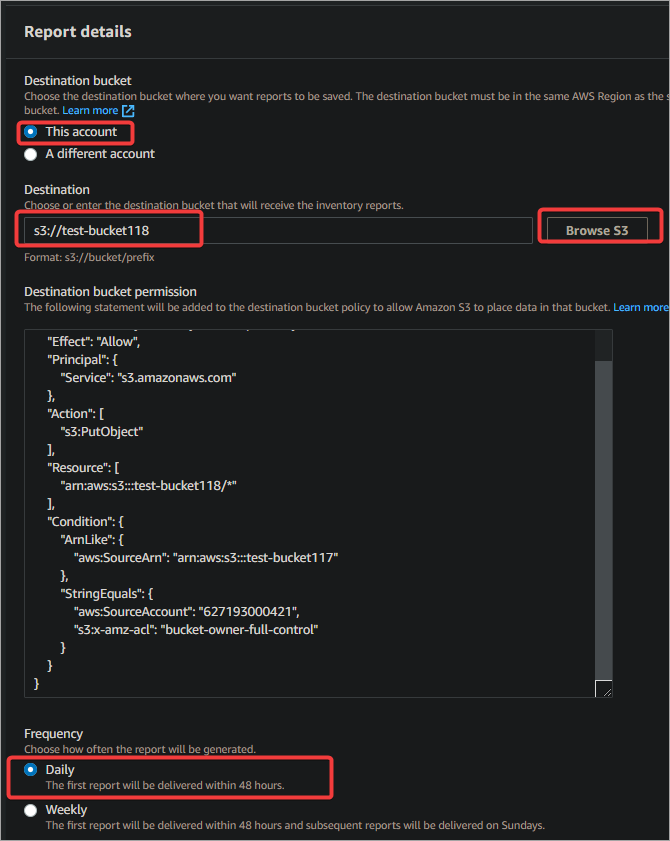
- Destination bucket: Select This account since you will be the one accessing the report.
- Destination: Browse to the destination S3 bucket where you want to save the report and select it (test-bucket118).
- Destination bucket permission: This JSON editor sets the permissions on the destination bucket. You can leave the default permission since the S3 Management Console provides a sufficient default policy for this tutorial.
- Frequency: Choose the report generation frequency. For this tutorial, choose to generate reports daily.
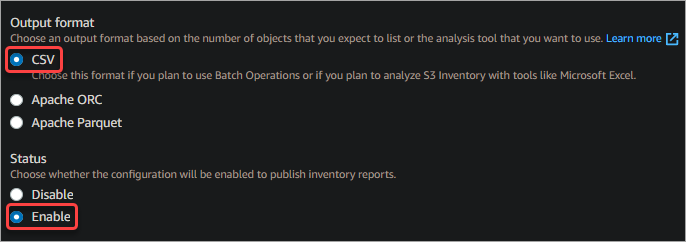
- Output format: Select CSV since most spreadsheet applications can read this format.
- Status: Select Enabled since you want the inventory to start generating reports right away.
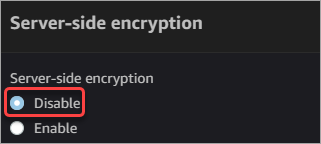
- Server-side encryption: Select Disable. You will not use server-side encryption since it is not required.
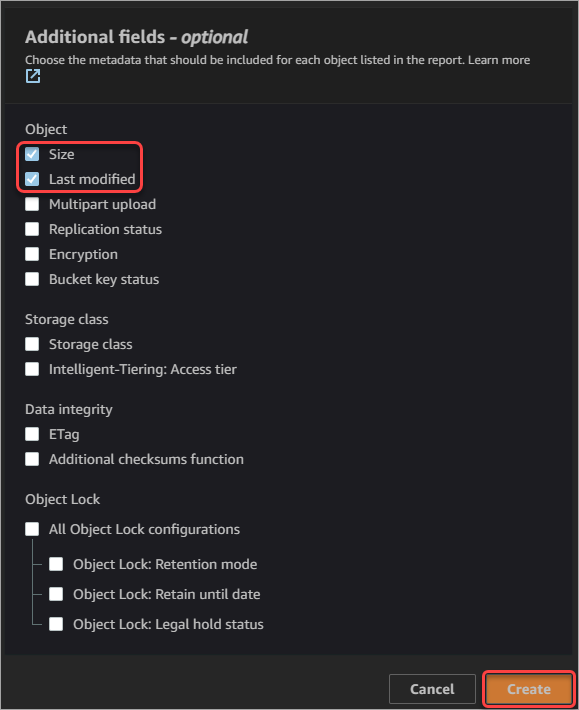
- Additional fields – optional: Select any other fields you want to include in the report. For this tutorial, you will enable the Size and Last modified date to track storage growth over time. You can leave all other fields unchecked.
- Click Create at the bottom of the page to create the S3 inventory configuration.
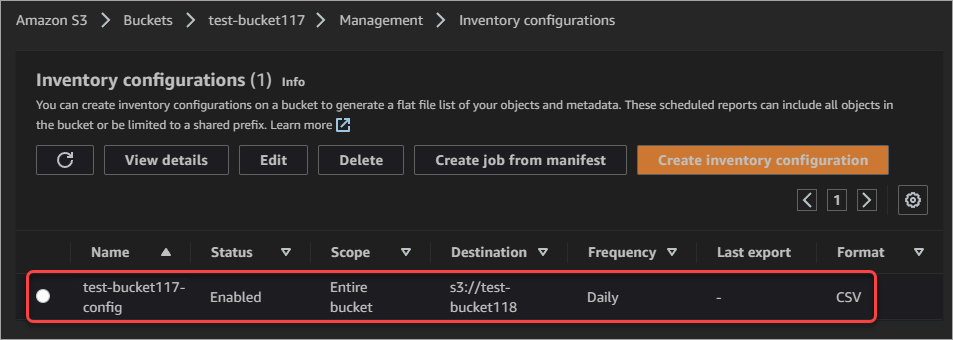
At this point, you have created an S3 inventory configuration for your bucket. The inventory will generate reports daily and save them to the destination bucket you specified.
Uploading Data to the Source S3 Bucket
Adding some test data to your S3 bucket would help generate a meaningful S3 inventory report. But you may skip this step if you already have data in your S3 bucket or if there’s a regular data ingress.
To upload files in your S3 bucket, which generates S3 inventory, you may do so via the AWS CLI or the Amazon S3 console.
This section will demonstrate uploading files to the S3 bucket using the S3 console.
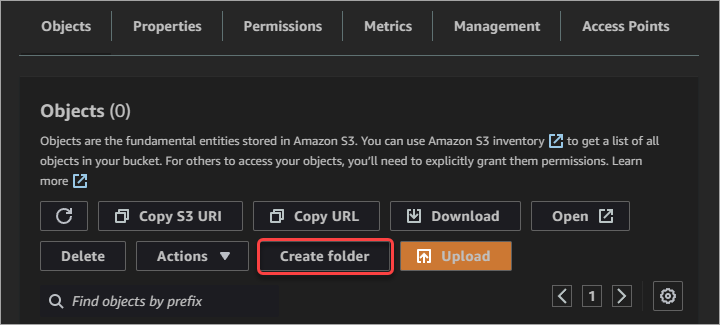
1. Navigate to the source bucket (test–bucket117).

2. Click Create folder.
💡 Note: Creating a new folder is optional but would help organize your test data. If you want to upload files to the root of your S3 bucket or any existing folder, you may skip the new folder creation.
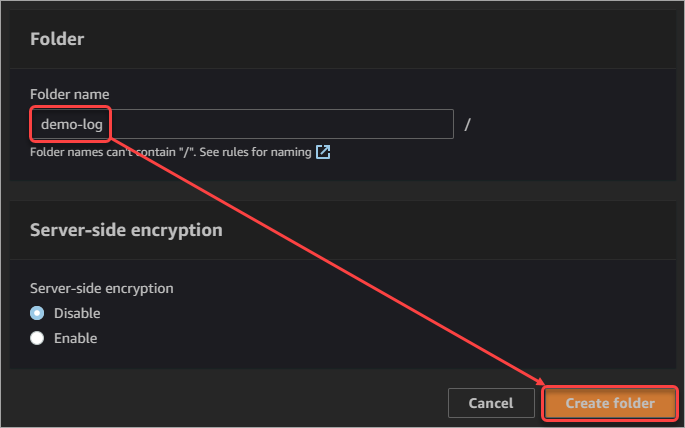
3. Type demo-log into the Folder name box and click the Create folder button.
4. You will now see the demo-log folder in your bucket. Click the folder to open it.
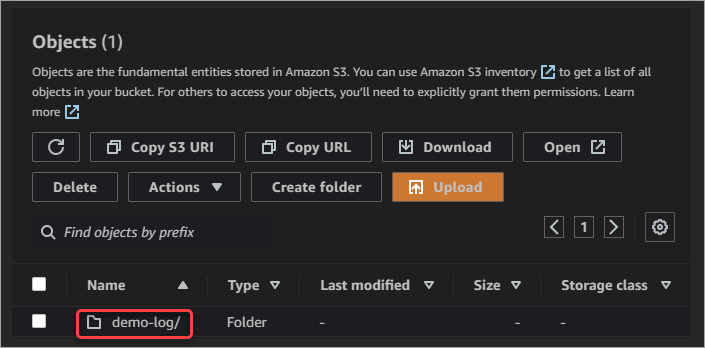
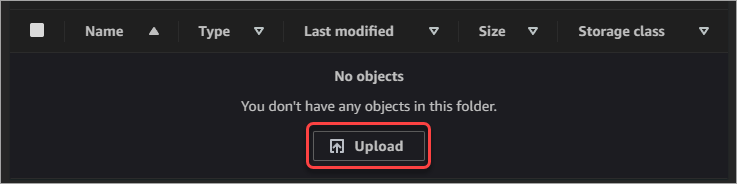
5. As you can see below, the new folder is empty. Click the Upload button to open the file upload page.
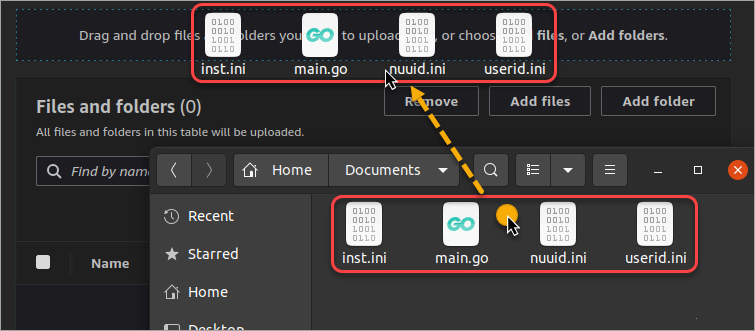
6. Now, locate the files you want to upload using your file explorer. Select the files and drag and drop them to the S3 console.
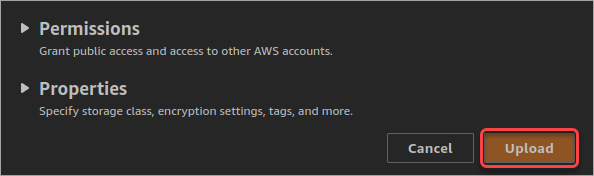
7. Scroll down to the bottom and click Upload.
8. Wait for the upload to complete and click Close.
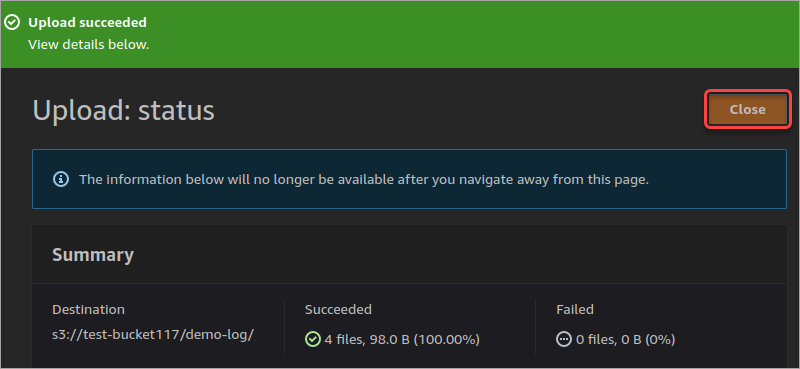
💡 The first S3 inventory report will be available within the next 48 hours. In this example, the S3 inventory report took a day to generate. Succeeding reports will generate within a 24-hour interval.
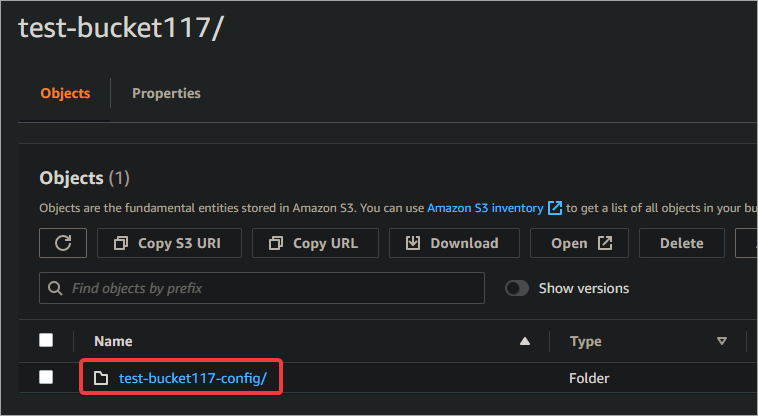
After 48 hours, the first inventory report appears in the destination bucket, as shown below.
Downloading the Amazon S3 Inventory Report
You successfully configured the S3 inventory for your source bucket and confirmed that the S3 inventory generated the report in the destination bucket. You’re now ready to download and view the report.
Follow the below steps to download the S3 inventory report using AWS CLI.
1. Open a terminal window and create a new directory named inventory to store the S3 inventory report.
mkdir inventory && cd inventory2. Download your destination bucket by running the aws cp command. Replace test-bucket118 with the name of your destination bucket. The --recursive flag tells AWS to download files recursively.
aws s3 cp s3://test-bucket118/ ./ --recursive
3. Change the working directory to test-bucket117/test-bucket117-config/.
4. Run the tree command. The tree command shows a visual representation of the files and directories structure.
tree .First, you can see the total number of directories and files in this directory at the bottom. In this case, there are 10 directories and 16 files.
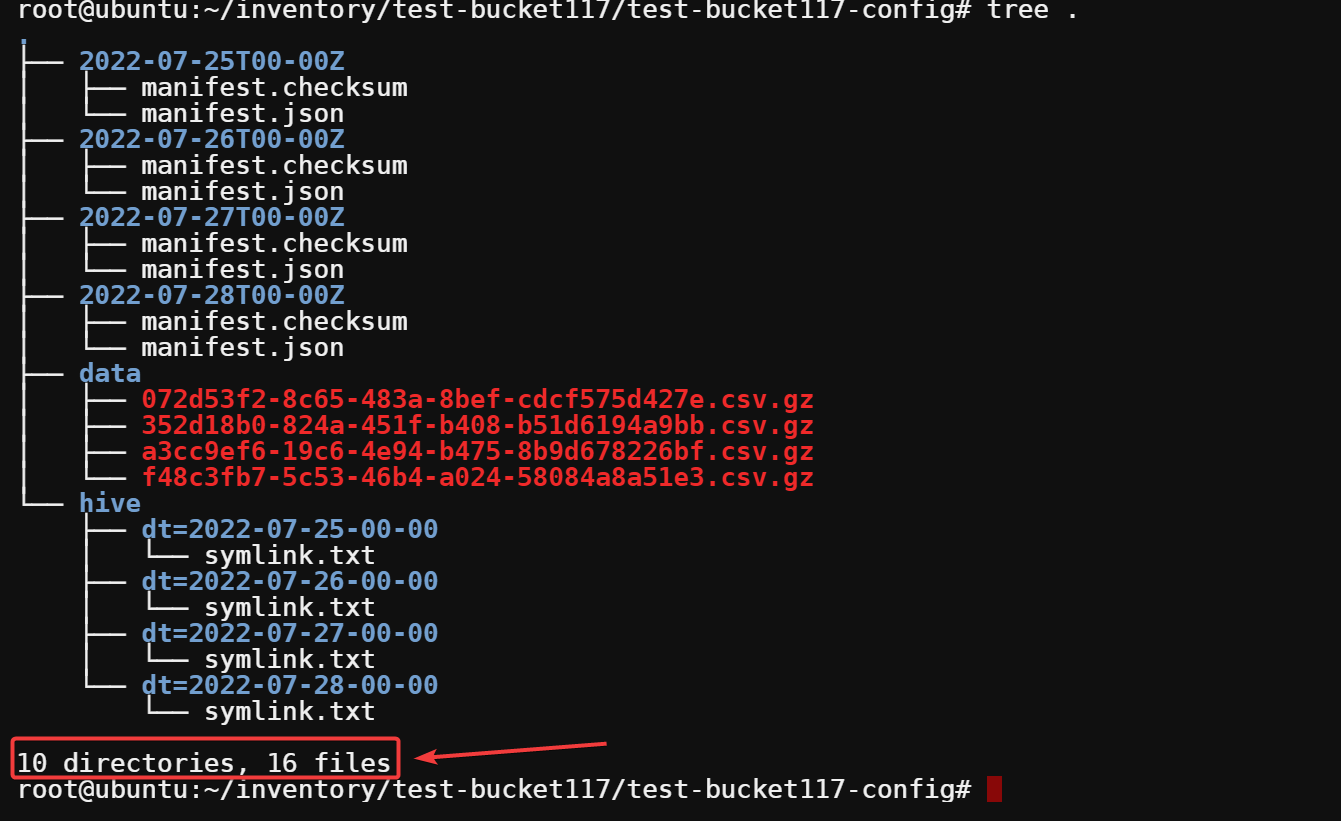
Next, you can see four subdirectories: 2022-07-25T00-00Z to 2022-07-28T00-00Z at the top. Those numbers indicate how many S3 inventory reports there are and their dates.
Each of these subdirectories contains metadata about the inventory for that day. The manifest.json file contains metadata about the inventory report.
The manifest.checksum file contains a checksum of the manifest.json file. This checksum file helps to ensure the integrity of the inventory report.

5. Run the cat command to view the contents of the manifest.json file inside the most recent report folder. In this example, the most recent inventory is in the 2022-07-28T00-00Z folder. cat 2022-07-28T00-00Z/manifest.json
cat 2022-07-28T00-00Z/manifest.json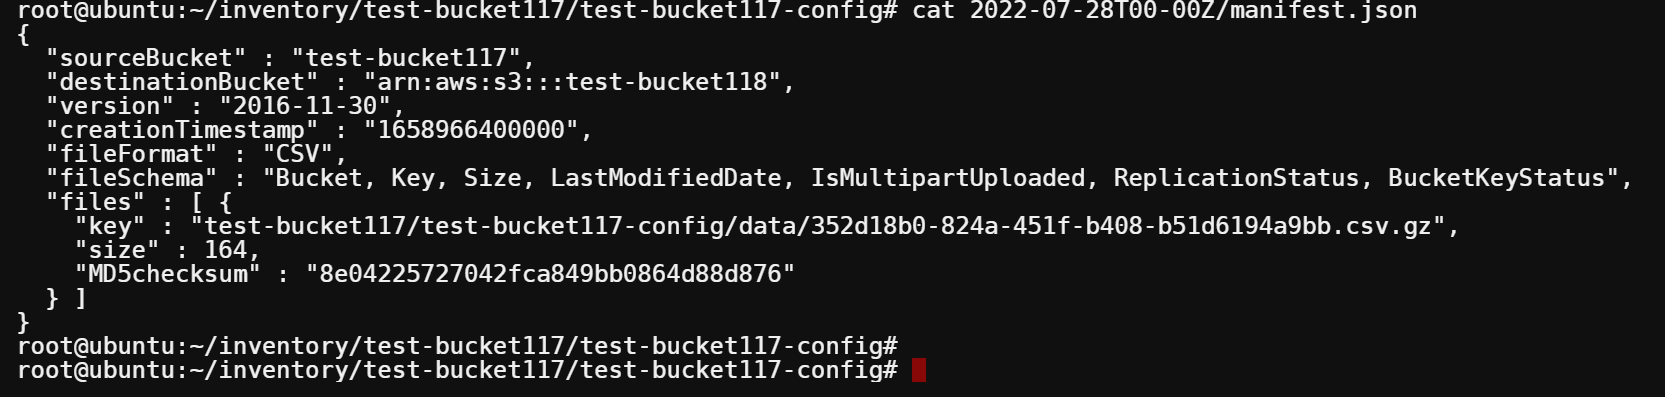
6. At the bottom of the tree, you can see the symlink.txt files under the hive directory. The symlink points to the corresponding data directory for that day.

Run the cat command to view the contents of the latest symlink that points to the latest S3 inventory.
cat hive/dt\=2022-07-28-00-00/symlink.txtYou can see the *.csv.gz files under the data directory. These files are gzip archives containing the inventory reports (CSV). Each file contains log data for that specific date.

7. Extract the reports from the *.csv.gz files by running the gunzip command followed by the archive filename.
gunzip a3cc9ef6-19c6-4e94-b475-8b9d678226bf.csv.gz8. Once you’ve extracted the report, run the cat command to display its contents on the screen. Or open the CSV file using your preferred spreadsheet program.
cat a3cc9ef6-19c6-4e94-b475-8b9d678226bf.csv
Conclusion
This tutorial taught you about Amazon S3 Inventory and how to configure it. You’ve also learned how to generate an inventory report and view its contents. You can use Amazon S3 Inventory to keep track of your data stored in Amazon S3, audit data access, and ensure data security.
At this point, you have all the necessary knowledge to use Amazon S3 Inventory in your AWS account. With this newfound knowledge, you can now configure the Amazon S3 Inventory for your buckets.


