

Have you ever found yourself in the middle of an exciting project, only to get bogged down by the complexities of managing your AWS S3 storage? Why not look into the Cyberduck S3 browser for Mac? Cyberduck lets you effortlessly navigate your S3 buckets and make file management a breeze!
In this tutorial, you will learn the seamless installation of a fantastic S3 browser designed for Mac users. With Cyberduck, you let the tedious, time-consuming uploads and downloads be a thing of the past.
Read on and transform the way you interact with your AWS S3 storage!
Prerequisites
Before you embark on setting up Cyberduck for seamless AWS S3 access, ensure you have the following in place to follow along:
- An AWS account with active billing enabled – A free tier account will suffice for this tutorial.
- An AWS access and secret key pair.
- A Mac computer running macOS 10.2 or later – This tutorial uses a MacBook Air running macOS 12 (Monterey).
Downloading and Installing the Cyberduck S3 Browser for Mac
Typically, your local computer has loads of files organized in various folders and subfolders. Maintaining the same directory structure is crucial when uploading those folders to an S3 bucket.
The good news is that when you install Cyberduck, you get a desktop tool designed to preserve this directory structure during uploading.
To download and install Cyberduck on your Mac, follow these steps:
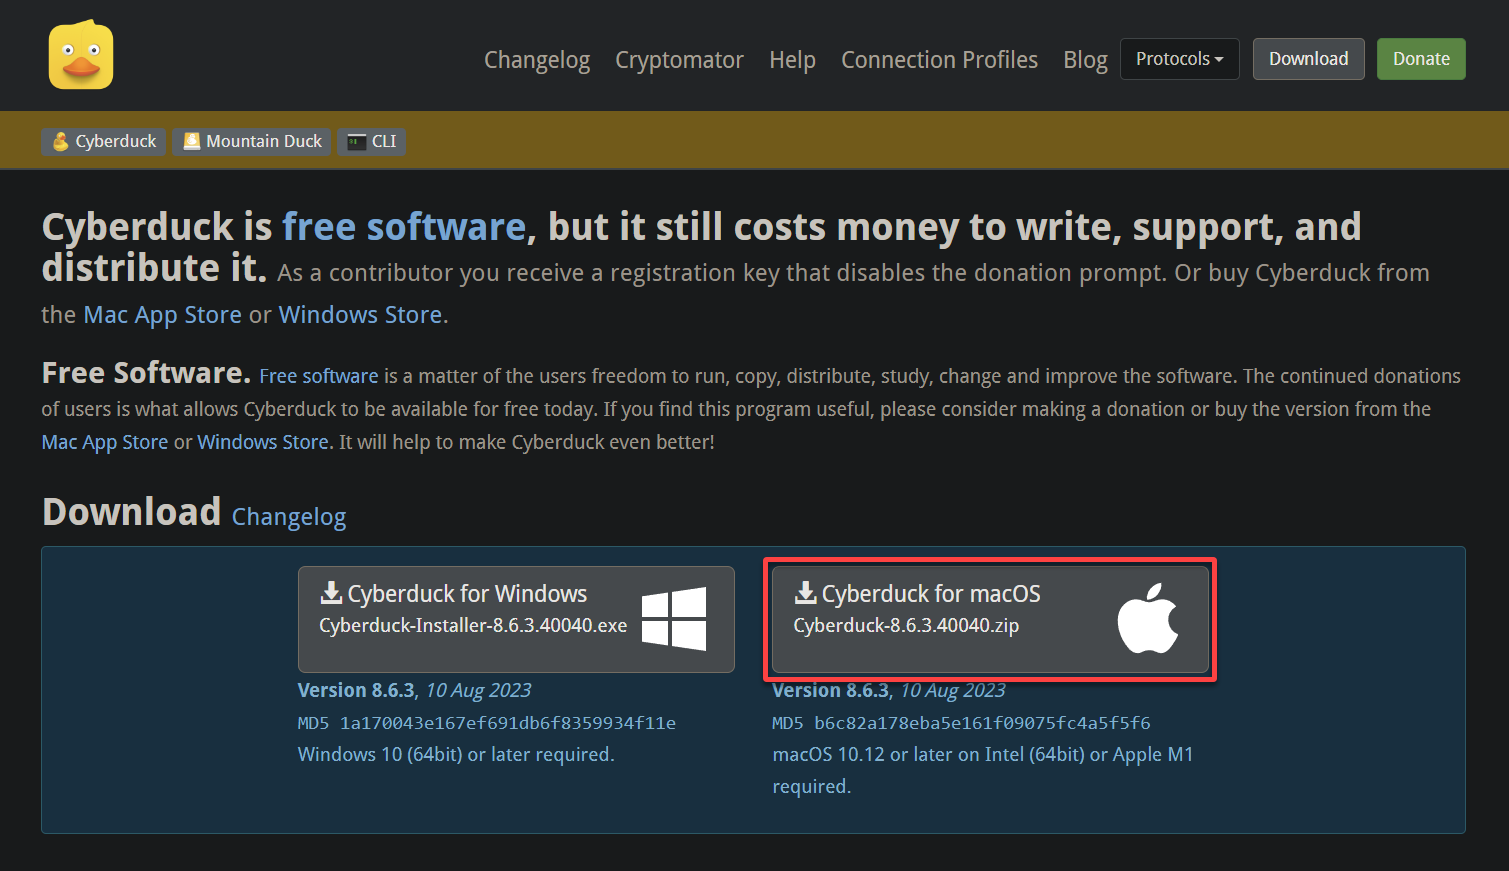
1. Open your favorite web browser, navigate to the official Cyberduck download page, and click on the Cyberduck for macOS download link. Doing so lets you download the Cyberduck installer package’s zip file.
2. Once downloaded, open a Terminal window on your Mac, navigate to the folder where you saved the Cyberduck zip file, and run the following echo command.
This command lets you verify the integrity of the downloaded zip file.
echo "b6c82a178eba5e161f09075fc4a5f5f6 Cyberduck-8.6.3.40040.zip" | md5sum -c - You can proceed with the next step if you get an OK response, as shown below. If not, you must re-download the zip file.

3. Next, execute the below command to unzip your downloaded zip file (Cyberduck-8.6.3.40040.zip).
unzip Cyberduck-8.6.3.40040.zip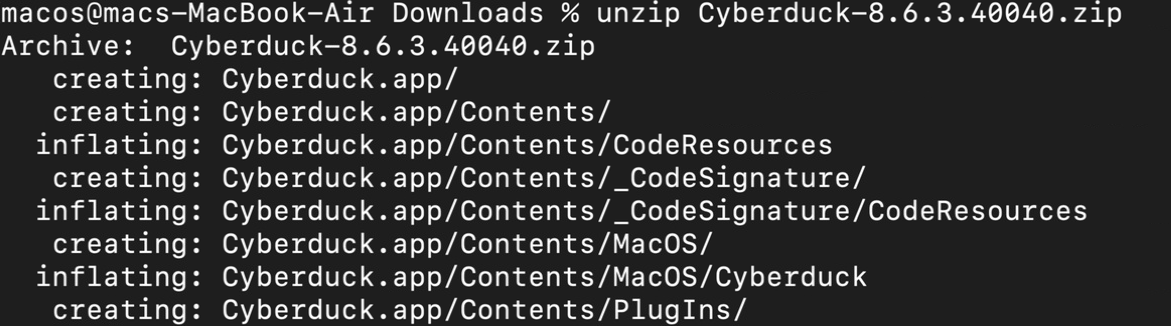
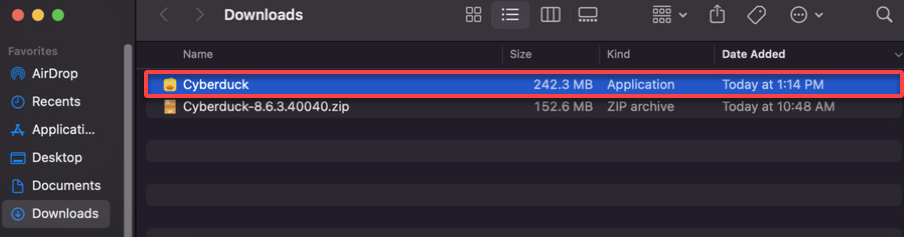
4. Now, navigate to your Downloads folder and double-click the Cyberduck file to launch Cyberduck.
5. Click Open when prompted to continue.
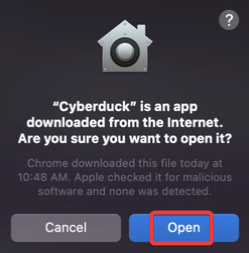
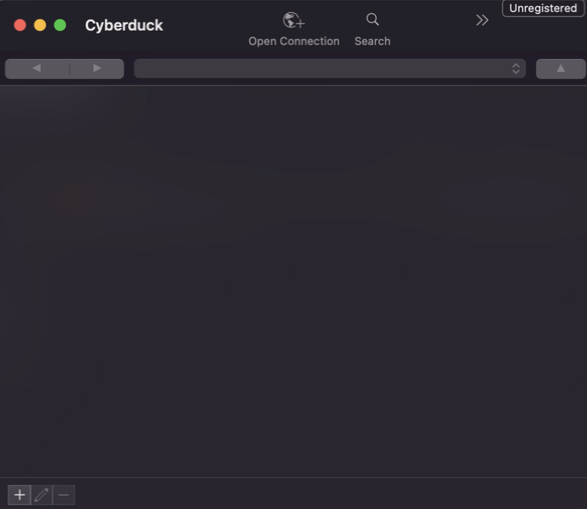
Assuming all goes well, the Cyberduck application appears, as shown below.
Keep the Cyberduck application window open, as you will later authorize your AWS account in the following section.
Authorizing Cyberduck with your AWS Account
With the Cyberduck application running, you must ensure you can manage your S3 buckets and files within the application. This process involves authorizing Cyberduck with your AWS account, enabling you to seamlessly navigate, upload, download, and perform various file operations.
To authorize Cyberduck with your AWS account, carry out the steps below:
On Cyberduck’s main window, click Open Connection at the top to open a new connection.

Now, configure the following connection settings:
- Select Amazon S3 as the server from the dropdown field.
- Server – Input s3.amazonaws.com in the text field as the server endpoint.
- Port – Input 443 in the text field, the default port for secure communication using the HTTPS protocol. This setting ensures that Cyberduck and AWS S3 communication is encrypted using SSL/TLS.
- Access Key ID and Secret Access Key – Provide your AWS Access Key ID and Secret Access Key for securely communicating with AWS S3.
Keep other settings as is, and click Connect to establish the connection to your AWS S3 service.

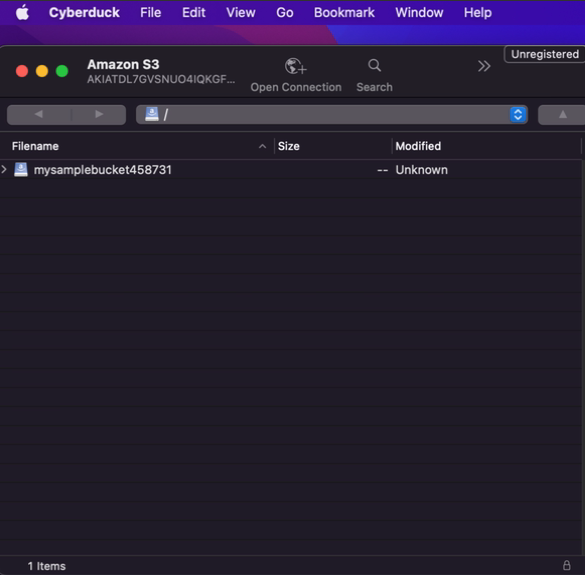
When the connection is established, you will be logged into the AWS S3 service, and you can start managing your S3 buckets and files within the Cyberduck application.
Creating a New AWS S3 Bucket via Cyberduck
Alright, you have Cyberduck set up to dance with your AWS account, and you are almost ready to start a new project. But first, you must ensure you have a dedicated space to house your files in the AWS cloud.
Cyberduck lets you create a new AWS S3 bucket to store and retrieve data from anywhere on the web.
To create a new AWS S3 bucket via Cyberduck, complete these steps:
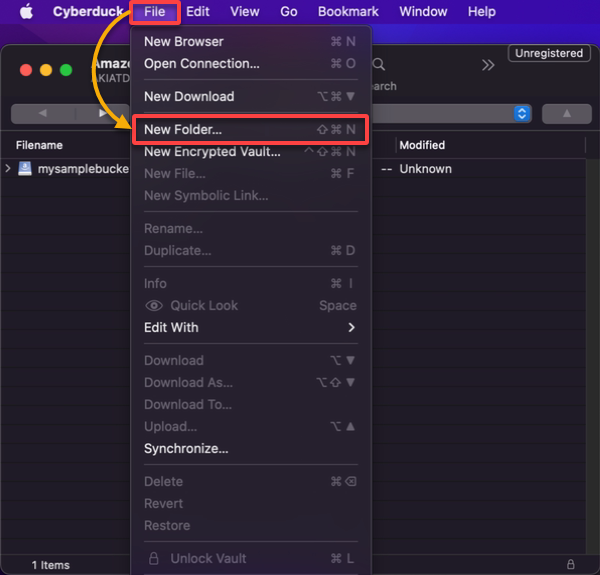
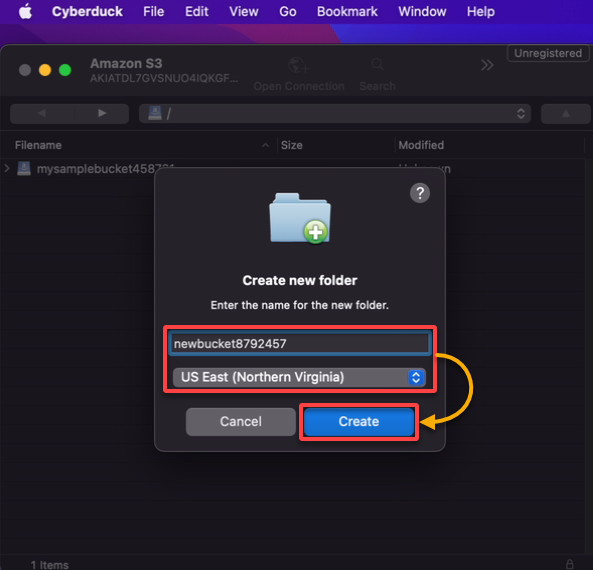
On Cyberduck, click the File menu and choose New Folder to create a new folder (or AWS S3 bucket).
Now, provide a unique folder name (newbucket8798457), choose a region (US East (Northern Virginia)) to host your new bucket, and click Create to create the bucket.
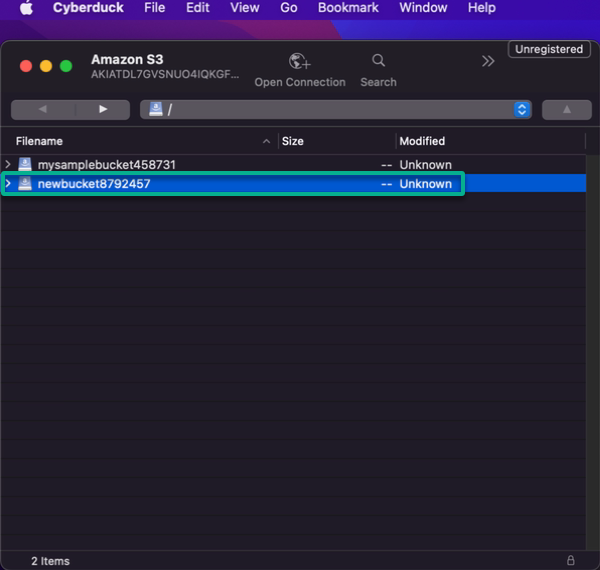
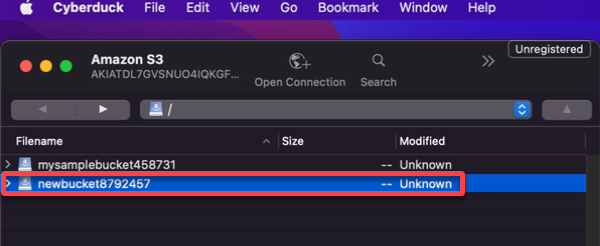
If all goes well, you will see your new bucket in the list of existing buckets in the Cyberduck main window and the AWS S3 console, as shown below.

Uploading Files to an AWS S3 Bucket
After crafting a brand new AWS S3 bucket, you can now fill it with the gems of your projects. Think of this step as placing valuables into a secure vault with the added benefit of quick retrieval whenever you need them.
Without files, a bucket is just an empty vessel. Securely storing your data in S3 empowers you to manage, share, and use your projects on a whole new level.
To upload files to your AWS S3 bucket via Cyberduck, perform the following steps:
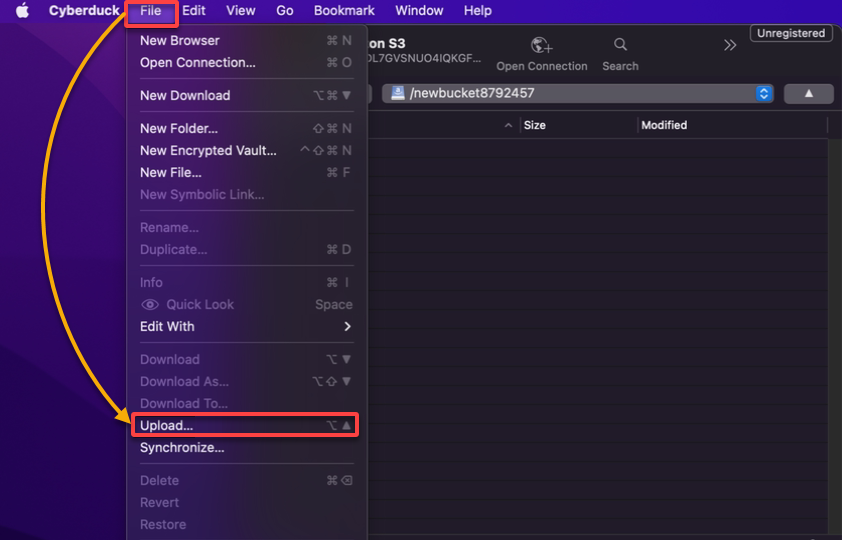
1. Double-click on your AWS S3 bucket to open it.
2. Next, click the File menu and choose Upload to initiate uploading a new file to your AWS S3 bucket.
3. Select your target file(s) on the pop-up window, and click Upload to upload them to your AWS S3 bucket.
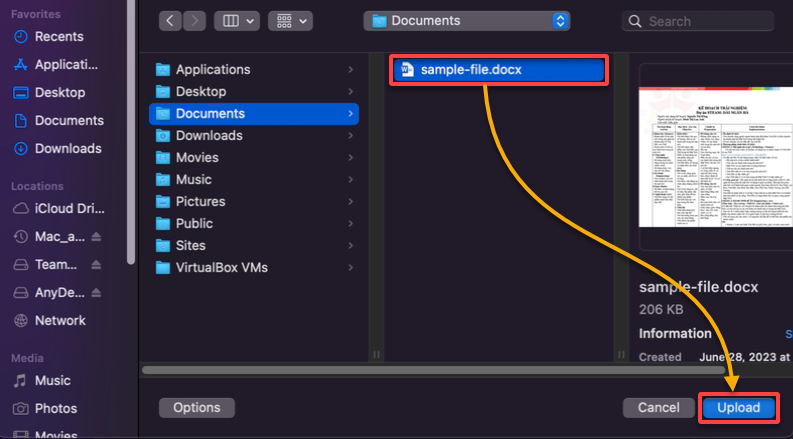
Cyberduck then uploads the file(s) to your AWS S3 bucket, like in the image below.
Uploading tons of files to a remote server like AWS S3 can be time-consuming. During the upload, network interruptions can occur due to factors such as network congestion, temporary outages, or accidental disconnections.
Worry not, though. Cyberduck provides built-in features to handle such interruptions seamlessly. Cyberduck can pause the upload, resume from the point of disruption, or even recover automatically if the connection is restored. These features ensure your files are uploaded entirely and without any corruption.
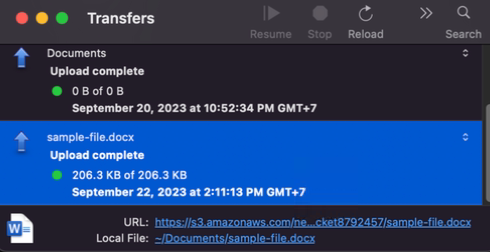
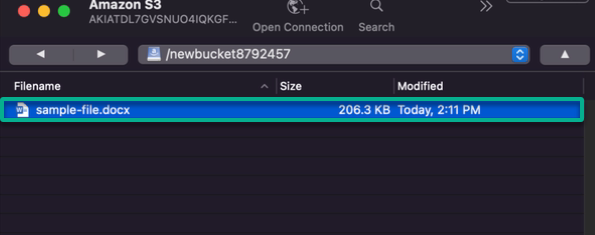
Once the upload is complete, you will see the uploaded file in your S3 bucket as below.
Another approach is to see the uploaded file in your AWS S3 bucket via the AWS Management Console.

Downloading Files from the AWS S3 Bucket
You have successfully loaded up your AWS S3 bucket with valuable files, which is fantastic. But at times, you may want to bring them back down. Why? For backup and redundancy, development and testing, data migration, data analysis and reporting, and so on.
The ability to retrieve your files seamlessly ensures you can work with them locally or share them with others.
To download files from your AWS S3 bucket, proceed with the following steps:
1. Double-click on your bucket to open it.

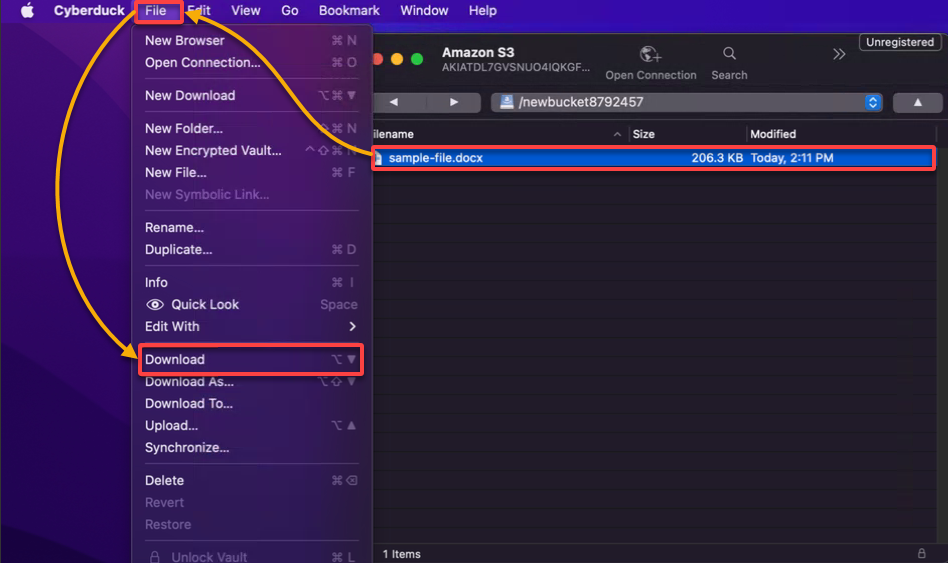
2. Next, locate and select the file that you wish to download, click the File menu, and choose Download to download the file.
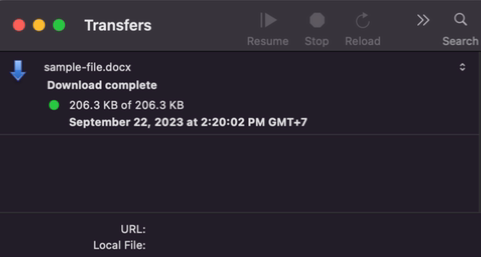
Cyberduck notifies you about the download progress, as shown below.
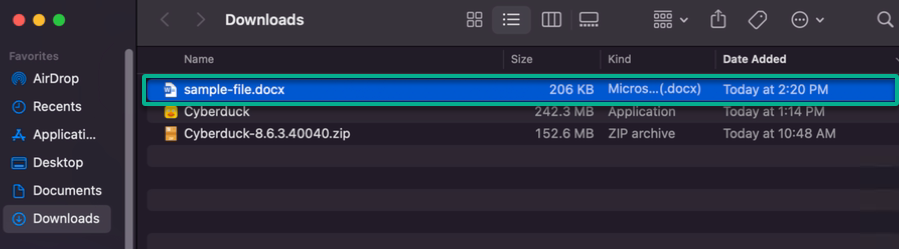
3. Lastly, navigate to your Downloads folder in your file manager to confirm you have successfully downloaded the file from your AWS S3 bucket.
Deleting Files from the AWS S3 Bucket
Besides uploading or downloading your files, Cyberduck also lets you declutter and make space in your bucket. Keeping outdated or unessential files only incurs charges as AWS S3 charges for storage space consumed.
By deleting these files, you reduce storage costs and optimize your budget. This approach becomes particularly significant when dealing with large volumes of data.
💡 Note that when you delete files from AWS S3, they are permanently removed and cannot be recovered. Therefore, exercising caution and ensuring you are deleting the correct files is crucial.
To delete a file from your S3 bucket, follow the steps below:
1. Navigate into your target bucket.

2. Now, select the unwanted files, click the File menu, and choose Delete to initiate deleting the selected files.

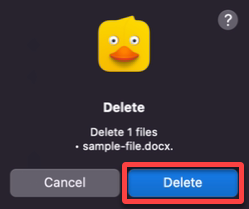
3. Finally, click Delete when prompted to confirm deleting your selected files.
Conclusion
You have just taken a significant leap into seamless S3 storage management by installing the Cyberduck S3 browser for Mac. Through this tutorial, you have mastered creating S3 buckets and deftly navigating the process of uploading, downloading, and even deleting files.
Your digital workspace is now more organized and efficient than ever before! But your journey with Cyberduck and S3 has only just begun.
Why not delve deeper into Cyberduck’s advanced features, like setting up bookmarks for your frequently used S3 buckets? Or even exploring its capabilities for connecting to other cloud storage providers? Cyberduck supports diverse host services like Dropbox, Google Cloud Storage, OneDrive, Azure Storage, and many more.
Keep exploring, experimenting, and, most importantly, harnessing the power of seamless cloud storage for your Mac!


