


Are you looking to supercharge your data storage but need to figure out how? Look no further than Remote Dictionary Server (Redis)! With its lightning speed, ease of use, and scalability, Redis on your Windows machine is an ideal choice for anyone looking to get the most out of their data.
In this tutorial, you will learn how to install Redis on Windows so you can leverage Redis’s capabilities for caching, data storage, and message queueing.
Read on and conquer any data challenge that comes your way with Redis!
Prerequisites
This tutorial comprises a series of practical and insightful demonstrations. To make the most out of this tutorial, ensure you have the following in place:
- A machine running Windows – This tutorial uses Windows 10 64-bit.
- Windows Subsystem for Linux (WSL) installed on your machine.
Installing Redis on Windows via WSL
People often call Redis (an open-source, in-memory data structure) a data structure server. Why? The cool thing about Redis is that it lets you store and play around with all sorts of data structures like strings, lists, sets, hashes, and more.
Redis stores data in memory, culminating in swift read and write operations. This behavior makes Redis suitable for scenarios where low latency and high throughput are crucial.
Before you can harness Redis’ speed and efficiency, you must install it on your machine via WSL or the installer package.
💡 WSL seamlessly integrates Linux tools and software into your Windows environment, allowing you to work with Redis and other Linux-based applications without needing a separate virtual machine.
But in this example, you will install Redis via WSL as follows:
1. Open your Ubuntu terminal on WSL, and run the following apt update command to update the package information in Ubuntu’s repository.
sudo apt update -y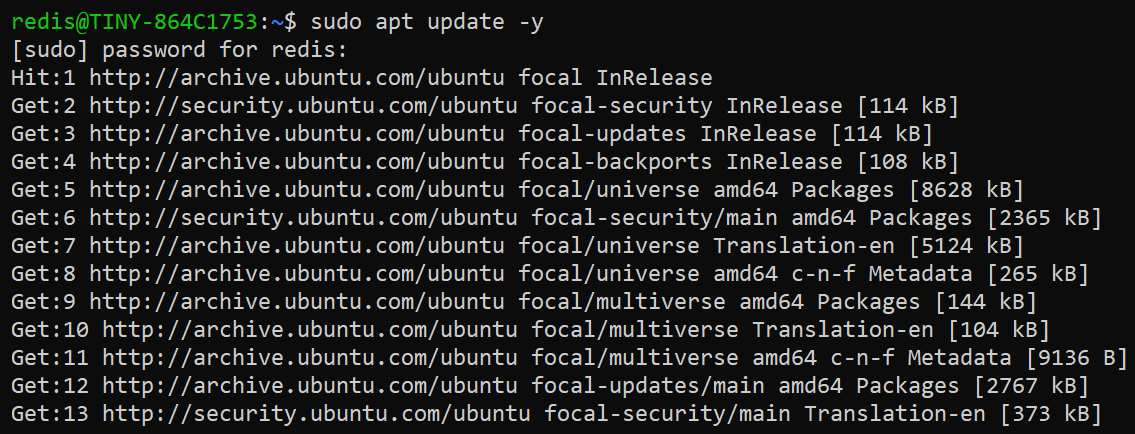
2. Once updated, run the below curl command, which does not produce output but downloads the GNU Privacy Guard (GPG) key and saves it as a binary file on your system.
This GPG key will later be used by apt to verify the authenticity of packages provided by the Redis repository. Doing so ensures you are installing software from a trusted source.
sudo curl -fsSL https://packages.redis.io/gpg | sudo gpg --dearmor -o /usr/share/keyrings/redis-archive-keyring.gpg3. Next, execute the echo command below to create a repository configuration for Redis and save it in a file named redis.list within the sources.list.d directory.
This repository configuration is where the apt package manager locates and installs Redis packages.
sudo echo "deb [signed-by=/usr/share/keyrings/redis-archive-keyring.gpg] https://packages.redis.io/deb $(lsb_release -cs) main" | sudo tee /etc/apt/sources.list.d/redis.list
4. Rerun the below command to refresh the local package lists with all configured repositories.
sudo apt update -y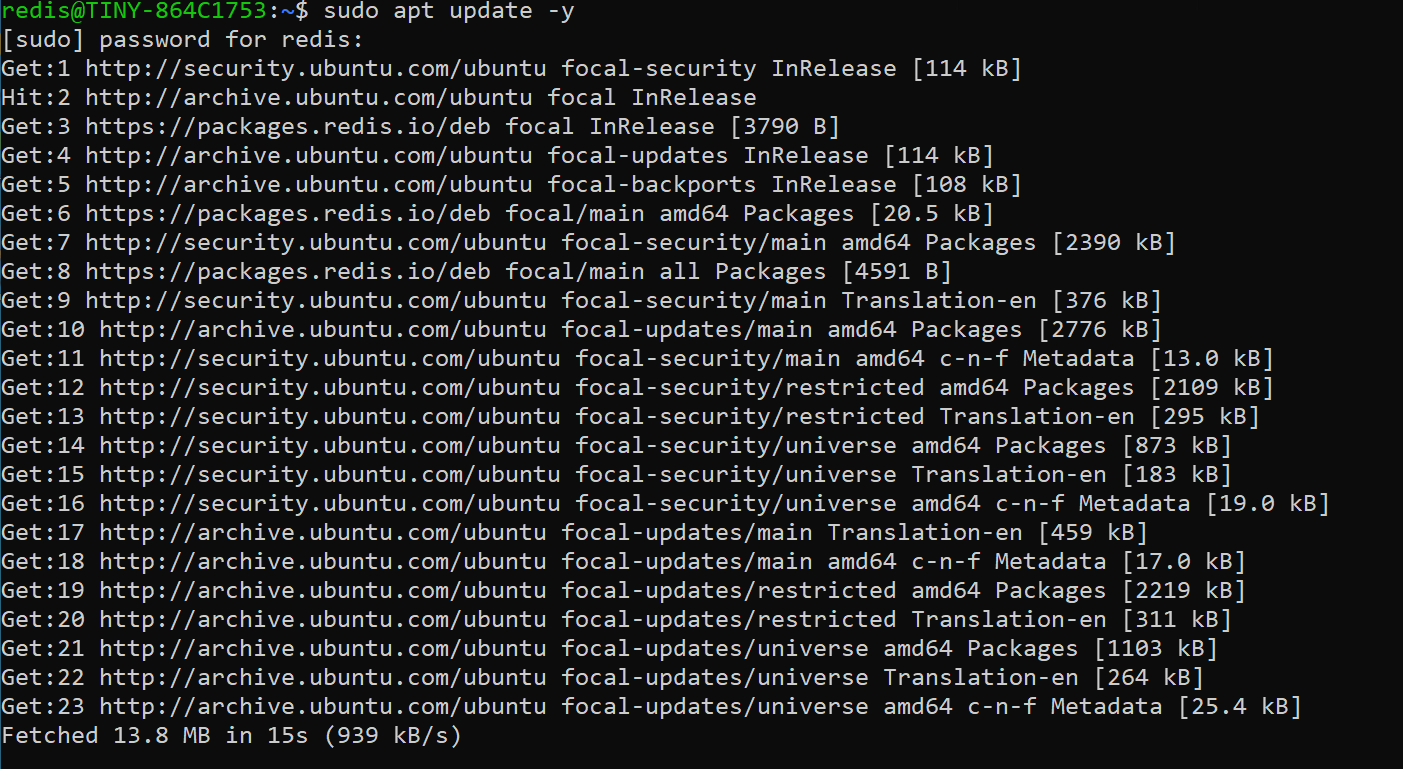
5. After the update, run the following apt-cache command to display the installation candidate versions of the Redis package available from the configured repositories.
sudo apt-cache policy redis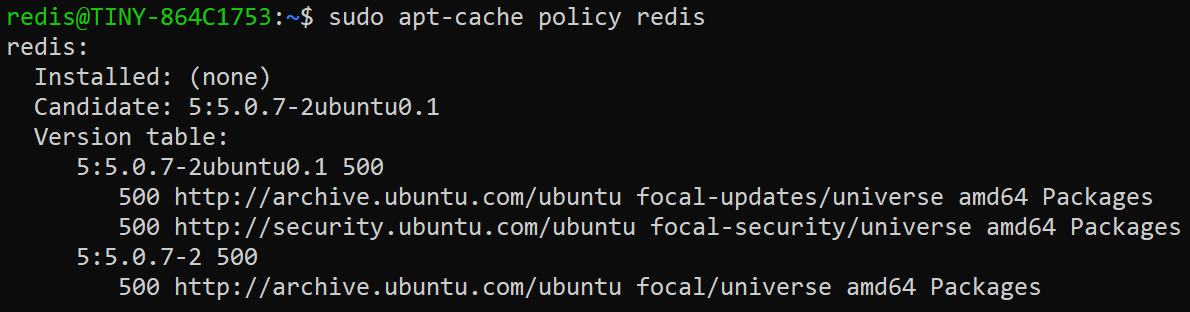
6. Finally, run the below command to install redis.
sudo apt install redis -y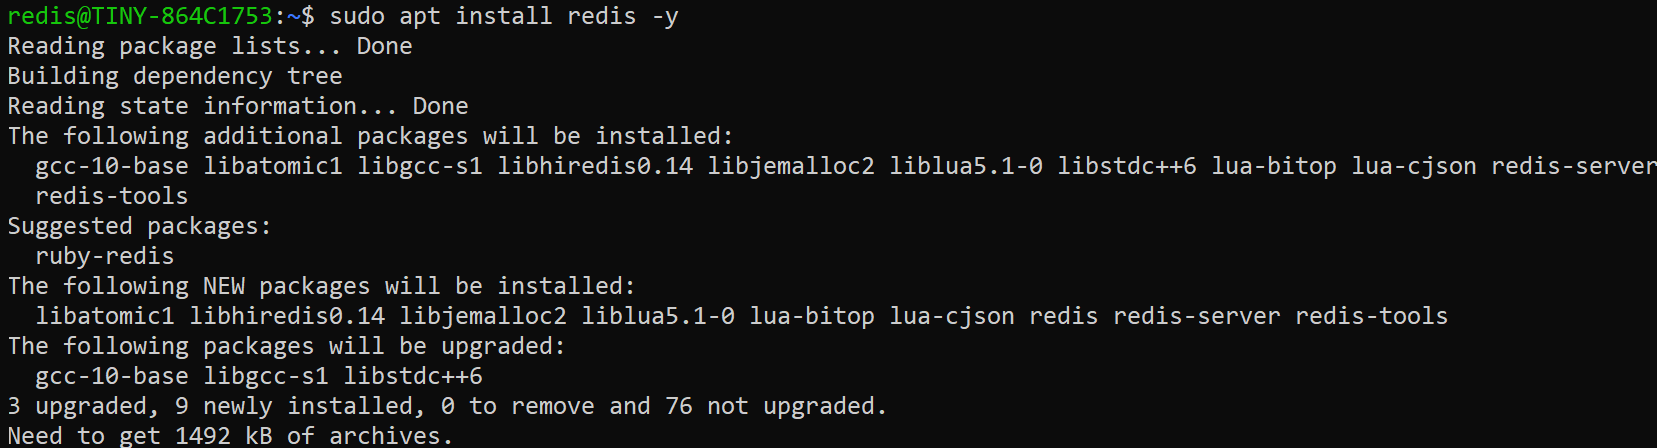
7. Lastly, execute the below command to start the redis service.
sudo service start redis
Installing Redis on Windows via The Installer Package
Are you not in the mood for jumping to WSL and having to memorize commands to install Redis on your Windows machine? No worries, as Redis offers an installer package! This installer package lets you install Redis with a graphical interface, simplifying the installation process.
The installer package simplifies the installation process by providing an executable installer that handles all the necessary configurations and dependencies. An installer package like this is beneficial for users who are unfamiliar with Linux systems.
To install Redis on your Windows machine via the installer package:
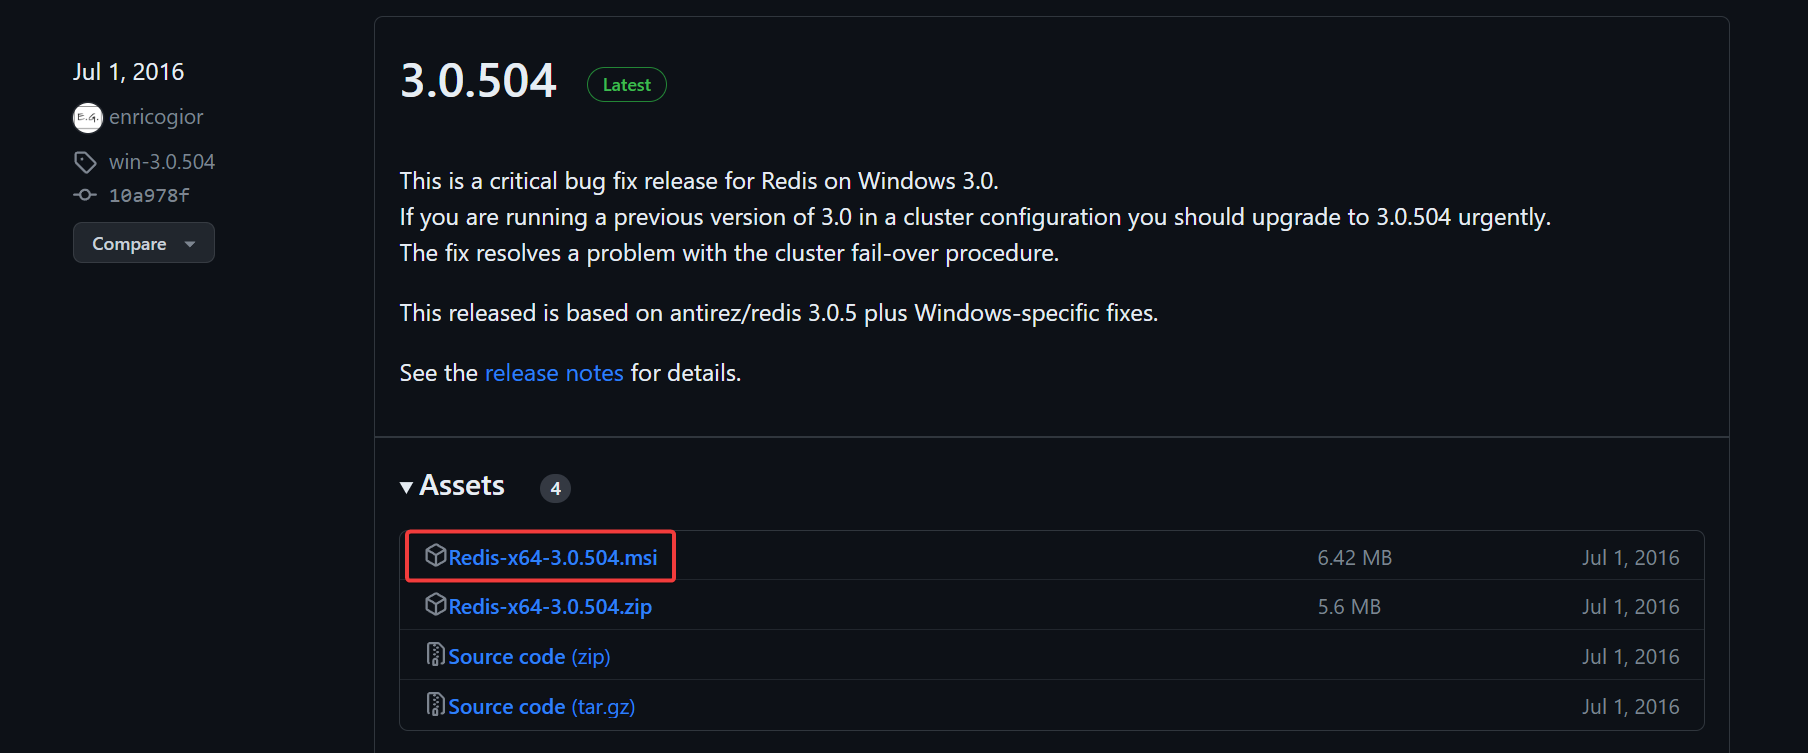
1. Open your favorite web browser and navigate to the official GitHub Redis release page.
2. Next, click the latest MSI version under the Asset section to download the executable file named Redis-x64-3.0.504.msi.
This version is a port of the original Redis. A port is a version of an application adapted to work with a different operating system or platform.
In this case, the port of Redis has been adapted and modified to work with Windows.
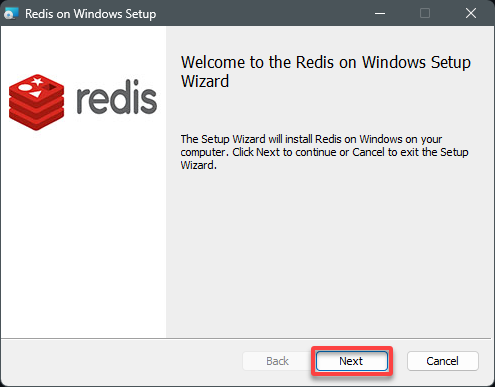
3. Once downloaded, double-click the executable, which brings up the Redis on Windows Setup wizard (step four).
4. Now, click Next on the welcome page to continue.
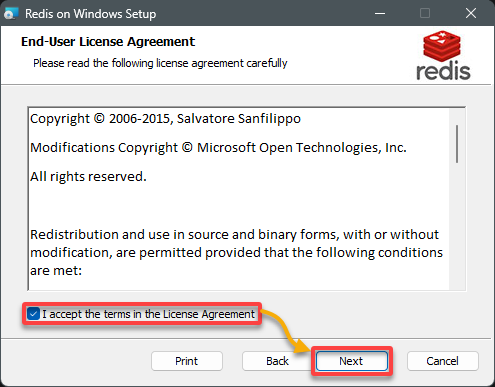
5. Tick the checkbox at the bottom to accept the license agreement and click Next.
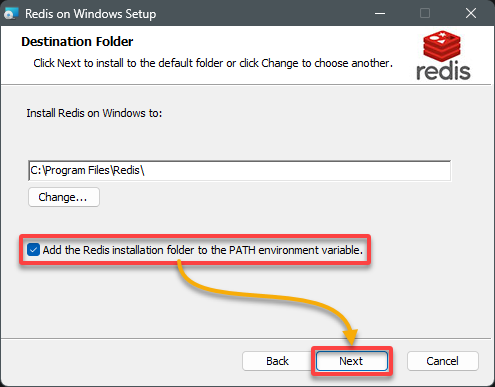
6. Leave the default installation folder as is, but tick Add the installation folder to the PATH environment variable, and click Next.
This feature allows you to run Redis commands from any directory in the command prompt (CMD) or PowerShell, regardless of the current working directory.
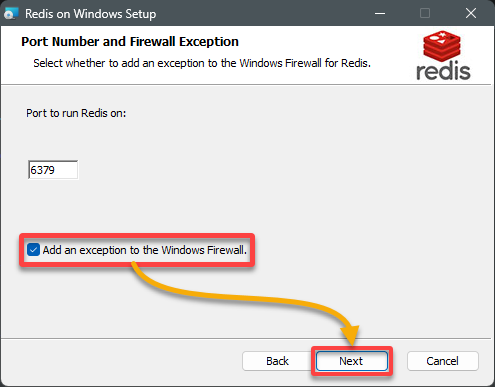
7. Keep the default port number (6379), tick the Add an exception to the Windows Firewall checkbox, and click Next.
This configuration adds an exception to the Windows firewall so that the Redis server can accept incoming connections through port 6379.
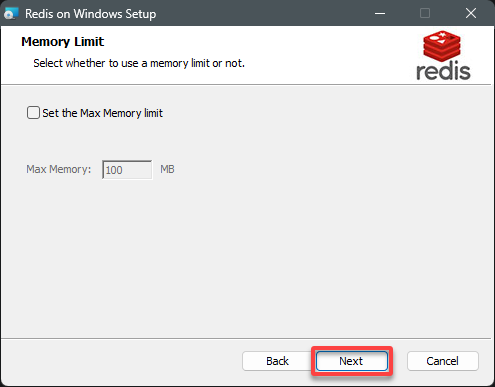
8. On the next screen, keep the setting as is since you do not need to set the memory limit at this stage, and click Next
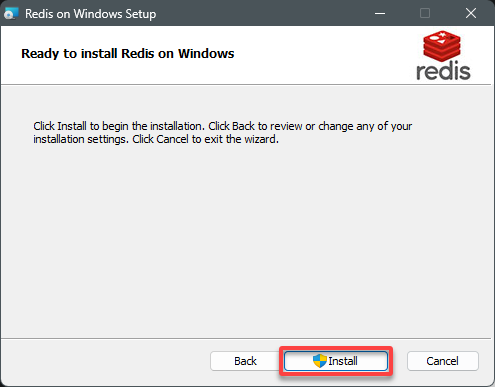
9. Click Install to begin the installation process.
10. Ultimately, click Finish once the installation completes to close the wizard.

Testing Your Redis Installation
With Redis successfully installed on your Windows machine, the action is to test if the installation works. While there are many ways to test the installation, the quickest way is to send a ping command and hope to get a PONG response.
To test your Redis installation, follow the steps below:
1. Execute either of the below commands (on your terminal or PowerShell as administrator) depending on which method you used to install Redis.
These commands launch the Redis Command Line Interface (CLI), which provides an interactive way to communicate with your Redis server.
# If you installed Redis via WSL
redis-cli
# If you installed Redis via the package manager
redis-cli.exe
If successful, your prompt changes to something like the ones below.


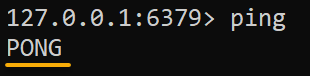
2. In the Redis CLI prompt, run the ping command to initiate the communication with your Redis server.
pingIf your Redis server is live and reachable, it responds to the ping command with a PONG response, as shown below.
3. Next, execute the following command to set keys in your Redis server.
Setting keys in your Redis server lets you harness its capabilities for efficient data storage, retrieval, caching, and various data processing tasks
set test "Redis is working!"Once keys are set, you will see a response that says OK, like the one below.

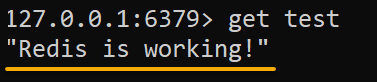
4. Now, run the below get command to retrieve the value associated with the key (test) you set in step three.
get testAssuming things go smoothly, the key’s associated value is printed in the response.
5. Finally, run the below command to exit the Redis CLI prompt.
Congratulations! You can now use Redis’s powerful features and benefits within your Windows environment.
exit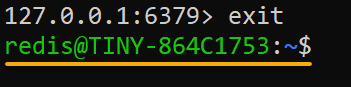
Conclusion
Throughout this tutorial, you have learned to install and test your Redis installation on Windows. Embracing new technologies can be daunting, but you have taken a significant step toward harnessing the power of Redis for your projects.
You now have a gateway to lightning-fast data management at your fingertips! With its unmatched speed, scalability, and efficiency, Redis is your go-to solution for maximizing data utilization.
But why not further explore Redis’s advanced capabilities? Perhaps learn how to manage a dynamic Redis list or a Redis sorted set? Start integrating Redis into your future projects and elevate your software to new heights!


