

The PowerShell Gallery is the ultimate destination for all your PowerShell needs, whether you are a beginner or an experienced user. And the good news is there is a vast collection of documentation, scripts, modules, and other resources created by the PowerShell community.
In this tutorial, you will learn to find, download, and install resources from the PowerShell Gallery.
Stay tuned and elevate your scripting game today!
Prerequisites
This tutorial will be a hands-on demonstration. To follow along, be sure you have a system with PowerShell 5.1 or later installed. This tutorial uses Windows 10 with PowerShell 5.3 installed, but other versions of Windows and PowerShell should also work.
Installing the .NET Framework
Before diving into the PowerShell Gallery, you first need a way to interact with the PowerShell Gallery, and .NET Framework is the primary way.
You must first install the .NET Framework, which is crucial for the PowerShellGet module. The PowerShellGet module requires at least .NET Framework v4.5+. The PowerShellGet module lets you discover, install, update and publish PowerShell artifacts.
But in this tutorial, you will install the .NET Framework v4.8.
💡 Note that the .NET Framework v4.8 may already be installed on your system. If so, you can skip this step. But if you have an older version of the .NET Framework, uninstall it and upgrade to a newer version.
To install the .NET Framework, follow these steps:
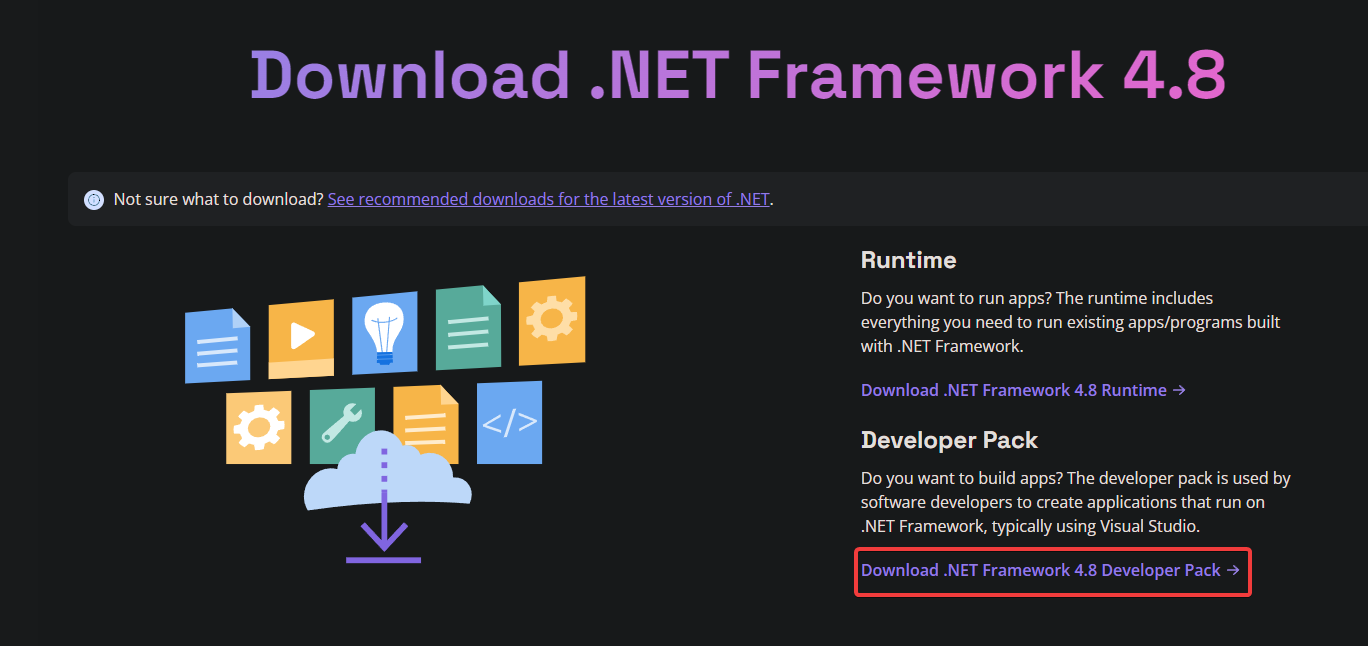
1. Open your favorite web browser, and navigate to the official .NET Framework download page.
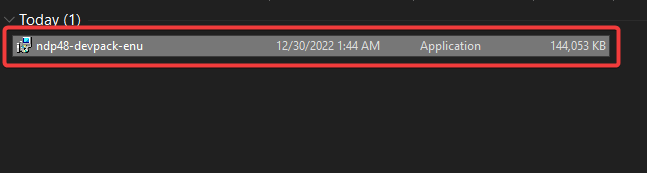
2. Next, click the Download .NET Framework 4.8 Developer Pack link to download a file similar to ndp48-devpack-enu. This file is the installer package for NET Framework version 4.8.
3. Wait for the download to complete, and double-click the downloaded file to launch the .NET Framework installer.
💡 If you are having trouble installing the .NET Framework, try running the installation file in [compatibility mode]
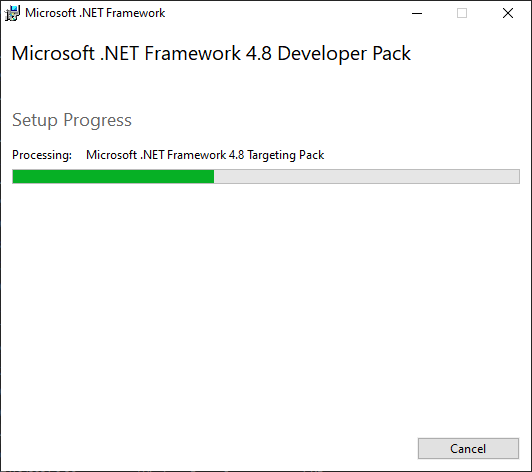
4. Tick the checkbox at the bottom to accept the license terms, and click the Install button to install .NET Framework 4.8.
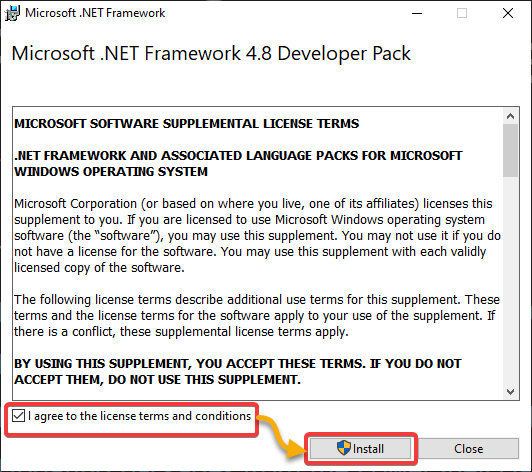
Below, you can see the installation progress, which may take a few minutes, depending on your system’s configuration.
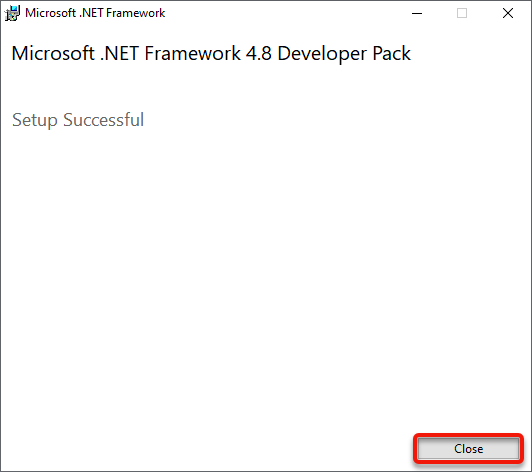
5. Now, click the Close button to close the installer once the installation is complete.
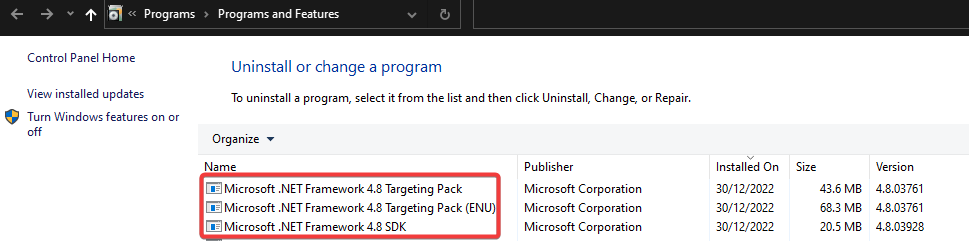
6. Lastly, open PowerShell as an administrator and run the following [Start-Process] command to open the Add or Remove Programs app (appwiz.cpl). This app lets you view a list of installed programs on your system.
Start-Process "appwiz.cpl”You will see entries for the .NET Framework 4.8 in the list of installed programs, as shown below.
Installing the PowerShellGet Module
With the .NET Framework installed and running, you can now install the core component of the PowerShell Gallery, the PowerShellGet module.
The PowerShellGet version (1.0.0.1) preinstalled with Windows Power Shell 5.1 has limited features. If you are using Windows PowerShell 5.1 or older, consider using the updated capabilities of the PowerShell Gallery. The latest version is 3.0.17-beta17 at this time of writing.
To install the PowerShellGet module, follow the steps below:
1. Run the following command, which does not produce output, but enables Transport Layer Security (TLS) 1.2 in your PowerShell session. TLS is a security protocol that encrypts data transmitted over the internet.
Enabling TLS 1.2 is crucial since PowerShell is not configured to use TLS 1.2 by default. This command sets the SecurityProtocol for the System.Net.ServicePointManager object to TLS 1.2 (Tls12). In turn, you get access to the PowerShell Gallery using TLS 1.2 or higher.
[Net.ServicePointManager]::SecurityProtocol = [Net.ServicePointManager]::SecurityProtocol -bor [Net.SecurityProtocolType]::Tls12💡 Note that this change only applies to the current PowerShell session. But you can configure PowerShell to always use TLS 1.2 by adding the above command to your PowerShell profile.
Next, run the Install-PackageProvider command below to install the NuGet package provider. The NuGet package provider allows you to install and manage packages from the NuGet package repository. This repository is a central repository of open-source packages for the .NET platform.
The NuGet package provider is required before using the [Install-Module] cmdlet to install modules from the PowerShell Gallery. Why? Many of the modules in the PowerShell Gallery are distributed as NuGet packages.
Install-PackageProvider -Name NuGet -Force
Once installed, you can now take advantage of the NuGet API. The NuGet API lets you access the NuGet package repository to create tools and applications that can interact with the NuGet package repository. Interact how? Perform various tasks, such as searching for, installing, and updating packages.
Generally, there are two versions of the NuGet API, which you can use depending on your requirements and the capabilities of your client and server.
| Version | Description | Usage |
| v2 | Uses XML as the data format for communication between the client and server. This version is based on the original NuGet API introduced in 2011 and is the legacy version of the API. | The v2 API is recommended if you use an older version of NuGet or a client or server that does not support the v3 API. This version is supported by all versions of NuGet and is compatible with older clients and servers. |
| v3 | Uses JSON as the data format for communication between the client and server. This version was introduced in 2013 as an improvement over the v2 API and included many new features and improvements. Many new features included are support for side-by-side package installation, improved search capabilities, and large package support. | The v3 API is recommended if you use a newer NuGet version. The v3 API is faster and more efficient than the v2 API. This version is not supported by older versions of NuGet and may not be compatible with older clients and servers. |
💡 In general, the NuGet API v3 is recommended as it provides the most up-to-date features and capabilities.
3. Run the below Set-PSRepository command, which does not provide output, but sets your PowerShell Gallery (PSGallery) repository as a trusted package source. Doing so allows you to install modules from the PowerShell Gallery.
Set-PSRepository -Name PSGallery -InstallationPolicy Trusted -ErrorAction Stop4. Now, run the Install-Module command below to install the latest version (-AllowPrerelease) of the PowerShellGet module.
Install-Module -Name PowerShellGet -AllowPrerelease -Force
5. Finally, run the Get-InstalledModule command below to verify that the PowerShellGet module has been successfully installed.
Get-InstalledModule PowerShellGetYou will see the PowerShellGet module listed, as shown below, with the PSGallery as the repository if successfully installed.

Discovering Modules from the PowerShell Gallery
Now that you have installed the PowerShellGet module, you can search for and install modules from the PowerShell Gallery. Doing so allows you to expand the capabilities of your PowerShell environment and automate complex tasks more efficiently.
To search for a module in the PowerShell Gallery, you can use the Find-Module cmdlet. This cmdlet searches the PowerShell Gallery for modules that match specified search criteria, such as the module name, version, or tag.
1. Run the Find-Module command below to search the PowerShell Gallery for modules with names that match AzureRM.
Find-Module -Name AzureRMThe output below indicates only one module matching the name AzureRM in the PowerShell Gallery. You can also see basic information about each module, such as its name, version, repository, etc.

2. Next, run either of the below commands to search for modules using a -Tag with the keyword Azure. The -Tag parameter is case-insensitive, so you can use azure or Azure as the tag keyword.
Why use tags for a module? A tag is a keyword or label associated with a module, describing its content and functionality in the PowerShell Gallery.
For example, if a module is related to the Azure cloud platform, you can tag the Azure keyword. Doing so allows users interested in Azure-related resources to easily find and discover the module by searching for the Azure tag.
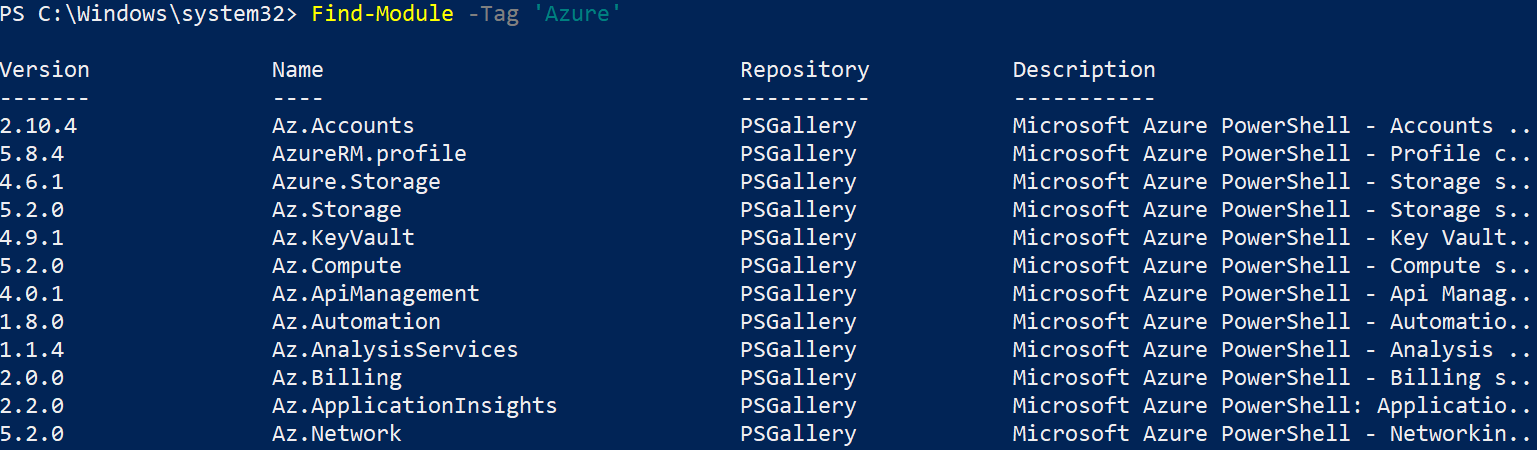
Find-Module -Tag 'Azure'
Find-Module -Tag 'azure'
PowerShell Gallery is an extensive repository of resources contributed by a wide range of authors, and there are many modules related to popular keywords like Azure.
As a result, you will see a long list of modules that match your keyword or tag, as in the following screenshots.
💡 You can also use tags to group related modules and make finding related resources quicker. For example, use the tag
Virtualizationto group modules related to virtualization technologies, such as Hyper-V or VMware.
3. Now, run the following command to narrow your search and find a specific module by combining the parameters in the Find-Module cmdlet.
The command below finds a module from the PowerShell Gallery considering the following parameters:
-Name– Search for modules with a specific nameAz.Compute.
-Tag– Search for modules with tagsAzure, andMicrosoft.
Find-Module -Name 'Az.Compute' -Tag 'Azure', 'Microsoft’
Installing and Updating Modules
Once you have found a module you are interested in using, installing that module is only a few keystrokes away. You can use the Install-Module cmdlet to download modules from the PowerShell Gallery and install them on your local system.
1. Run the below command to download and install the Az.Compute module from the PowerShell Gallery.
If successful, this command does not produce output, but you will verify the installation in the following step.
Install-Module -Name 'Az.Compute'2. Next, run the following Get-InstalledModule command to verify the Az.Compute module has been installed in your system.
Get-InstalledModule -Name 'Az.Compute'
💡 Alternatively, run the
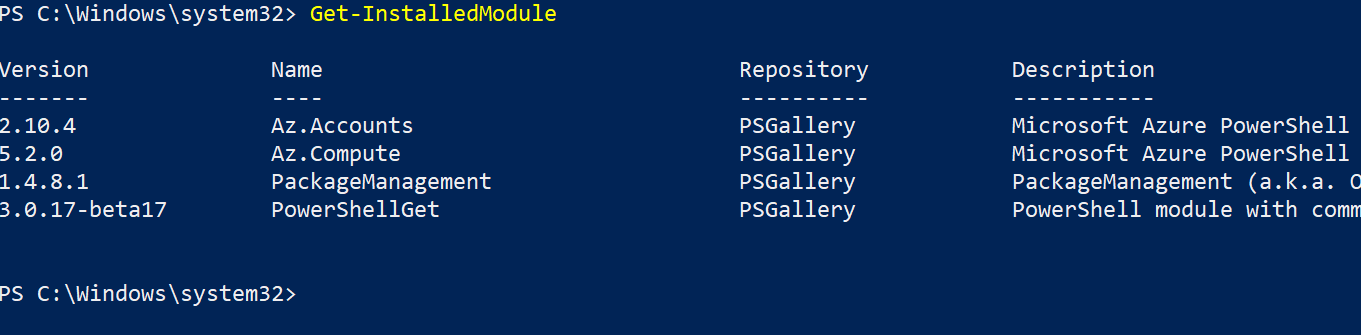
Get-InstalledModulecmdlet without parameters to display a list of all installed modules on your system. But beware, you may hurt your eyes as you scroll through the list if too many modules are installed.
3. Now, run the below Update-Module command, which does not provide output but searches for the latest version of a specific module (i.e., Az.Compute) and updates it.
Updating installed modules may include bug fixes, new features, or other improvements.
Update-Module -Name Az.ComputeUninstalling PowerShell Modules
There are times you may want to remove a module from your system. For example, if you no longer need a module or it is problematic.
To uninstall a module from your system, you can use the Uninstall-Module cmdlet. This cmdlet removes a module and all its files from your system, effectively uninstalling it.
💡 Make sure you carefully consider the implications of uninstalling a module before proceeding. Uninstalling a module may have unintended consequences, such as breaking other programs or scripts that depend on the module.
Run the following Uninstall-Module command to uninstall a specific module (Az.Compute) from your system. This command does not produce output if the uninstallation is successful.
Uninstall-Module -Name Az.Compute💡 If other programs or scripts are currently using the module, the
Uninstall-Modulecmdlet will throw an error, and the uninstallation fails.
Conclusion
PowerShell modules are powerful tools that allow you to add functionality to your PowerShell environment quickly. And in this tutorial, together with the PowerShell Gallery, you can discover and install modules with a few commands.
Take advantage of the PowerShell Gallery, and look for PowerShell modules to customize and empower your PowerShell scripts and workflows today!


