


As a manager of an API, it’s essential to know how to install Postman so you can easily access and work with your organization’s data. This tutorial will teach you the different Postman install methods on Windows and Linux systems.
Prerequisites
This tutorial will be a hands-on demonstration. If you’d like to follow along, ensure you have the following.
- You must have a Windows or Linux computer with a desktop environment since Postman is a GUI application. This tutorial will demonstrate with Windows 10 and Ubuntu 20.04.
- Your user account must have administrator privileges.
- This guide assumes that you have already logged on to your computer.
Performing the Postman Install on Linux
Note: The succeeding steps run the terminal commands as the root user. If you did not log in as the root user, prefix your commands with sudo.
Postman is available as a Snap, a self-contained package, which means the package contains every binary and dependency to make Postman work. The command to install Snaps, which is snap, comes with the most recent Linux distros like Ubuntu.
Using Snap is the easiest way to install Postman on your Linux system. But, the version of Postman available through Snap is usually a few releases behind the current version. If you prefer to install the latest release instead, skip this section and follow the instructions in the next section.
Installing Snap
If your Linux distro does not have Snap installed yet, follow these steps to install the snapd package first.
Note: Installing the snapd package also installs the snap command. You do not need to install them separately.
1. Open a terminal window on your computer.
2. Run the below command to update the local package index cache. This command ensures that your computer knows where to find the latest packages.
apt update3. Next, run the below command to update the package cache and install snapd.
apt install snapd -y4. Lastly, confirm that you’ve successfully installed snapd by checking its version. To do so, execute the below command.
snap --versionAs you can see below, the latest snap and snapd versions are 2.56 as of this writing.

Postman Install Using Snap
To install the latest stable release of Postman from the Snap store, run the below command. This command downloads and installs Postman and all required dependencies.
snap install postman
Once you’ve completed the installation, you will see the confirmation message similar to the screenshot below. As you can see, the latest stable version of Postman from Snap is v9.

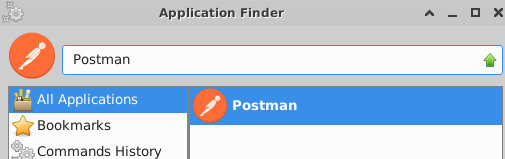
Now, press the super key on your keyboard, type in Postman in the Application Finder, and click Postman in the results to launch the application.
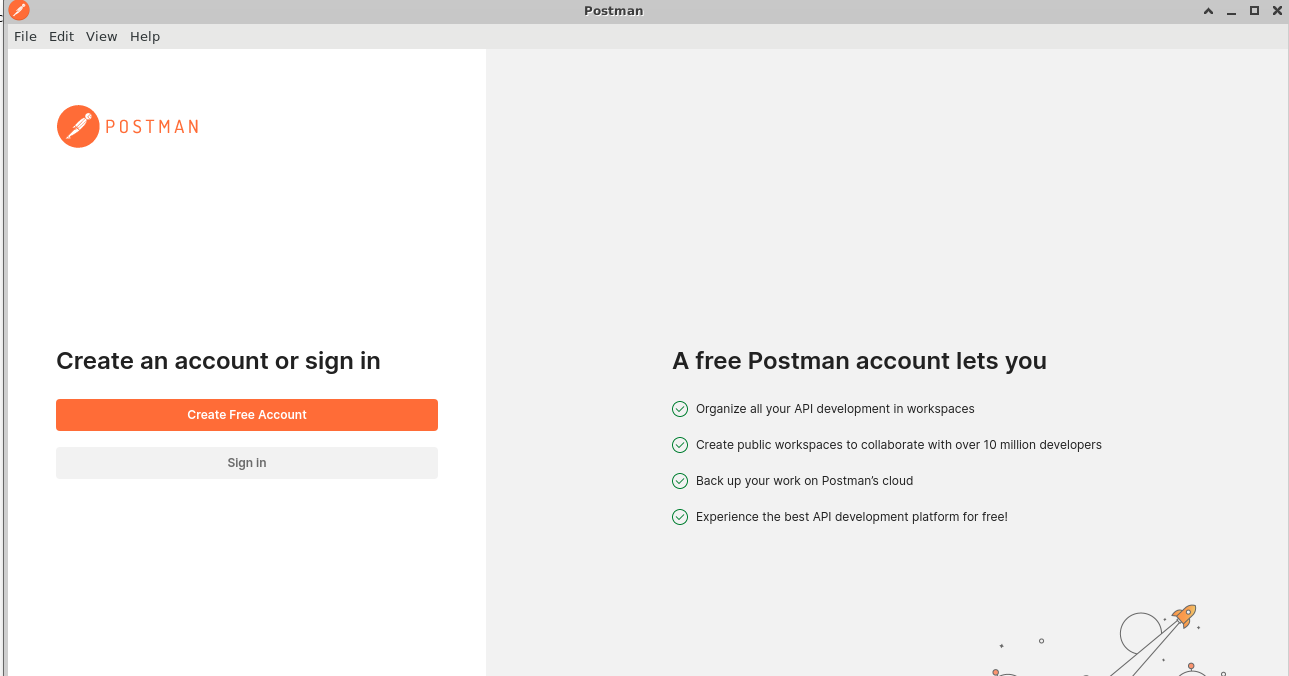
The Postman application window should appear, the same as the screenshot below.
Postman Install Using the Official Debian Package
If your Linux distribution doesn’t support Snap or you prefer to install the latest release of Postman, you must download the official Debian package from the Postman website.
The official Debian package is always up-to-date with the latest release of Postman. To install Postman using the official Debian package, follow the steps below.
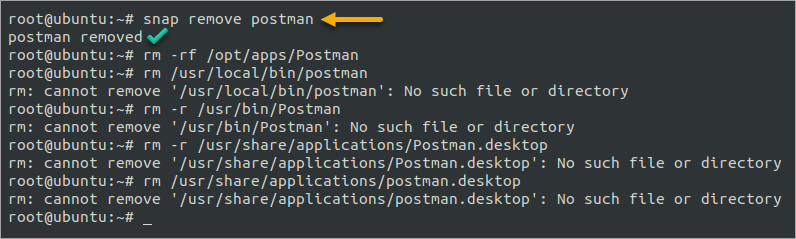
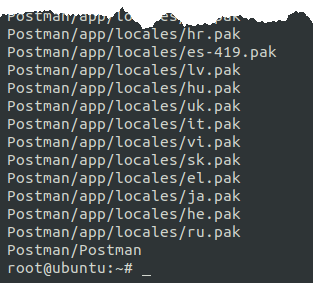
1. If you previously installed the Snap version of Postman, you must first uninstall it before installing Postman from the Debian package. If so, run the below commands to uninstall the Postman Snap package and perform a cleanup of possible leftover files.
If you did not previously install Postman using Snap, skip this step.
snap remove postman
rm -rf /opt/apps/Postman
rm /usr/local/bin/postman
rm -r /usr/bin/Postman
rm -r /usr/share/applications/Postman.desktop
rm /usr/share/applications/postman.desktop
You may see errors saying that ‘cannot remove <filepath>’: No such file or directory. You can safely ignore those errors, and they are non-issue.
2. Run the wget command below to download the latest stable release of Postman from the official website. This command downloads the Postman tarball file linux64 to your current working directory.
wget https://dl.pstmn.io/download/latest/linux64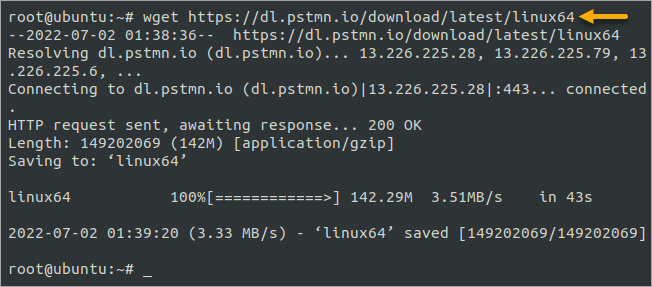
3. Run the tar command below to extract the linux64 file to the /usr/bin directory.
tar -xvf linux64 -C /usr/binWait for the extraction to finish.
4. Next, add the Postman directory to your system PATH. This command will enable you to launch Postman from any location on your Linux system by typing in Postman in the terminal.
The >> redirect character appends the output of the echo command to the .bashrc file.
# Add Postman to the environment variables
echo 'export PATH="$PATH:/usr/bin/Postman"' >> ~/.bashrc
# Reload the environment variables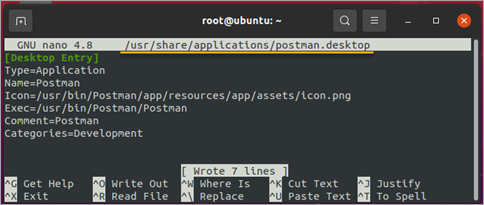
source ~/.bashrc5. Since this Postman install method does not automatically create a shortcut, you must manually create one. To do so, create a file called /usr/share/applications/postman.desktop and open it in your preferred text editor. In this example, you’re using nano.
This step is optional. Skip this step if you don’t need to create an application shortcut.
nano /usr/share/applications/postman.desktopOnce you’ve opened the file, copy/paste the below code to the editor.
[Desktop Entry]
Type=Application
Name=Postman
Icon=/usr/bin/Postman/app/resources/app/assets/icon.png
Exec=/usr/bin/Postman/Postman
Comment=Postman
Categories=Development
Save the file and exit the editor. The file contents should resemble the below image.
6. Finally, run Postman by executing the Postman command on the terminal or clicking the Postman shortcut icon.
Postman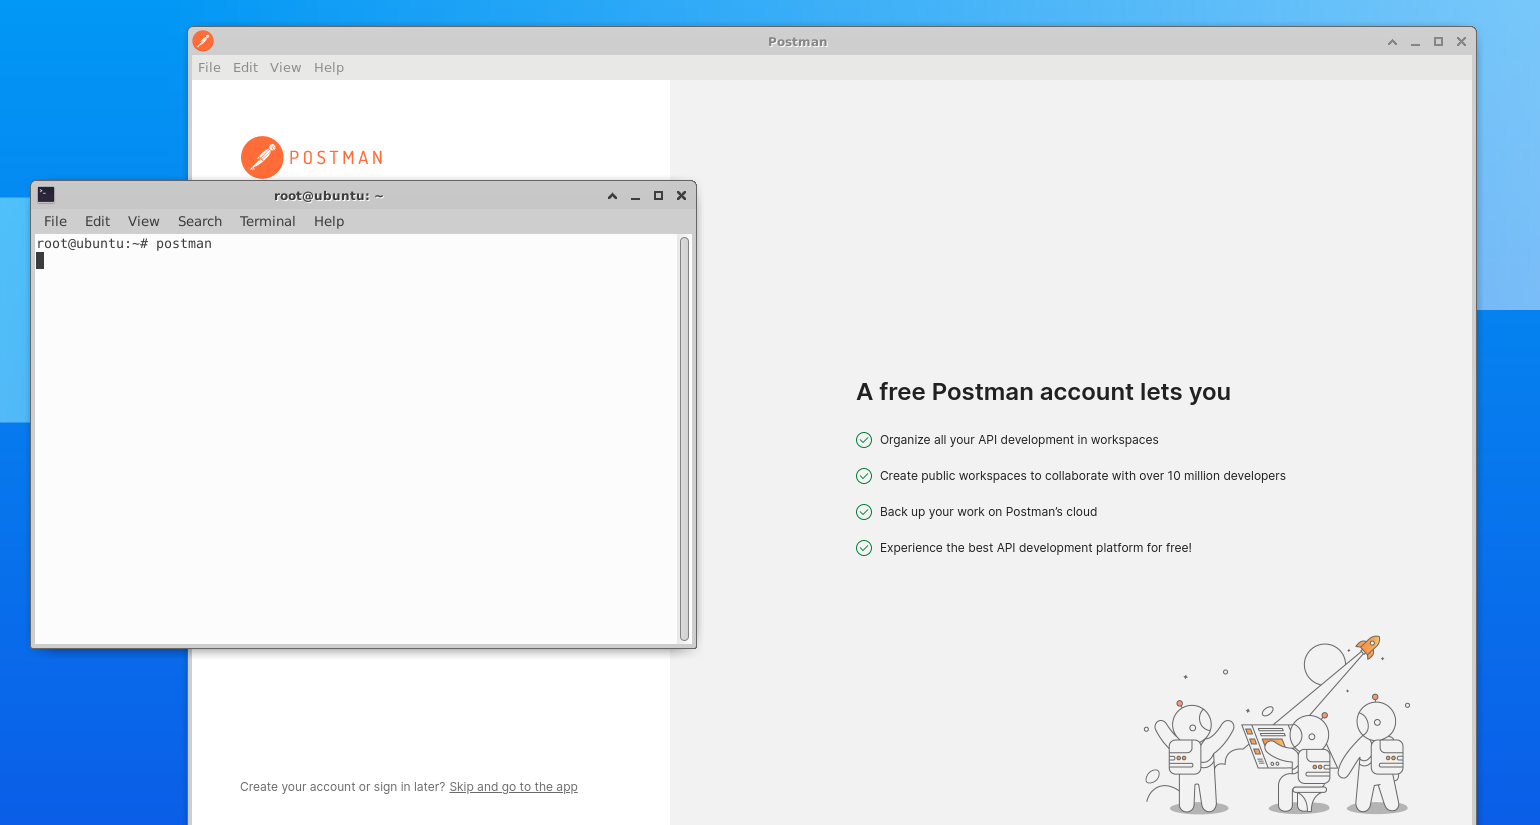
Performing the Postman Install on Windows
So far, you have seen how to install Postman on Ubuntu and other Linux distributions that support Snap. In this section, you will learn how to install Postman on Windows.
To install Postman on Windows, follow the steps below.
1. Open an elevated PowerShell session.
2. Run the below command to download the Postman installer.
Invoke-WebRequest `
-Uri 'https://dl.pstmn.io/download/latest/win64' `
-OutFile 'postman-install.exe'
Wait for the download to complete.

3. After downloading, invoke the installer by executing its filename.
.\postman-install.exeNote: The Postman installation is non-interactive. There are no prompts or dialog boxes.
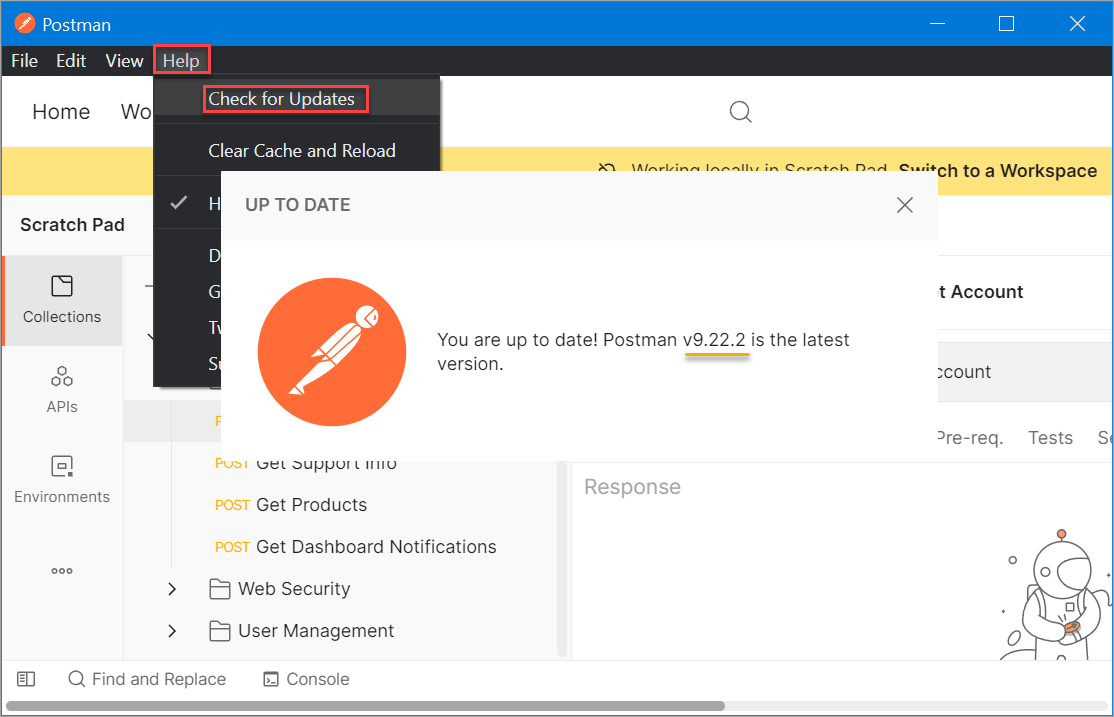
The Postman application automatically launches after the installation. As you can see below, the latest version as of this writing is v9.22.2.
Creating a Postman Account and Signing In
You’ve installed Postman. Excellent! You can now start using the application. The good thing is that there’s no disparity between the Postman application interface between Windows and Linux.
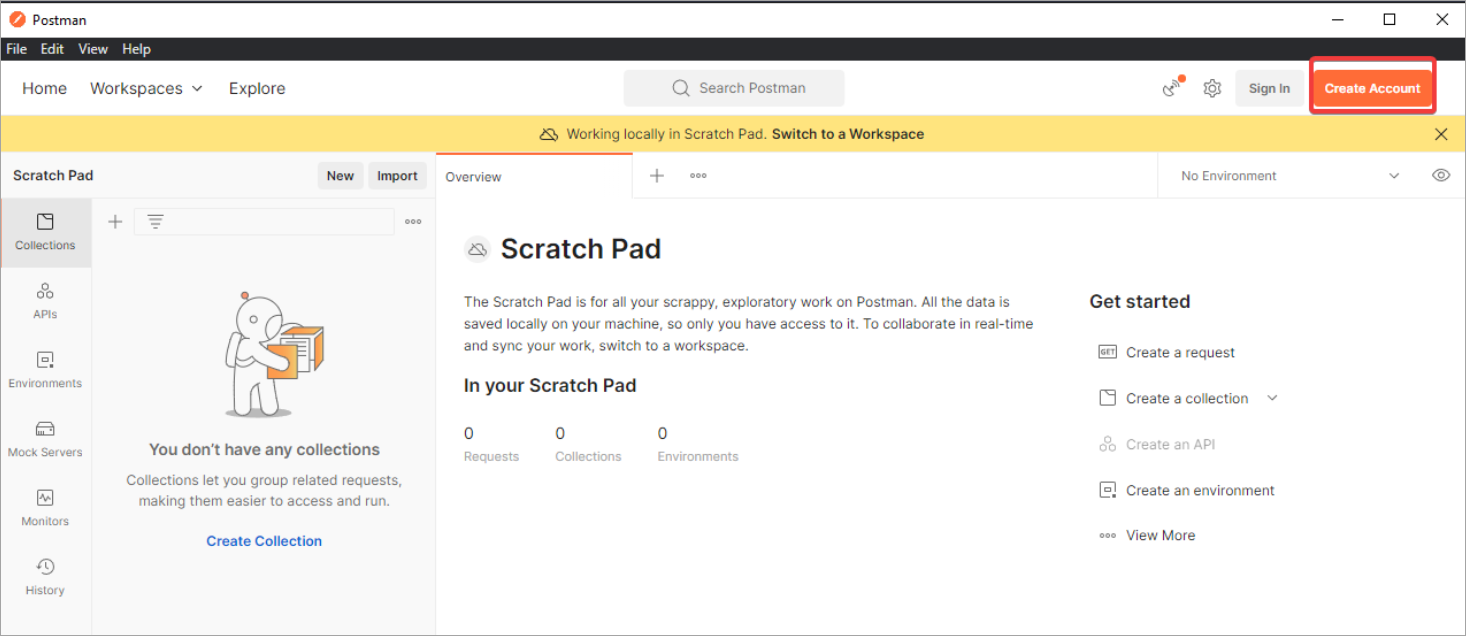
Postman prompts you to Sign In or Create a new account as a first-time user. Assuming you don’t have a Postman account yet, follow these steps to create one.
1. Click Create Account and the app redirects you to the Postman website on your browser, where you can create your account.
2. Enter your current email address, new Postman username, and password, and click the Create free account button.

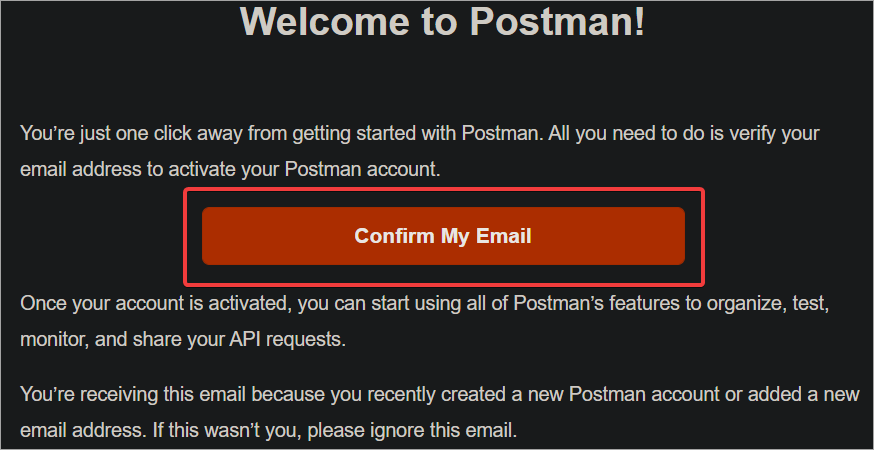
3. Open your inbox and click on the verification link sent by Postman to verify your email address before you can log in to your account.
Creating Your First Workspace
Now that you’ve logged in to your Postman account, you’re ready to create your first workspace.
A workspace is a collaborative environment where team members can share collections, mock servers, environments, and monitors. You can also add comments to let others know what you are working on. A workspace is a single truth source for your API collaboration and other linked activities.
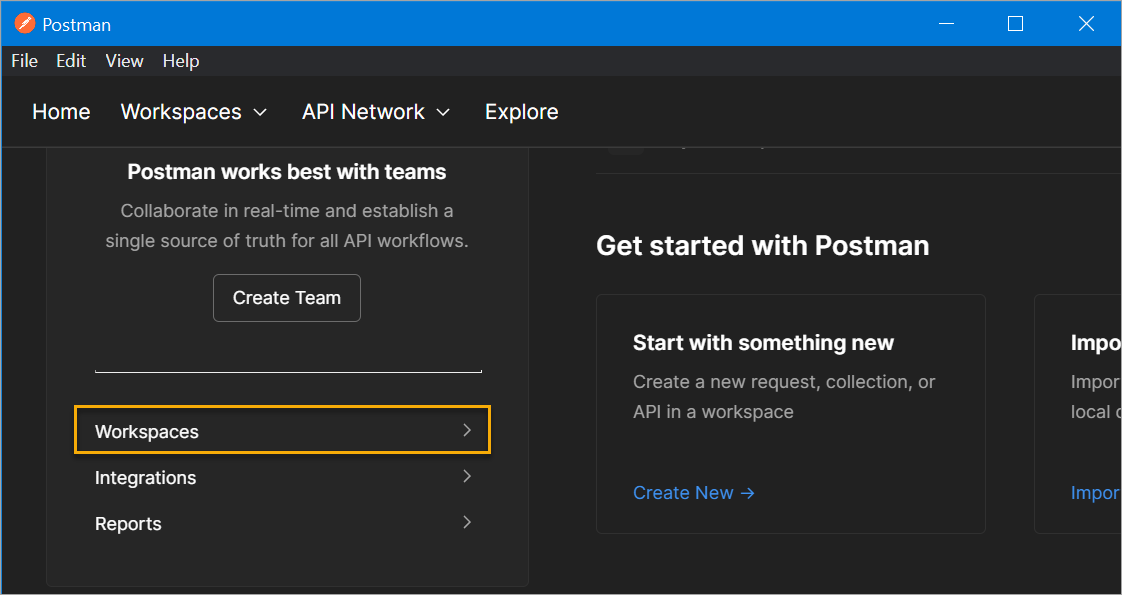
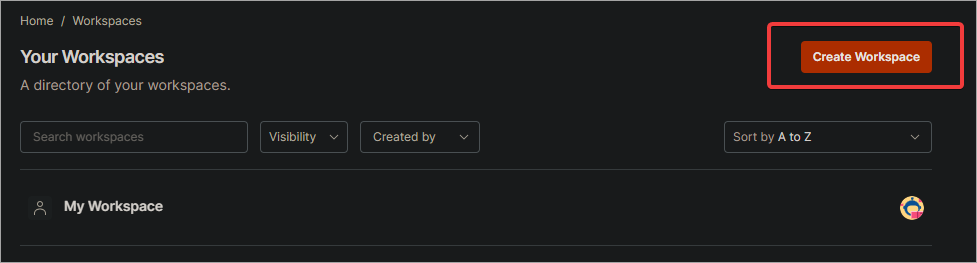
1. Click on Workspace to expand the sidebar and see all your workspaces.
2. By default, you will have a My Workspace, which Postman automatically creates when you sign up for a Postman account.
You can stick with the default workspace if you are working on an individual project. But creating a new workspace is more appropriate if you are collaborating with a team. You can create as many workspaces as you want and invite your team members to collaborate.
Click Create Workspace at the top to create a new workspace.
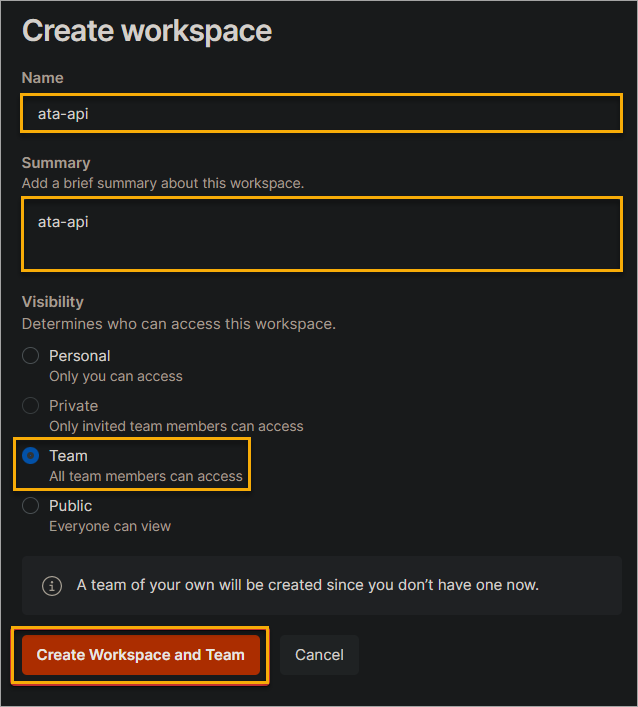
3. On Create workspace form, enter the workspace Name, Summary, and choose the Visibility type. The visibility options include:
- Personal – Only you can access the workspace.
- Private – The team members you invite can access the workspace.
- Team – All team members can access the workspace.
- Public – Anyone can access the workspace.
This example selects the default visibility type, which is Team. After providing the required information, click the Create Workspace and Team button.
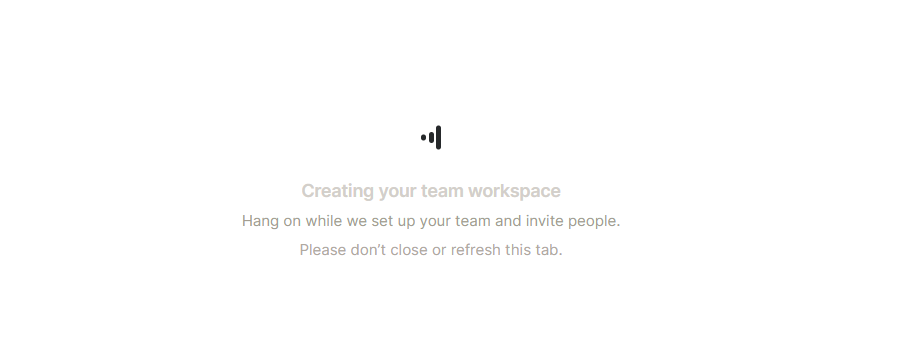
Wait for the process to complete.
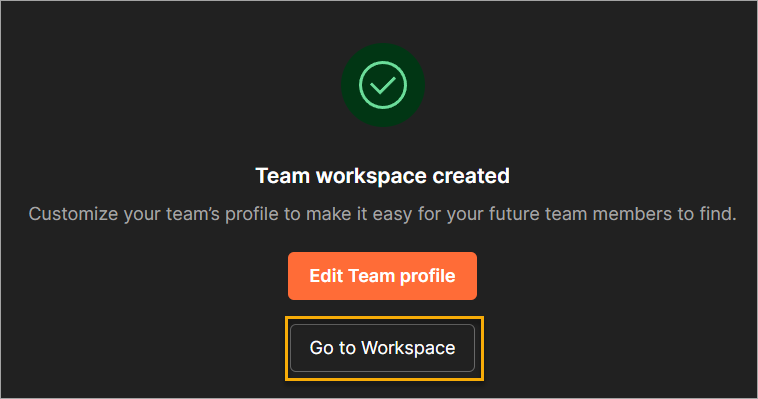
4. After creating the workspace, you’ll see a confirmation message, as shown below. Click the Go to Workspace button to open the new workspace you created.
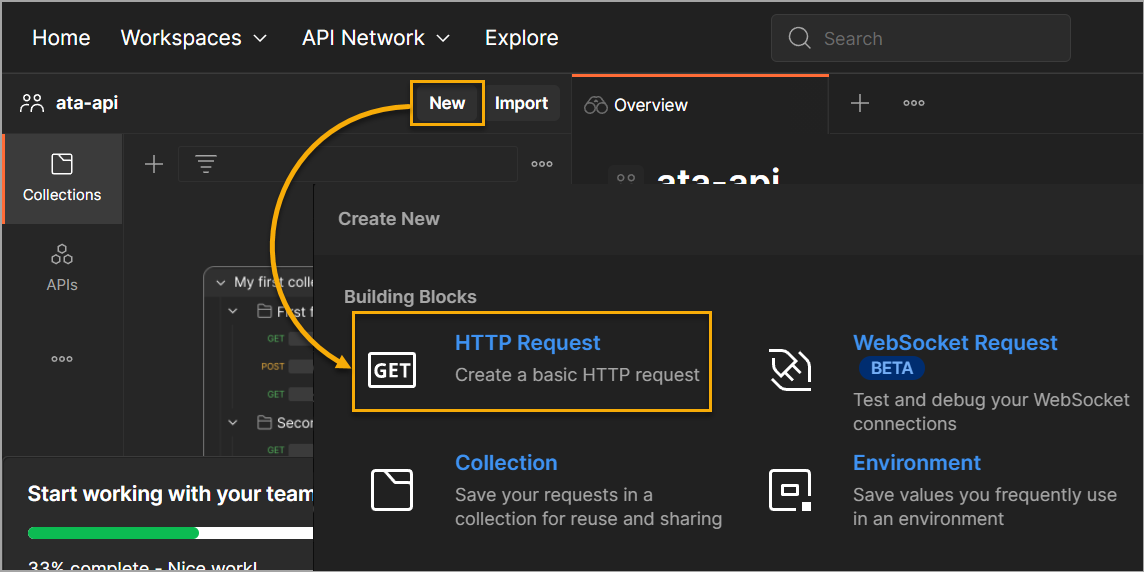
5. Click on New —> HTTP Request to create a new request in your workspace.
6. Now, enter https://jsonplaceholder.typicode.com/users in the URL field and click on the Send button. This URL is a fake online REST API for testing and prototyping that provides you with a test suite of different users.
You will see the response from the server in the Postman interface, as shown in the below image. You can use three tabs to view the response or troubleshoot and debug your API calls.
- Body: This tab displays the response body. The response body is the data returned by the server in JSON format.
- Cookies: This tab displays the cookies sent by the server.
- Headers: This tab displays the headers sent by the server.
As you can see, Postman provides an intuitive testing space for your API endpoint. While you can accomplish the same tasks with curl or any other HTTP client for this purpose, Postman makes API testing more accessible and more user-friendly.

Conclusion
You learned how to install Postman on Windows and Linux in this article. You also learned some basics of using Postman to test your API endpoints.
Now that you know how to install and use Postman, you can start testing your API endpoints. Experiment with different features and see what Postman has to offer.
For example, you can use Postman to test automation scripts or create mock servers. The possibilities are endless. Happy API testing!


