


Are you looking for a Mail Transfer Agent (MTA) to transfer/send mail from one server to another but don’t have the budget to get one? Why not consider being a part of the 25% of all the public servers using Postfix? Postfix is a free and open-source MTA that routes and delivers electronic mail.
In this tutorial, you’ll learn how to install and configure Postfix on an Ubuntu server and later test if Postfix correctly sends your emails.
Read on and deliver your emails without spending!
Prerequisites
This post will be a step-by-step tutorial. To follow along, ensure you have a computer running at least Ubuntu 14.04.4 LTS. This tutorial uses Ubuntu 20.04.4 LTS.
Installing Postfix on an Ubuntu machine
Postfix is a message transfer agent (MTA) that transfers emails between the computers of a sender and a recipient. Another great feature of Postfix is that it’s compatible with all major Unix operating systems but doesn’t come installed by default.
To install Postfix on an Ubuntu machine, you have two options; remotely via SSH or directly on the Ubuntu VM console via the Ubuntu terminal. But for this tutorial, you’ll install Postfix remotely over SSH.
1. SSH into your Ubuntu VM using your favorite SSH client.
2. Next, run the apt update command below to ensure your system has all the latest package sources available.
sudo apt update 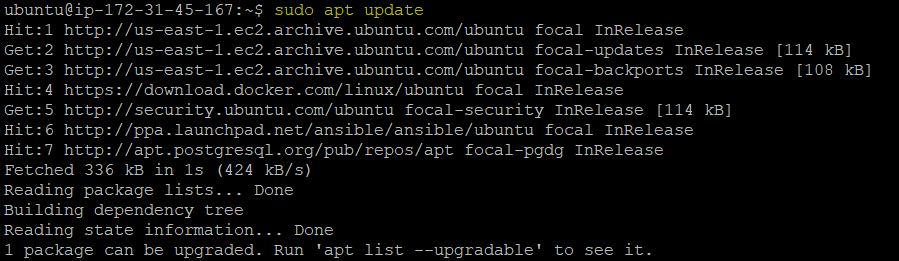
3. Run the following apt install command to install the postfix package.
In the command below, you pass the DEBIAN_PRIORITY=low environmental variable, allowing you to configure additional options further.
After running the command, you’ll see the Postfix Configuration screen (step four).
sudo DEBIAN_PRIORITY=low apt install postfix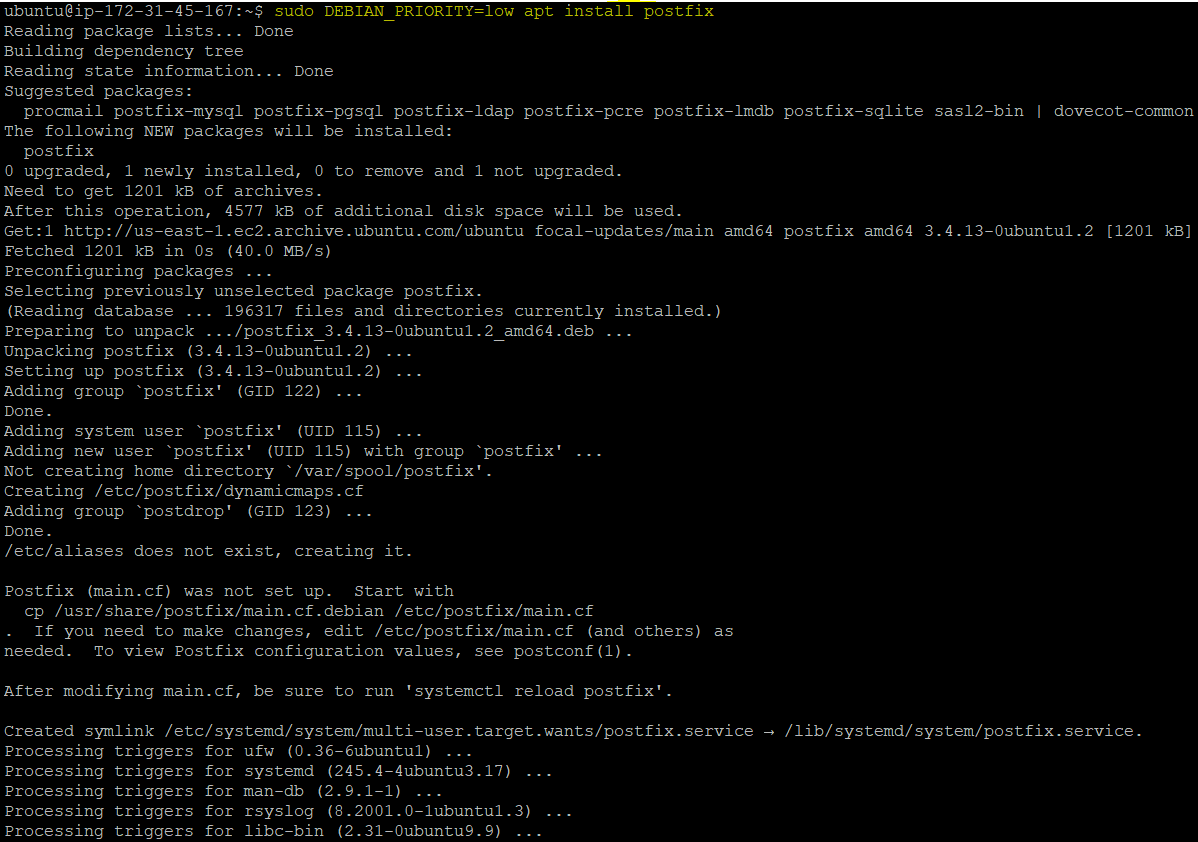
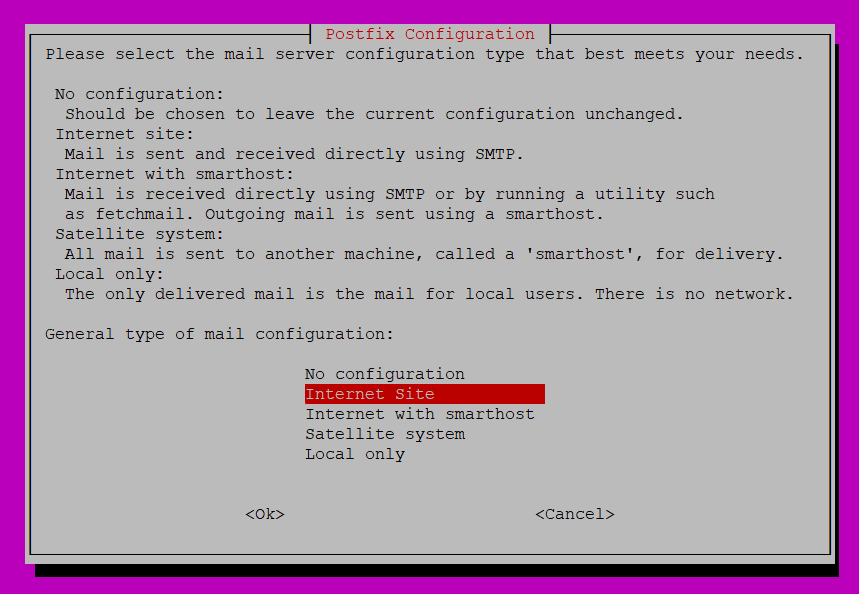
4. Now, highlight the mail server configuration type (Internet Site), as shown below, and press Enter.
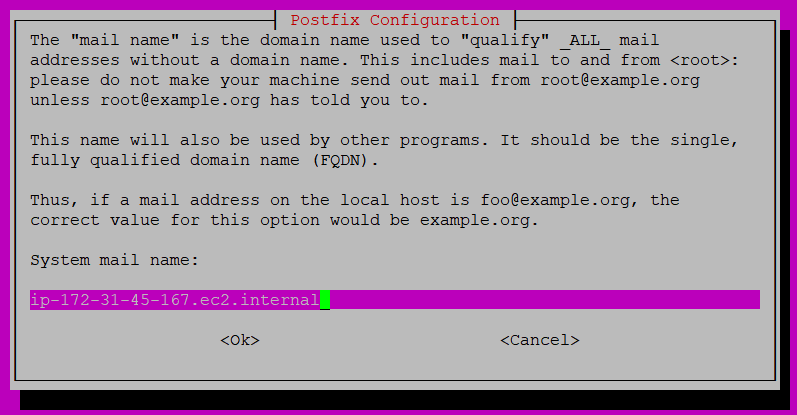
5. Now, specify the System mail name or fully qualified domain name (FQDN), and press Enter. This tutorial uses the hostname of the Ubuntu machine. But you can choose whatever is suitable for you or your registered domain.
To find the hostname of the ubuntu machine, run the hostname command.
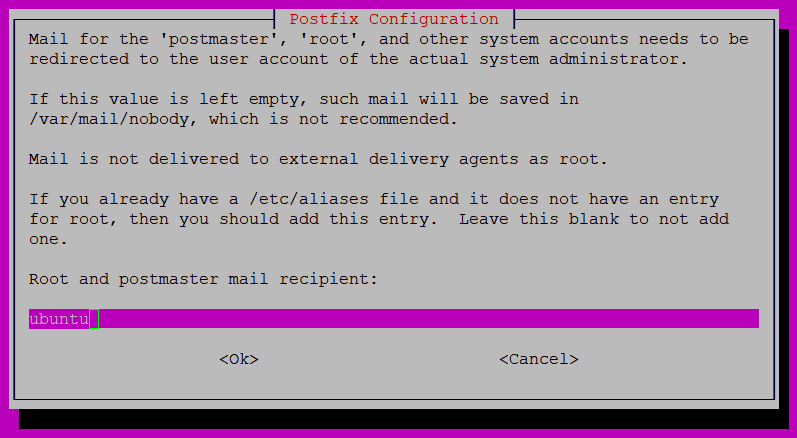
6. Next, set your root and postmaster mail recipient (ubuntu) with whatever you wish, and press Enter. This root and postmaster is the Linux account where your emails will be sent.
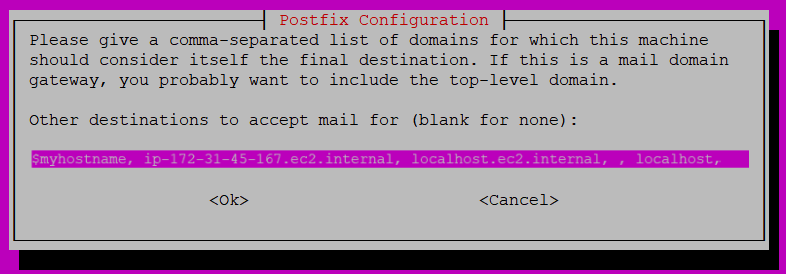
7. Set the domains for which your mail server will accept the emails. You can add multiple domains and press Enter.
The below configuration uses default email domains, such as localhost, ip-172-31-45-167.ec2.internal.
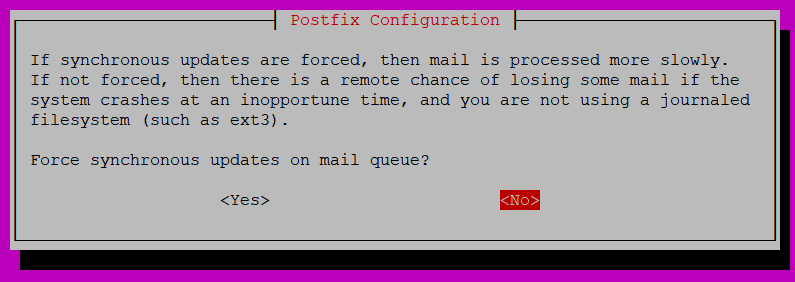
8. Choose whether you want to force synchronous updates of the mail queue or not. But in this case, select the default (<No>) and press Enter.
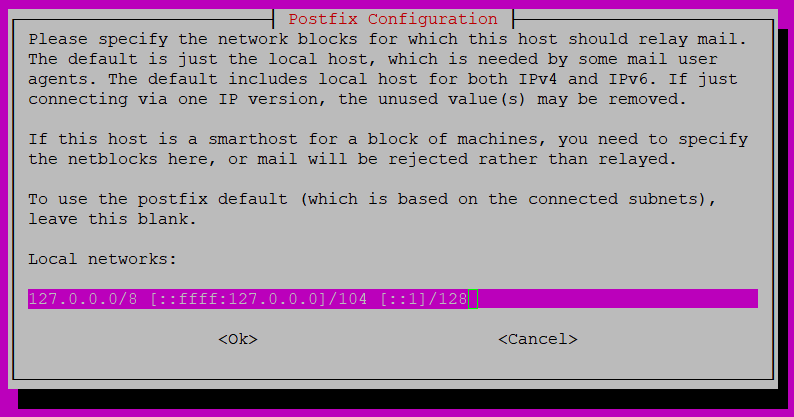
9. Set the local network, which will allow emails to be sent/received on your machine, and press Enter. This tutorial uses the default network with the ones provided already in the input box.
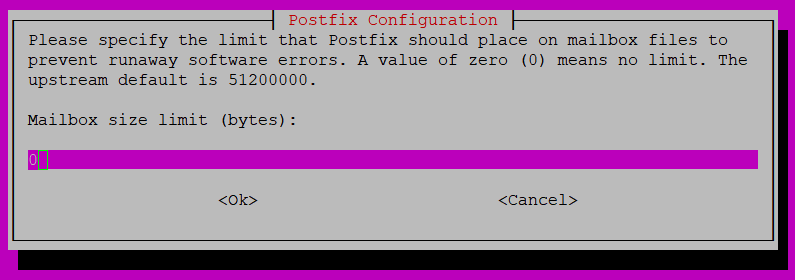
10. Now specify the limit Postfix should have for the mailbox, so you don’t get any errors. For this tutorial, set the default as 0 bytes and press Enter.
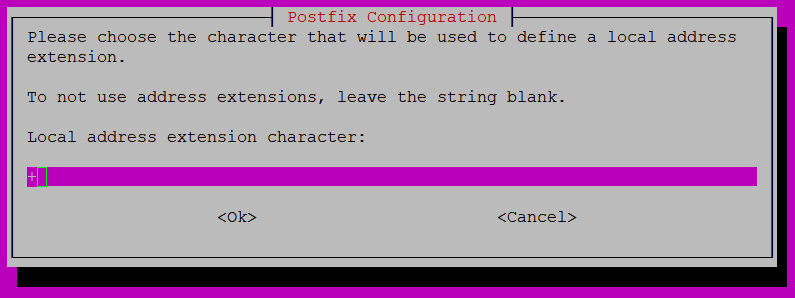
11. After setting the mailbox size limit, specify a character (+) that you’ll use to define a local address extension.
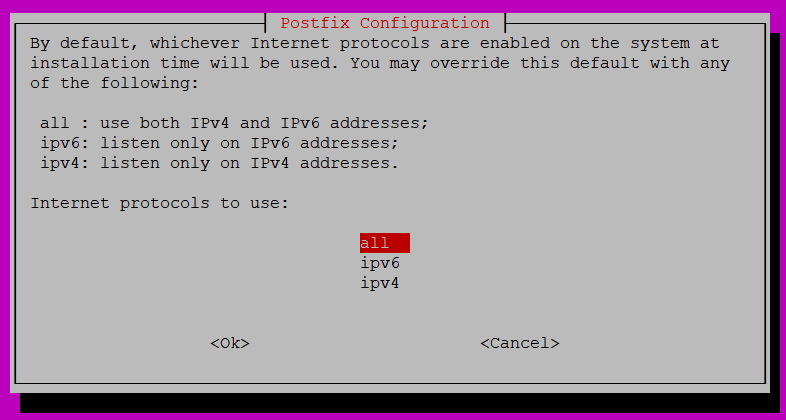
12. Choose the Internet Protocols to use with Postfix, and press Enter. This tutorial’s choice is all, which includes both ipv4 and ipv6.
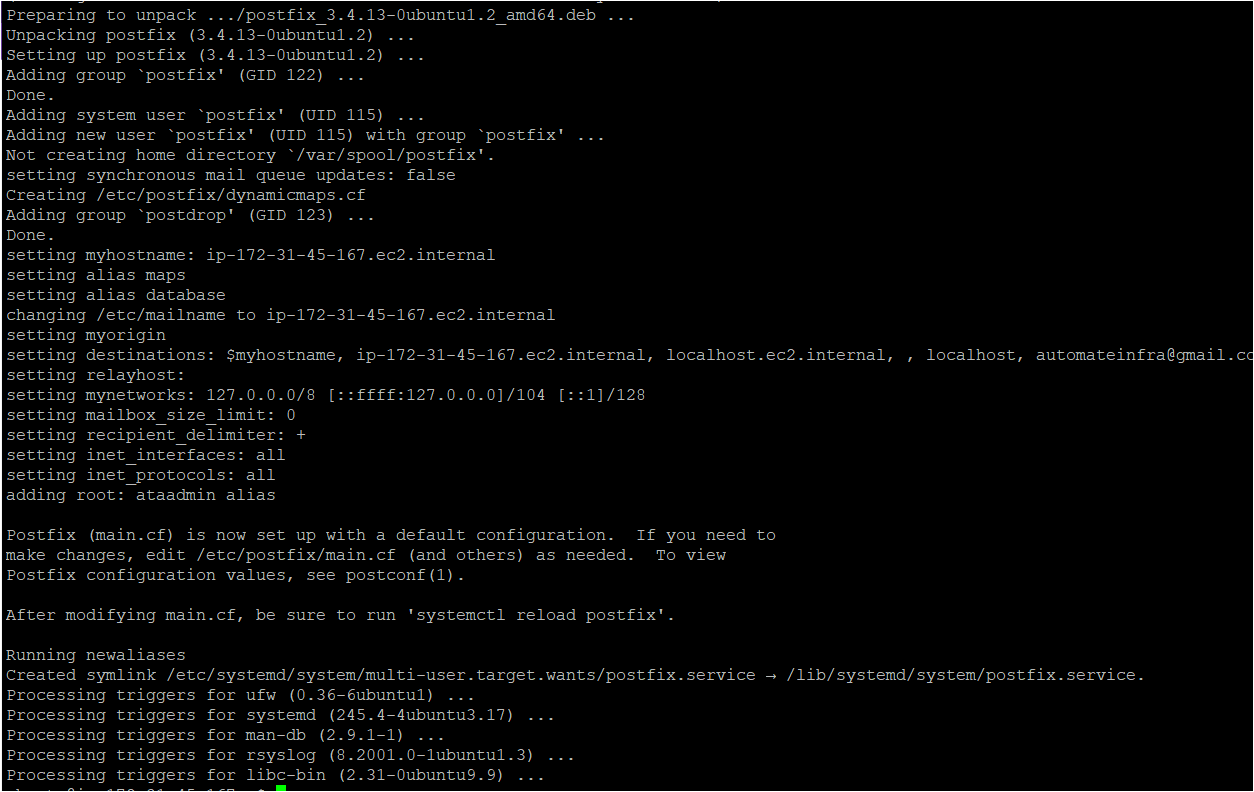
After making all the configuration changes, you’ll notice on your terminal that Postfix pulls all those configuration changes and automatically installs them. By now, your Postfix software should be installed successfully.
13. Finally, run the systemctl command below to verify the Postfix software on your Ubuntu machine.
sudo systemctl status postfixThe active (exited) status below indicates Postfix was successfully installed and is currently running.

Mapping Email Addresses
You’ve successfully installed and configured Postfix on your Ubuntu machine, and that’s a huge step towards taking advantage of Postfix. But there are still more configurations and settings you’ll take care of, like mapping email addresses so you can send emails on your Linux machine.
To receive an email from any of the defined email addresses on your Linux machine, map the email address associated with a Linux Account:
1. Edit the /etc/postfix/virtual file in your preferred text editor.
2. Next, add the following line to the virtual file, save the changes, and close the editor.
ubuntu (at the end) is the user on the Linux machine, while [email protected] is the From and To email address.
[email protected] ubuntu3. Next, run the below commands, which don’t provide output, but apply the email mapping (postmap), and restart postfix for the changes you made in step one to take effect.
sudo postmap /etc/postfix/virtual
sudo systemctl restart postfix4. Once Postfix restarts, run the following command to allow Postfix on your UFW firewall. Doing so enables you to send emails without getting blocked anywhere on your machine.
sudo ufw allow Postfix
5. Finally, run the postconf command below to set the initial mailbox location (home_mailbox = Maildir/), which you can change later anytime.
sudo postconf -e 'home_mailbox= Maildir/'Installing Mail Client to Send Emails on a Linux Machine
Now that you’ve entirely configured Postfix, it’s time to test if your Ubuntu machine receives emails. But first, you’ll have to install an email client, s-nail, one of the most widely and Ubuntu compatible mail clients.
1. Run the command below to provide a mailbox directory (MAIL=~/Maildir) where emails are received.
This command tells Postfix to receive emails in the current session (/etc/bash.bashrc) and permanently (/etc/profile.d/mail.sh) in the ~/Maildir directory.
The tee command reads the standard input and writes it to both the standard output and one or more files.
echo 'export MAIL=~/Maildir' | sudo tee -a /etc/bash.bashrc | sudo tee -a /etc/profile.d/mail.sh
2. Next, run the apt install command to install s-nail on your machine using the MAIL variable.
sudo apt install s-nail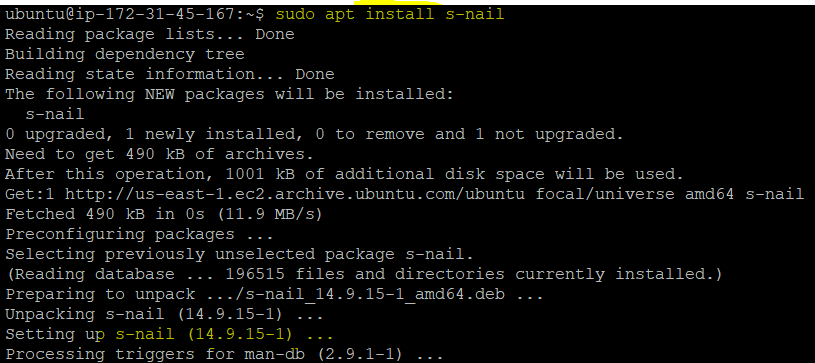
3. Edit the s-nail client configuration (/etc/s-nail.rc) on your editor, and add the following commands.
These commands allow the s-nail client to open the empty inbox (emptystart), set the mailbox location as a directory path (folder=Maildir), and generate a sent mailbox file (record=+sent).
set emptystart
set folder=Maildir
set record=+sent
4. Now, run the command below to send an email using the -Snorecord option, which generates the proper directory structure within your configured mailbox directory (/Maildir).
This command doesn’t provide output, but you’ll verify the directory structure in the following step.
echo 'init' | s-nail -s 'init' -Snorecord ubuntu5. Run the following ls command to verify if the directory structure has been created successfully.
ls -R ~/MaildirexitIf successful, you’ll see the directory structure created, as shown below.
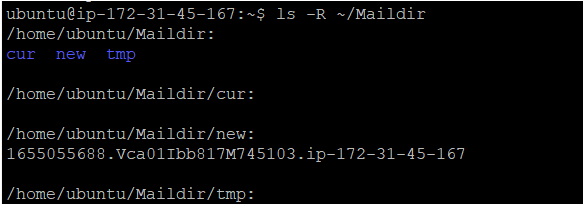
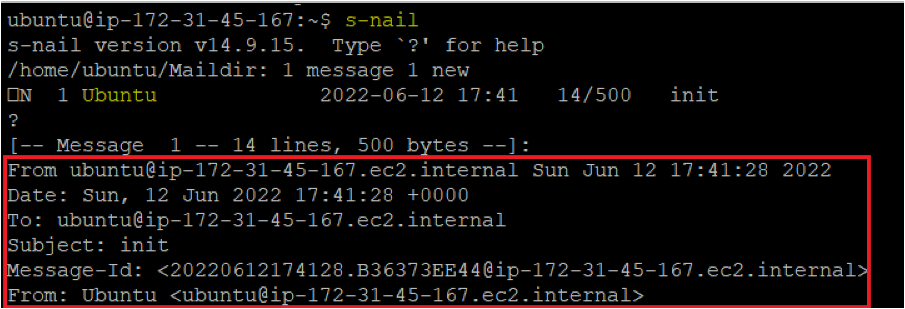
6. Finally, run the s-nail command below to check your inbox.
s-nailAs you execute the s-nail command, you’ll notice that the email (in step four) was successfully sent using the following configurations you set.
- From: [email protected]
- Date: 12 Jun 2022
- Subject: init
Configuring Postfix to Send Emails to External Relay (Google)
You’ve just learned how an email is sent on a local machine using Postfix. But is Postfix capable of sending emails outside your local machine? Yes! You’ll configure Postfix to use an external SMTP relay to send emails.
Before configuring Postfix, see the diagram below to understand the email workflow when using an external SMTP.

To configure Postfix to use an external SMTP:
1. Edit the /etc/postfix/sasl/sasl_passwd file and add the following line containing your SMTP relay email address, google email address, and password.
[smtp.gmail.com]:587:587 [email protected]:password2. Next, run the postmap command below so that the credentials you configured in step one are encrypted. This command creates a password file (sasl_passwd.db) in the same location.
sudo postmap /etc/postfix/sasl_passwd3. Run each of the following commands, which don’t provide output, but change the security and ownership of the password file (sasl_passwd.db). These commands restrict root user access and read-write only.
sudo chown root:root /etc/postfix/sasl_passwd /etc/postfix/sasl_passwd.db
sudo chmod 0600 /etc/postfix/sasl_passwd /etc/postfix/sasl_passwd.db
4. Now, edit the /etc/postfix/main.cf file and add the following configuration, which allows you to securely send an email.
relayhost = [smtp.gmail.com]:587
smtp_sasl_security_options = noanonymous
smtp_sasl_auth_enable = yes
header_size_limit = 4096
smtp_sasl_password_maps = hash:/etc/postfix/sasl/sasl_passwd
smtp_tls_security_level = encrypt
smtp_tls_CAfile = /etc/ssl/certs/ca-certificates.crt
smtp_use_tls = yes
smtp_sasl_tls_security_options = noanonymous
5. Run the below command, which doesn’t provide output, but will restart the postfix service. Restarting the Postfix service ensures configurations you made in the /etc/postfix/main.cf file in step four will take effect.
sudo service postfix restart 6. Finally, run the commands below to send an email (echo) to your Google account and verify your machine’s logs (tail).
echo "Test Postfix Gmail SMTP Relay" | mail -s "Postfix Gmail SMTP Relay " [email protected]
sudo tail /var/log/mail.log
As you can see below, the email has been sent to the Google relay successfully.

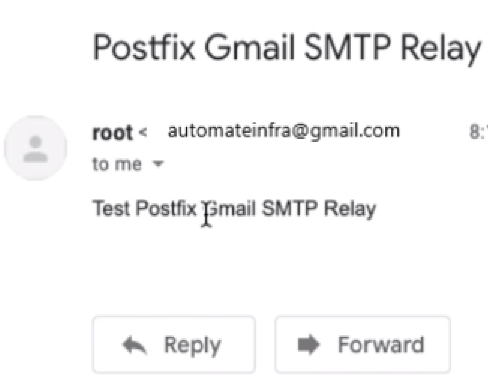
Alternatively, navigate to your Gmail account, and you should see an email similar to the one below.
Conclusion
In this tutorial, you’ve learned to set up and configure Postfix on an Ubuntu machine. You’ve installed and integrated a mail client with Postfix to send raw emails using an email address mapped to a Linux account.
At this point, you’re confident enough to use Postfix as a handy email agent to route and deliver emails safely.
There are other ways of sending emails, such as using APIs and SDKs. But if you wish to send email messages on the local network, combining Postfix with s-nail would be best suited for development purposes.


