

Have you ever used Docker but found it to be too resource-intensive on your system? If so, you might want to check out Podman, a new tool from Red Hat that provides an alternative to Docker.
Podman is a tool designed to make creating and managing containers seamless. And in this tutorial, you’ll install Podman and learn some basic usage scenarios. In the end, you’ll get to decide if Podman is the right tool for you.
Ready? Read on and start managing containers anew!
Prerequisites
This tutorial will be a hands-on demonstration. If you’d like to follow along, be sure you have the following.
- A Linux machine – This demo uses Ubuntu 20.04 LTS, but any Linux distributions will work.
Installing Podman on Ubuntu
Before managing containers with Podman, you’ll first have to install Podman on your machine as it doesn’t come pre-installed in your Linux distribution.
To install Podman on Ubuntu, you’ll start by updating your APT package manager and adding the Podman package repository.
1. Open your terminal, and run the apt update command below to ensure you install the latest updates. This command ensures no package mismatches between your machine and the package repository.
sudo apt update -y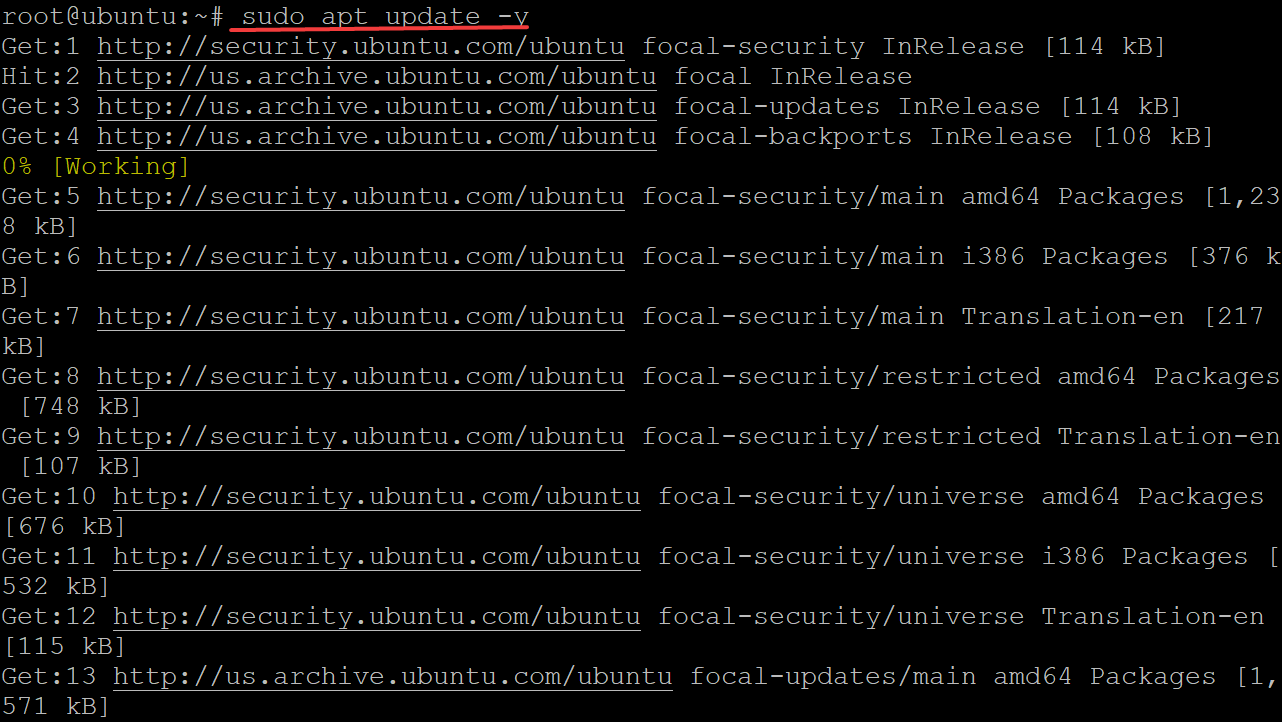
2. Once you’ve updated your package index, run the source command below to run the /etc/os-release file as a script. This command ensures that your machine will recognize what version of Ubuntu you are using.
The os-release file contains operating system information, such as name and codename. The file also might include other details like version numbers of various components (kernel, X server, and so on.)
source /etc/os-release
3. Run the sh -c echo command below to add the kubic deb package repository to APT. Podman is not available in Ubuntu’s default repositories, so you will need to add the Podman repository before installing it.
The command below performs the following:
- Creates a new file (
sh -c) in the/etc/apt/sources.list.d/directory. This directory is where APT downloads deb packages for installation on your machine.
- Ensures that you’re using a specific version of Ubuntu (
{VERSION_ID}), which is the version you previously got from thesourcecommand above in step two.
- Redirects output (
>) to write at the bottom of the file, ensuring that your input is written into the file correctly (sources.list.d/devel:kubic:libcontainers:stable.list).
sudo sh -c "echo 'deb http://download.opensuse.org/repositories/devel:/kubic:/libcontainers:/stable/xUbuntu_${VERSION_ID}/ /' > /etc/apt/sources.list.d/devel:kubic:libcontainers:stable.list"
4. Now, run the wget command below to add the repository key to APT’s list of trusted keys.
Red Hat hosts the key, and they sign it with a private key that only verifies to other people who have their public key. This key ensures that Red Hat and not someone else releases the packages you download and install.
wget -nv https://download.opensuse.org/repositories/devel:kubic:libcontainers:stable/xUbuntu_${VERSION_ID}/Release.key -O- | sudo apt-key add -
5. Rerun the apt update command to ensure APT’s list of packages is up to date.
sudo apt update -y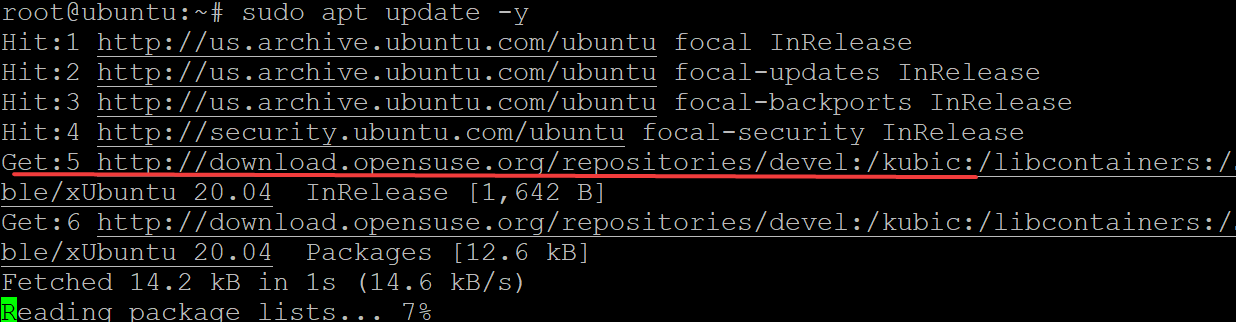
6. Next, run the apt install command below to install podman.
sudo apt install podman -y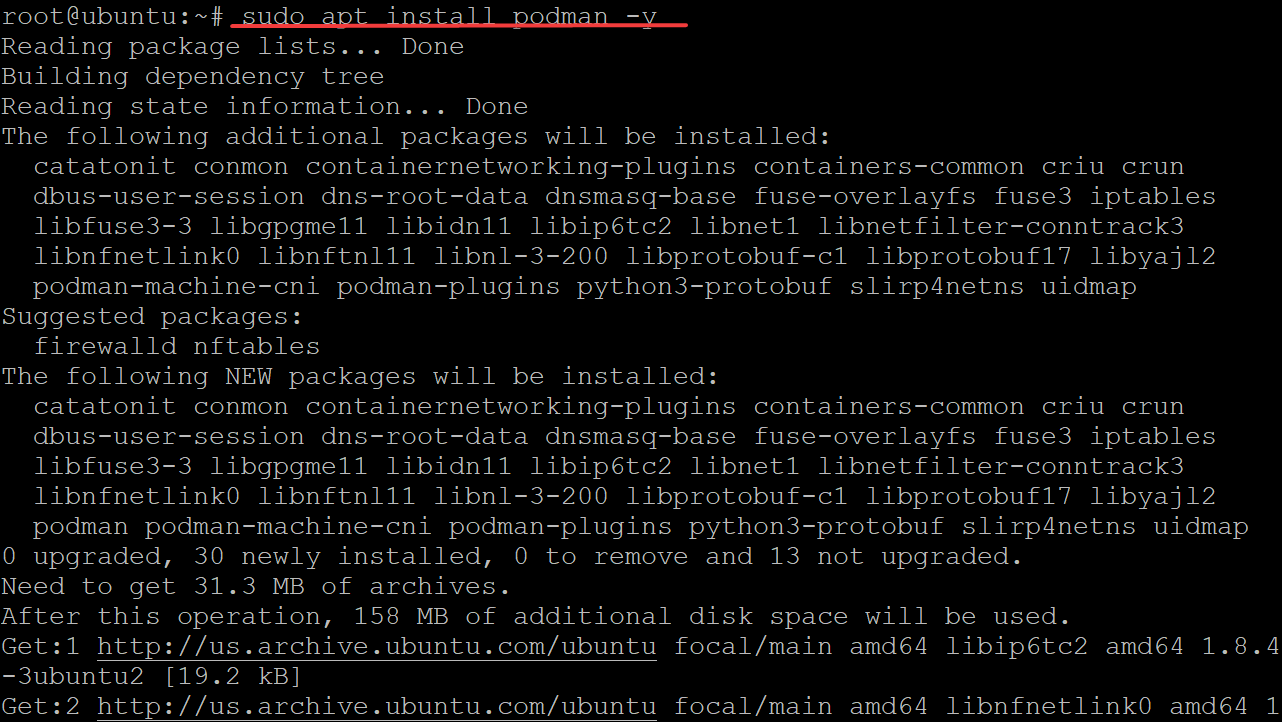
7. Finally, run the below command to check Podman’s installed --version.
podman --versionAs you can see below, the Podman version installed is 3.4.2, the latest version at the time of writing, and yours may be different.

You can also run the podman inf command below to see more information about your Podman installation.
podman info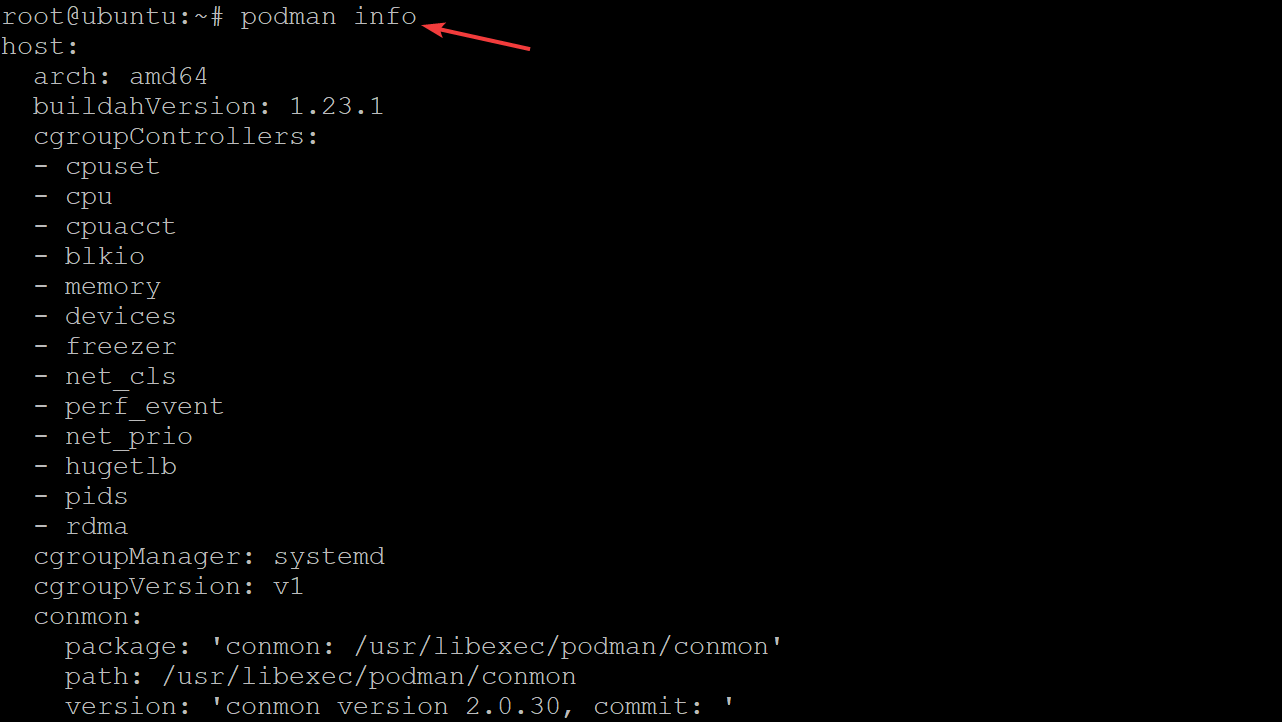
Enabling OCI Registries
Before using Podman to create containers, ensure Podman can communicate with the OCI registries. Podman supports multiple OCI registries simultaneously so that you can create containers using different repositories.
Open the /etc/containers/registries.conf file with your text editor of choice. This file defines all the registries that Podman can communicate with. Podman consults this file to find out which registries it should connect to.
sudo nano /etc/containers/registries.conf
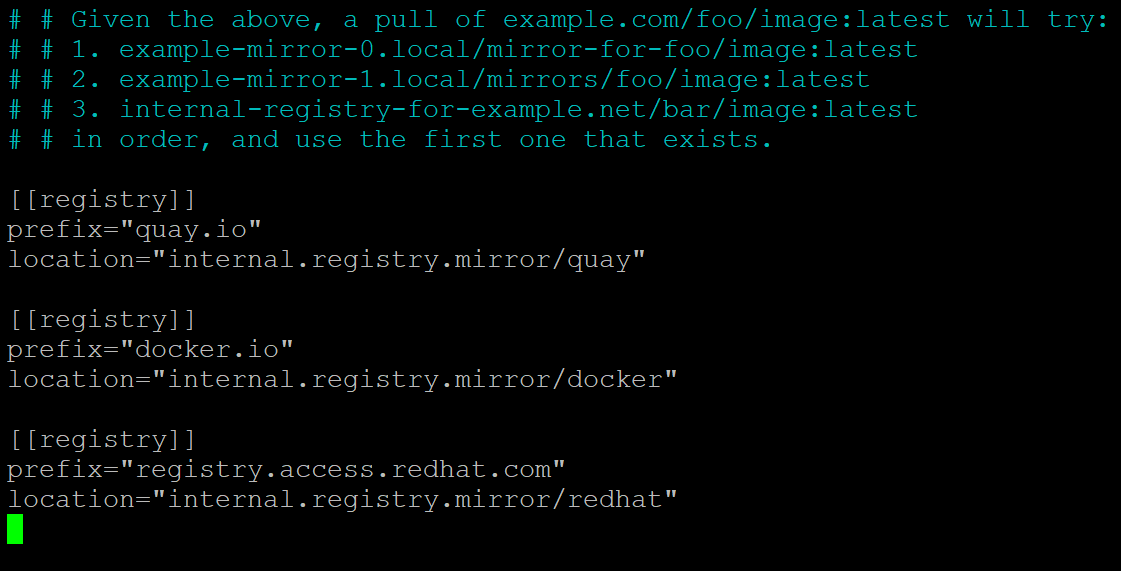
Now, populate the registries.conf file with the following lines, save the changes and close the editor.
These lines configure Podman to use the public registry on Docker Hub (docker.io, registry.access.redhat.com) and the private registry(quay.io), which is recommended.
[[registry]]
prefix="[quay.io](<http://quay.io/>)"
location="internal.registry.mirror/quay"
[[registry]]
prefix="[docker.io](<http://docker.io/>)"
location="internal.registry.mirror/docker"
[[registry]]
prefix="[registry.access.redhat.com](<http://registry.access.redhat.com/>)"
location="internal.registry.mirror/redhat"
Running Podman Containers with Podman Privileges
Now that you’ve installed Podman and configured the registries, you can start running Podman containers with Podman privileges. The Linux kernel supports a wide range of permission checks on its system calls, such as capabilities.
In the case of Podman containers, capabilities control the default behavior of root within the user namespace. You can use the --privileged flag when running a container to add all capabilities not already present in the container.
1. Run the podman run command below to create a fedora container without capabilities.
podman run -d fedora sleep 100
2. Next, run the below podman top command to list all the capabilities.
podman top -l capeff As shown below, the regular rootless container has limited capabilities.

3. Run the podman run command below to create a container with all capabilities (--privileged).
podman run --privileged -d fedora sleep 1004. Lastly, rerun the podman top command to check the difference in capabilities.
podman top -l capeffYou’ll notice that full capabilities are available to this container because of the –privileged flag, as shown below.
You’ll notice that full capabilities are available to this container because of the –privileged flag, as shown The –privileged flag allows the container to run with all capabilities, not just those already in the container. This flag is important as it maps the container’s user namespace to the host’s namespace, giving it all the capabilities of processes running on your system.

If you don’t set the –privileged flag when launching a container, then the container will have a restricted set of capabilities. In the case of containers that use their own user namespace, you will have to give them all capabilities explicitly.
Working with Podman Images and Containers
Now that you have learned how to add OCI Registries and capabilities for a container, you can work with Podman images and containers. For this demo, you’ll use NGINX for an image to create a container.
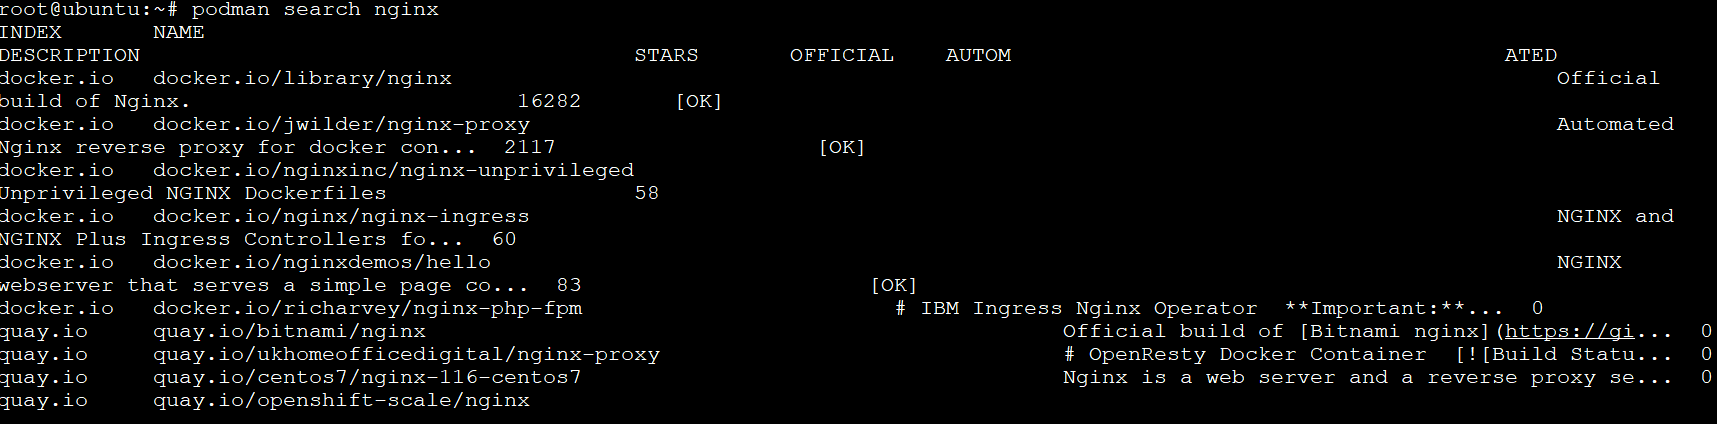
1. Run the podman search command below to list all of the available Podman images for nginx
podman search nginxBelow, you can see that you get all of the available tagged images for NGINX from the docker.io, quay.io, and redhat.com repo you added earlier in the “Enabling OCI Registries” section:
- The INDEX column shows where the images are located.
- The OFFICIAL column with OK status indicates the image in the row is created and supported by its official company. For example, the NGINX image with OK status is created and supported by its company, NGINX. These images will be updated as soon as security vulnerabilities and patch updates come out.
- The AUTOMATED column with the OK status means that the images are automated builds. These images will be updated as soon as security vulnerabilities and patch updates come out.
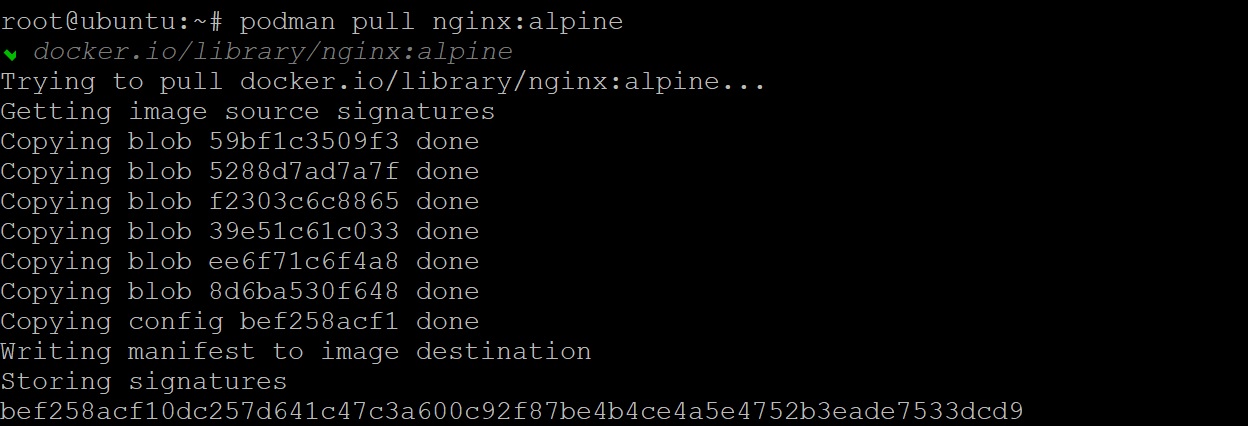
2. After picking an NGINX image to use, run the podman command below to download (pull) the image to your local machine.
This demo uses the nginx:alpine since it’s the smallest image and can run on memory only, saving time on the build steps later on.
podman pull nginx:alpineAt this point, you have a new image you can use to create a container with or use as a base image for other containers.
3. Run the podman images command to see your new image’s information
podman images
4. Now, execute the podman run command below to create a container from the image (nginx:alpine) and run an nginx server on that image.
This command performs the following:
- Starts the container interactively (
-it) and enables you to attach a terminal.
- Deletes (
--rm) the container after it exits/stops.
- Runs the container in the background (
--d) and publishes (-p) port80on all interfaces to port8080on the container.
- Specify the name of the container (
--name web).
podman run -it --rm -d -p 8080:80 --name web nginx:alpineYou will get a random container ID, as shown below, which you can use to monitor/start/stop/remove the container. Note down the container ID as it comes in handy when checking logs or stopping a specific container.

5. Run the below podman ps command (without arguments) to check if your container is running.
podman psYou can see that the web container is Up and uses port 8080/TCP on your host machine to expose its resource.

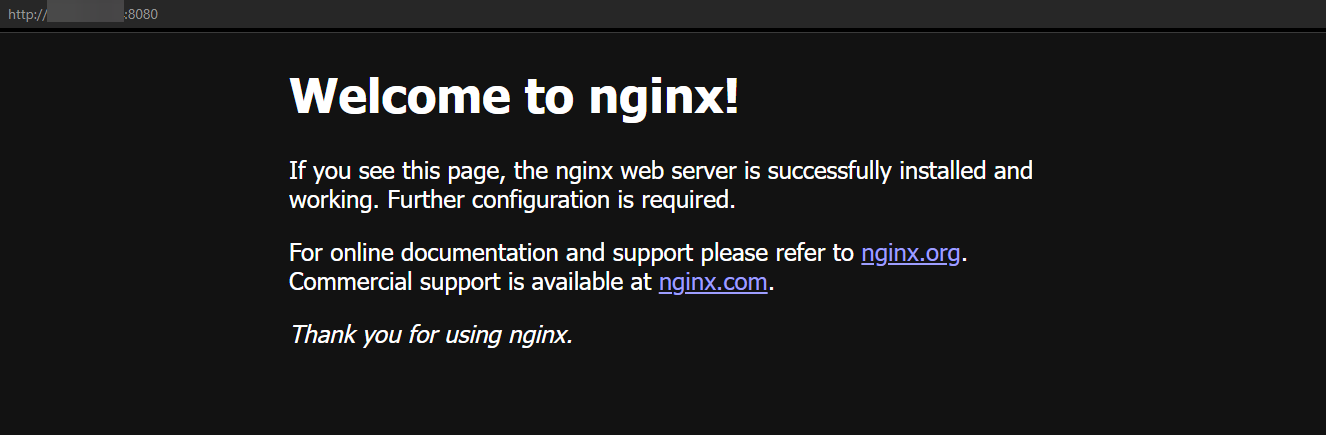
6. For double-checking, open your web browser and navigate to localhost:8080 or your-server-ip:8080, where your-server-ip is your server’s IP address.
If your container works, you’ll see the default NGINX welcome screen, as shown below.
If you are not sure how the container is set up, or if it has any errors, run the podman logs command below to get the log files for the container. Replace mycontainer with your target container ID.
podman logs mycontainer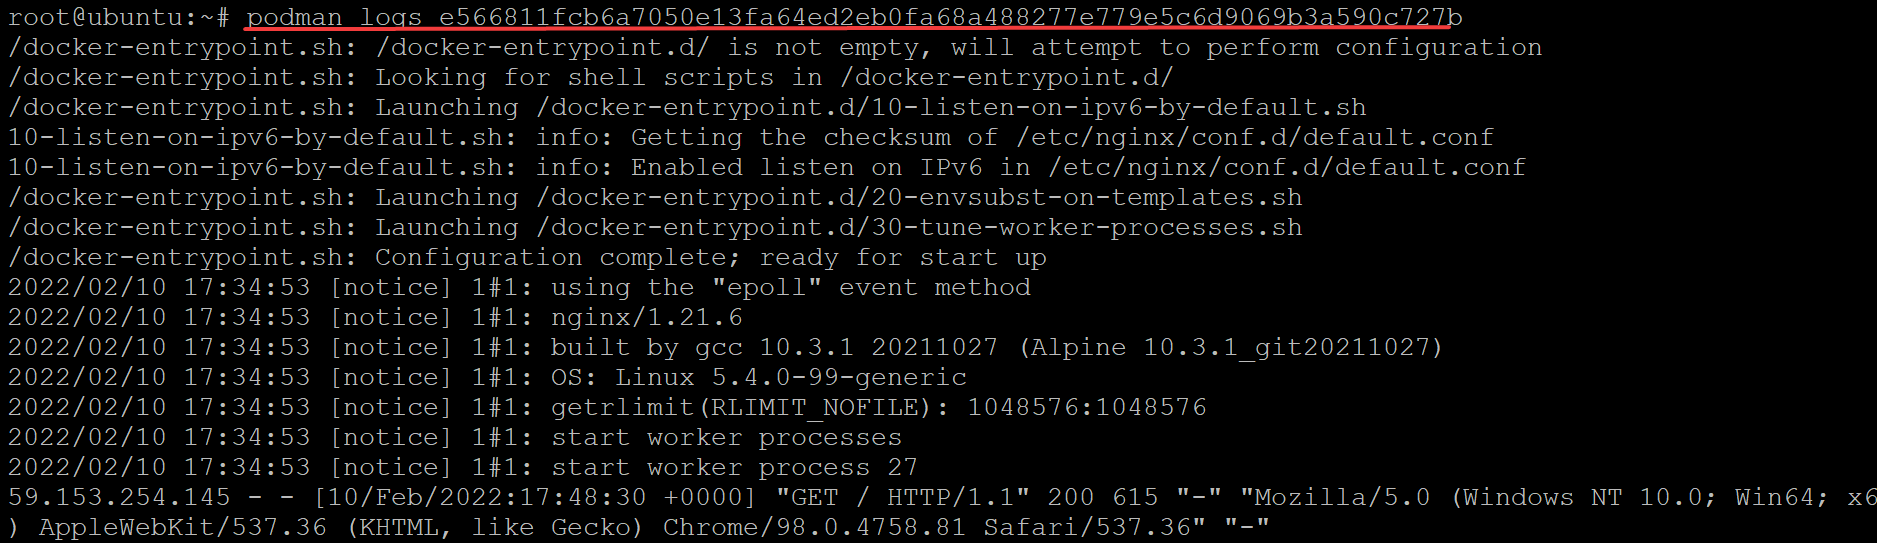
7. Run either of the podman stop commands below to stop your container. Replace mycontainer with your target container ID, or replace web with the actual container name.
Since you used the –rm flag in step four, Podman deletes your container as soon as you stop that container. This setup helps keep your workspace clutter-free.
# Stops the container by Container ID
podman stop mycontainer
# Stops the container by Container Name
podman stop web
8. Finally, run the podman ps command to list all containers, including a stopped container.
podman ps -aYour container got deleted when you previously stopped it, so you won’t get anything on the list, as shown below.

Conclusion
Throughout this article, you’ve learned to install Podman and how to work with images and containers for deployments. At this point, you can now use the OCI-enabled images from docker.io, quay.io, and redhat.com repositories to create your own containers.
With this newfound knowledge, why not build your Kubernetes pods with Podman play kube, or start using Ansible to automate Podman containers?


