


Say goodbye to complicated server installations with OpenVPN Cloud — the next-generation VPN solution. With OpenVPN Cloud, you can connect to the VPN-as-a-Service offering and secure your connection on the cloud. All these without the hassle of installing, configuring, and managing on-site hardware and software.
In this tutorial, you will get started with OpenVPN Cloud and take control of your online security.
Read on and simplify your VPN setup without compromising security!
A VPN can protect traffic in transit, but it does not remove exposed personal records from data broker sites. If that is part of your privacy goal, compare MyDataRemoval privacy monitoring and data broker removal workflows before paying for a personal data removal service.
Prerequisites
Before you begin this hands-on tutorial, ensure you have a client device for connecting to OpenVPN Cloud (e.g., laptop, smartphone, tablet). This tutorial uses Windows 10 as the client device.
Creating an OpenVPN Cloud Account
Since OpenVPN Cloud is subscription-based, you must create an OpenVPN Cloud account. When creating your cloud account, choose a plan that meets your needs, and activate your account to use OpenVPN Cloud.
To create an OpenVPN cloud account, follow these steps:
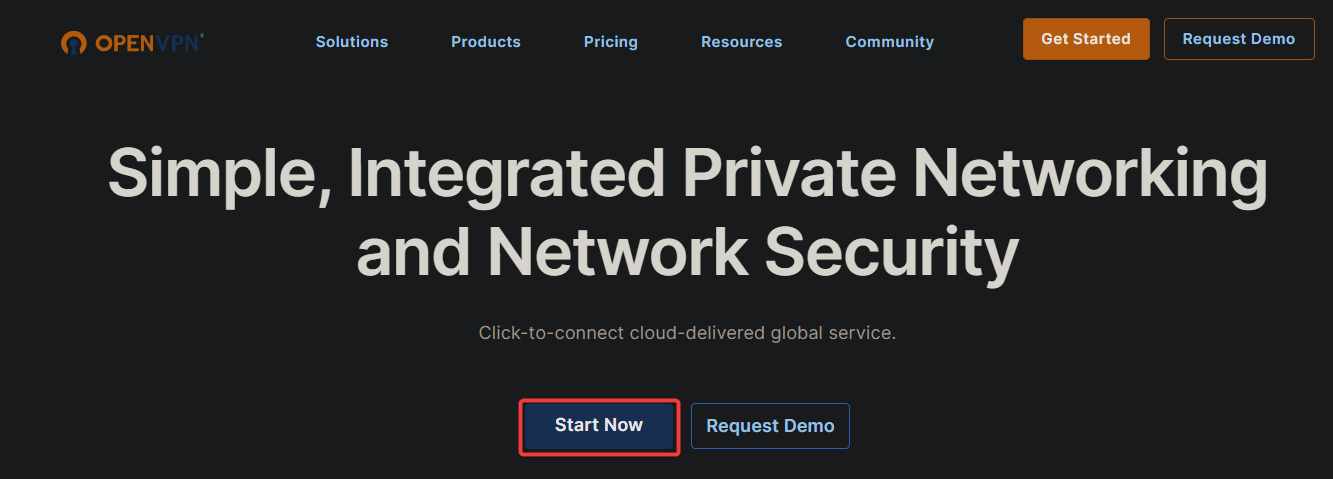
1. Open your preferred web browser, navigate to the official OpenVPN Cloud website, and click Start Now, as shown below, to create an account.
2. Next, provide your email address, and click Create Your Account.

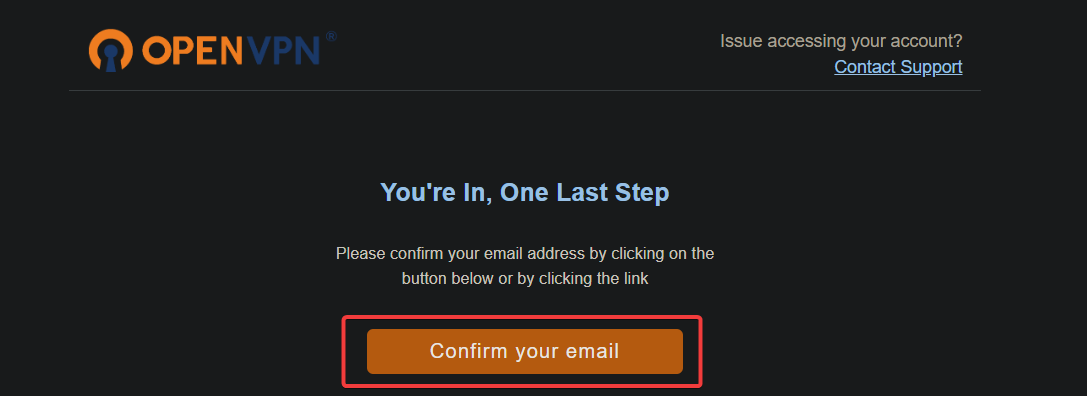
3. Click Confirm your email, and a verification email will be sent to your provided address.
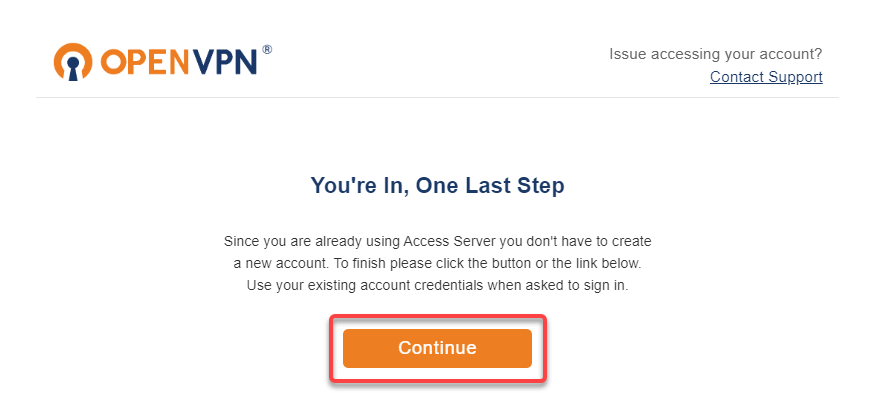
4. Now, look for the OpenVPN account registration email, and click Continue to confirm your email address for your OpenVPN cloud account.
A new tab opens in your web browser where you must configure your account information (step five).
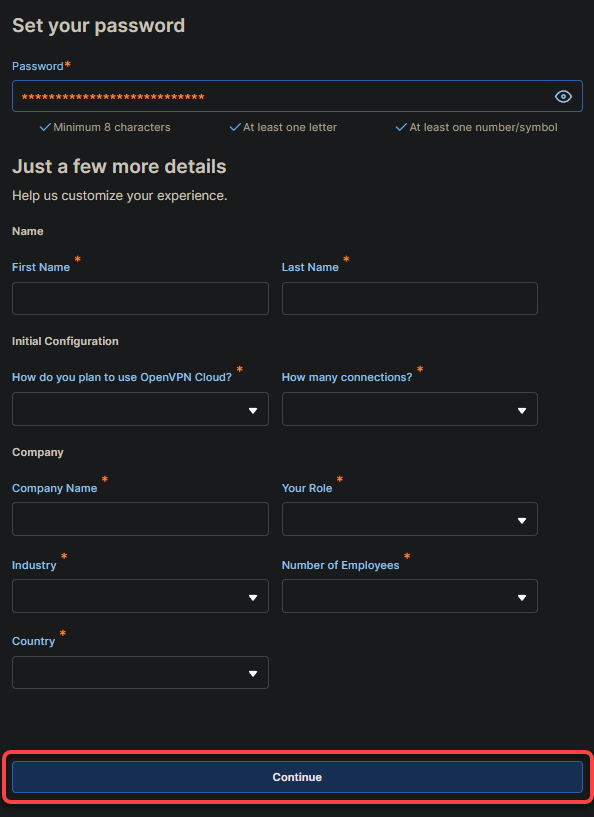
5. Provide a secure password and basic details about your account, and click Continue.
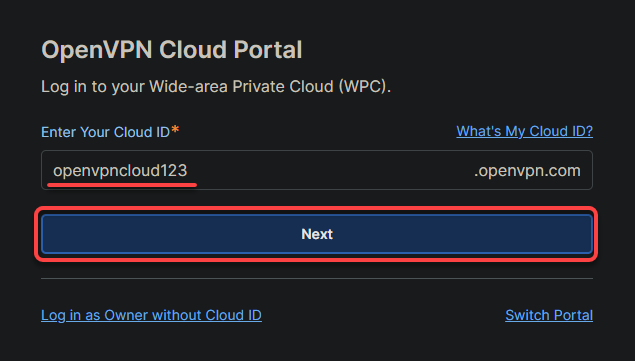
6. On the next screen, provide a Cloud ID (i.e., openvpncloud123) for your Wide-area Private Cloud (WPC). A WPC is a virtual private cloud (VPC) infrastructure hosted and managed remotely by OpenVPN Cloud. Moreover, WPC provides a secure way to access and manage your OpenVPN cloud resources and data.
Be sure to note down your Cloud ID, as you will use it to access your WPC, and click Next to log in to your WPC.
💡 Note that your Cloud ID cannot be changed once provided, and your WPC will be identified by the domain [YourCloudID].openvpn.com.
After logging in to your WPC, your browser redirects to the default Status page, as shown below.

Enabling the Cyber Shield Domain Filtering
OpenVPN Cloud’s Cyber Shield feature allows you to monitor and filter the domain names accessed by clients connected to your WPC. In this tutorial, you will enable domain filter monitoring. As a result, Cyber Shield analyzes each domain name in a DNS query and checks which content category the domain name belongs to.
If the domain is part of a blocked category, the domain name will not be resolved, blocking traffic to the destination. This feature helps protect against unwanted or malicious content and can be used to implement internet usage policies within your organization.
To enable Cyber Shield Domain Filtering, follow these steps:
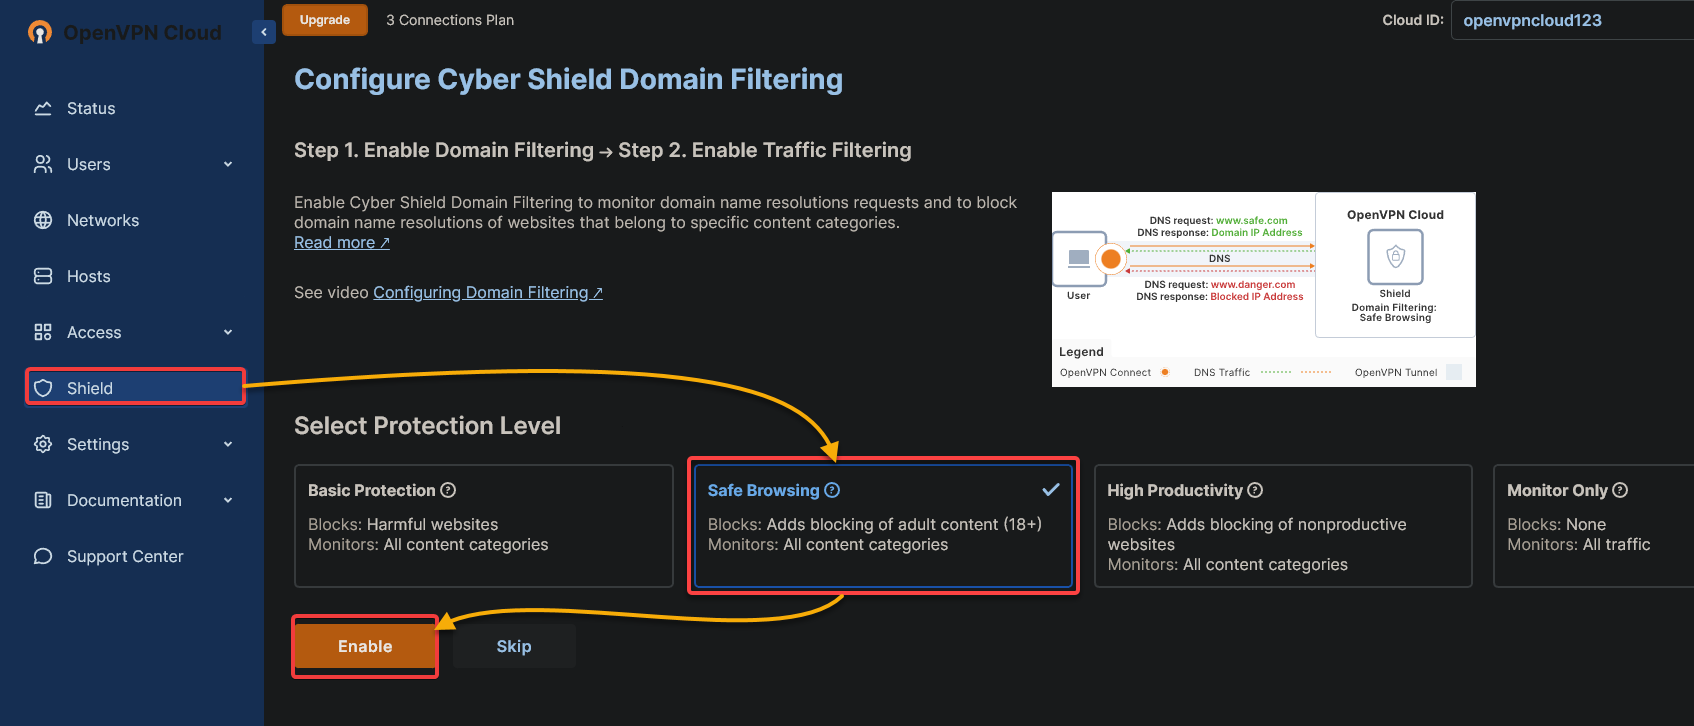
On your WPC, navigate Shield (left pane), choose one from a range of protection levels, and click Enable to enable Cyber Shield Domain Filtering for your WPC.
Each of these protection levels blocks different types of content:
- Basic Protection – Provides less stringent control.
- Monitor Only – Monitors the domains specified in the defined categories and block list but does not block traffic or impose any restrictions.
- High Productivity – Blocks all content unrelated to work or productivity.
But this tutorial uses the Safe Browsing protection level, which blocks the following:
- Adults-related content(18+, drugs, alcohol, gambling, and so on).
- Any content deemed malicious or fraudulent (phishing, malware, and so on).
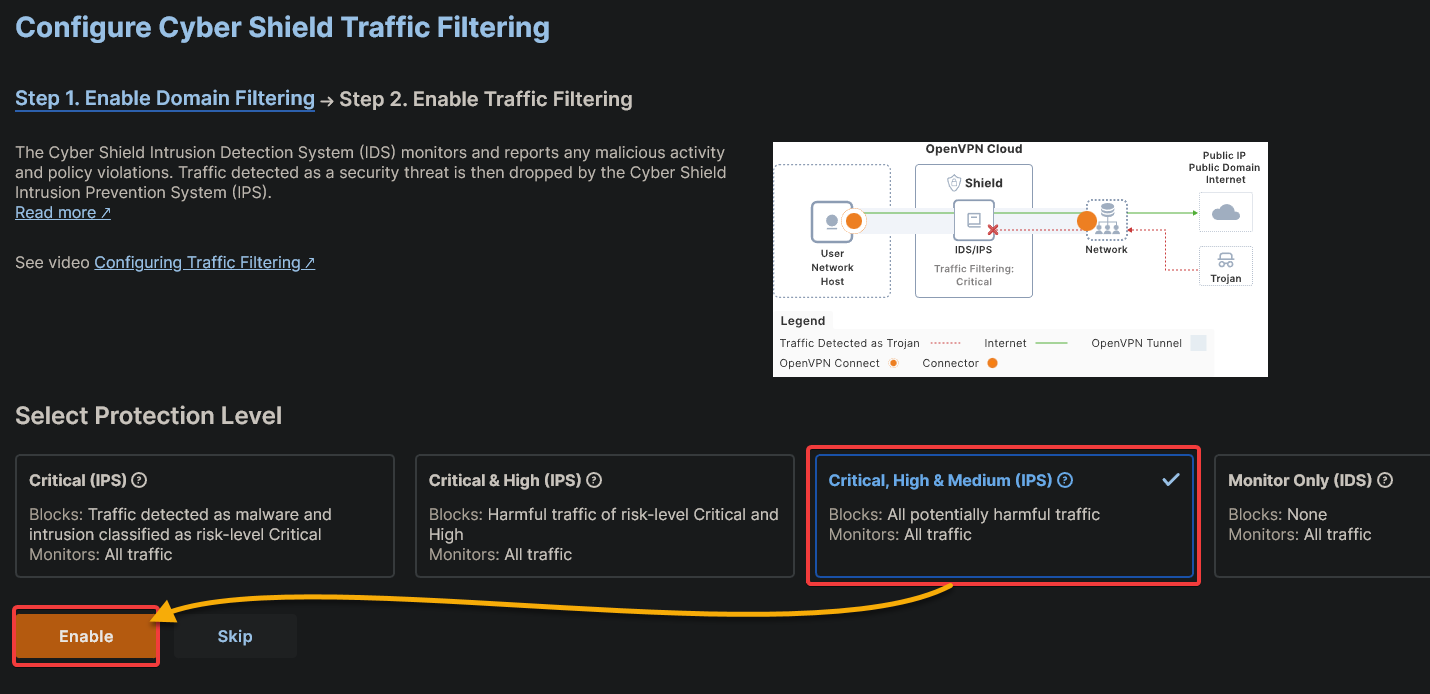
Now, select the Critical, High & Medium (IPS) option on the next page, and click Enable to enable Intrusion Prevention System (IPS). This system will detect malicious traffic and block it before entering your network.
Downloading and Installing OpenVPN Cloud Connect
The Cyber Shield Domain Filtering is configured, but you still need to securely connect to your OpenVPN Cloud from any supported device. How? You will have to download and install the OpenVPN Connect client.
To download and install OpenVPN Cloud Connect, follow these steps:
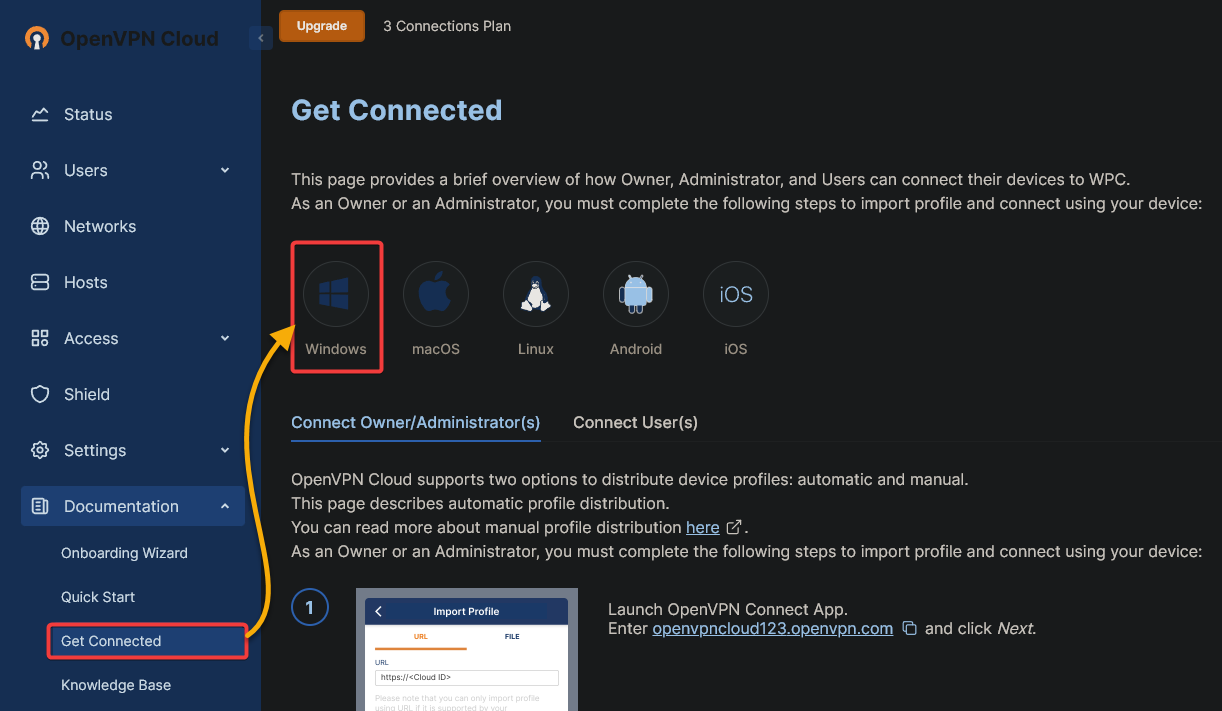
1. Navigate to Get Connected (left pane) under Documentation, and click your preferred platform’s logo to download the OpenVPN Cloud Connect client compatible with your device.
This tutorial uses the Windows client.
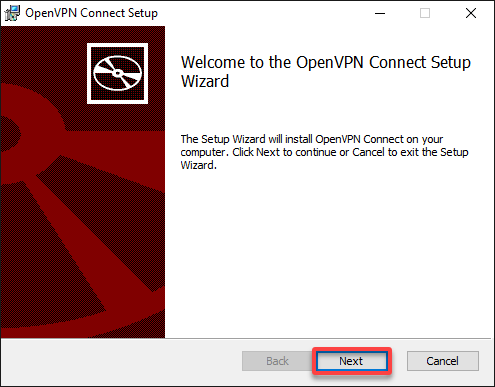
2. Once downloaded, launch the installer, and the OpenVPN Connect Setup wizard opens (step three).
3. On the ‘Welcome’ page, click Next to proceed with the installation.
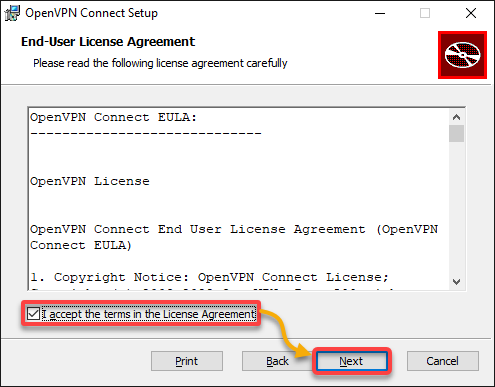
4. Next, tick the box at the bottom to accept the license agreement, and click Next.
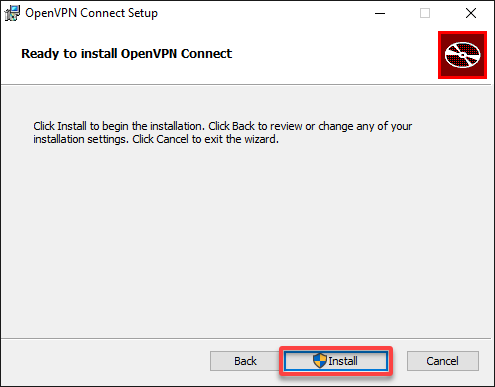
5. Now, click Install to begin the installation.
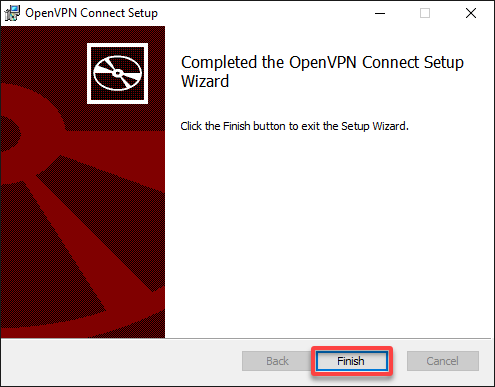
6. Once the installation completes, click Finish to close the setup wizard.
Connecting to the OpenVPN Cloud
Now that you have installed OpenVPN Cloud Connect, it is time to test if your OpenVPN Cloud works. But first, you will have to import your profile to the OpenVPN Connect client.
To connect to your OpenVPN Cloud, follow the steps below:
1. Launch your OpenVPN Connect client.
If you installed the OpenVPN Connect client for the first time, the client opens automatically after installation.
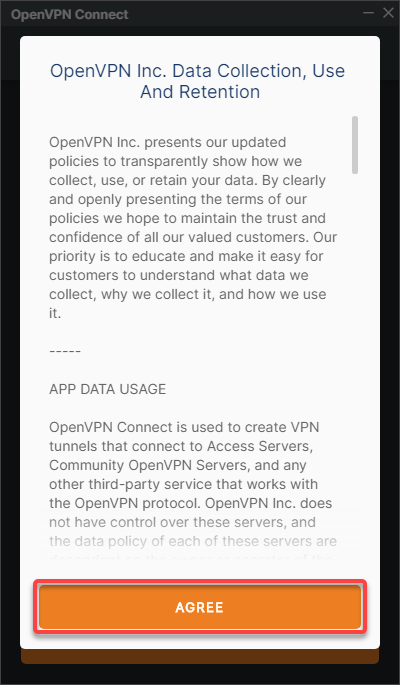
2. Next, click AGREE to agree to the data collection, use, and retention.
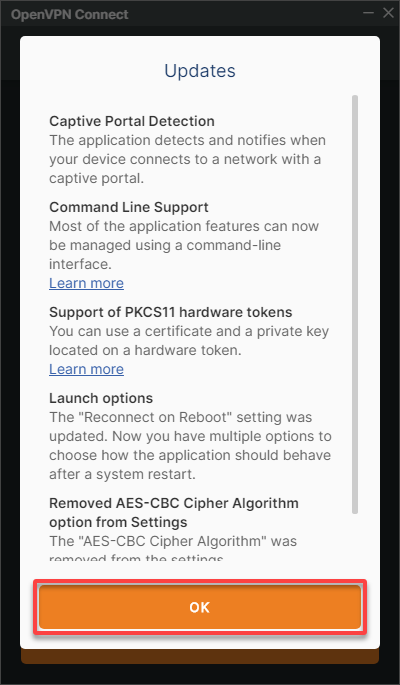
3. Read the updates, and click OK to continue.
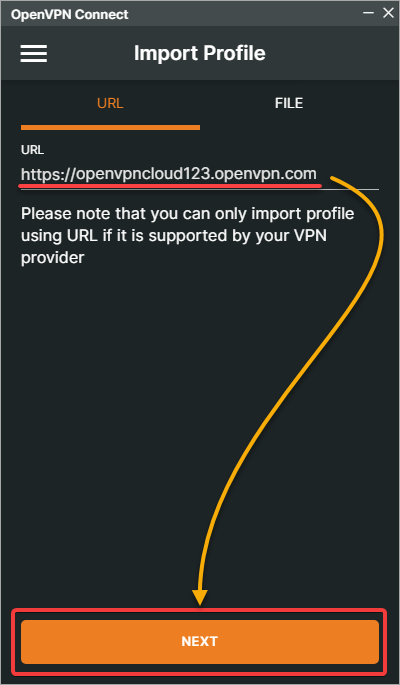
4. Now, navigate to the URL tab under Import Profile, fill in your OpenVPN Cloud URL in the form of [YourCloudID].openvpn.com, and click NEXT.
Be sure to replace [YourCloudID] with the Cloud ID you noted in the last step of the “Creating an OpenVPN Cloud Account” section.
This URL refers to the address of the OpenVPN Cloud server you will be connecting to.
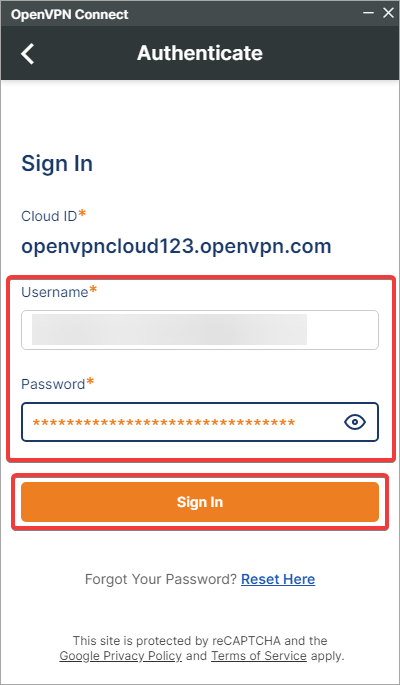
5. Provide your OpenVPN Cloud account credentials, and click Sign In to authenticate the connection.
6. Next, select a region from the list, as shown below, to connect to the VPN. OpenVPN offers various regions to choose from, including North America, South America, Europe, Asia, and Oceania.

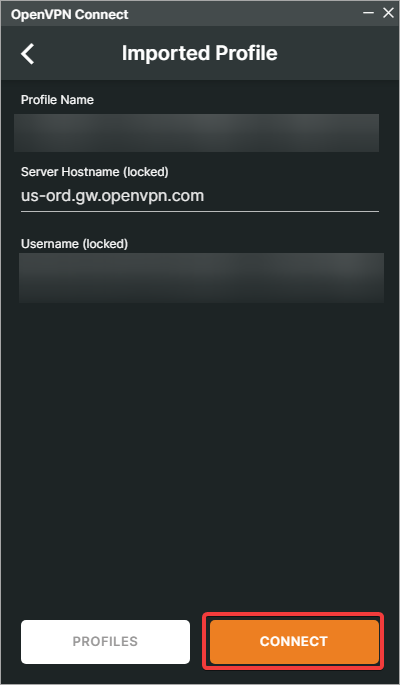
7. Once you have selected a region, click Connect to initiate the connection.
The client will establish a secure connection to the OpenVPN Cloud via the selected region.
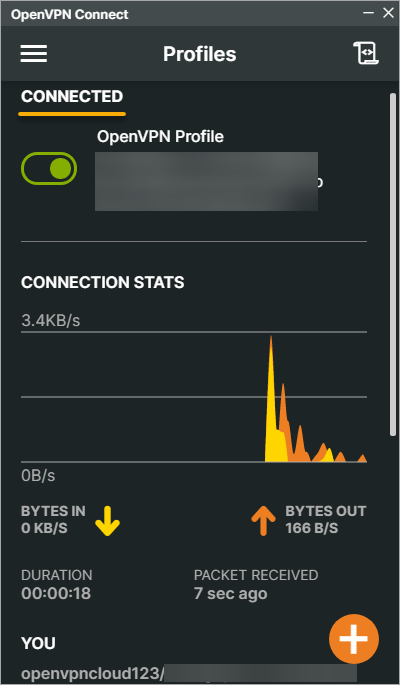
If successful, you will see a similar screen, as shown below, indicating you are now connected to the VPN.
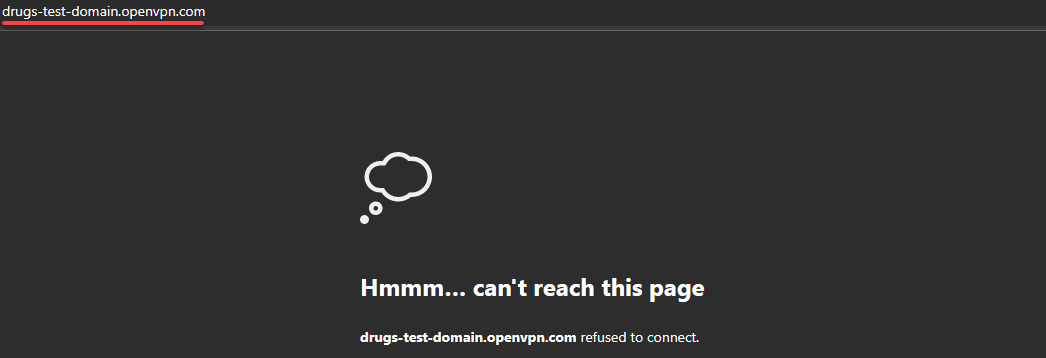
8. Visit a site with adult-related content, like drugs-test-domain.openvpn.com, to test if the Cyber Shield Domain Filtering blocks them.
Below, you can see the page is unreachable as it has been blocked.
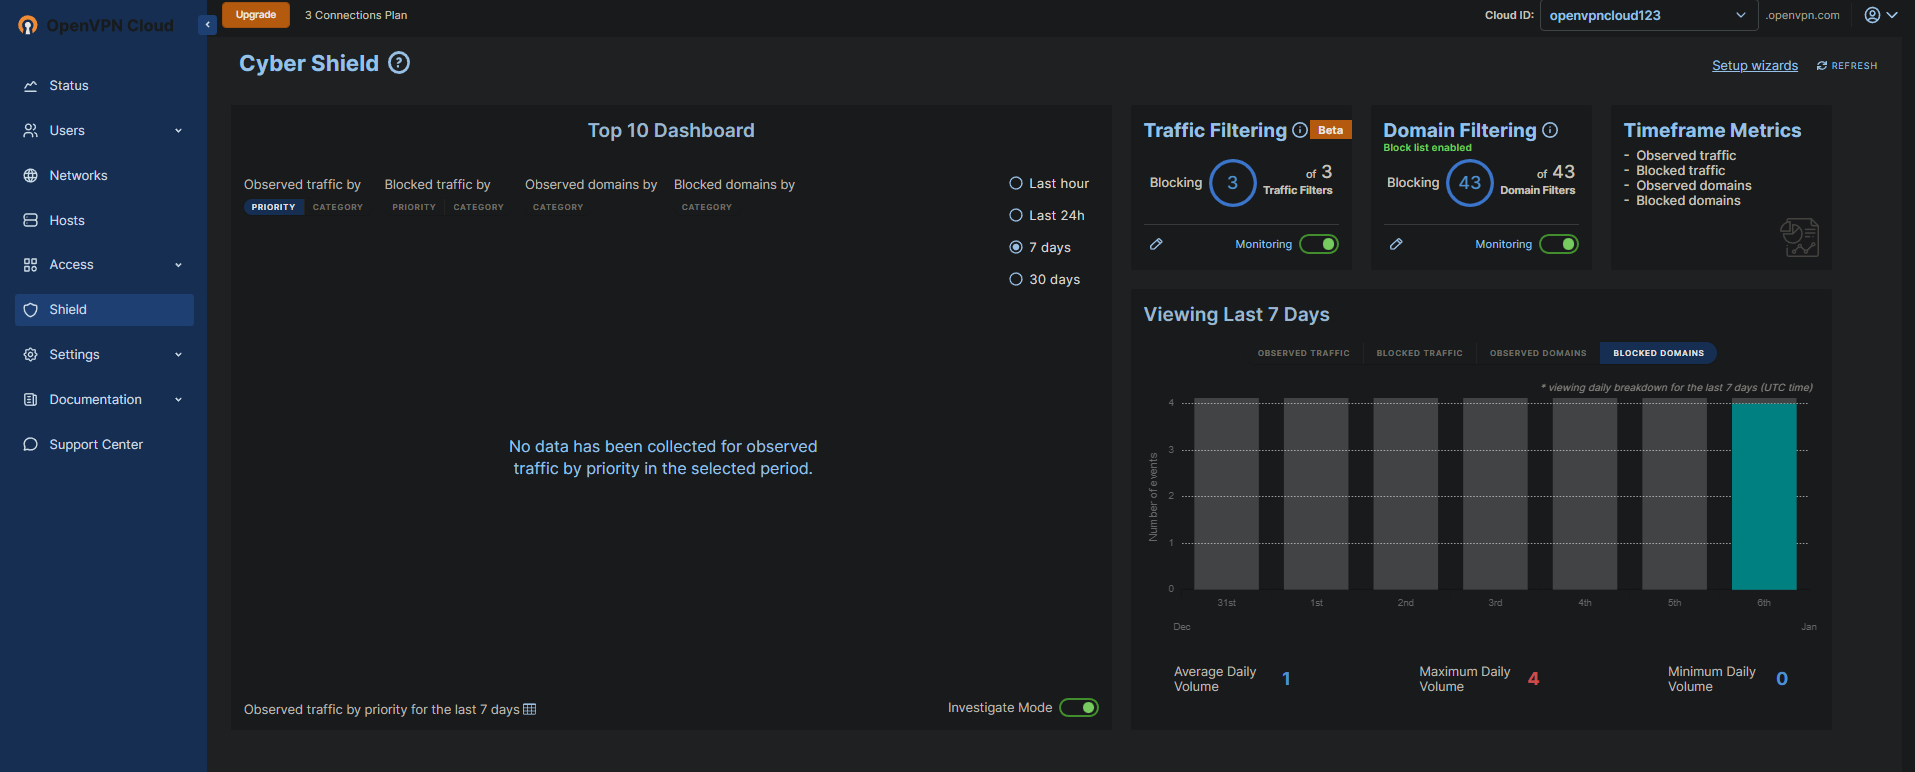
9. Finally, navigate to the Cyber Shield Domain Filtering page again to see the details of the blocked request.
As you can see below, the page displays the date and time of the blocked request.
Congratulations! You have successfully added a layer of security to your network via OpenVPN Cloud.
Conclusion
A cloud-based VPN solution like OpenVPN Cloud can help secure your network and protect against malicious attacks. And in this tutorial, you learned how to enable Cyber Shield Domain Filtering to block unwanted sites/content. You have successfully connected to your OpenVPN Cloud and verified your VPN works as intended.
At this point, you can easily set up and use OpenVPN Cloud to protect your network and ensure the security of your data. But why not explore all the other features and capabilities of OpenVPN Cloud? Perhaps start configuring an AWS VPC network in the OpenVPN Cloud to access your AWS resources securely?


