

Syncing your data across devices is one of the most important aspects of modern security. And if you have been looking for a cross-platform file syncing service, consider OneDrive on Ubuntu. OneDrive is Microsoft’s cloud storage solution, a great way to keep your data in sync.
Why keep your files in your local drive when you put them in the cloud? In this tutorial, you will learn how to sync your files with OneDrive, no matter where you are in the world and whatever device you are on.
Sounds interesting? Read on and keep your files synced and updated with OneDrive!
Prerequisites
This tutorial will be a hands-on demonstration. To follow along, ensure you have an Ubuntu system. This tutorial uses Ubuntu 20.04, but the steps should be similar to other versions of Ubuntu.
Preparing the System for OneDrive Installation
Even though OneDrive works cross-platform, you must prepare your system before you can use OneDrive on Ubuntu. How? The first step is to update your system package list, then ensure no lock files will interrupt the OneDrive installation.
1. Open your terminal, and run the below apt update command to update your package lists. This command ensures you have the latest versions of packages available for download, including OneDrive.
sudo apt update -y
2. Next, run the following apt remove command to remove any existing OneDrive packages that may have been previously installed. Doing so avoids any dependency conflicts during the installation process.
sudo apt remove -y onedrive
3. Lastly, run the commands below to kill any lock files that might be present due to incomplete installations. These commands do not provide output but let you avoid any issues with Ubuntu’s package manager when running the installation command.
sudo rm -rf /var/lib/dpkg/lock-frontend && sudo rm -rf /var/lib/dpkg/lockInstalling OneDrive on Ubuntu
After prepping your system, installing OneDrive on your Ubuntu machine is time. But first, you must add the OneDrive repository to your package list. Doing so lets Ubuntu know about OneDrive and its packages, making installation a breeze.
Since this tutorial uses the Open SUSE repository, you will need to install an additional key. But there are other repositories available.
To add the OneDrive repository to your package list:
1. Run the below wget command to add the repository key (apt-key add). Adding the key ensures any package downloaded from the repository is authentic and has not been tampered with. Without this key, there is no way to guarantee the integrity of the packages you download.
wget -qO - https://download.opensuse.org/repositories/home:/npreining:/debian-ubuntu-onedrive/xUbuntu_20.04/Release.key | sudo apt-key add -
2. Next, run the echo command below to add the OneDrive repository to your system, which allows you to download packages from it.
echo 'deb https://download.opensuse.org/repositories/home:/npreining:/debian-ubuntu-onedrive/xUbuntu_20.04/ ./' | sudo tee /etc/apt/sources.list.d/onedrive.list
3. Once added, run the following command to update the package lists again to pick up the changes. Doing so gives Ubuntu access to the packages in the repository you just added.
sudo apt update -y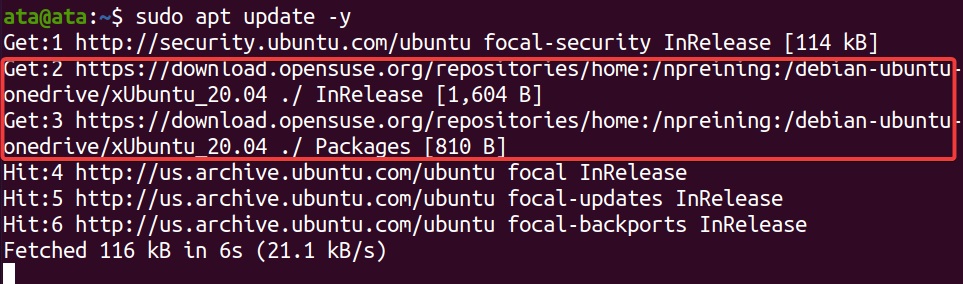
4. Now, run the below apt-cache command to verify (search) that the OneDrive package is available.
sudo apt-cache search onedriveIf you see an entry for OneDrive, as shown below, you are ready to install OneDrive on Ubuntu.

5. Finally, run the apt install command below to install the latest version of OneDrive on your Ubuntu.
This command downloads and installs the package from the repository you added in step three.
sudo apt install onedrive -y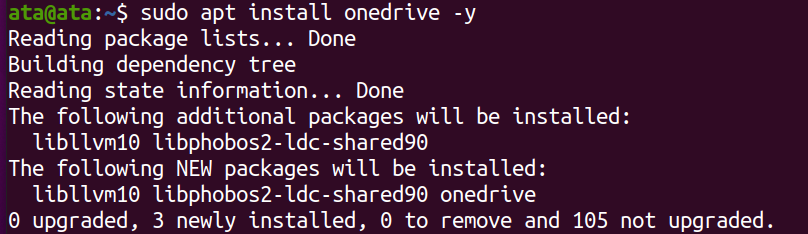
Configuring the OneDrive Installation
You have just installed OneDrive on your Ubuntu machine and are almost ready to sync your files. Yes, almost.
Your OneDrive installation still does not know which account it should provide access to your data on Microsoft’s servers unless you configure your OneDrive installation.
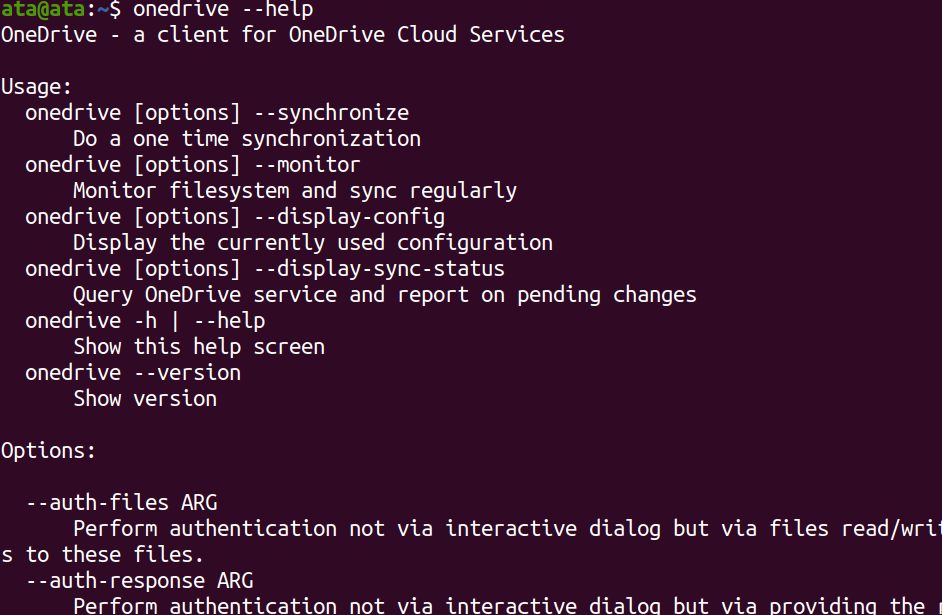
1. Run the command below to list all available options for OneDrive.
onedrive --helpelow, you can see that you have options to set up the remote directory, proxy settings, and more.
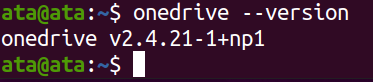
2. Next, run the following command to check the --version of OneDrive you have installed.
onedrive --versionAt this time of writing, the latest version of OneDrive on Ubuntu is v2.4.21+np1.
3. Now, run the onedrive command below without parameters to configure OneDrive.
onedriveCopy the URL provided in the output for Microsoft account authentication.

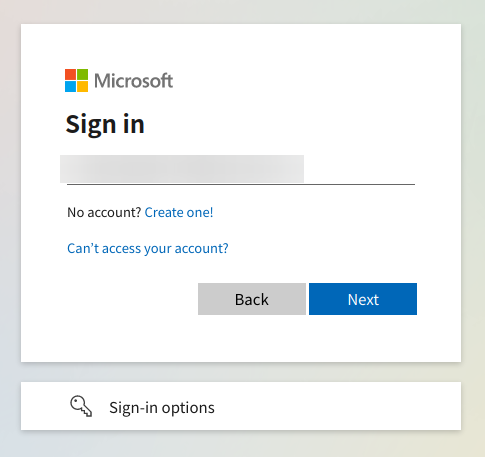
4. Now, open your favorite web browser, and navigate to the URL you copied in step three. Your browser redirects to Microsoft’s servers authentication page.
Sign in with your Microsoft account credentials associated with OneDrive to authenticate the connection.
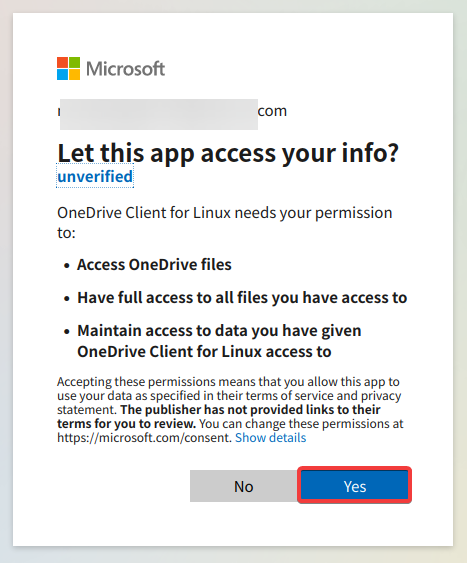
5. Click Yes when prompted to confirm providing access to your OneDrive account.
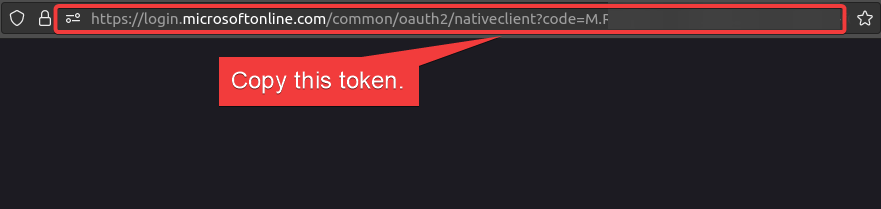
6. Copy the URL in the address bar, as shown below.
In the following step, you will use this response URL as a token for OneDrive authentication.
7. Lastly, switch back to your terminal, paste the response URL (token) you copied in step six, and press Enter.
As shown below, you will see a successful message when the setup finishes.

Syncing Files from the Cloud
After successfully configuring your OneDrive installation, how would you know it is working? You will perform a sync to test your OneDrive on Ubuntu works. Syncing is when OneDrive synchronizes the local folder with your OneDrive cloud and vice versa.
Once synced, any changes made in the local folder are automatically synchronized with your OneDrive cloud. This behavior keeps your data in sync between both places. Suppose your local disk fails. You can get your work back in no time by restoring it from the cloud.
To demonstrate how syncing files from the cloud works:
1. Create a new text file named onedrive-on-ubuntu.txt with some context (i.e., “Hello from cloud!”) in your OneDrive cloud.
2. Next, run the following command to sync the file from the cloud to your local drive.
onedrive --synchronize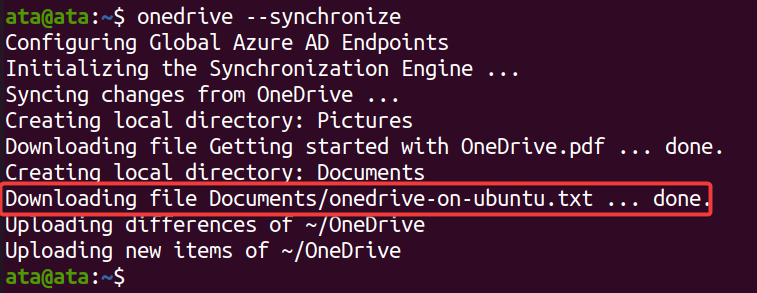
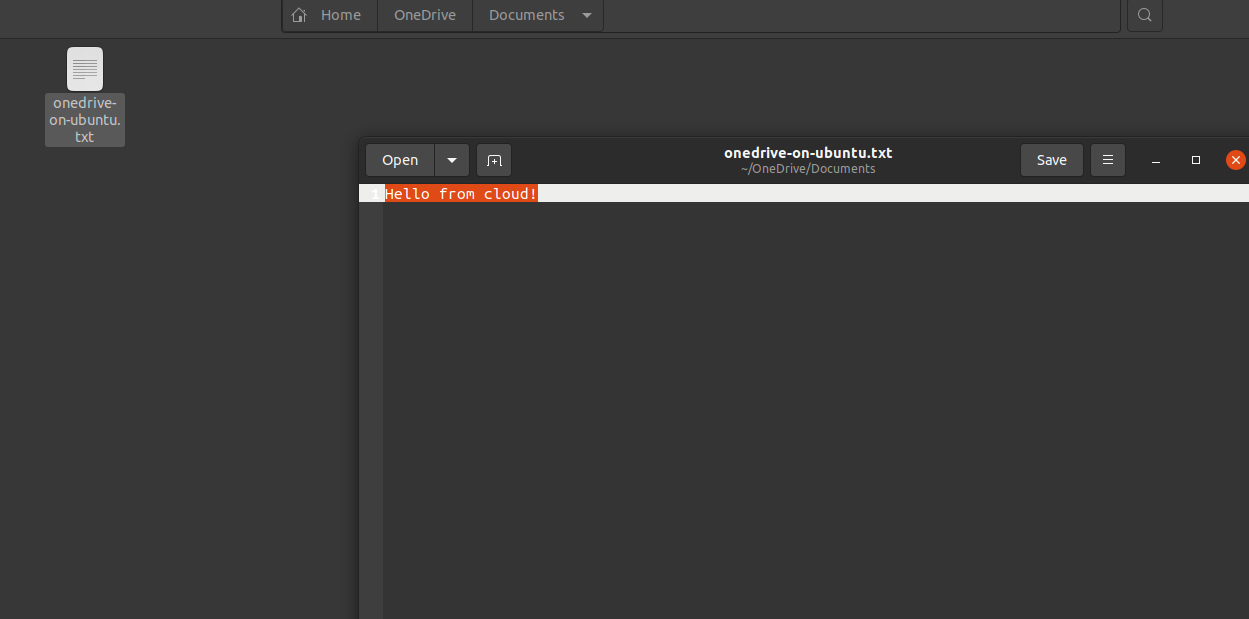
3. Now, open your file manager, and navigate to your OneDrive local directory (/home/username/OneDrive).
Below, you can see the onedrive-on-ubuntu.txt file exists, which verifies the file successfully synced to your local drive.
Syncing Files from the Local Directory
Perhaps you made changes in your local directory, like modifying a text file. If so, you can sync that directory to the cloud to save your changes. This feature can be helpful when saving your work in the cloud for backup.
To demonstrate performing a sync from the local directory:
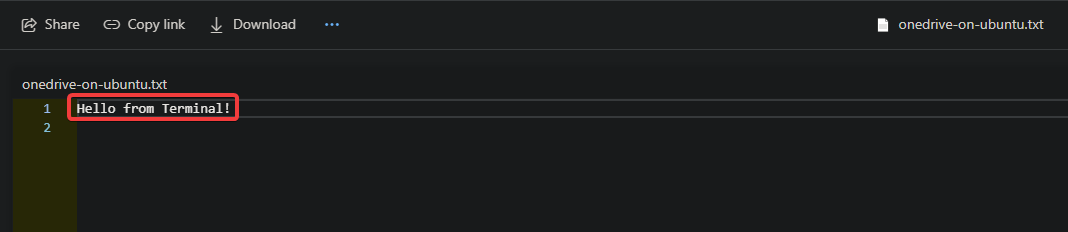
1. Open a text file (onedrive-on-ubuntu.txt) from your local directory (/home/username/OneDrive), change the content to “Hello from Terminal”, and save the changes.
2. Next, run the following command to sync the changes (--synchronize) from your local drive to the cloud (--upload-only). Any new files or changes added to the cloud will be ignored.
onedrive --synchronize --upload-only
3. Finally, open the text file (onedrive-on-ubuntu.txt) in your OneDrive cloud to verify that the changes were synced, as shown below.