

Are you looking for a fast and scalable JavaScript runtime environment for your applications? Node.js and NPM on Windows have become the go-to solutions for many developers, and you can get them installed on your machine in a heartbeat.
Installing this ultimate duo can feel like venturing into an unknown tech jungle. But in this tutorial, you will learn how to install Node.js and NPM. In time, you can dive into web development, creating cool apps, or building your own website.
Keep reading to build your full-stack applications more efficiently!
Prerequisites
Before installing Node.js, ensure you have a 64-bit version of Windows installed with at least 4GB of RAM. This tutorial uses Windows 10 64-bit with 8GB of RAM for the demonstrations.
Installing Node.js and NPM on Windows via a Node Installer
You have laid the foundation; it is time to catapult you into the exciting world of Node.js and NPM on Windows. But before diving in, you must first install Node.js and NPM.
In this example, you will use a Node Installer – a game-changer that simplifies the installation process.
To get Node.js and NPM running on your Windows machine, carry out these steps:
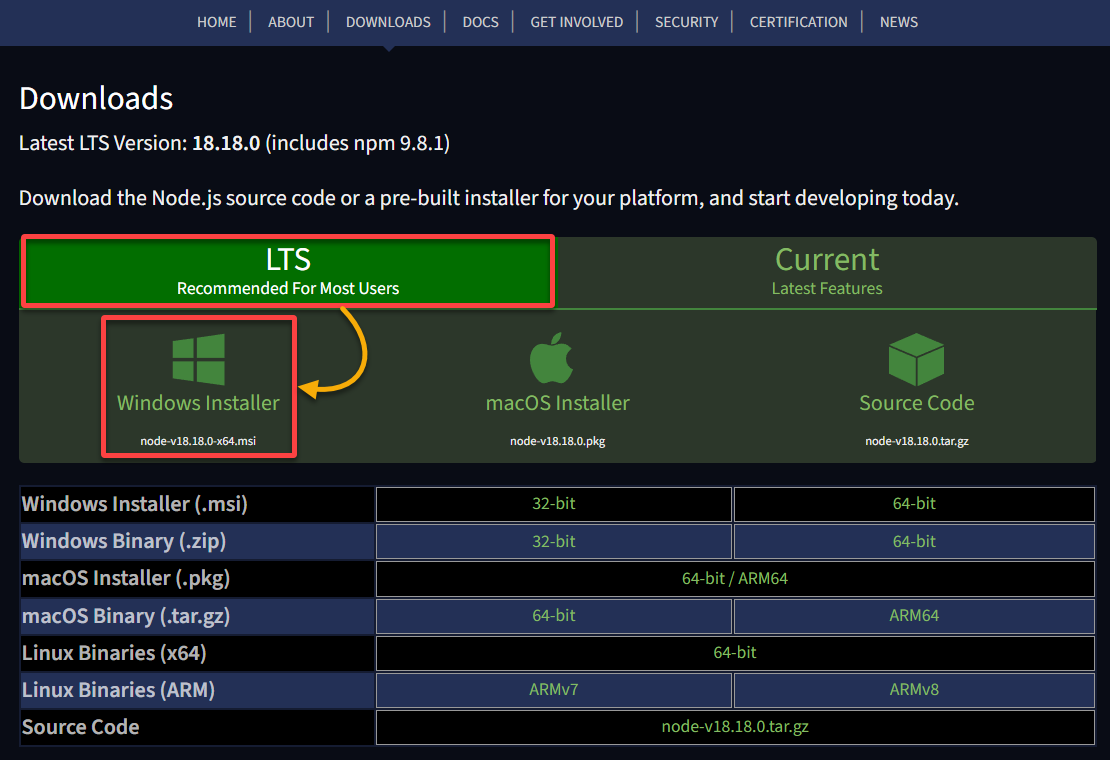
1. Open your favorite web browser, navigate to the official Node.js downloads page, and download the Node.js Windows 64-bit Installer.
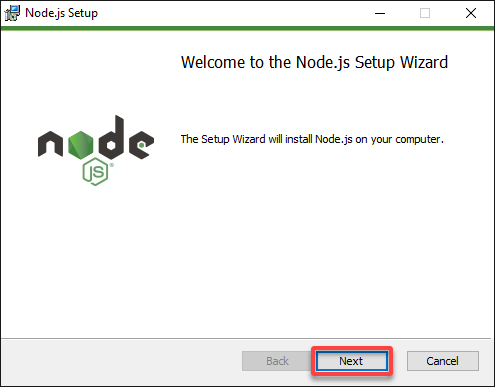
2. Once downloaded, double-click the installer to start the installation process.
3. Click Next on the Setup Wizard window that appears to continue with the installation.
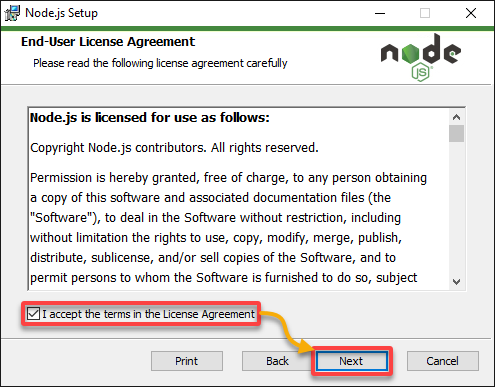
4. Now, tick the checkbox below and click Next to accept the license agreement.
5. Choose where to install Node.js and NPM on your Windows machine, or keep the default location, and click Next to continue.

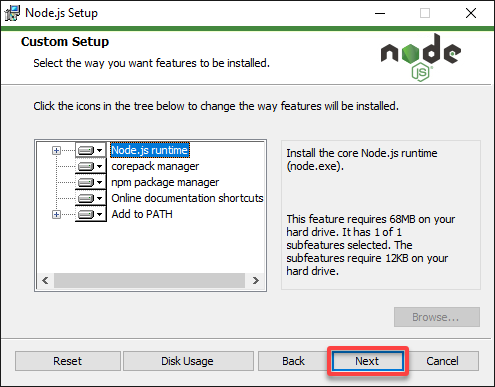
6. Keep the default features as is (or customize as necessary), and click Next to continue.
This custom setup lets you choose which components of Node.js and NPM you want to install on your Windows machine.
7. Tick the checkbox below, and click Next.
This option tells the Wizard to install the necessary dependencies for Node.js and NPM, such as Python, Visual C++ Build Tools, Chocolatey, etc.

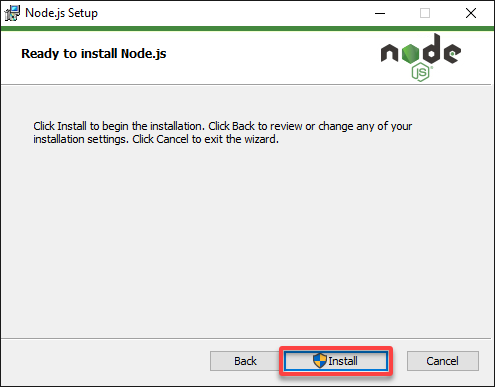
8. Click Install to start the installation process.
When you install Node.js, NPM is automatically included, simplifying the process of starting Node.js projects and leveraging the wealth of available packages and tools.
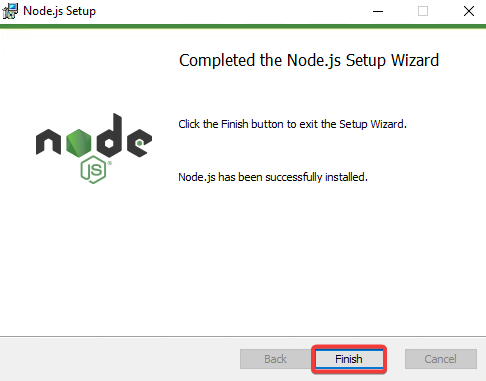
9. Once installed, click Finish to close the setup wizard.
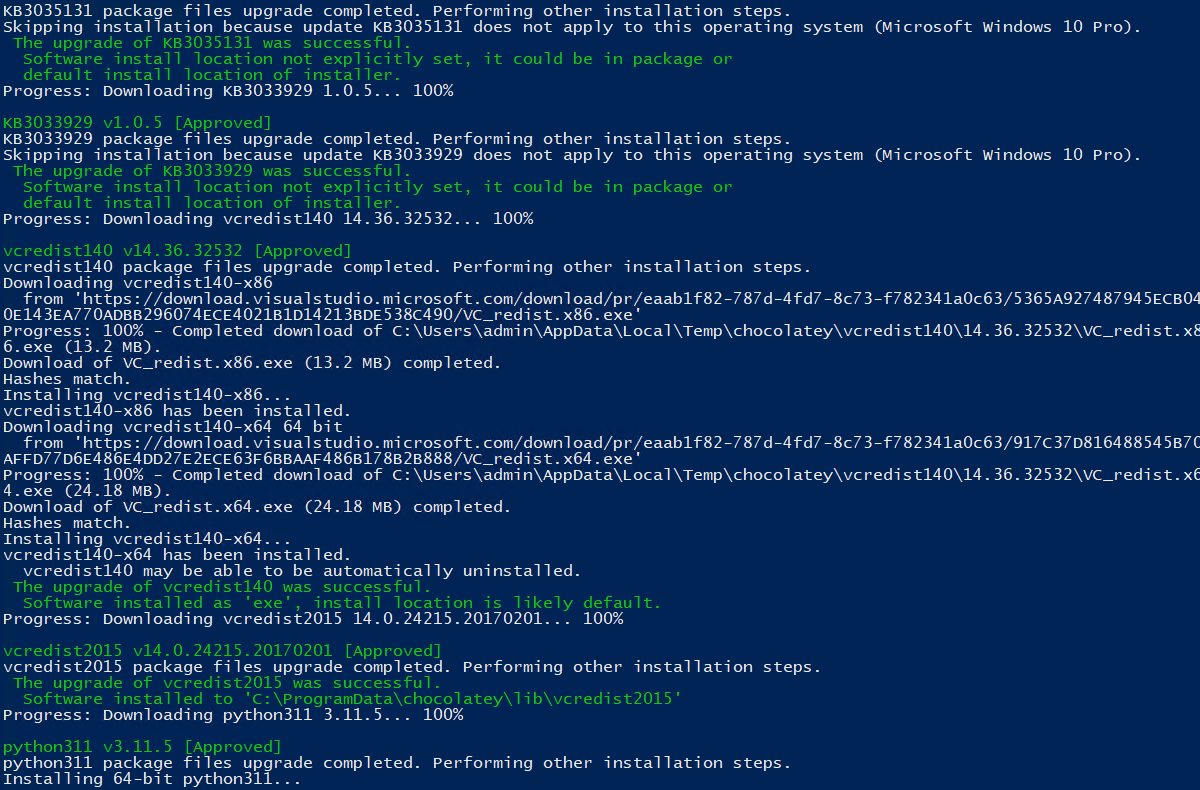
10. During the installation process, allow all prompts in the PowerShell console that appear to install the required dependencies.
Node.js offers a large ecosystem of open-source libraries and packages available via NPM.
These packages provide pre-built solutions for various tasks, like building web servers, handling HTTP requests, working with databases, and more, helping to streamline development.
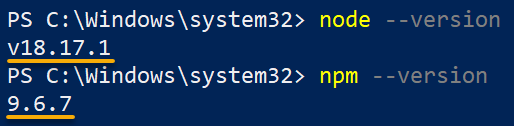
11. Ultimately, open another PowerShell session and run the following commands to check Node.js and NPM versions installed on your system.
# Checks Node.js version
node --version
# Checks NPM version
npm --version
The output below shows the installed versions of Node.js and NPM, which verify that both are installed correctly on your machine. You are now equipped to embark on full-stack application development using JavaScript!
Installing Node.js and NPM via a Node Version Manager (NVM)
You have already learned how to install Node.js and NPM on Windows using a Node installer. But what if you are working on multiple JavaScript projects?
NVM is a more convenient option designed to simplify your computer’s management of Node.js and NVM versions. In a nutshell, NVM allows you to install and quickly switch between versions of Node.js and NPM.
To install Node.js and NPM via NVM, follow these steps:
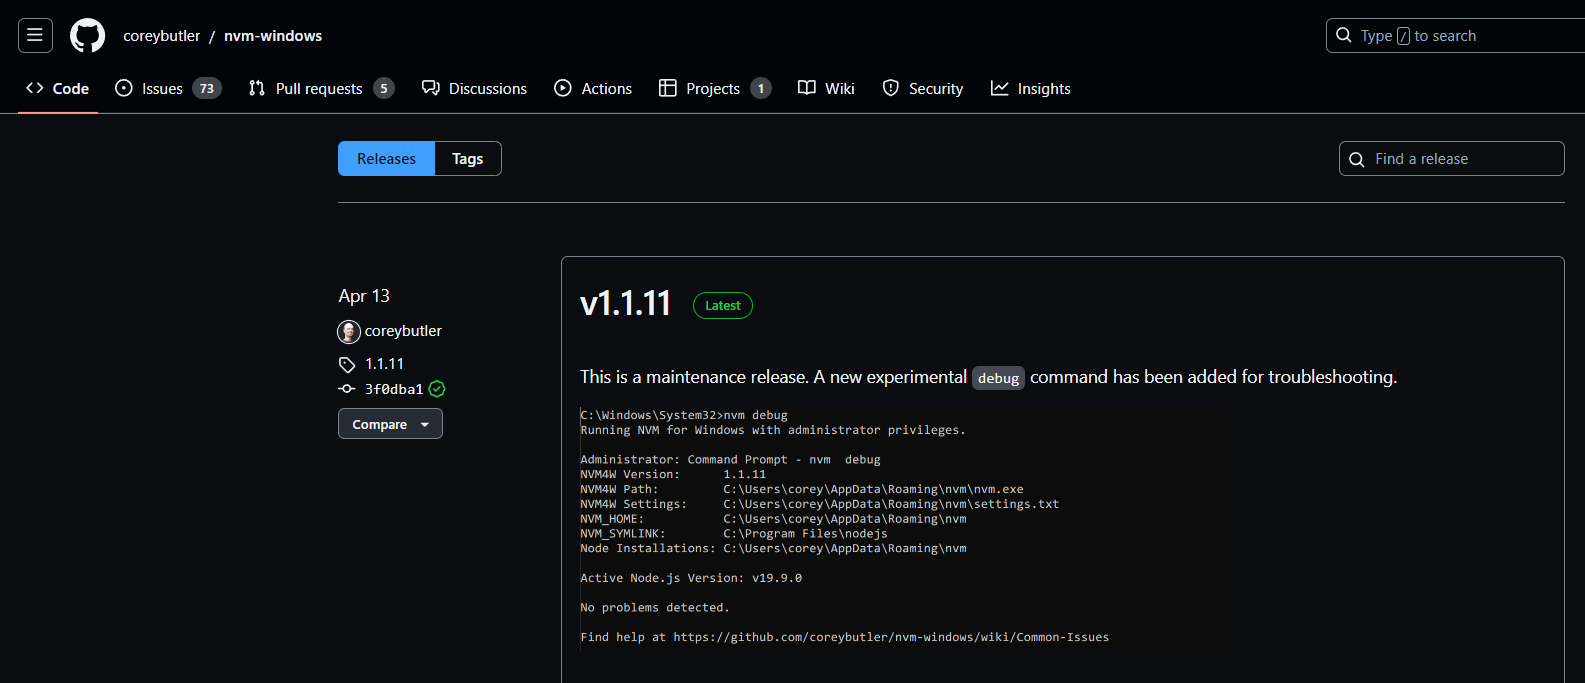
1. Visit the GitHub repository for NVM on your web browser and look for the latest version, which, at this time of writing, is v1.1.11.
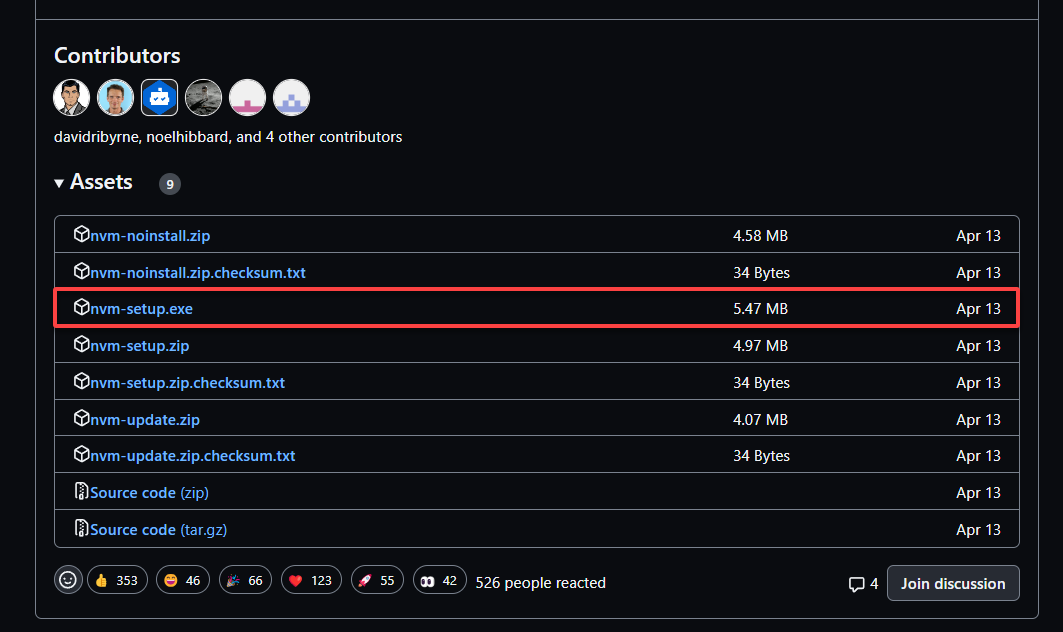
2. Scroll down and click the executable file, as shown below, to download the installer package (nvm-setup.exe)
3. Once downloaded, double-click the Installer to start the installation process.
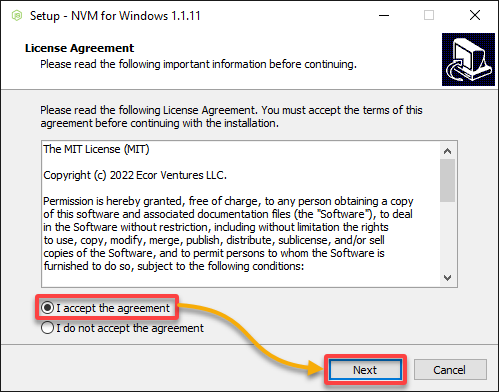
4. On the Setup wizard, accept the license agreement and click Next to continue.
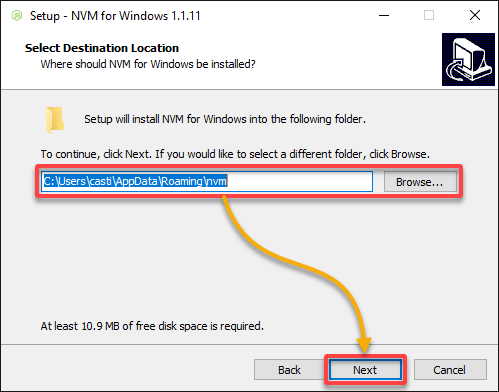
5. Select a destination folder for the installation (or keep the default), and click Next.
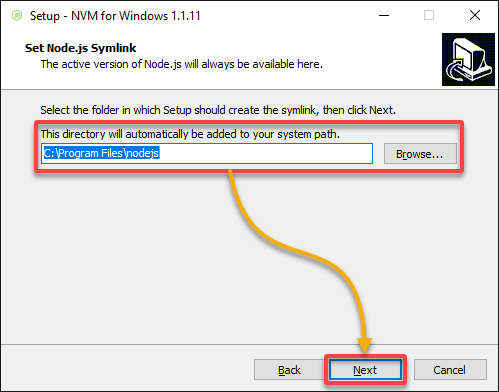
6. Select a destination folder for the Symlink (or keep the default), and click Next.
The symlink is a shortcut for NVM to access the necessary files to switch between different Node.js versions.
For instance, one project may require Node.js version 10, while another may need version 11. Uninstalling and reinstalling these versions every time you switch can be time-consuming, not to mention error-prone.
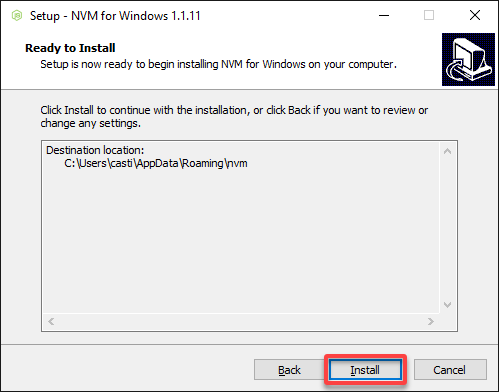
7. Click Install to start the installation process.
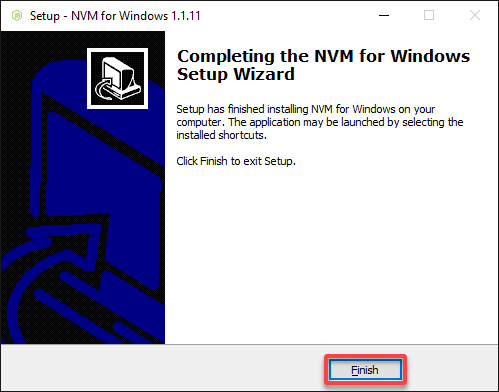
8. Once the installation completes, click Finish to close the setup wizard.
NVM has now been installed on your Windows machine, and you can begin managing different Node.js versions.
9. Lastly, open PowerShell as administrator and run the following commands to install multiple Node.js versions using NVM:
nvm install latest– Fetches and installs thelatestreleased version of Node.js from the Node.js distribution. This command ensures you are working with the latest features, improvements, and updates provided by the Node.js community. But beware, as it may contain experimental features or bugs.nvm install lts– Installs the latest Long Term Support (LTS) version of Node.js. LTS versions are releases of Node.js that are actively maintained for 18 months from the date they become LTS. They are typically more stable and recommended for most users as they receive critical bug fixes and performance improvements.
nvm install latest
nvm install lts
Switching Between Different Node.js Versions via NVM
With Node.js and NPM set up, you can explore a genuinely dynamic feature – the ability to switch between different versions of Node.js effortlessly.
This feature ensures you can seamlessly adapt your development environment to the specific requirements of each project you are working on.
To switch between different Node.js via NVM, proceed with the following steps:
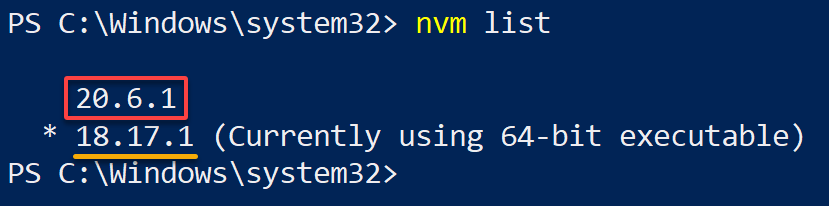
1. Execute the following command to list all versions of Node.js installed on your Windows machine.
nvm listPick one Node.js version you wish to switch to from the list of installed ones. Notice that version 18.17.1 is currently in use.
2. Next, run the commands below to check the Node.js and NPM versions currently in use.
node --version
npm --version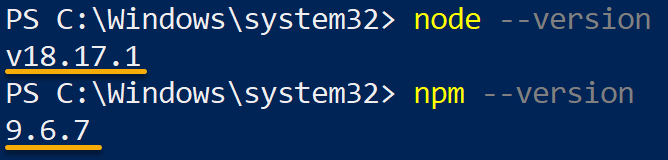
3. Once checked, execute the below command to switch (use) to a different installed Node.js version. Ensure you replace <version> with the version number you noted in step one.
nvm use <version>The below example switches to Node.js version 20.6.1.

4. Now, invoke the same commands from step two to verify you have successfully switched versions.
node --version
npm --version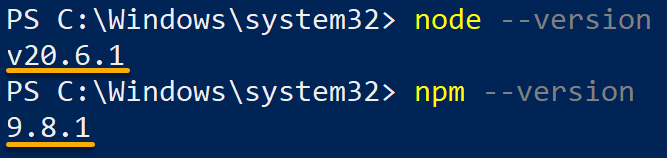
Testing the Node.js and NPM Installation
Successfully switching between Node.js versions is a remarkable feat, but you must ensure everything runs as smoothly as silk by testing your Node.js and NPM installation.
In this example, you will create a small interactive JavaScript program where users can input two numbers, and the program will return the sum of those numbers.
To test your Node.js and NPM installation with a JavaScript program:
1. Execute the following commands to create (New-Item) a Directory named nvm-window-demo and move into it.
You can change the directory path, as it will contain your project files.
New-Item -ItemType Directory -Path C:\Users\admin\nvm-window-demo
cd C:\Users\admin\nvm-window-demo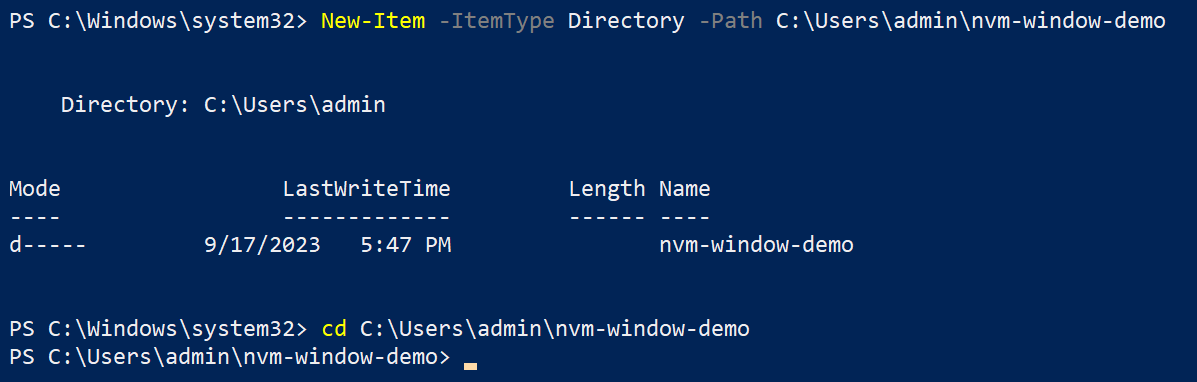
2. Next, run the below command to initialize a new NPM project in your current working directory
npm init -y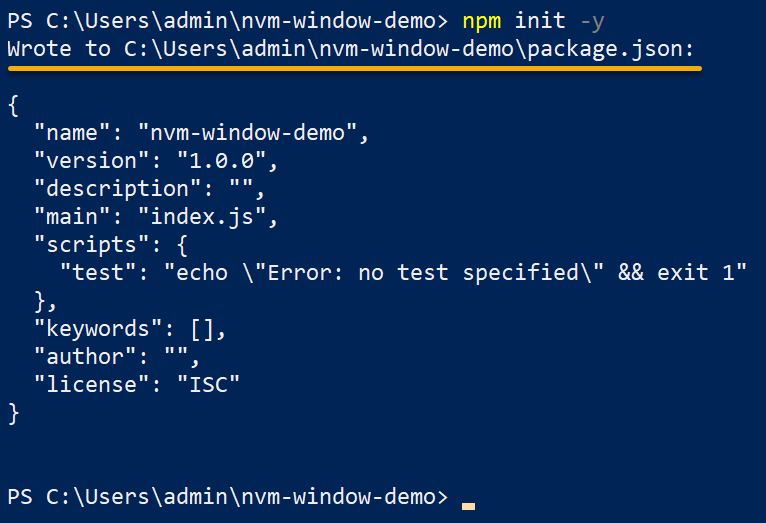
Your nvm-window-demo directory will look like the one below. A package.json file is created in your project directory, which is used to manage your project’s dependencies and scripts.

3. Once initialized, run the command below to install a third-party package named prompt-sync and add it as a dependency in your package.json file using NPM.
This package provides a way to synchronously prompt the user for input from the console.
npm install prompt-sync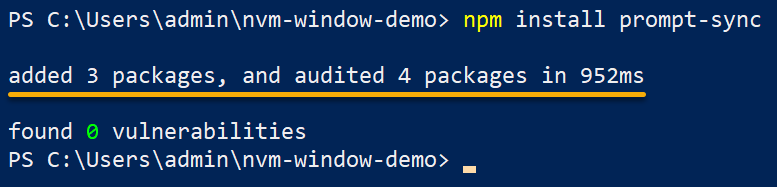
4. Now, create a new JavaScript file named addNumbers.js in your preferred text editor, populate the following code, and save and close the file.
This code uses the prompt-sync package to prompt the user to input two numbers consecutively and display their sum to the console.
// Import the 'prompt-sync' library to get user input from the console
const prompt = require('prompt-sync')();

// Prompt the user to enter the first number and store it in the number1 variable
const number1 = prompt('Enter the first number: ');

// Prompt the user to enter the second number and store it in the number2 variable
const number2 = prompt('Enter the second number: ');

// Parse the entered numbers as floats (decimal numbers)
const parsedNumber1 = parseFloat(number1);
const parsedNumber2 = parseFloat(number2);

// Calculate the sum of the two parsed numbers and store it in the sum variable
const sum = parsedNumber1 + parsedNumber2;

// Display the result to the console, including the input numbers and the sum
console.log(`The sum of ${number1} and ${number2} is ${sum}`);
💡 Node.js is a JavaScript runtime, enabling the execution of JavaScript code on the server side rather than solely within web browsers. This capability empowers you to leverage the same language (JavaScript) for client and server-side development, streamlining the creation of full-stack applications.
5. Finally, execute the following command to run your script (addNumbers.js) using Node.js (node).
node .\addNumbers.jsEnter two random numbers when prompted, as shown below, and you will get the sum of those numbers.
If you see the identical output shown below, well done! This output signifies you have successfully installed Node.js and NPM on your Windows system.

Conclusion
Congratulations, you have just unlocked a powerful gateway to modern web development by successfully installing Node.js and NPM on Windows! You have learned the ropes, from the Node installer method to the more advanced NVM for version control.
You have even flexed your skills by seamlessly switching between Node.js versions and confirming your setup with a nifty JavaScript program.
Now, why not further explore the power of Node.js by learning about its core concepts, such as streams, modules, and filesystems? Keep coding, exploring, and, most importantly, keep building amazing things with Node.js and NPM. The digital world is yours to shape!


