

Configuring a network share for file transfer is a pain. Even if you manage to get all the configurations right, there is no guarantee that the other person’s system is configured correctly. But worry not. NitroShare is here to save the day.
NitroShare is a simple yet powerful cross-platform application that sends files over a network as quickly as drag-and-drop. There is no need to mess with IP addresses or share paths. And in this tutorial, you will learn how to install and use NitroShare to transfer files between two different systems.
Read on and save yourself the stress of file transfer!
Prerequisites
This tutorial comprises hands-on demonstrations. You will need two computers running any flavor of Windows and macOS connected on the same network to follow along. This tutorial uses Windows 10 64-bit and macOS Big Sur.
Downloading and Installing NitroShare on Windows
NitroShare is free, open-source software that works with no complicated setup required. NitroShare is platform-independent and offers high-speed file transfer. Regardless of the operating system (Windows, macOS, and Linux are all supported), you can install and use NitroShare.
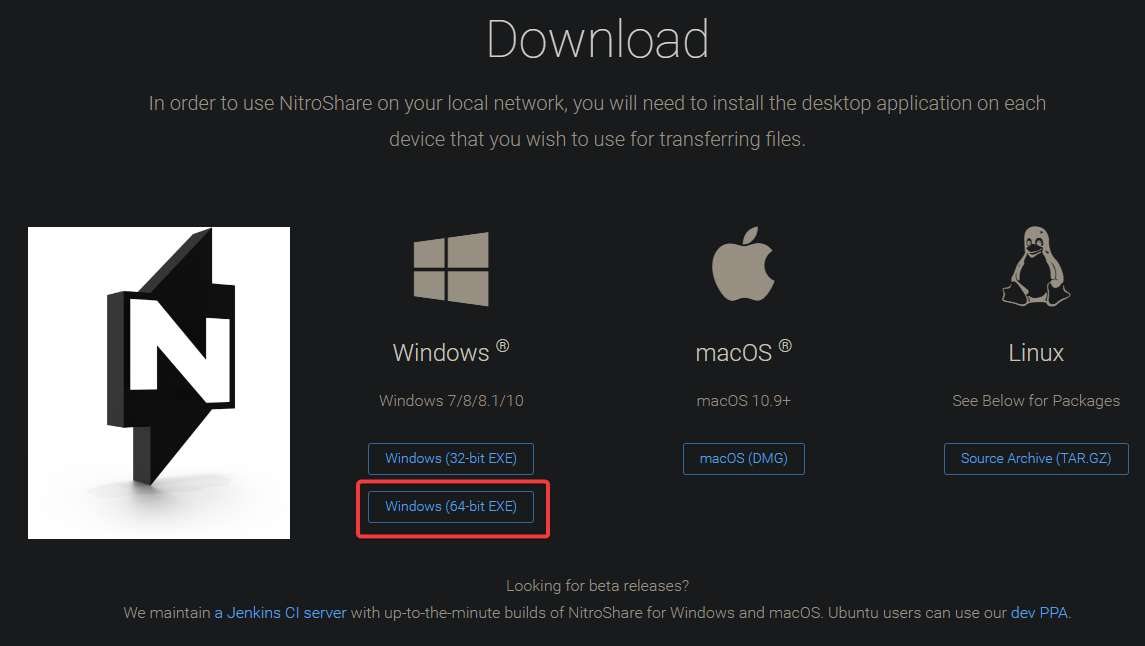
1. Open your favorite web browser, and head to the NitroShare official download page.
2. Next, scroll down to the Download section, and click the Windows (64-bit EXE) hyperlink, as shown below, to download the installer.
3. Double-click on the installer you downloaded to start the installation process.
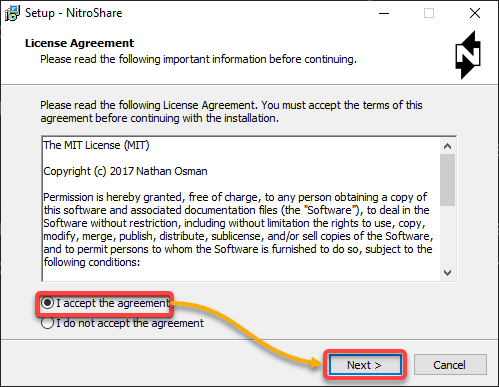
4. Now, read through the NitroShare End User License Agreement (EULA), select the I accept the agreement option, and click Next to continue.
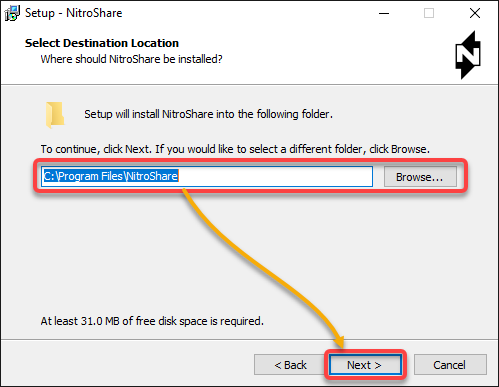
5. Select the location to install NitroShare, and click Next.
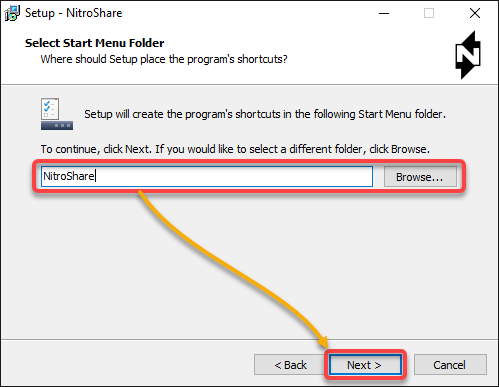
6. Choose the NitroShare’s shortcut location and name, and click Next.
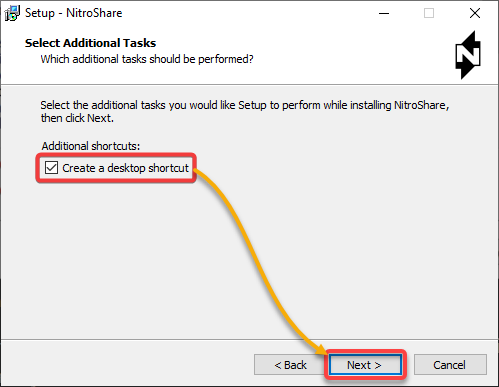
7. Next, tick the checkbox to Create a desktop shortcut of NitroShare, and click Next.
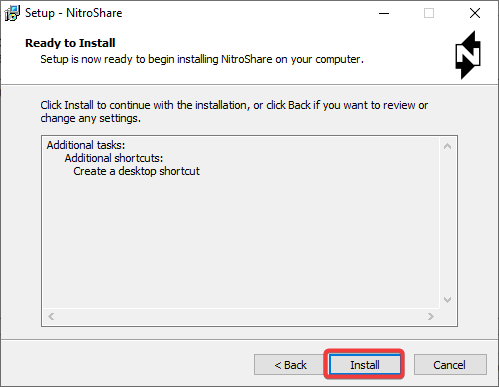
8. Review the summary of the installation settings, and click Install to start installing NitroShare on your computer.
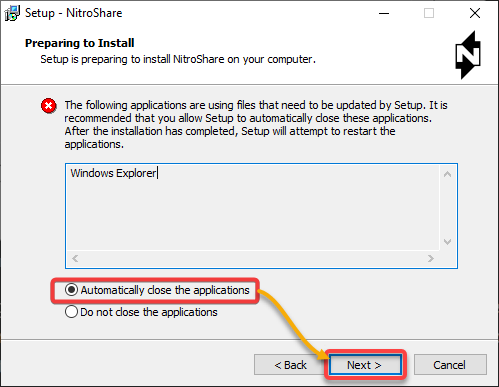
9. Select the Automatically close the applications option and click Next. Doing so closes and restarts Windows Explorer since NitroShare needs to register some Component Object Model (COM) components after installation.
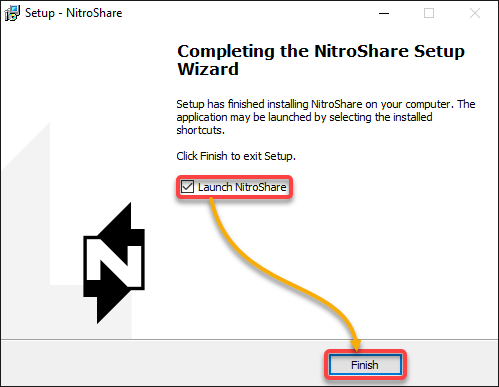
10. Lastly, click Finish to close the Setup Wizard and open NitroShare.
At this point, NitroShare should be running, listening for other computers running NitroShare on the same network to connect and share files. No manual configurations are needed!
Downloading and Installing NitroShare on macOS
Downloading NitroShare on macOS is similar to how you downloaded the tool on Windows. But installing NitroShare on macOS is a bit different.
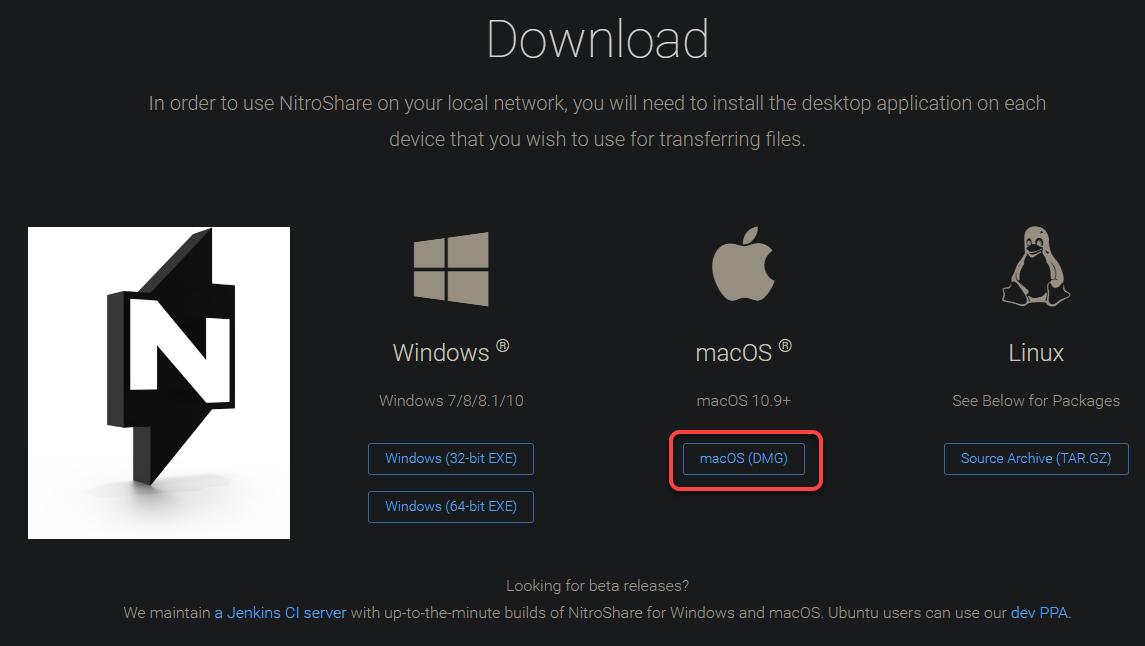
1. Launch your web browser, navigate to the same NitroShare official download page and scroll down to the Download section.
2. Next, click the hyperlink of the appropriate installer for your system under macOS to download the installer. The installer file is in DMG format, the standard format for macOS software installers.
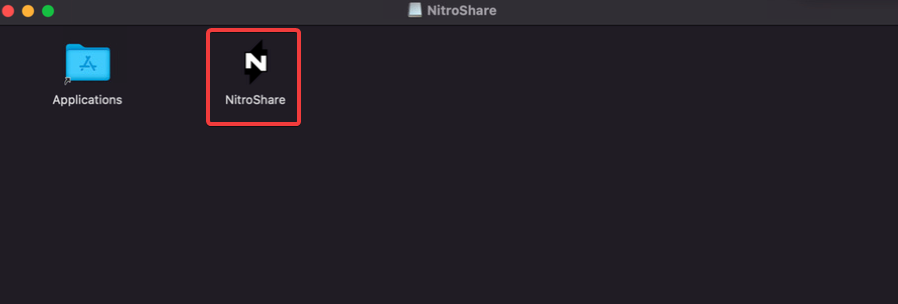
3. Once downloaded, double-click the installer, and a new window will show the DMG’s contents. Double-click on the NitroShare application icon to start the installation process.
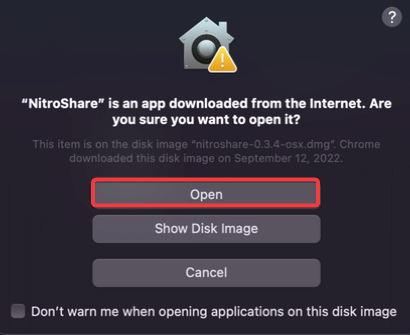
4. Now, click Open on the pop-up window to confirm opening the installer.
The message below shows up because the application is from an unidentified developer—nothing to be afraid of. You can safely ignore this warning since you downloaded the installer from the official NitroShare website.
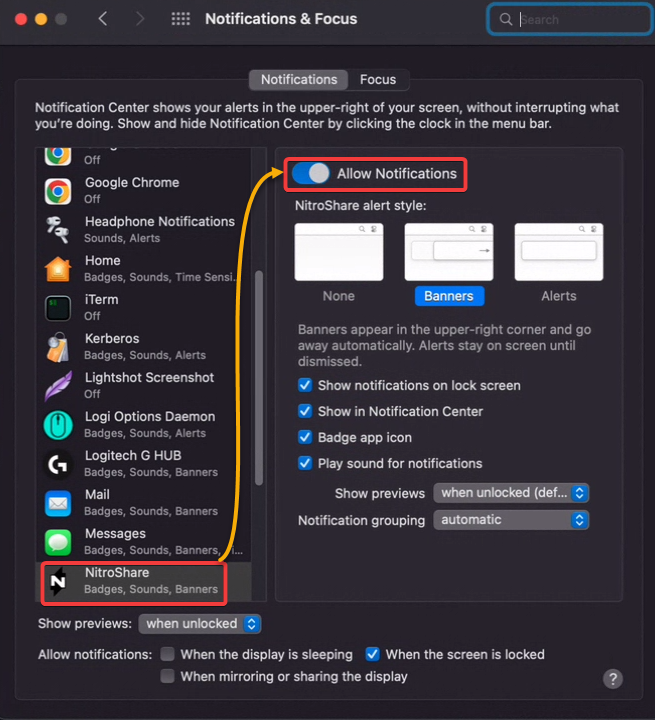
5. Lastly, navigate to Settings → Notifications & Focus → NitroShare (left panel), and enable the Allow Notifications toggle button to enable notifications for NitroShare.
This setting is optional but can be helpful to know when files have been sent or received.
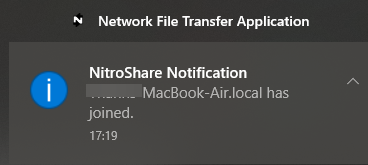
You will see a notification on your Windows computer about your macOS computer joining the network, as shown below.
Your Windows computer automatically detects your macOS once NitroShare starts up without having to do any manual configurations!
Sending Files and Folders from Windows to macOS
Now that NitroShare is installed and running on your Windows and macOS computers, it is time to see NitroShare in action. In this example, you will transfer a file and a folder from your Windows machine to your macOS. But vice versa, the same process applies.
1. Create a text file (test01.txt) with your preferred editor on your Windows computer, and add some content to the file (i.e., Hello from Windows 10). This file will be your test file to send to your macOS.
Note that the file name, contents, and folder name are arbitrary throughout this tutorial.
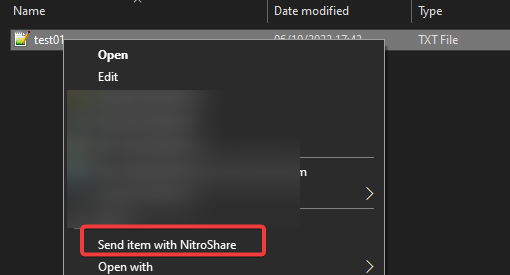
2. Next, navigate to the folder where you saved the file in File Explorer, right-click on the file, and choose Send item with NitroShare, as shown below, to initiate sending the file.
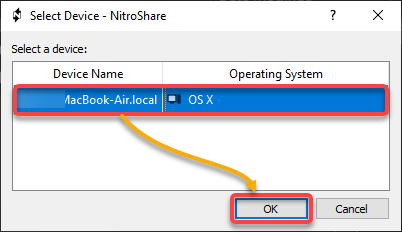
3. Select your macOS device from the pop-up window that appears and click OK to confirm sending the file.
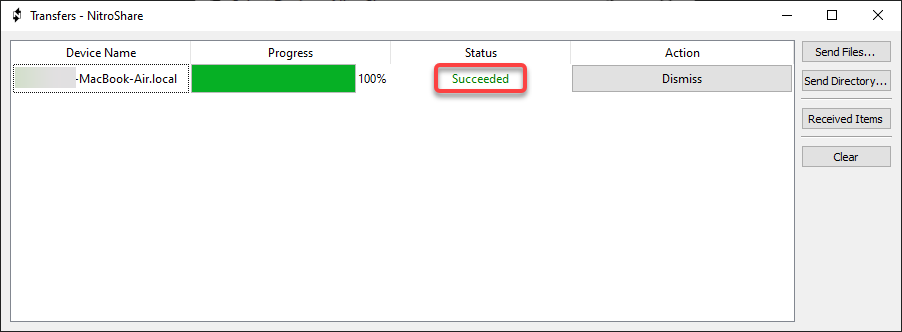
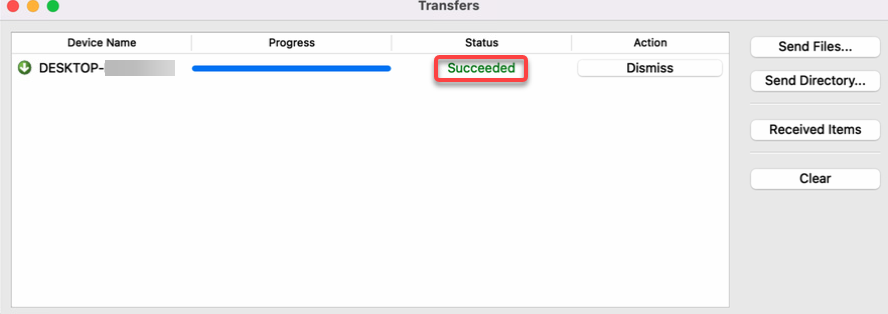
If successful, you will see a green Succeeded status both in your Windows and macOS computers, as shown below.
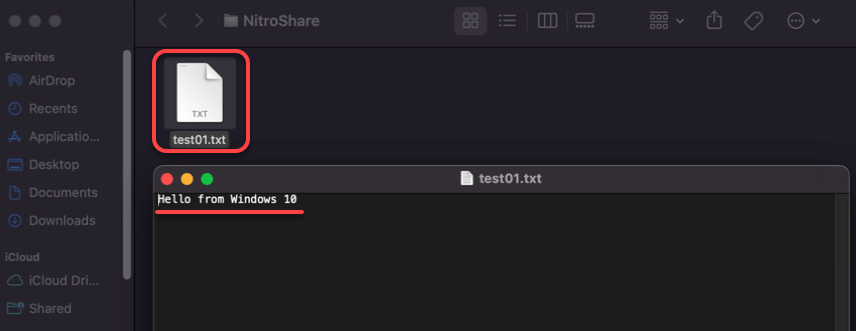
4. Now, navigate to the NitroShare directory on your macOS to see if the file exists, then open the file to verify that the contents are correct.
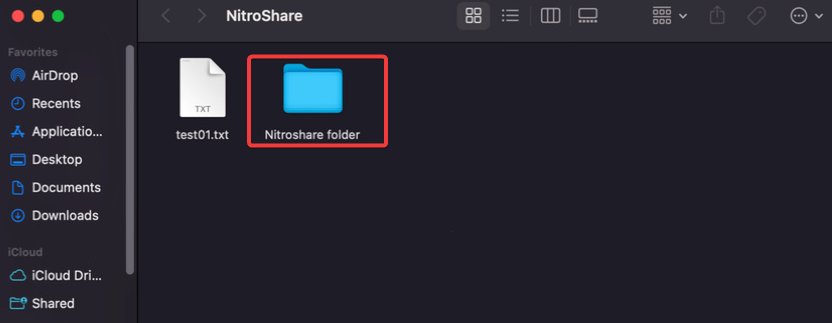
5. Create an empty folder on your Windows machine, and send that folder to your macOS as you did in steps two to three.
6. Finally, navigate to the NitroShare folder on your macOS machine, and you will see the transferred folder, as shown below.
There you have it! You have successfully transferred a file and folder from Windows to macOS using NitroShare, just like copying files from one location to another.
Conclusion
Transferring files does not have to be a pain. And in this tutorial, you learned how NitroShare lets you quickly transfer files and folders between Windows and macOS computers. All these without having to configure anything manually!
NitroShare provides a simple and convenient way to transfer files between nearby computers. With this newfound knowledge, would you take advantage of NitroShare to transfer files across different machines?


