

If you need a portable, extensible, and open-source platform you can use to manage containerized workloads and services, Kubernetes on Windows is a must-have. Kubernetes enables you to deploy and manage containerized applications at scale.
In this tutorial, you’ll learn to install Kubernetes on Windows using Hyper-V and Docker. And at the end of this tutorial, you will have a working Kubernetes cluster and a web-based UI you can use to deploy and manage your pod and applications.
Read on and start scaling your applications!
Prerequisites
This tutorial will be a hands-on demonstration. If you’d like to follow along, be sure you have a Windows 10 computer (or later) with the following:
- At least 4GB of RAM. The general rule for RAM is 300MB for each node in the cluster.
- A processor that supports hardware virtualization (most Intel and AMD processors released since 2005).
Enabling Hyper-V to Support Virtualization
Before running Kubernetes, you first have to enable Hyper-V on your machine. Hyper-V is a type 1 hypervisor that provides the virtualization technology upon which Kubernetes will run.
1. Open PowerShell as an administrator, and run the command below to enable Hyper-V (Microsoft-Hyper-V).
2. Once enabled, reboot your computer to apply the changes.
3. Finally, run the following command to verify that Hyper-V is enabled and running.
Get-WindowsOptionalFeature -Online -FeatureName Microsoft-Hyper-VThe output below shows you’ve successfully enabled Hyper-V.

Installing Docker Desktop
After enabling Hyper-V, you next need to install Docker Desktop so that you can work quickly with Docker containers on your computer. Docker Desktop includes everything you need to run containers, including the Docker Engine, a container runtime, and a management UI.
Kubernetes is designed to run on top of a container runtime like Docker. While you could install Kubernetes directly on your computer, using Docker Desktop is much easier as it includes all of the necessary tools and utilities.
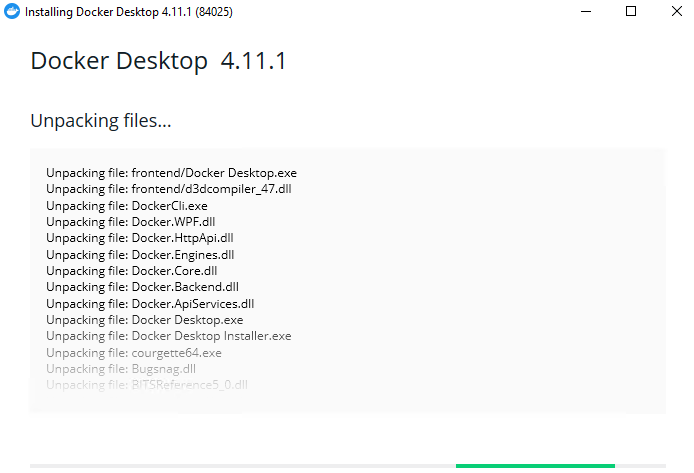
1. Open your favorite web browser, navigate to the Docker Desktop download page, and download and run the installer.

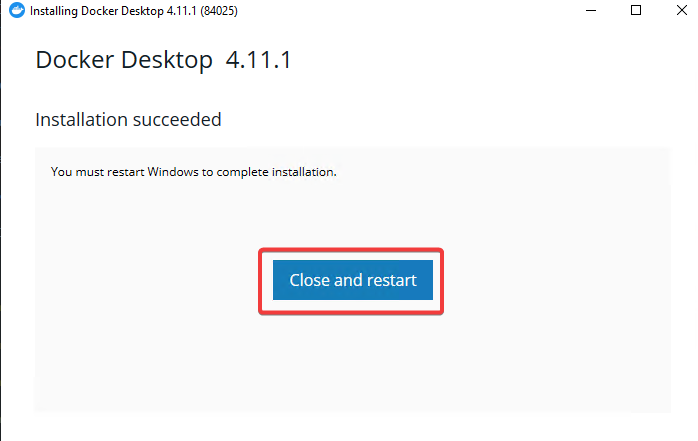
2. Once Docker Desktop is installed, click Close and Restart to restart your computer.
A restart is required to complete the installation since the installer needs to modify your Windows configuration.
3. After restart, open Docker Desktop, tick the I accept the terms checkbox, and click Accept to accept the license agreement.
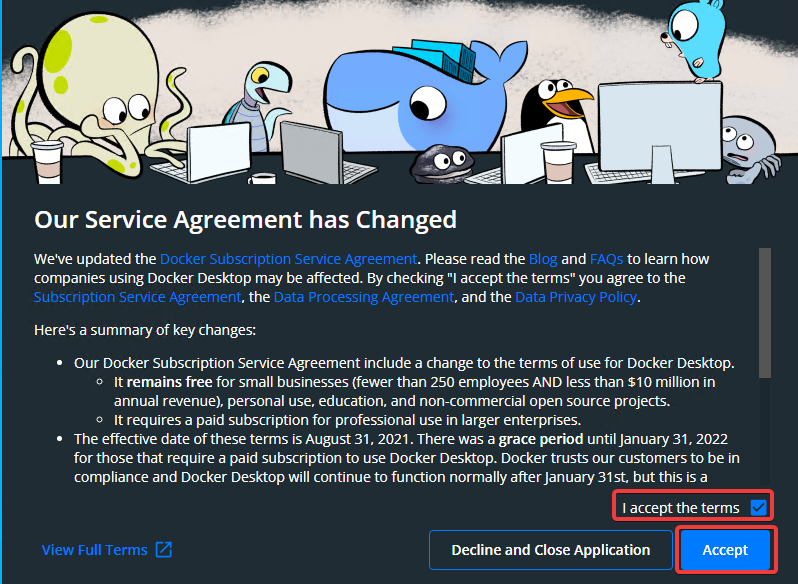
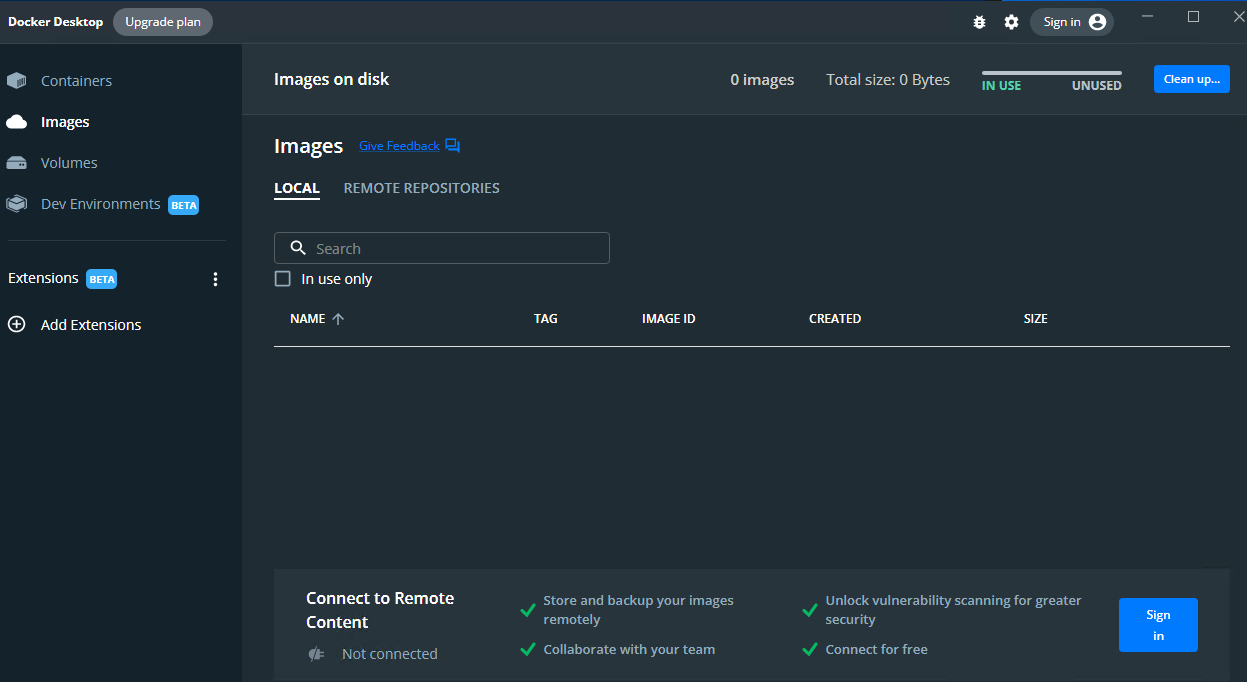
If all goes well, Docker Desktop opens, as shown below.
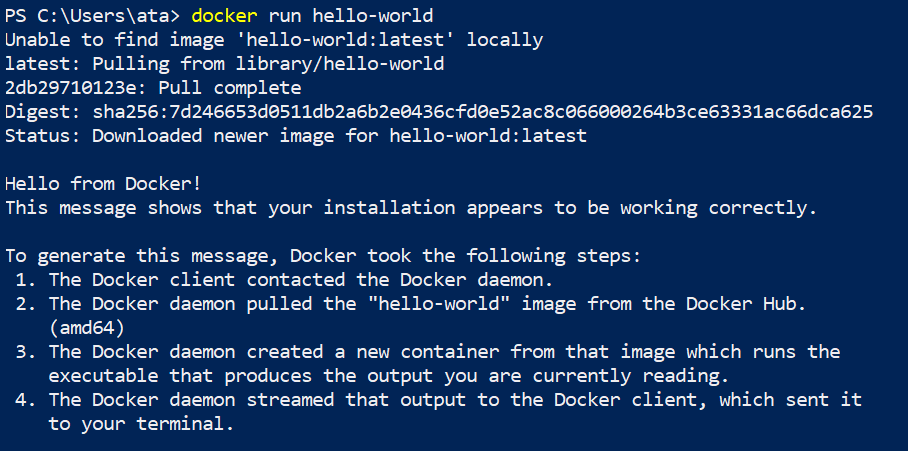
4. Finally, run the below docker run command to verify that Docker is working as expected.
This command pulls the hello-world container from Docker Hub if it is not already present on your computer and runs it.
docker run hello-worldThe docker command is accessible from any CLI(Command Line Interface) like PowerShell or Command Prompt, as long as the Docker service runs. If not, run the command below to start the Docker service. Start-Service *docker*
This output below signifies your installation is working correctly.
Installing Kubernetes via the Docker Desktop
Now that you have enabled Hyper-V and installed Docker Desktop, you’re ready to install Kubernetes on Windows. In this tutorial, you will use the Docker Desktop GUI to enable and install Kubernetes.
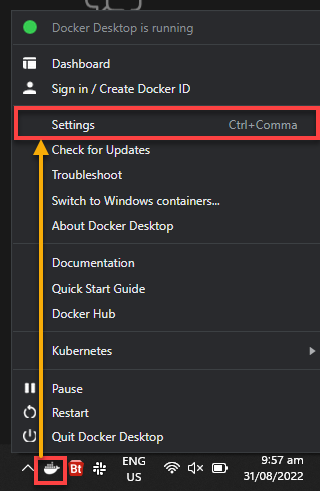
1. Right click on the Docker icon in the system tray and select Settings from the context menu to access the Docker Desktop settings.
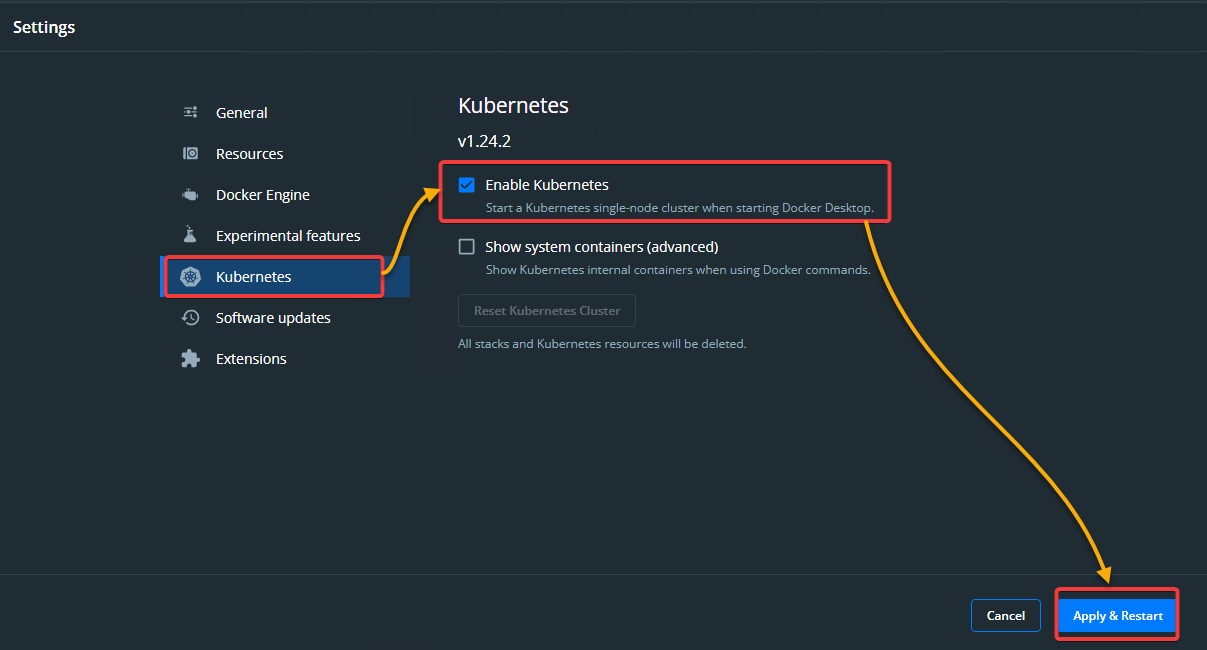
2. Next, select Kubernetes (left panel), tick the Enable Kubernetes checkbox, click Apply & Restart to apply the changes, and restart Docker Desktop.
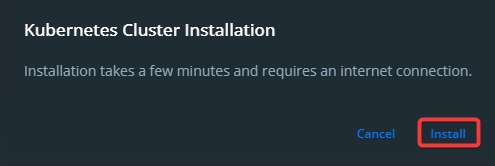
3. Click Install when prompted, as shown below. Doing so installs Kubernetes on your computer, which might take a few minutes to complete.
You will see the Kubernetes cluster starting in the middle of the screen. This cluster contains a single node, which is your computer.
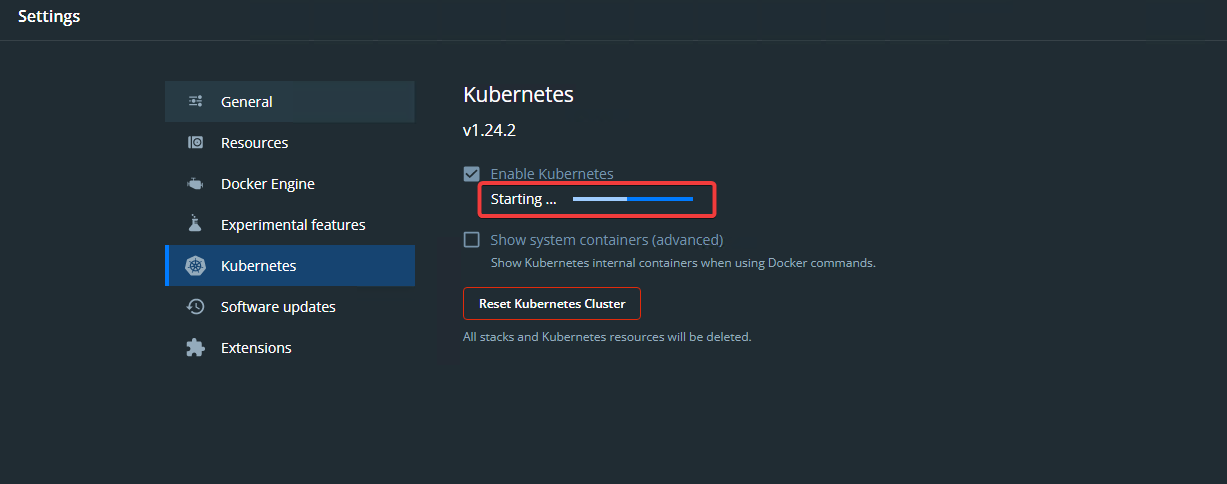
At this point, your Kubernetes cluster is running (bottom-left) like in the screenshot below, and you can start using that cluster.

Installing kubectl on Windows
You’ve successfully started your Kubernetes cluster, but how do you manage it? kubectl is a command line tool that lets you interact with your Kubernetes cluster, which you need to install.
kubectl is available as a standalone binary that you can download from the Kubernetes releases page.
1. Download the latest kubectl binary for your computer. The latest version at the time of writing this tutorial is kubectl v1.25.
2. Next, download the checksum file for the same release. You will use this checksum file to verify the authenticity of the downloaded binary.
3. Run the below command to compare the two SHA-256 hashes of the kubectl release and checksum file you downloaded.
You must put the kubectl binary and the checksum file in the same directory for this validation to work.
The commands below perform the following:
- Change the working directory to the kubectl binary and checksum files’ location. Ensure you change the C:\Users\ata\Download\Programs path to where you saved the files.
- Compute the SHA-256 hash (CertUtil) of the kubectl binary.
- Compare the result with the checksum in the checksum file.
cd C:\Users\ata\Download\Programs
$($(CertUtil -hashfile .\kubectl.exe SHA256)[1] -replace " ", "") -eq $(type .\kubectl.exe.sha256)
If both results match, you will see a True output, as shown below, which indicates that the binary is not corrupt, and you can proceed with installing the binary. Otherwise, you’ll get a False output and have to re-download the kubectl binary.

4. Now, run the below command to add the path of the kubectl binary to your PATH environment variable. Be sure to replace <full/path/of/kubectl/binary> with your computer’s actual path of the kubectl binary.
This command makes the kubectl binary accessible on the command-line interface
setx /m PATH "$Env:PATH;<full/path/of/kubectl/binary>"
5. Close the current PowerShell session, and open a new one for the changes to take effect.
6. Next, run the below command to verify that kubectl is installed and working.
This command prints out the man page for kubectl, which indicates that it is working correctly.
kubectl --help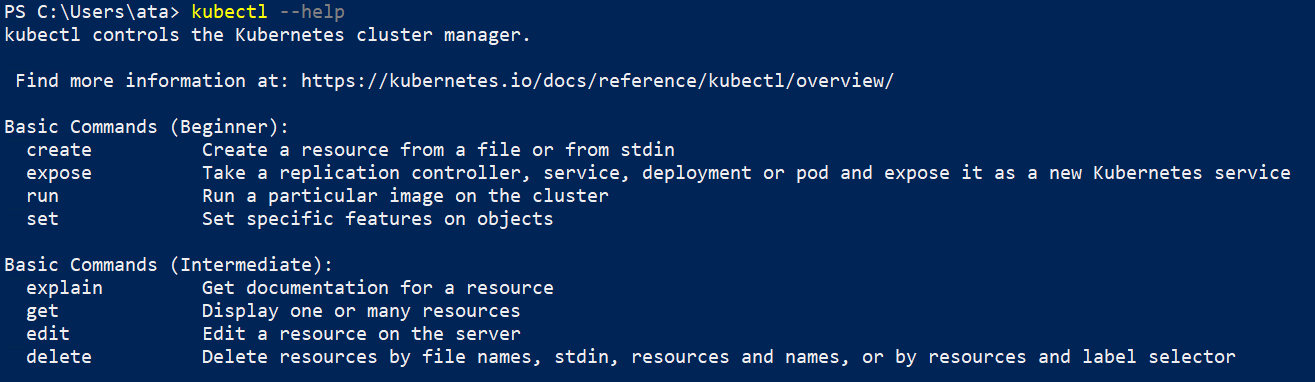
7. Lastly, run the following command to double-check that kubectl is configured to work with your Kubernetes cluster. This command prints out the URL and the status (cluster-info) of your Kubernetes master.
kubectl cluster-info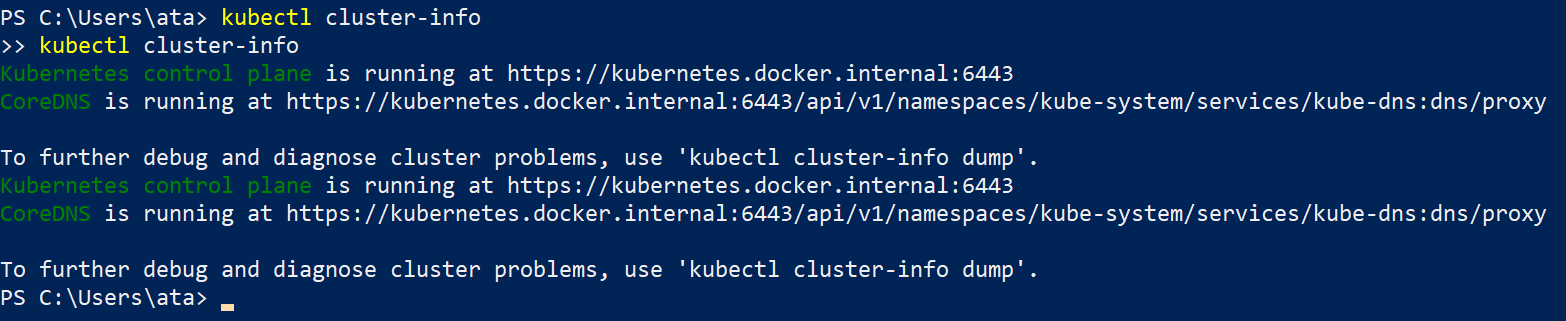
If you get an Unable to connect to the server error, as shown below, make sure your Kubernetes cluster is running and that you can connect to it from your computer.

Conclusion
Throughout this tutorial, you learned how to install Kubernetes on Windows and verify the installation works by starting up a Kubernetes cluster. Kubernetes has made it possible to automate many of the manual processes to ease the tasks of deploying, managing, and scaling containerized applications.
Now at this point, you have a working Kubernetes cluster and are ready to deploy your first application. Why not explore more about Kubernetes? Start running your applications on Windows without any headaches!


