


Are you tired of maintaining separate development environments for Linux and Windows? Do you wish you work on the same machine while switching between two different platforms or applications? The Windows Subsystem for Linux (WSL) Docker Desktop combination could be the one you need.
Not a reader? Watch this related video tutorial!Docker’s integration with WSL 2 introduced significant performance improvement and resource allocation optimization. Meaning, not only is the WSL Docker integration convenient, but your development environment could end up faster too!
In this tutorial, you will learn how to set up Docker Desktop using WSL 2 step by step on a Windows machine. By the end, you will have installed and configured Docker Desktop backed by WSL 2.
Still interested? Let’s begin!
Prerequisites
This article will be a step-by-step tutorial. If you’d like to follow along, be sure you have the following:
- A computer with Windows 10 64-bit Home, Pro, Enterprise, or Education, version 1903 (Build 18362 or higher). This tutorial will use Windows 10 64-bit Enterprise.
- Your computer should already have WSL 2. If not, follow the Windows Subsystem for Linux Installation Guide for Windows 10 to install WSL 2 as a requirement. You can skip the step to install a Linux distribution as you will not need it for this tutorial.
Installing Docker Desktop
To run containers within WSL Docker, you’re obviously going to need to install Docker first. With only a few steps, you can install and will be running Docker Desktop on your computer. And you’ll be ready to run containerized applications in no time.
Follow the steps below to install Docker Desktop.
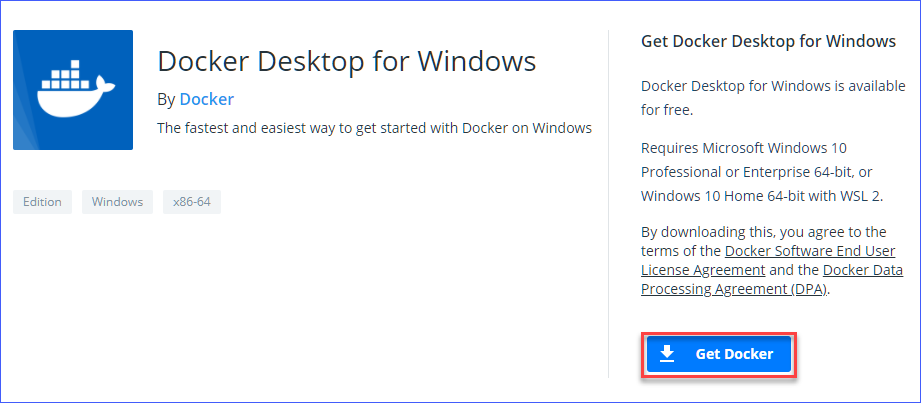
1. Open your web browser and download the Docker Desktop installer on your machine. As of this writing, the installer size for version 3.3.3 is approximately 540MB.
2. Next, locate and double-click the Docker Desktop Installer.exe installer file that you downloaded. Doing so will launch the Docker Desktop installation wizard.

3. On the Configuration page, keep the Install required Windows components for WSL 2 box checked. This option ensures that the installer will install the required components to run WSL Docker 2.
Uncheck or leave checked the Add shortcut to desktop box depending on your preference. This example leaves the box checked. After making your selection, click OK.
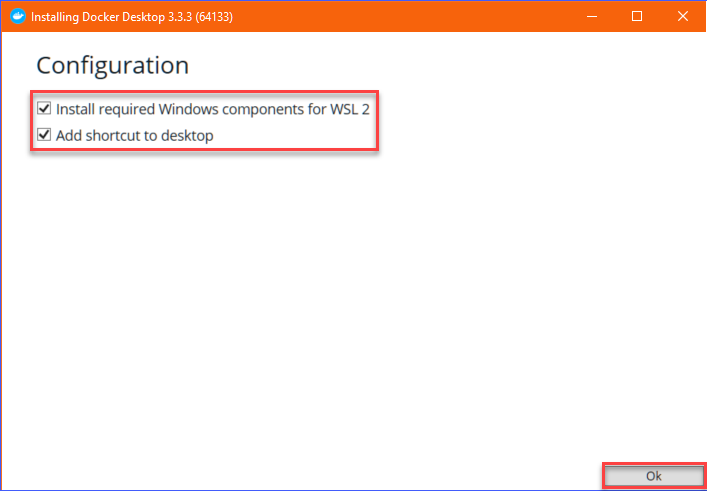
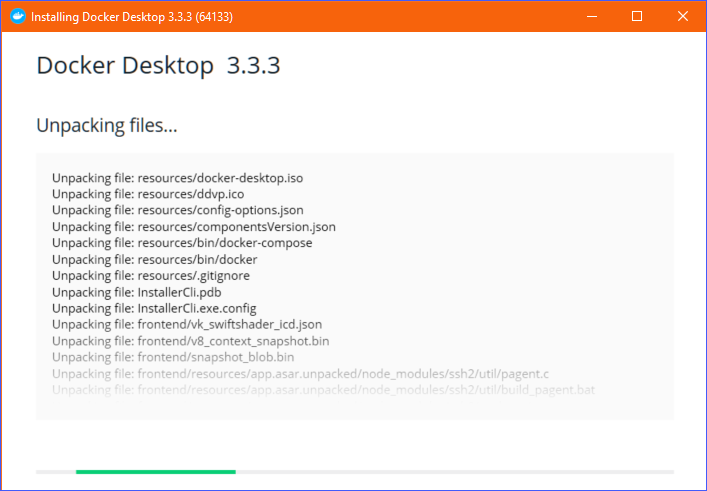
The wizard then proceeds to install Docker Desktop.
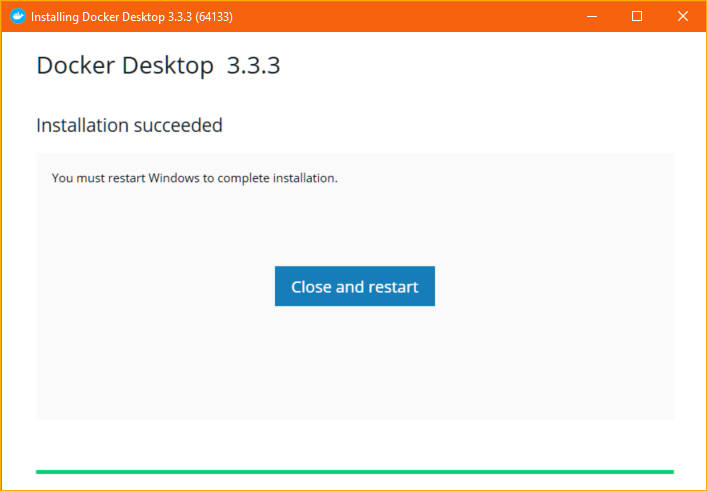
4. At the end of the installation, you will see a message on the screen that says Installation succeeded and that you need to restart Windows to complete the installation. Click Close and restart.
Verifying Desktop WSL Docker 2 Backend
Now that you’ve installed Docker Desktop, how do you know if you’ve installed it correctly and that Docker uses the WSL 2 backend? There are a few ways to verify and ensure Docker is using WSL 2.
Using the Docker Desktop GUI
When you installed Docker Desktop, you also installed a GUI-based management interface called the Docker Dashboard. The Docker Dashboard allows you to manage containers, images, applications, and Docker settings in one location without dealing with the command line.
To confirm WSL Docker Desktop 2 backend is using the Docker Dashboard, proceed as follows.
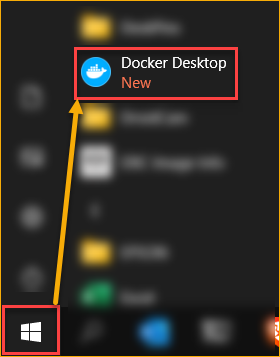
1. Launch Docker Desktop by clicking Start —> Docker Desktop.
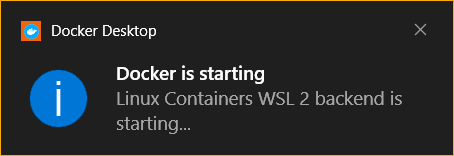
As Docker Desktop starts, you should see a toast notification at the bottom-right corner of your desktop saying Linux Containers WSL 2 backend is starting. This message indicates that Docker is using WSL 2. Your Docker setup is looking good so far!
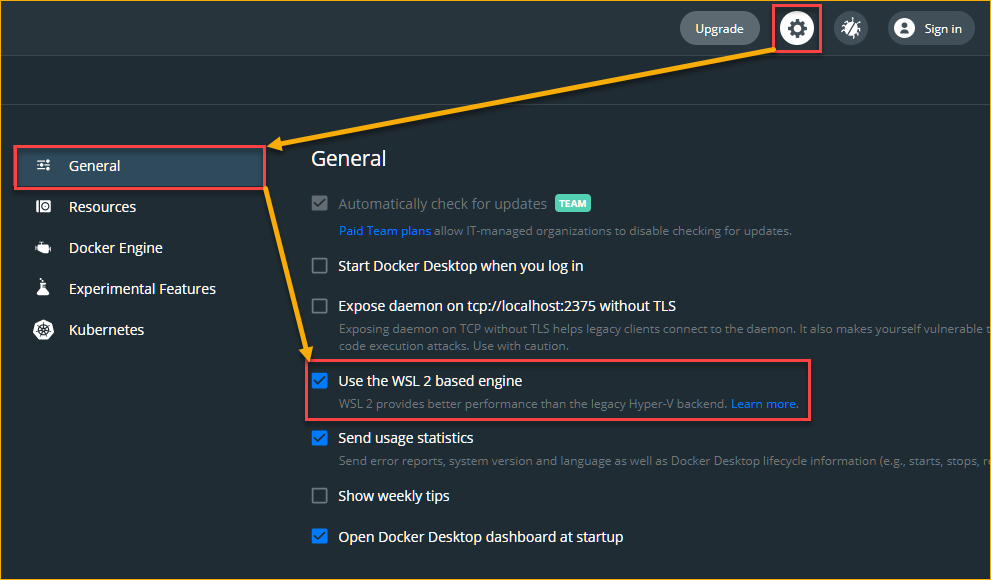
2. Next, open the Docker settings page. To do so, click the Settings button (gear icon) —> General.
Under the General tab page, ensure that the User the WSL 2 based engine box has a check.
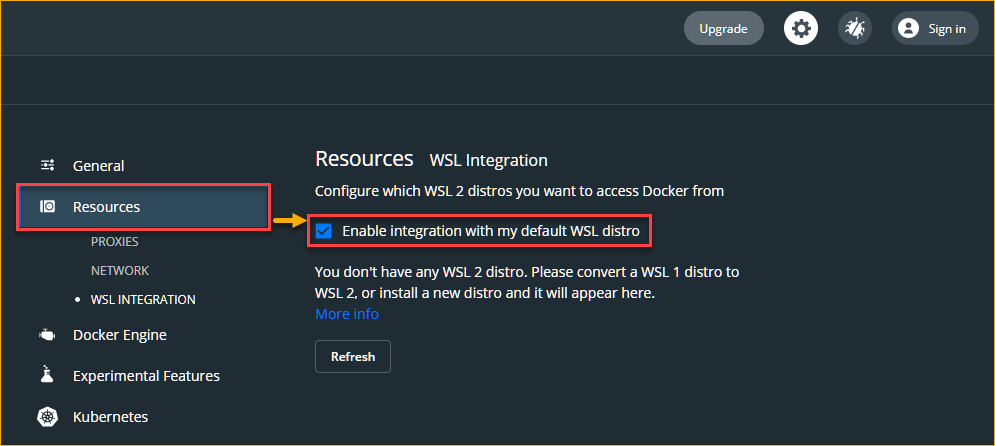
3. Next, to confirm WSL Docker 2 integration status is enabled, click the Resources tab and ensure that Enable integration with my default WSL distro has a check. WSL integration allows you to configure from which WSL 2 distros you want to access Docker.
At this point, since you’ve not installed any Linux distro yet in WSL 2, you will not see any WSL 2 distros in the list.
Using the WSL Command-Line Tool
Another way to confirm if WSL Docker version 2 is used backend is through the command line, specifically, running the wsl command. The wsl command-line tool is the de facto tool to manage distros in WSL, which works on both the CMD prompt shell and PowerShell.
To confirm Docker Desktop WSL 2 backend using wsl, follow these steps.
1. Open your choice of command shell (PowerShell or CMD). This example will use Windows PowerShell.
2. Run the wsl command below to list all existing WSL distros. The -l argument tells wsl to list all distros. The -v argument makes the output verbose, which includes the distros‘ WSL version.
wsl.exe -l -vAs you can see below, two distros are running on WSL 2, which indicates that you’ve successfully installed Docker Desktop with WSL 2 backend.
The docker-desktop distro is, in a virtualization perspective, Docker’s main virtual machine (bootstrap). On the other hand, the docker-desktop-data distro is what Docker uses to store data like containers, images, etc.

Running Docker Containers in WSL
Now that you’ve installed Docker Desktop, Docker isn’t doing much. Now is the time to use it! A quick way to get started is downloading an existing container image from the official Docker registry called Docker Hub.
For this example, you’ll be downloading and running a Docker container called NGINX. NGINX is an open-source software capable of hosting different services like a web server, load balancer, and media streaming, to name a few.
With a few Docker commands, you’ll be running an instance of NGINX in no time. To do so, follow the steps below.
Note: This tutorial does not cover running Docker commands in-depth. To learn more about Docker commands, visit the Docker command line documentation page.
1. Open your preferred command-line tool (PowerShell or CMD). This example uses Windows PowerShell.
2. To download NGINX, run the docker pull command below. This command will download or pull the NGINX image from the Docker registry as shown below.
# Pulls the docker Images from docker registry to your local machine.
 docker pull nginx
The screenshot below shows the expected result when pulling the image from Docker Hub.

3. Next, confirm you’ve downloaded the image by running the command below to list all images available on your computer.
docker imagesAs you can see below, you now have one Docker image, which is the image you downloaded from Docker Hub.

4. Now, invoke the docker run command to create a new container based on the NGINX Docker image you downloaded.
# Run a new docker container called docker-nginx (--name)
# Map the local computer's port 80 to the container's port 80 (-p 80:80)
# In detached mode (-d)
# Using the nginx image
 docker run --name docker-nginx -p 80:80 -d nginx
The docker run command then returns the unique container ID of the container you’ve just created.

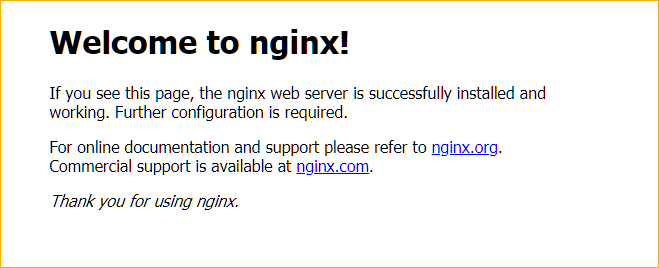
5. Once the NGINX container is running, verify if you can access the NGINX web interface by navigating to HTTP://localhost using your web browser. If you can see the same message, as you can see below, then you’ve successfully started your NGINX Docker container.
6. Finally, stop the container (when you don’t need it running anymore) by running the docker stop command below. This command will gracefully stop the container instance.
# Stop the container with ID d775964bfc48. Make sure to change the container ID value to yours.
# Note: specifying the first 12 characters of the container ID is enough.
 docker stop d775964bfc48
Alternatively, you can also stop a running container by specifying its name in the docker stop command. For example, to stop a Docker container with the name docker-nginx, run the command below.
docker stop docker-nginxConclusion
This tutorial aimed to help you through the process of setting up WSL Docker. With WSL, there’s no need to maintain multiple environments for your development needs anymore.
You’ve also learned how to get started with running a containerized application. But don’t stop there. You could create multiple containerized applications that make up a full lab environment. Like, database servers, web servers, CI/CD (Jenkins), and so much more. Good luck!


