

Are you looking for a lightweight but excellent text editor for Linux? If so, you may want to check out the Gedit Linux text editor. A simple yet powerful editor that supports plugins, allowing customization and expansion, making it an excellent choice for developers of all levels of experience.
If you’re interested, then you’re in luck. This tutorial will show you how to start with Ubuntu’s Gedit Linux text editor. You’ll learn to install Gedit, use its basic features, and extend its functionality with plugins.
Ready? Read on to get started!
Prerequisites
This tutorial will be a hands-on demonstration. If you’d like to follow along, be sure you have an Ubuntu Linux machine handy. This tutorial uses Ubuntu 20.04 but should also work with recent Ubuntu releases.
Installing the Gedit Linux Text Editor via Ubuntu Software
Ubuntu Software is a graphical application for installing, updating, and managing software on Ubuntu. If you prefer a GUI application for installing Gedit, then this application is the way to go.
To install the Gedit Linux Text Editor using Ubuntu Software:
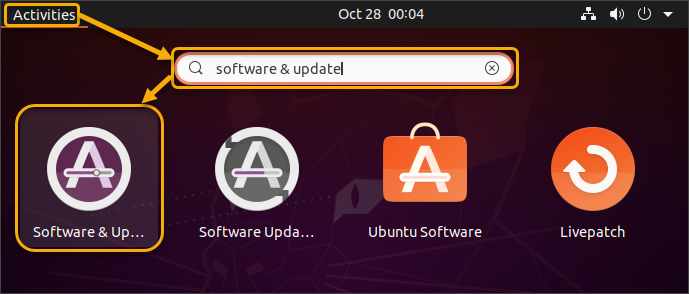
1. Click Activities in the upper-left corner of your screen and software & update in the search bar. Click the first result, Software & Update, as shown below.
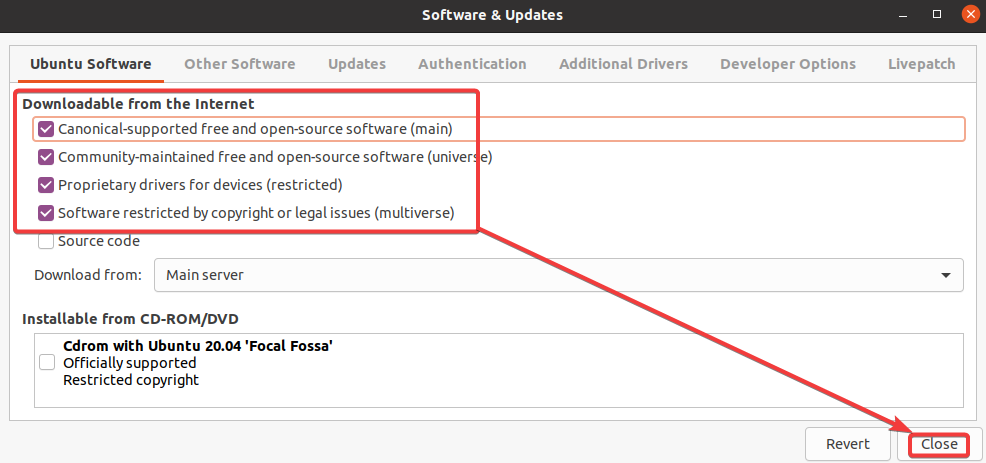
2. Click on the Ubuntu Software tab. Tick the first four checkboxes, as shown below. This step ensures you can install the latest software from all sources. Click Close.
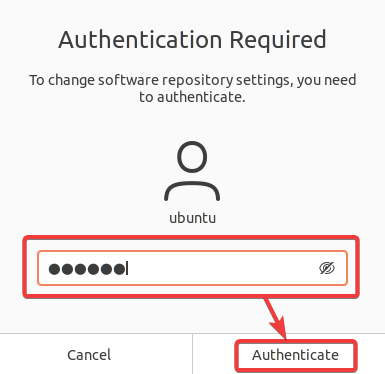
3. Enter the password for your user account and click Authenticate.
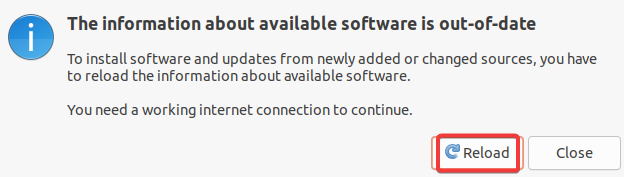
Click Reload to reload the available source repositories.
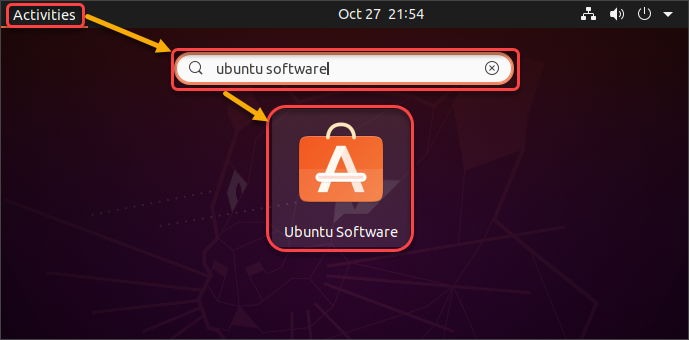
5. Click Activities, type ubuntu software into the search bar, and click the Ubuntu Software icon.
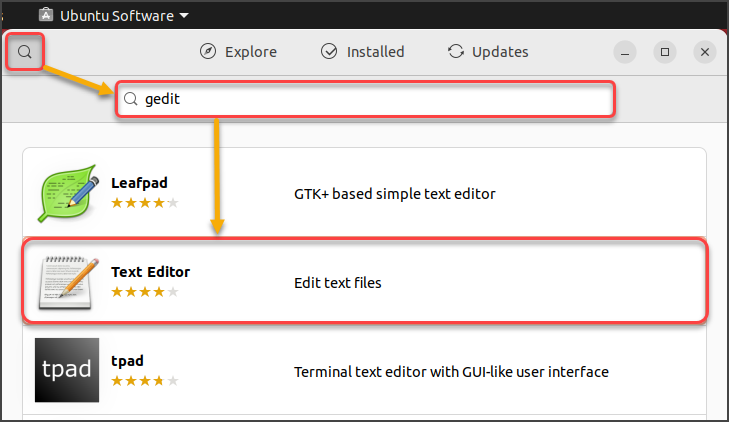
6. Click the search icon on the upper-left corner and type gedit into the search bar. Click Text Editor, which is the name of Gedit.
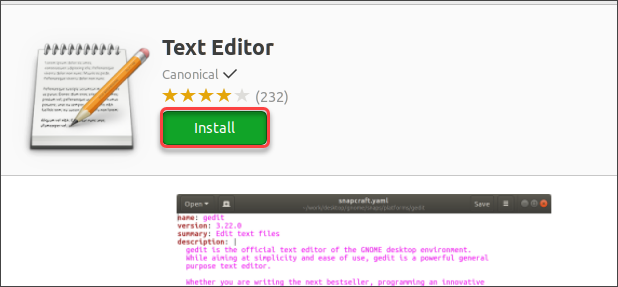
7. Click the Install button to begin the installation.
8. Enter your password and click Authenticate.

The installation starts, and a status bar shows you the progress.

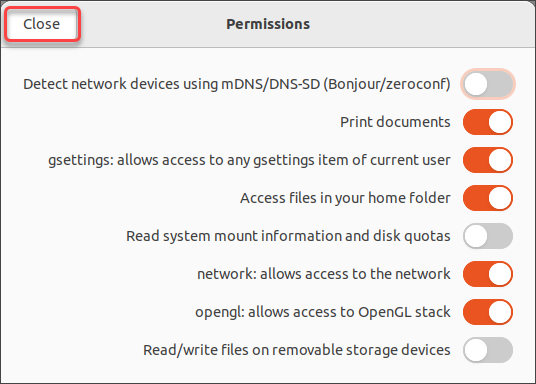
9. After the installation, click the Permissions button.

10. The below screenshot shows the default permissions Gedit has, which are sufficient in most cases. But feel free to enable or disable permissions as you see fit. Click Close once you’re satisfied with the permissions set.
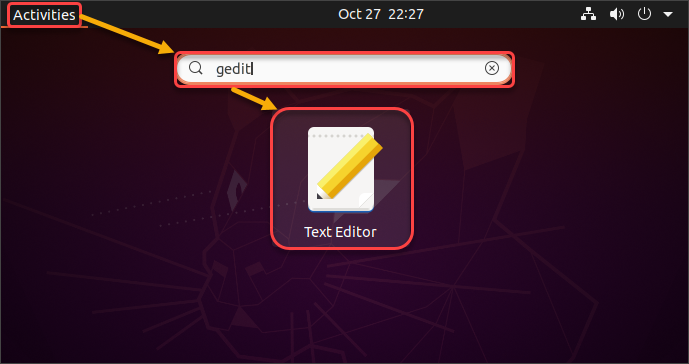
11. To launch Gedit, click Activities → search for gedit in the search bar → click the Text Editor icon.
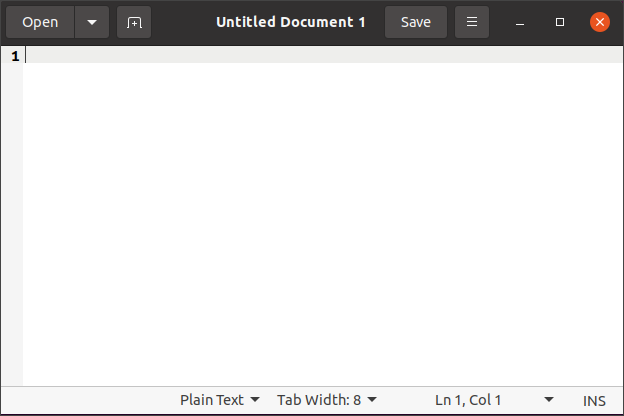
The main Gedit window appears on your screen, as shown below.
Installing the Gedit Linux Text Editor via APT Package Manager
If you’re more comfortable working with the command line, you can install Gedit using the APT package manager.
1. Open a terminal window and run the following command to update your system’s package index.
sudo apt update -y2. Now that your system’s package index is up-to-date install Gedit by running the following command.
sudo apt install gedit -y
3. Confirm that the installation was successful by checking the Gedit version.
As of this writing, the latest version is 3.36.2.

Checking the Gedit version4. Finally, run the following command to launch Gedit.
gedit &Note: The & at the end of the command tells gedit to launch as a background process, leaving the terminal available. If you close the terminal window, the Gedit process will also terminate.

Installing Gedit Plugins Package
Gedit comes with a few essential plugins enabled by default. But there are many other plugins available that can extend Gedit’s features.
1. Run the below command to install all of the gedit-plugins package for Gedit.
sudo apt install gedit-plugins -y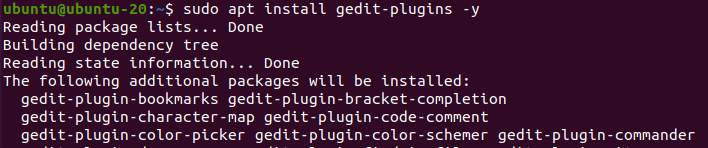
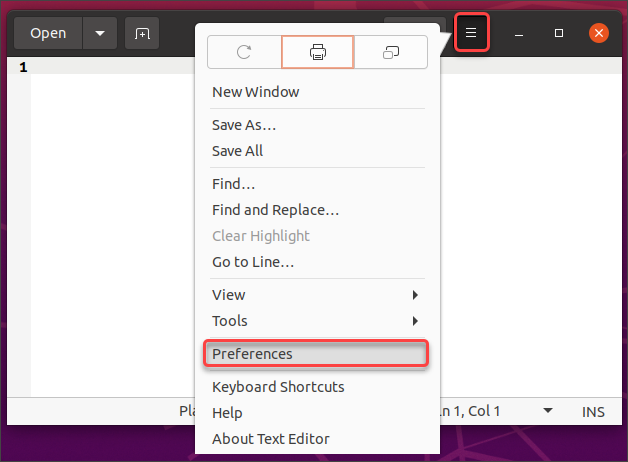
2. The previous command installed the plugins, but those plugins are not enabled by default. To enable a plugin for Gedit, open the main Gedit window → click the menu button → Preferences.
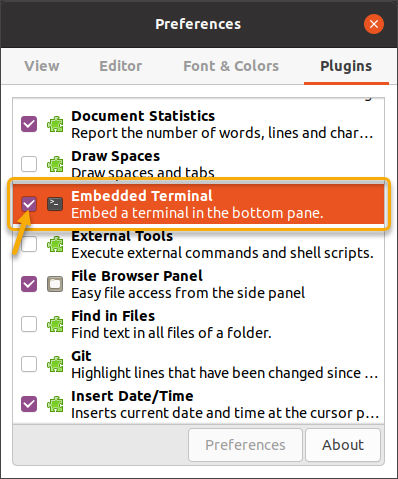
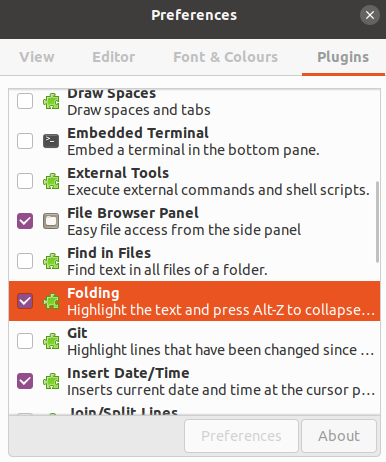
3. Click on the Plugins tab. Scroll through the list of available plugins and tick the checkbox next to the ones you wish to enable. To disable a plugin, untick the checkbox next to it instead.
To demonstrate, enable the Embedded Terminal plugin, then close the Preferences window.
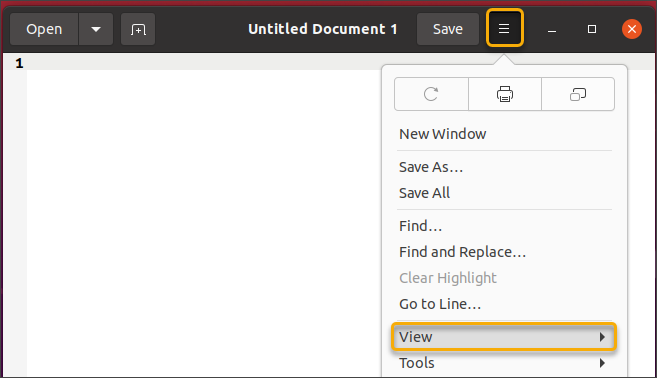
4. To test the plugin, click the menu button → View → Bottom Panel.
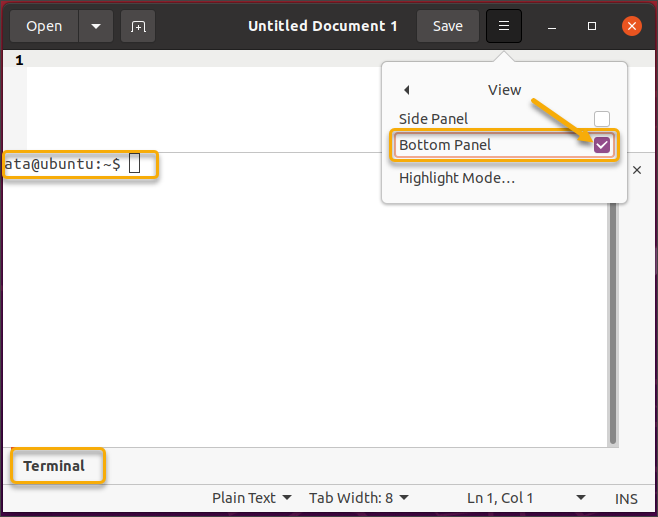
5. Under View, tick the Bottom Panel checkbox, and the embedded terminal appears in the bottom panel, as you can see below.
Installing Gedit Plugins Individually
Instead of installing an entire pack of Gedit plugins, you can also install individual plugins manually. This method allows you to install only the plugins you need. Moreover, this method ensures that you’re installing the latest plugin version, which can be important for security reasons.
Where can you find these plugins? An excellent place to start is the official Gnome plugins page.
In this example, you’ll install the Code Folding plugin, which is unavailable in the Ubuntu repositories. This plugin helps you better organize your code by allowing you to collapse code blocks.
1. First, create a directory to store the plugin files. This example creates the folder /.local/share/gedit/plugins in your home directory.
mkdir -p ~/.local/share/gedit/plugins && cd ~/.local/share/gedit/plugins2. Next, clone the plugin repository to your computer.
git clone https://github.com/aeischeid/gedit-folding
3. Now, open Gedit Preferences → Plugins. Look for the Folding plugin on the list, enable it, and close the Preferences window.
4. Next, open an existing code or type a new one. Highlight a section of code that you want to collapse and press Alt+Z. To unfold the code, press Alt+Z again.

Conclusion
In this tutorial, you have learned how to install Gedit Linux on your Ubuntu system in several ways. You have also learned how to install plugins to add additional functionality to Gedit.
Now that you know the basics of working with Gedit, you can start using it for your development projects. If you get bored with the Gedit interface, you may want to install the GtkSourceView style schemes to enhance your text editor experience.
Happy coding!


