

Running applications in a stable and scalable way can be challenging. Fortunately, Google Cloud Platform (GCP) offers GCP Cloud Run that allows users to deploy and manage scalable, containerized applications.
The complexity of managing resources, hosting them in multiple environments, and dealing with potential service outages can cause headaches for developers. But worry not! This tutorial will walk you through how to deploy a basic scalable containerized application using GCP Cloud Run.
Ready? Read on to up your app ops game!
Cloud Run tutorials move quickly from containers to deployment decisions. If you want a structured path through cloud deployment fundamentals, compare cloud deployment courses on Udemy before you buy.
Prerequisite
This tutorial will be a hands-on demonstration. To follow along, ensure you have a GCP account with active billing enabled, but a free trial account is sufficient.
Creating a GCP Project
The first step in containerizing your application in GCP is to create a new GCP project. Projects are the logical way to organize resources across GCP. Each project provides an isolated environment in which all your services and resources are contained.
Note that you should not mix resources from existing projects, which also helps when you clean up your environment later on.
To create a GCP project, follow these steps:
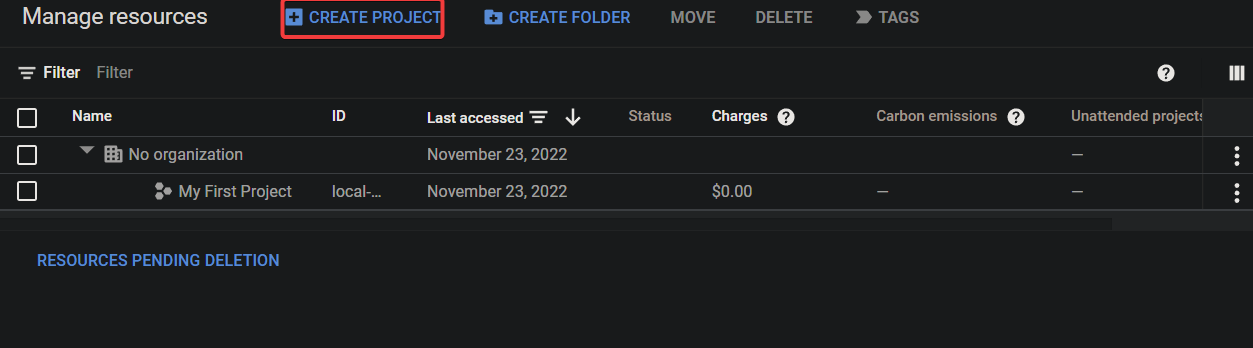
1. Open your favorite web browser, and navigate to the Manage resources page in the Google Cloud Console.
2. Next, click CREATE PROJECT to initiate creating a new project.
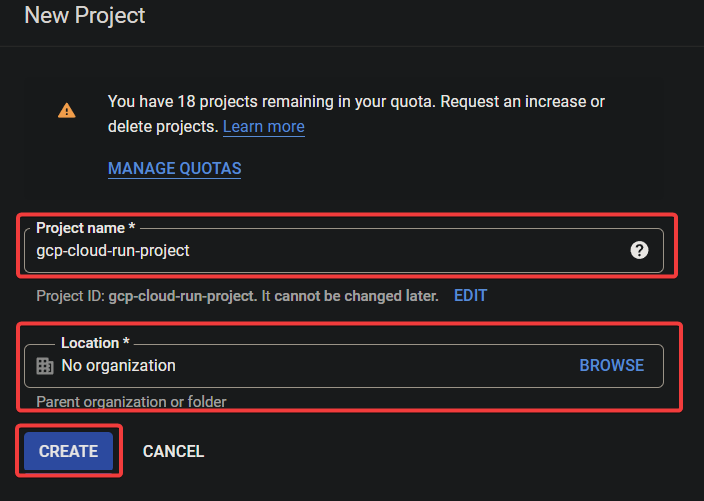
On the next screen, provide the following for your project: Project name A unique name for your GCP project (i.e., gcp-cloud-run-project). Location An appropriate organization if you have one; otherwise, skip this field.
| Project name | A unique name for your GCP project (i.e., gcp-cloud-run-project). |
| Location | An appropriate organization if you have one; otherwise, skip this field. |
Once filled up, click CREATE to create the project.
A confirmation message, as shown below, indicates a new project has been created.

4. Now, navigate to the project selector page, and select your newly-created project to set it as the current/active project/

Enabling the Cloud Run API
Before you deploy your containerized application, you will need to enable the Cloud Run API first. How? Google Cloud provides a feature called Google Cloud Shell, a web-based shell environment where you can manage your GCP resources.
In this tutorial, you will use Google Cloud Shell for running commands and interacting with Cloud Run and other GCP services.
1. Click the Activate Cloud Shell icon (upper-right) to activate the Google Cloud Shell. A shell terminal appears at the bottom of your screen, as shown below.

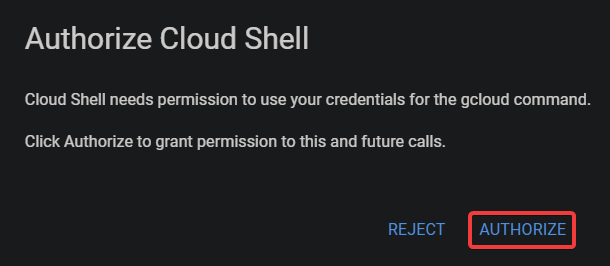
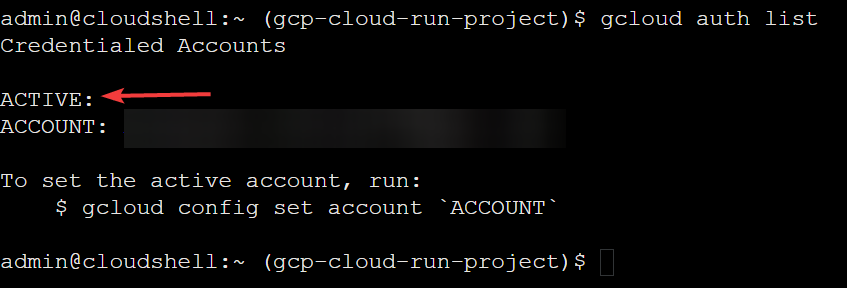
2. Next, run the below gcloud auth list command to confirm that your Google Cloud account is authenticated and active.
gcloud auth listClick AUTHORIZE when prompted to authorize gcloud to access your Google Cloud account.
Once authenticated, you will see a similar output as below.
3. Now, run the following gcloud config list command to verify that the project you created is set as your current project.
gcloud config list project
4. Once your project is verified, run the below gcloud config set command to set the region where you want to deploy the application. The region is default set to us-central1 but can be changed as needed.
gcloud config set compute/region us-central1
5. Lastly, run the gcloud service enable command to enable Cloud Run API (run.googleapis.com).
gcloud services enable run.googleapis.com
Preparing a Node.js App for GCP Cloud Run Jobs
Now that your environment is set up, preparing a sample application you can deploy using Cloud Run is the next step.
In this tutorial, you will deploy a basic Node.js “Hello World” application powered by the Express web framework. This app returns a simple “Hello World!” response triggered by an HTTP request.
1. Run the below commands, which do not provide output, but create a new directory name helloworld and move into that directory. This directory will hold your source code and other files related to the application.
mkdir helloworld && cd helloworld2. Next, create a package.json file in your preferred editor. This file defines the dependencies for your Node.js application.
nano package.jsonAdd the following code to the package.json file, and save the changes. This file defines the project name, version, and description and gives instructions on how to start the application.
{
  "name": "helloworld",
  "description": "Sample hello world app in Nodejs",
  "version": "1.0.0",
  "main": "index.js",
  "scripts": {
    "start": "node index.js"
  },
  "author": "Google LLC",
  "license": "Apache-2.0",
  "dependencies": {
    "express": "^4.17.1"
  }
}
3. Create another file called index.js file. This file contains the main source code for your Node.js application, placed in the same directory (helloworld) as the package.json file.
nano index.js Add the below code to the index.js file and save the changes. This code is responsible for setting up the Express web server. At the same time, this code defines a single route that will return a “Hello World!” response with the PORT environment variable.
const express = require('express');
const app = express();
const port = process.env.PORT || 8080;
app.get('/', (req, res) => {
  const name = process.env.NAME || 'World';
  res.send(`Hello ${name}!`);
});
app.listen(port, () => {
  console.log(`helloworld: listening on port ${port}`);
});
Containerizing and Uploading Application to Artifact Registry
Your sample application and necessary configuration files are ready. But you still need a place where you can manage container images.
The Google Cloud Artifact Registry is a single place to manage your container images and is fully integrated with Google Cloud’s tooling and runtimes.
💡 The Artifact Registry comes with support for native artifact protocols. As a result, you can quickly integrate your application with your CI/CD tooling to set up automated pipelines.
1. Create a Dockerfile in the same directory (helloworld) as your other files.
nano DockerfileAdd the below code to the Dockerfile and save the changes. This code specifies the configuration to build and run your Node.js application when executed in a container environment.
# Specifies the version of Node.js to use
FROM node:12-slim
# Sets the working directory for your application files,
WORKDIR /usr/src/app
# Copies your package information and source code
COPY package*.json ./
# Installs production dependencies
RUN npm install --only=production
# Copies your package information and source code
COPY . ./
Runs your Node.js application
CMD [ "npm", "start" ]
Next, run the following gcloud builds submit command to containerize and upload your Node.js application to the Artifact Registry. Google Cloud Shell has pre-installed tools named buildpack, which simplifies this process.
💡 The minimum number of containers is zero, while the upper limit is based on your GCP project’s quotas for Cloud Run. The default value is 1000 (usually enough for most use cases.), but you can increase this limit by submitting a request to GCP support.
gcloud builds submit --tag gcr.io/$GOOGLE_CLOUD_PROJECT/helloworldOnce built, you will see a success message like the one below, which confirms your container image has been uploaded successfully.

3. Run the below gcloud container command to list your existing container images (images list) in the current project. gcloud container images list
gcloud container images listAs shown below, you will see the container image you created in step two.

4. Now, execute the following docker run command to run your Node.js application locally on port 8080.
docker run -d -p 8080:8080 gcr.io/$GOOGLE_CLOUD_PROJECT/helloworld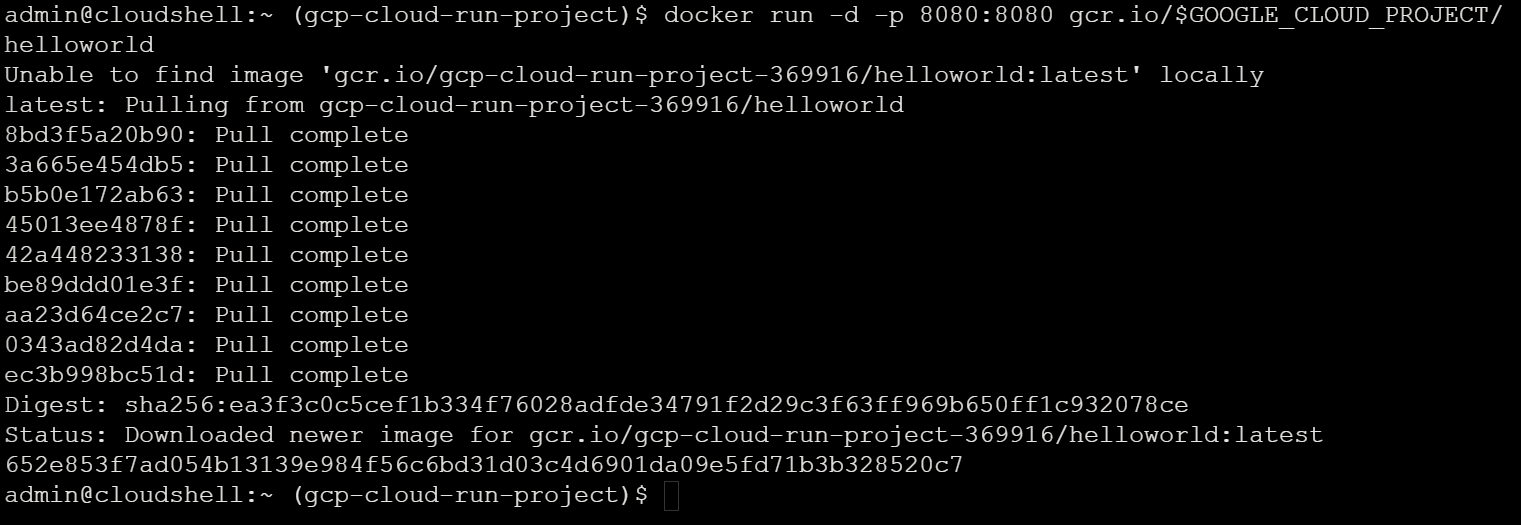
5. Lastly, run the curl command below to test your application by making an HTTP request.
curl http://localhost:8080If all goes well, you will see the Hello World! response, as shown below. This output confirms that your Node.js application works locally as expected in a containerized environment.

Deploying the Container Image to GCP Cloud Run
Now that you have containerized and tested your Node.js application locally, you can deploy it to Cloud Run. Once deployed, you will later test your application deployment by accessing your deployment’s service URL via your web browser.
1. Run the below gcloud run command to deploy your application on Cloud Run.
gcloud run deploy --image gcr.io/$GOOGLE_CLOUD_PROJECT/helloworld --allow-unauthenticated --region=us-central1Press Enter to accept the service name when prompted.

Wait until the deployment completes, and you will see a success message like the one below. This output confirms your application has been successfully deployed.

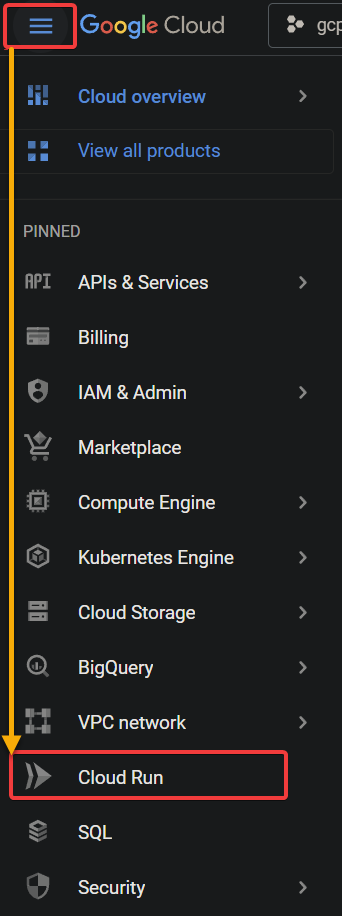
2. Next, click the hamburger menu (top-left) and select Cloud Run to open the Cloud Run Dashboard.
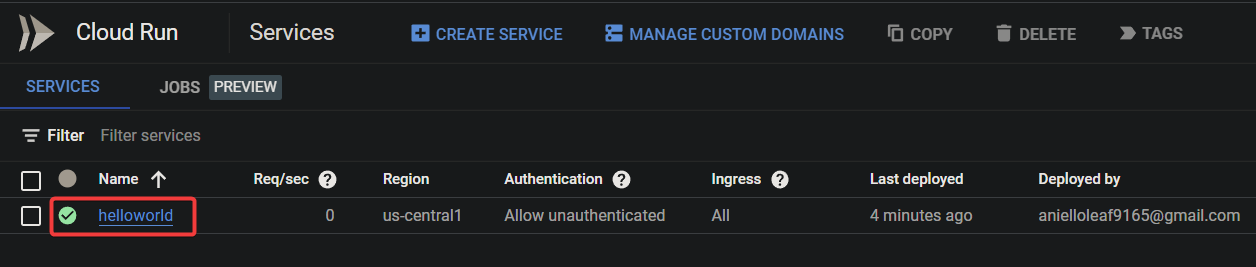
3. Click on your hyperlinked service name (helloworld). Doing so opens the Service details page, which provides details about the service, including its URL and domain mapping.
The green checkmark below indicates the service is running correctly.
💡 Unlike a Compute Engine or a Virtual Machine (VM) instance, you will not be charged for the idle time of your application. Once either stops handling requests, Cloud Run will automatically shut down its containers with no additional cost.
4. Click on the copy icon to copy the URL on the Service details page, as shown below. This URL is what you will use to access your application.

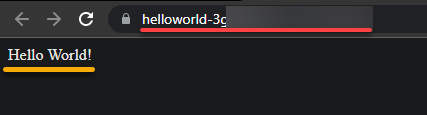
5. Now, navigate to the URL you copied in step four to a new browser tab to access your application, and you will see the Hello World message as a response.
This output below confirms your application is successfully deployed and running on Cloud Run, as shown below.
At this point, GCP Cloud Run will automatically scale up or down the number of containers running your application based on the traffic your application receives. No need to worry about manual scaling or administration overhead.
Conclusion
Scalable containerized applications are an essential part of any modern infrastructure. And in this tutorial, you have learned how to use GCP Cloud Run to deploy and manage containerized applications at scale quickly.
With the GCP Cloud Run, you get maximum performance with minimal costs as you do not have to provide the underlying compute resources —- you only pay for what you use.
What you have learned in this tutorial is just the tip of the iceberg. Why not explore more and start deploying a Python service to Cloud Run?


