

Kubernetes GitOps with FluxCD can be a great way to implement CI/CD. You can make changes to the actual state of a Kubernetes cluster by deploying the desired state as configured and stored in Git. FluxCD syncs your cluster state with (source of truth) Git and automates configuration updates with new incoming code.
With this operating model, developers and operations teams at both ends of the delivery pipeline can experience increased productivity and stability in their workflow. And in this article, you’ll learn how to set up a CI/CD workflow for Kubernetes development using GitOps practices and FluxCD.
Get ready and effectively deploy your applications with FluxCD!
Prerequisites
This tutorial comprises hands-on demonstrations. To follow along, be sure to have the following:
- Git installed – With Ubuntu 20.04 and above, Git comes pre-installed, but this tutorial uses Git version 2.36.1.
- A running Kubernetes cluster – This tutorial uses K3s v1.22.7 called my-cluster running on Ubuntu 20.04.
- GitHub CLI installed for creating a GitHub repository.
- A GitHub account username and a GitHub Personal Access Token.
Installing Flux CLI
Before implementing Flux architecture, you must install the Flux CLI first on your machine. Flux CLI is binary executable for all major platforms for a dedicated implementation of Flux architecture. And in this tutorial, you’ll install Flux CLI via a Bash script file that you’ll download with the famous curl command.
To set up Flux CLI on your machine:
1. Run the curl command below to download and execute (sudo bash) the Flux CLI’s Bash script (install.sh). This shell script installs Flux CLI and its dependencies on your machine.
curl -s https://fluxcd.io/install.sh | sudo bash
2. Next, run the following export commands, which don’t provide output, but set your GitHub credentials as environment variables. These credentials are required by Flux to gain access to your GitHub repository and perform necessary operations.
Be sure to replace username and access-token with your GitHub username and personal access token.
export GITHUB_USER=<username>
export GITHUB_TOKEN=<access-token>
3. Lastly, run the below command to check flux has all its prerequisites (–pre).
flux check --preYou should get a similar output suggesting Flux can communicate with the Kubernetes cluster.

Bootstrapping Flux Toolkit Components to Kubernetes Cluster
With Flux installed in your Kubernetes Cluster and your GitHub credentials configured, you’ll bootstrap Flux toolkit components with GitHub onto your Kubernetes Cluster. In doing so, Flux will automatically create a GitHub repository and attach the Flux toolkit components to that repository.
This GitHub repository will contain all the configurations for the Flux core components in a namespace. Flux automatically applies these configurations to the cluster of the specified namespaces.
This behavior only applies if any configurations with the custom resource definitions (HelmRelease, Kustomization, GitRepository, HelmRepository) are added to this GitHub repository.
1. Run the flux bootstrap command below to bootstrap Flux onto your Kubernetes cluster with a GitHub repository to manage all Flux core components.
The command below performs the following:
- Creates a GitHub repository (
fluxcd-demo) for managing the Flux components.
- Creates a namespace called
flux-system.
- Deploys all Flux components onto your cluster (./clusters/my-cluster) in the flux-system namespace.
flux bootstrap github \
  --owner=$GITHUB_USER \
  --repository=fluxcd-demo \
  --branch=main \
  --path=./clusters/my-cluster \
  --personal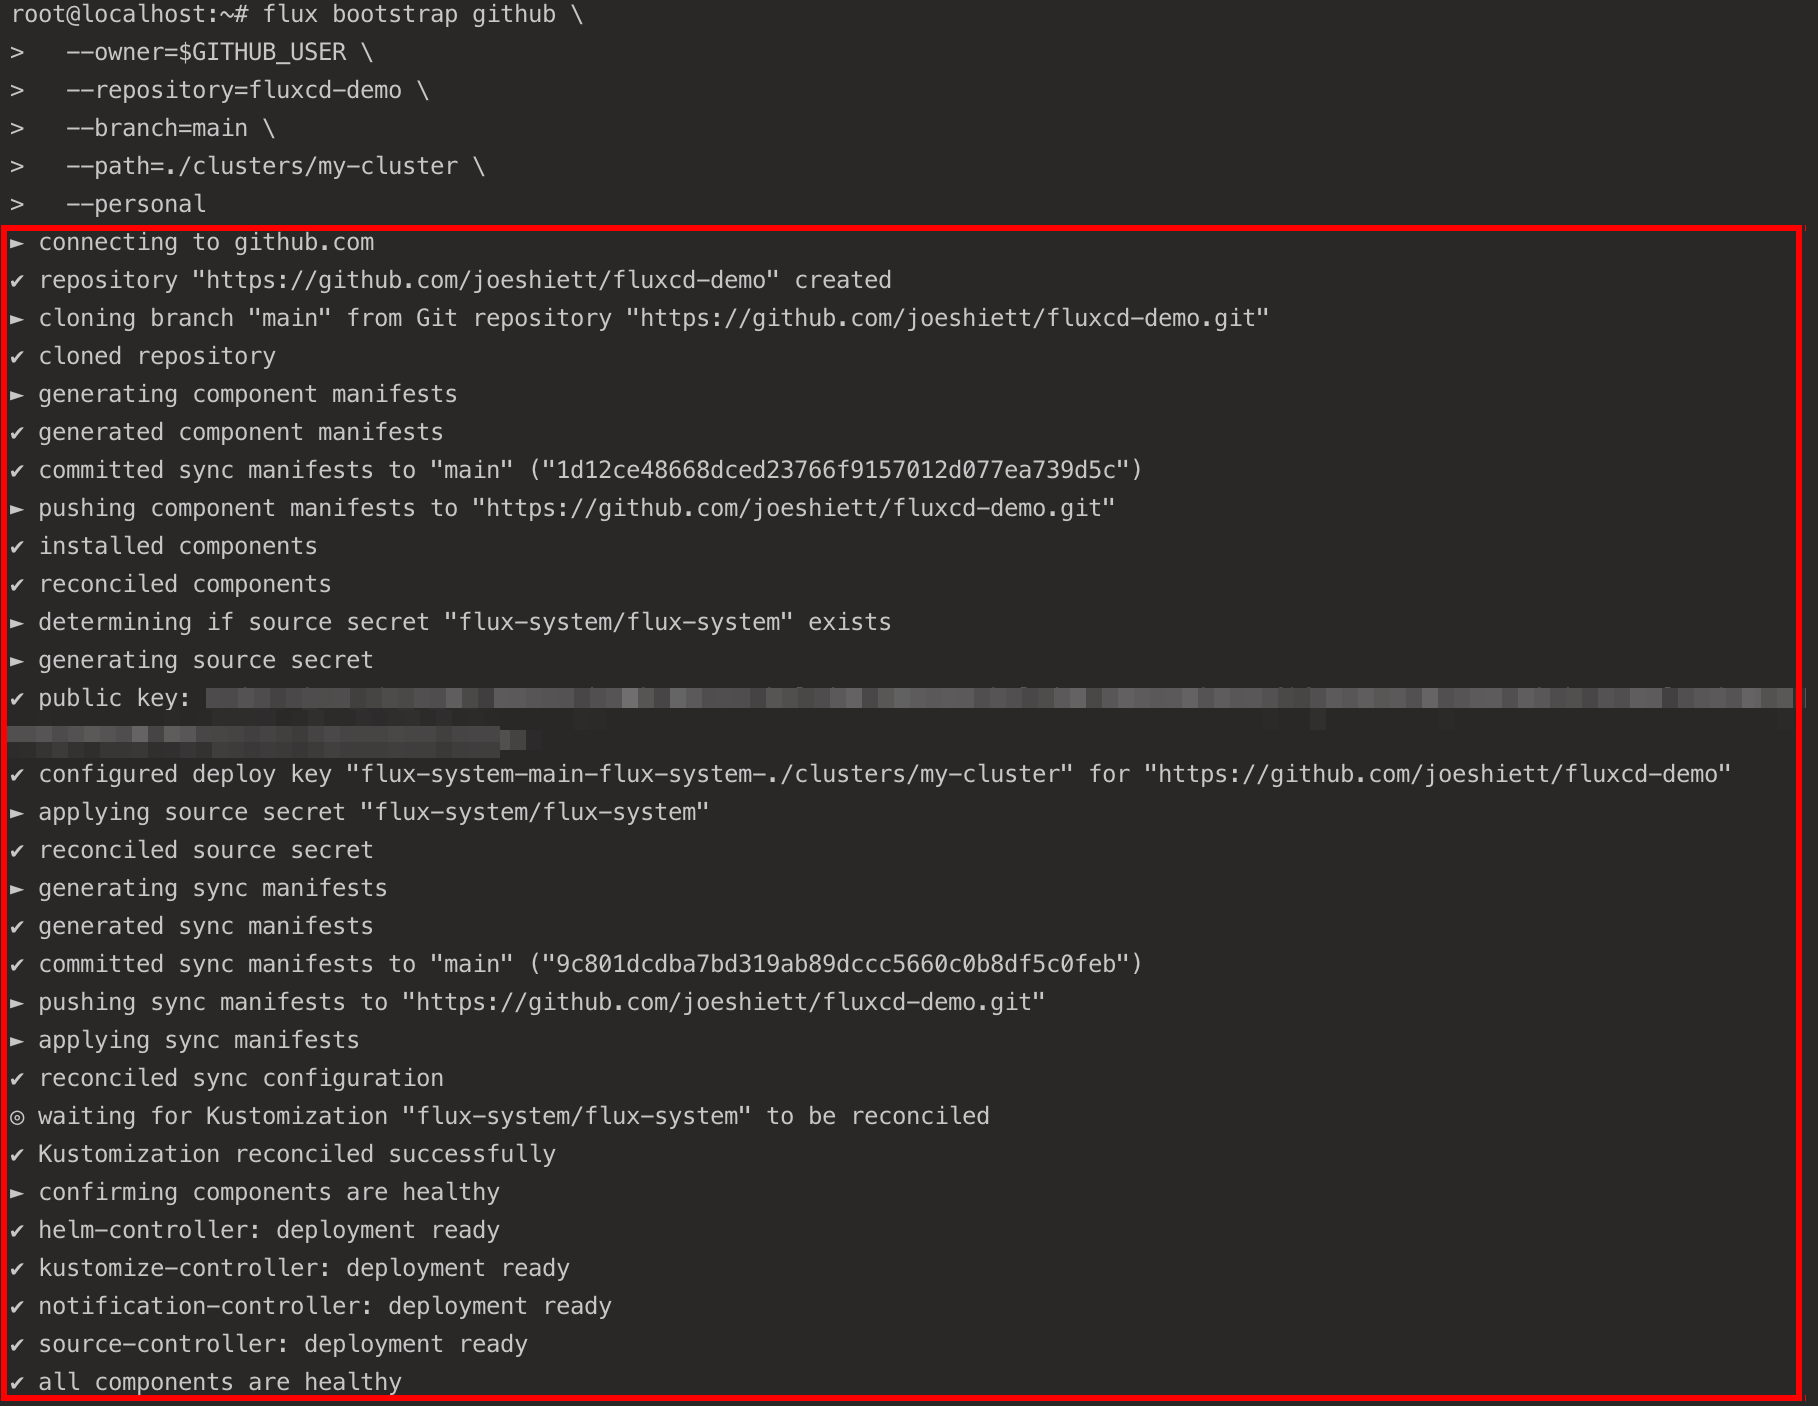
2. Next, run the kubectl command below to get all deployments and confirm the deployment of the Flux components (flux system).
kubectl get deployments -n flux-systemIf you get an output similar to the below, your bootstrap is complete.

3. Finally, run the following commands to check out the flux-demo repository and its content.
Flux stores its configuration files in your GitHub repository (fluxcd-demo). Flux automatically applies any changes made to the configurations to the Flux deployments running in your cluster (my-cluster) within the flux-system namespace.
# Clones Flux configuration files to the fluxcd-demo repository
git clone https://github.com/$GITHUB_USER/fluxcd-demo.git
# Lists all files inside the flux-system namespace
ls ~/fluxcd-demo/clusters/my-cluster/flux-system/
Deploying NGINX Ingress Controller to Cluster
You’ve previously bootstrapped the Flux toolkit components with a GitHub repository (fluxcd-demo) onto your Cluster. The Flux toolkit in the Cluster will now use the fluxcd-demo repository as a “source of truth” for all configurations and deployments.
If any configurations are stored, or changes are made to the toolkit components in the fluxcd-demo repository, the Flux toolkit automatically applies those configurations and changes to the cluster.
For this tutorial, you’ll set up CI/CD with Flux, where you’ll store a source configuration that describes another GitHub repository containing an NGINX Ingress Controller deployment manifest.
To set up CI/CD with Flux and apply changes to your deployment in your cluster:
1. First, run the below commands to perform the following:
- Create a ~/git-test directory and apps sub-directory.
- Change the working directory to ~/git-test, and initialize (git init) a local Git repository.
The ~/git-test directory will be configured as a source. Flux needs this source to deploy and apply changes made to the application (NGINX ingress controller in this case) that will be stored in this directory.
Flux will automatically detect any changes made to the ~/git-test directory and apply the changes to the cluster.
# Create the ~/git-test directory.
mkdir -p git-test/apps
# Switch to the ~/git-test directory and initialize a local Git repository.
cd ~/git-test && git init
2. Next, run the below gh repo command to create a –public GitHub repository (git-test). This repository will contain the NGINX Ingress Controller deployment manifest.
gh repo create git-test --public
3. With the git-test GitHub repository created, run the commands below to perform the following:
- Change directories into the apps sub-directory.
- Create a deploy.yaml file containing the NGINX Ingress Controller deployment manifest
- Commit the changes
- Set the Git branch to main as suggested by the Git team.
- Link the git-test local repository with the git-test remote repository (Github).
- Push the changes to the remote git-test repository.
cd apps/
# Store NGINX Ingress Controller manifest in deploy.yaml file
curl https://raw.githubusercontent.com/kubernetes/ingress-nginx/controller-v1.1.2/deploy/static/provider/cloud/deploy.yaml | tee deploy.yaml
# Stage the changes
git add .
# Commit the changes
git commit -m "Initial commit"
# Set branch to the main branch as suggested by Git
git branch -M main
# Set remote repository to git-test Github repository
git remote add origin https://github.com/$GITHUB_USER/git-test.git
# Push changes to the main branch in the git-test repository
git push -u origin main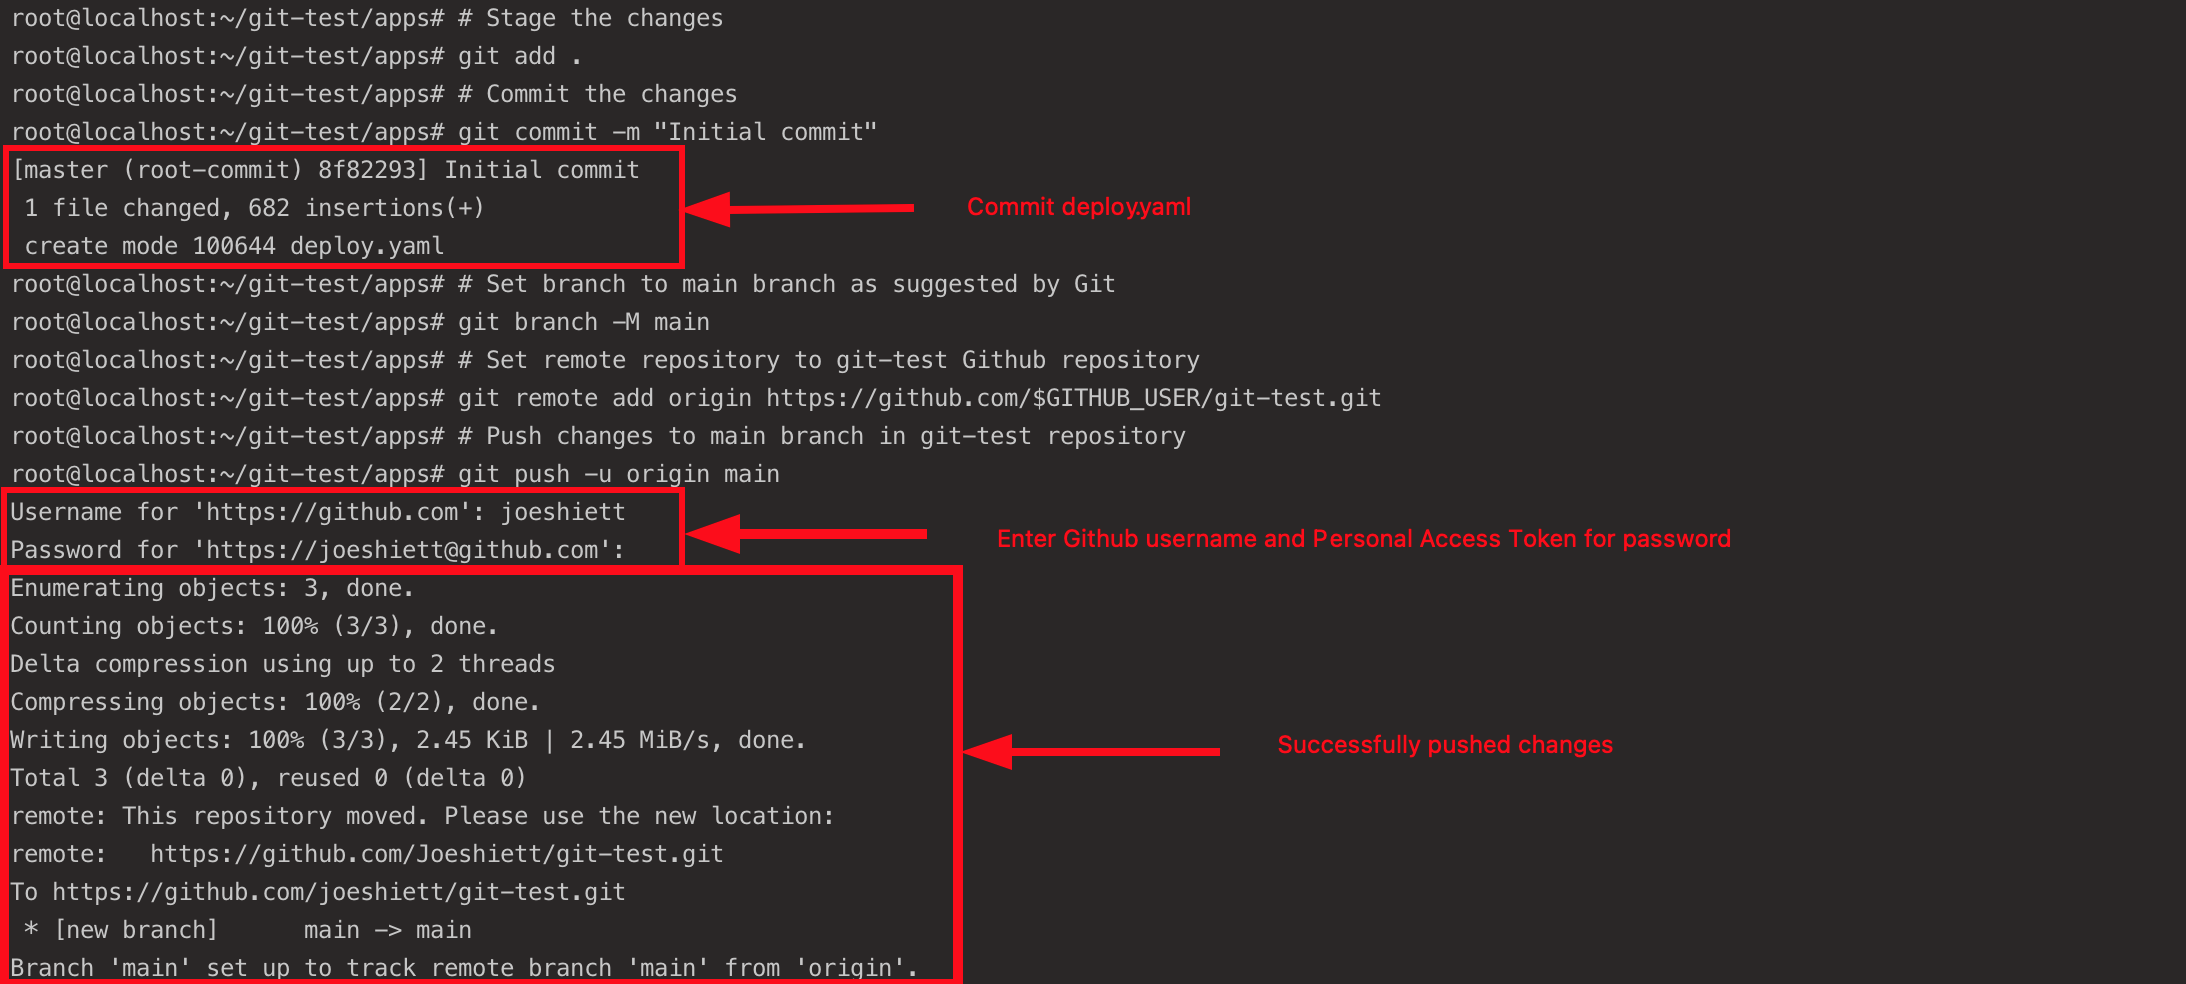
4. Run the below command to create a test namespace for the NGINX ingress controller deployment.
kubectl create namespace test
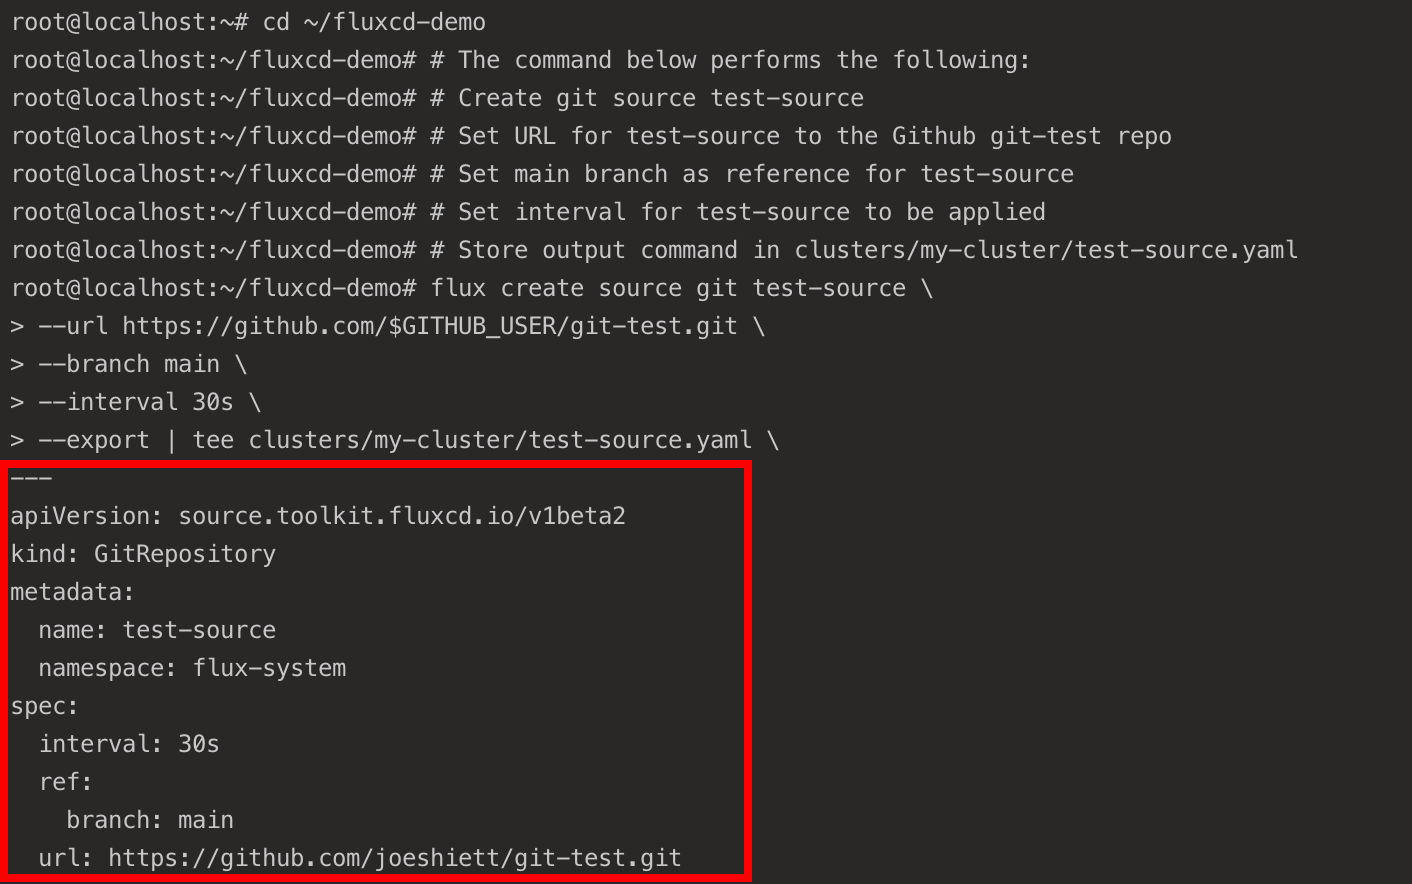
5. Now, run the following command to create a source configuration (test-source) and store it inside the fluxcd-demo repository where the Flux core components are stored.
Flux uses this source configuration to track any changes made to the configurations stored in the git-test repository at the set interval of 30 seconds. Flux then applies those changes to the deployments in the cluster (my_cluster) into the test namespace.
cd ~/fluxcd-demo
# The command below performs the following:
# Create git source test-source
# Set URL for test-source to the Github git-test repo
# Set main branch as reference for test-source
# Set interval for test-source to be applied
# Store output command in clusters/my-cluster/test-source.yaml
flux create source git test-source \
--url https://github.com/$GITHUB_USER/git-test.git \
--branch main \
--interval 30s \
--export | tee clusters/my-cluster/test-source.yaml \
The source configuration should be similar to the one below.
6. Run each command below to commit and push the new source configuration (test-source) to the fluxcd-demo GitHub repository.
# Stage the changes
git add .
# Commit the changes to the repository
git commit -m "Add test-source config"
# Push the configuration to the repository
git push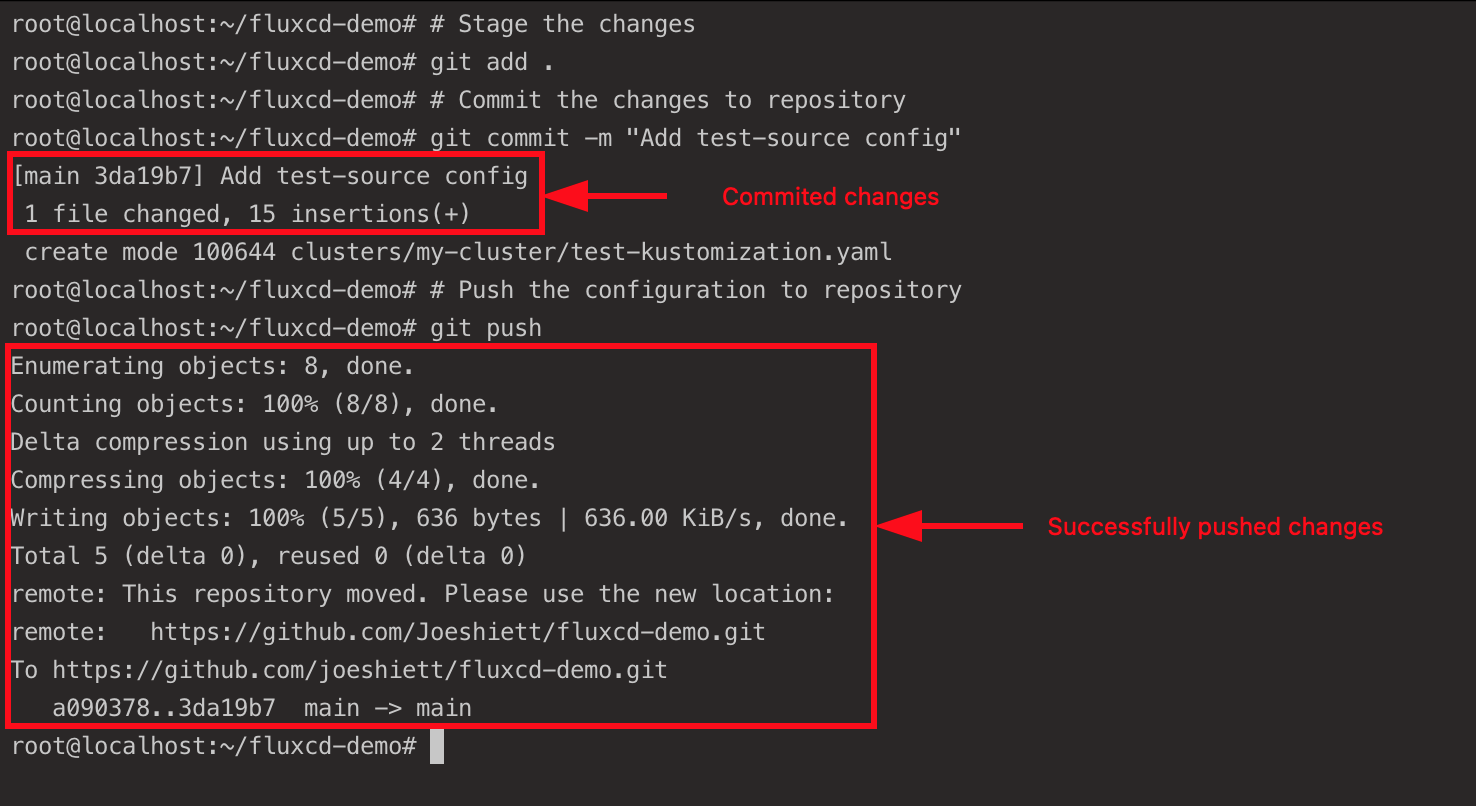
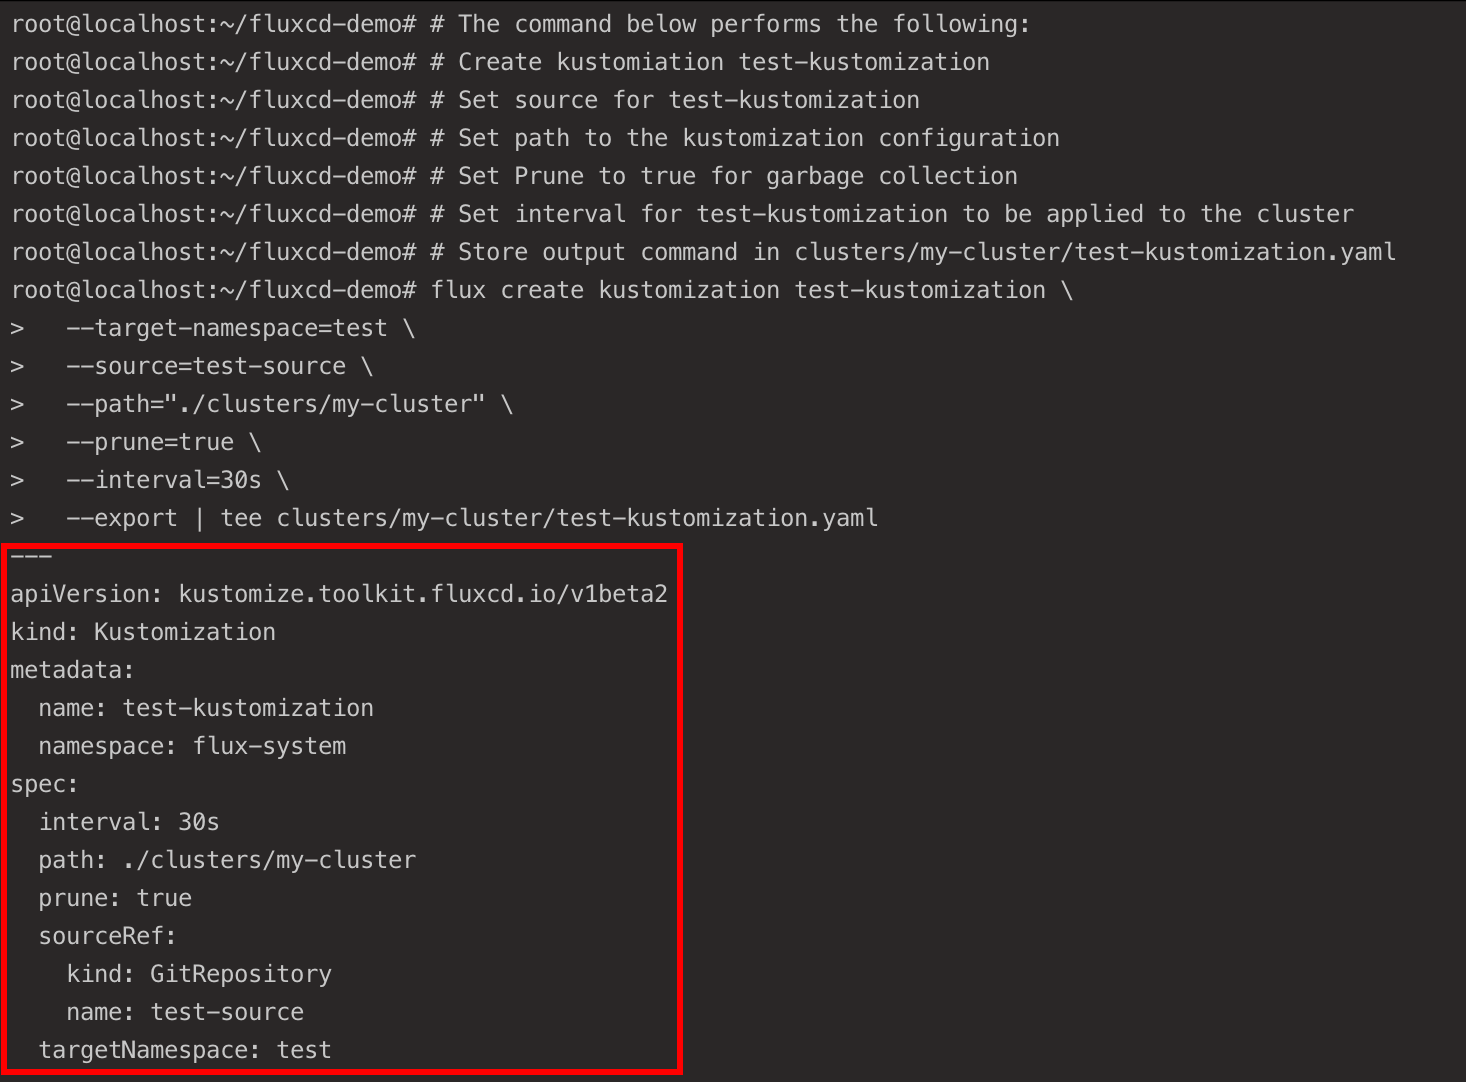
7. Next, run the flux create command below to create a kustomization configuration. This configuration applies the NGINX ingress controller configuration stored in the git-test repository to your cluster (my-cluster).
# The command below performs the following:
# Create kustomiation test-kustomization
# Set source for test-kustomization
# Set path to the kustomization configuration
# Set Prune to true for garbage collection
# Set interval for test-kustomization to be applied to the cluster
# Store output command in clusters/my-cluster/test-kustomization.yaml
flux create kustomization test-kustomization \
  --target-namespace=test \
  --source=test-source \
  --path="./clusters/my-cluster" \
  --prune=true \
  --interval=30s \
  --export | tee clusters/my-cluster/test-kustomization.yaml
The Kustomization configuration should be similar to the one below.
8. Commit and push the Kustomization configuration to the fluxcd-demo GitHub repository:
# Stage the changes
git add .
# Commit the changes
git commit -m "Add test-kustomization"
# Push changes
git push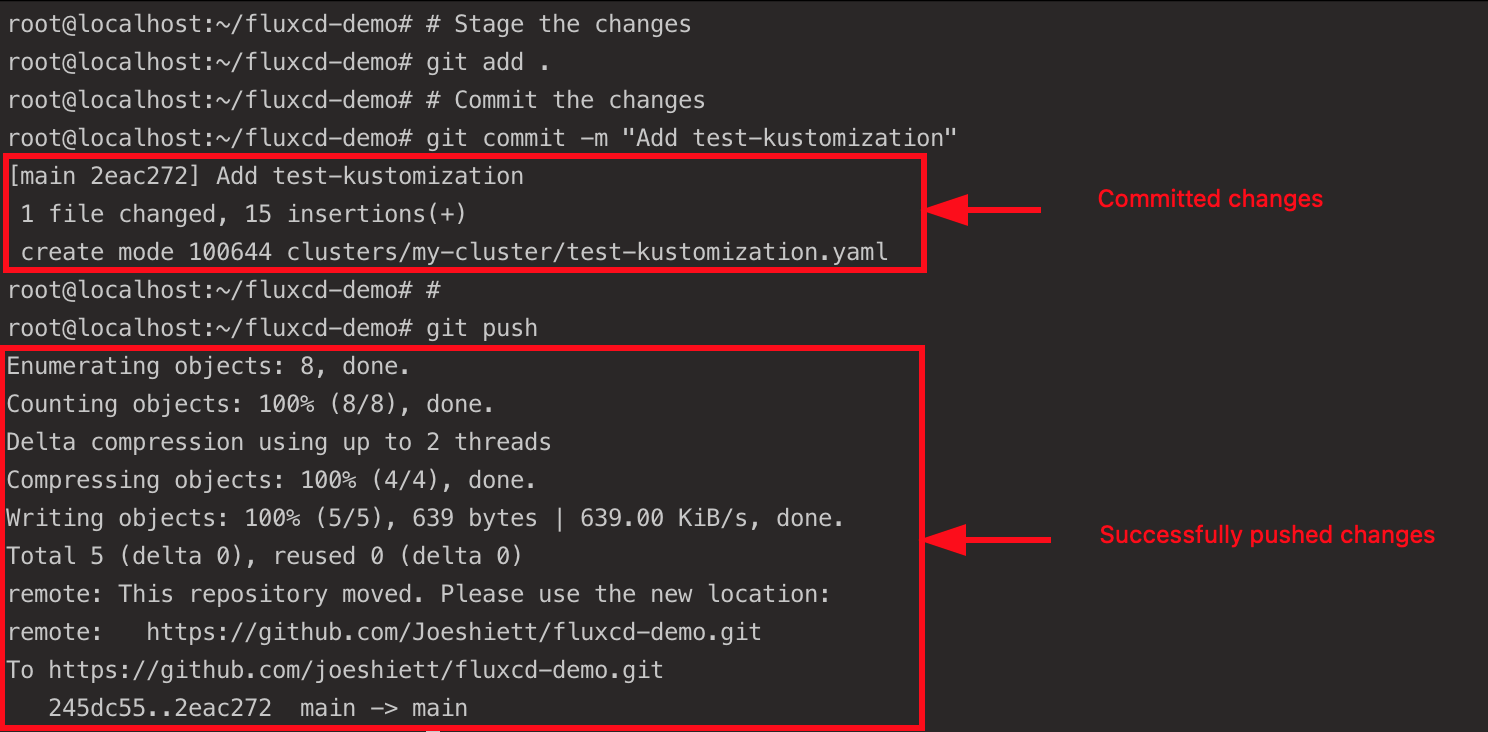
9. Lastly, run the kubectl command below to confirm the NGINX ingress controller deployment.
kubectl get pods -n test If all goes well, you’ll see the following output.

Extending Flux with Helm Operator
You previously deployed an NGINX ingress controller manifest to your Kubernetes cluster via Flux, but that’s not only what Flux is capable of. You can extend Flux’s capabilities with a Helm Operator, where you can deploy Helm charts to your cluster using Flux with GitOps principles.
To extend Flux with Helm Operator, you’ll create a new Git source (a GitHub repository). This repository will contain a sample Helm chart of a small web application written in Go called Podinfo, which you’ll later deploy to your cluster using a HelmRelease configuration.
1. Run the below cd command to change the working directory to the ~/fluxcd-demo directory.
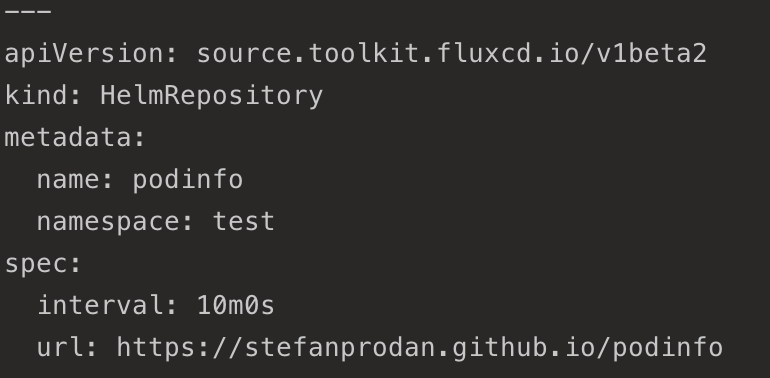
cd ~/fluxcd-demo2. Next, run the following flux create command to create a source configuration which will point to the Podinfo Helm chart repository.
# Create podinfo helm source configuration
flux create source helm podinfo \
# Specified namespace for helm source
--namespace=test \
# URL to podinfo Helm chart
--url=https://stefanprodan.github.io/podinfo \
# Interval set for podinfo helm source to be applied
--interval=10m \
# Store output of command in clusters/my-cluster/podinfo-helmrelease.yaml
--export \
    | tee clusters/my-cluster/helm-podinfo-source.yaml
The source configuration should look like the one below, where Flux recognizes the Helm repository. Any changes made in this repository will be detected by Flux and automatically applied to the cluster.
3. Commit and push the helm-podinfo git source configuration to your fluxcd-demo GitHub repository.
# Stage the changes
git add .
# Commmit the changes
git commit -m "Add podinfo source"
# Push the changes to the repository
git push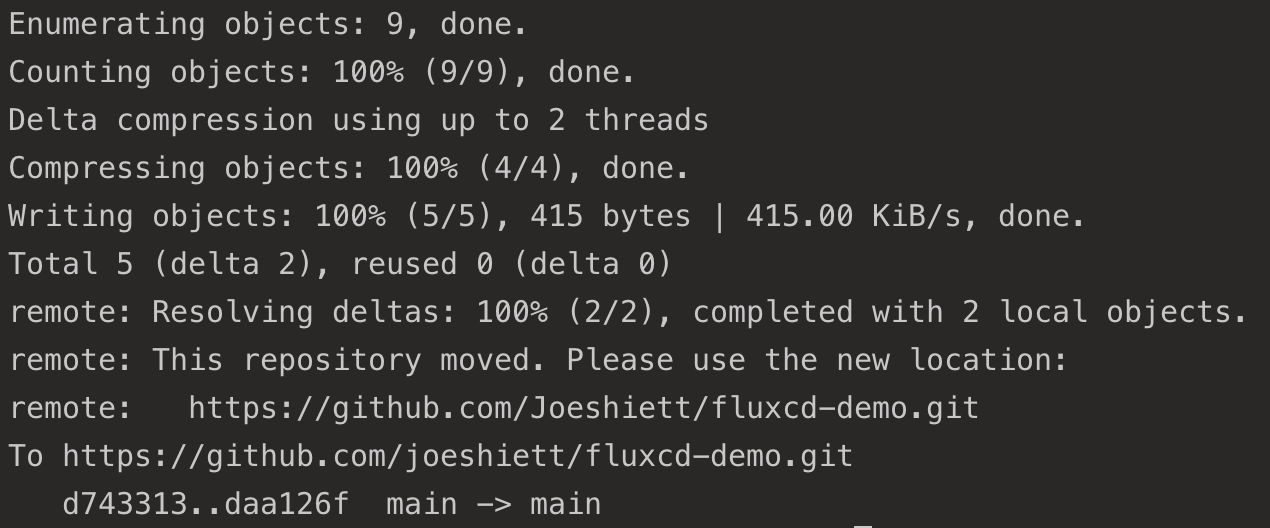
4. Now, create a values.yaml configuration file with your preferred text editor and add the following code.
The code below is the configuration for the Podinfo application with specifications for the number of replicas, resource limits, and requests.
# Number of expected podinfo Pods
replicaCount: 2
# CPU and memory resource configurations for podinfo deployment
resources:
# Memory limit set to 256 Megabytes
limits:
memory: 256Mi
# CPU requests set to 100 millicores and memory requests set to 64 Megabytes
requests:
cpu: 100m
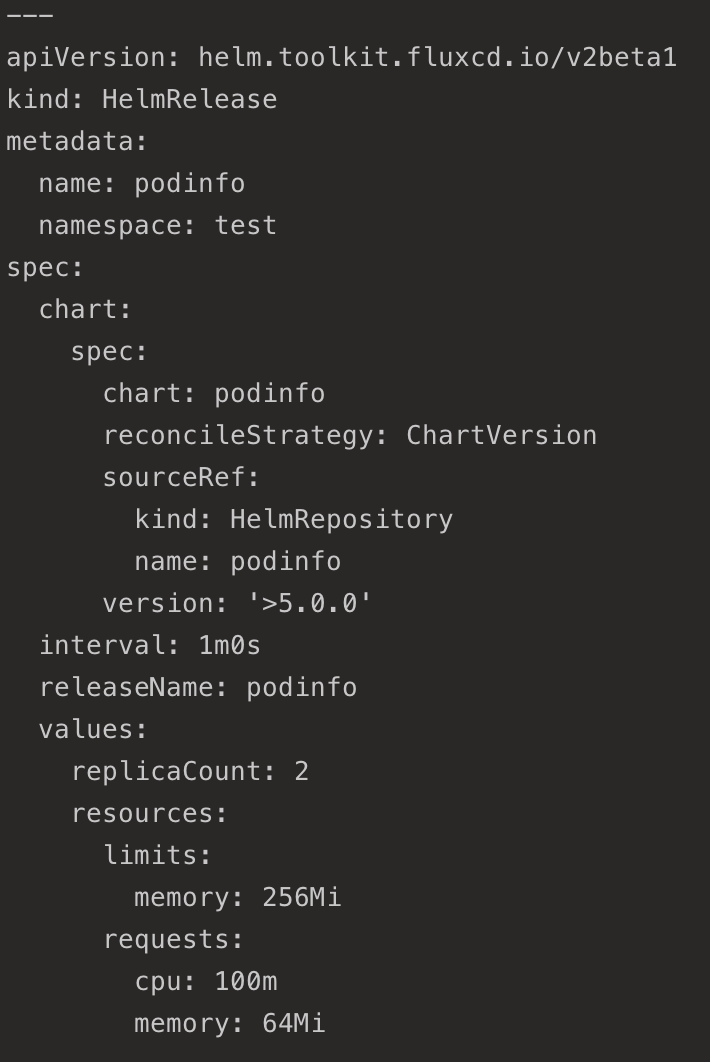
memory: 64Mi5. Execute the below command to create a helmrelease configuration to deploy the Helm chart based on the Podinfo source you created in step two.
# Create HelmRelease configuration
flux create helmrelease podinfo \
# Deploy to test namespace
--namespace=test \
# source set to HelmRepository/podinfo
--source=HelmRepository/podinfo \
# Release name for Helm chart deployment set to podinfo
--release-name=podinfo \
# Using podinfo Helm chart
--chart=podinfo \
#  podinfo Helm chart version
--chart-version=">5.0.0" \
# Resource utilisation config for HelmRelease
--values=values.yaml \
# Store output of command in clusters/my-cluster/podinfo-helmrelease.yaml
--export \
    | tee clusters/my-cluster/podinfo-helmrelease.yaml
Your HelmRelease configuration should look like the one below. This output confirms that the sample Go application (podinfo) was successfully deployed to your Kubernetes cluster via the HelmRelease definition.
6. Next, run the flux get command below to confirm the Helm chart deployment in the test namespace.
flux get helmreleases -n testThe Podinfo application should be running in your cluster, as shown below, after the successful operation of the Podinfo HelmRelease.

7. Run the following command to verify the Podinfo deployment in the test namespace.
kubectl get pods -n testYou should get the following, indicating Podinfo is running in the cluster with two replicas.

8. Now, run the below kubectl command to port-forward port 8080 to port 9898, the HTTP port for the Podinfo application running in a container. Doing so provides you access to the Podinfo application via a web browser.
kubectl port-forward svc/podinfo -n test 8080:9898As you can see below, the podinfo service has been configured and listens for incoming connections from anywhere via port 8080.

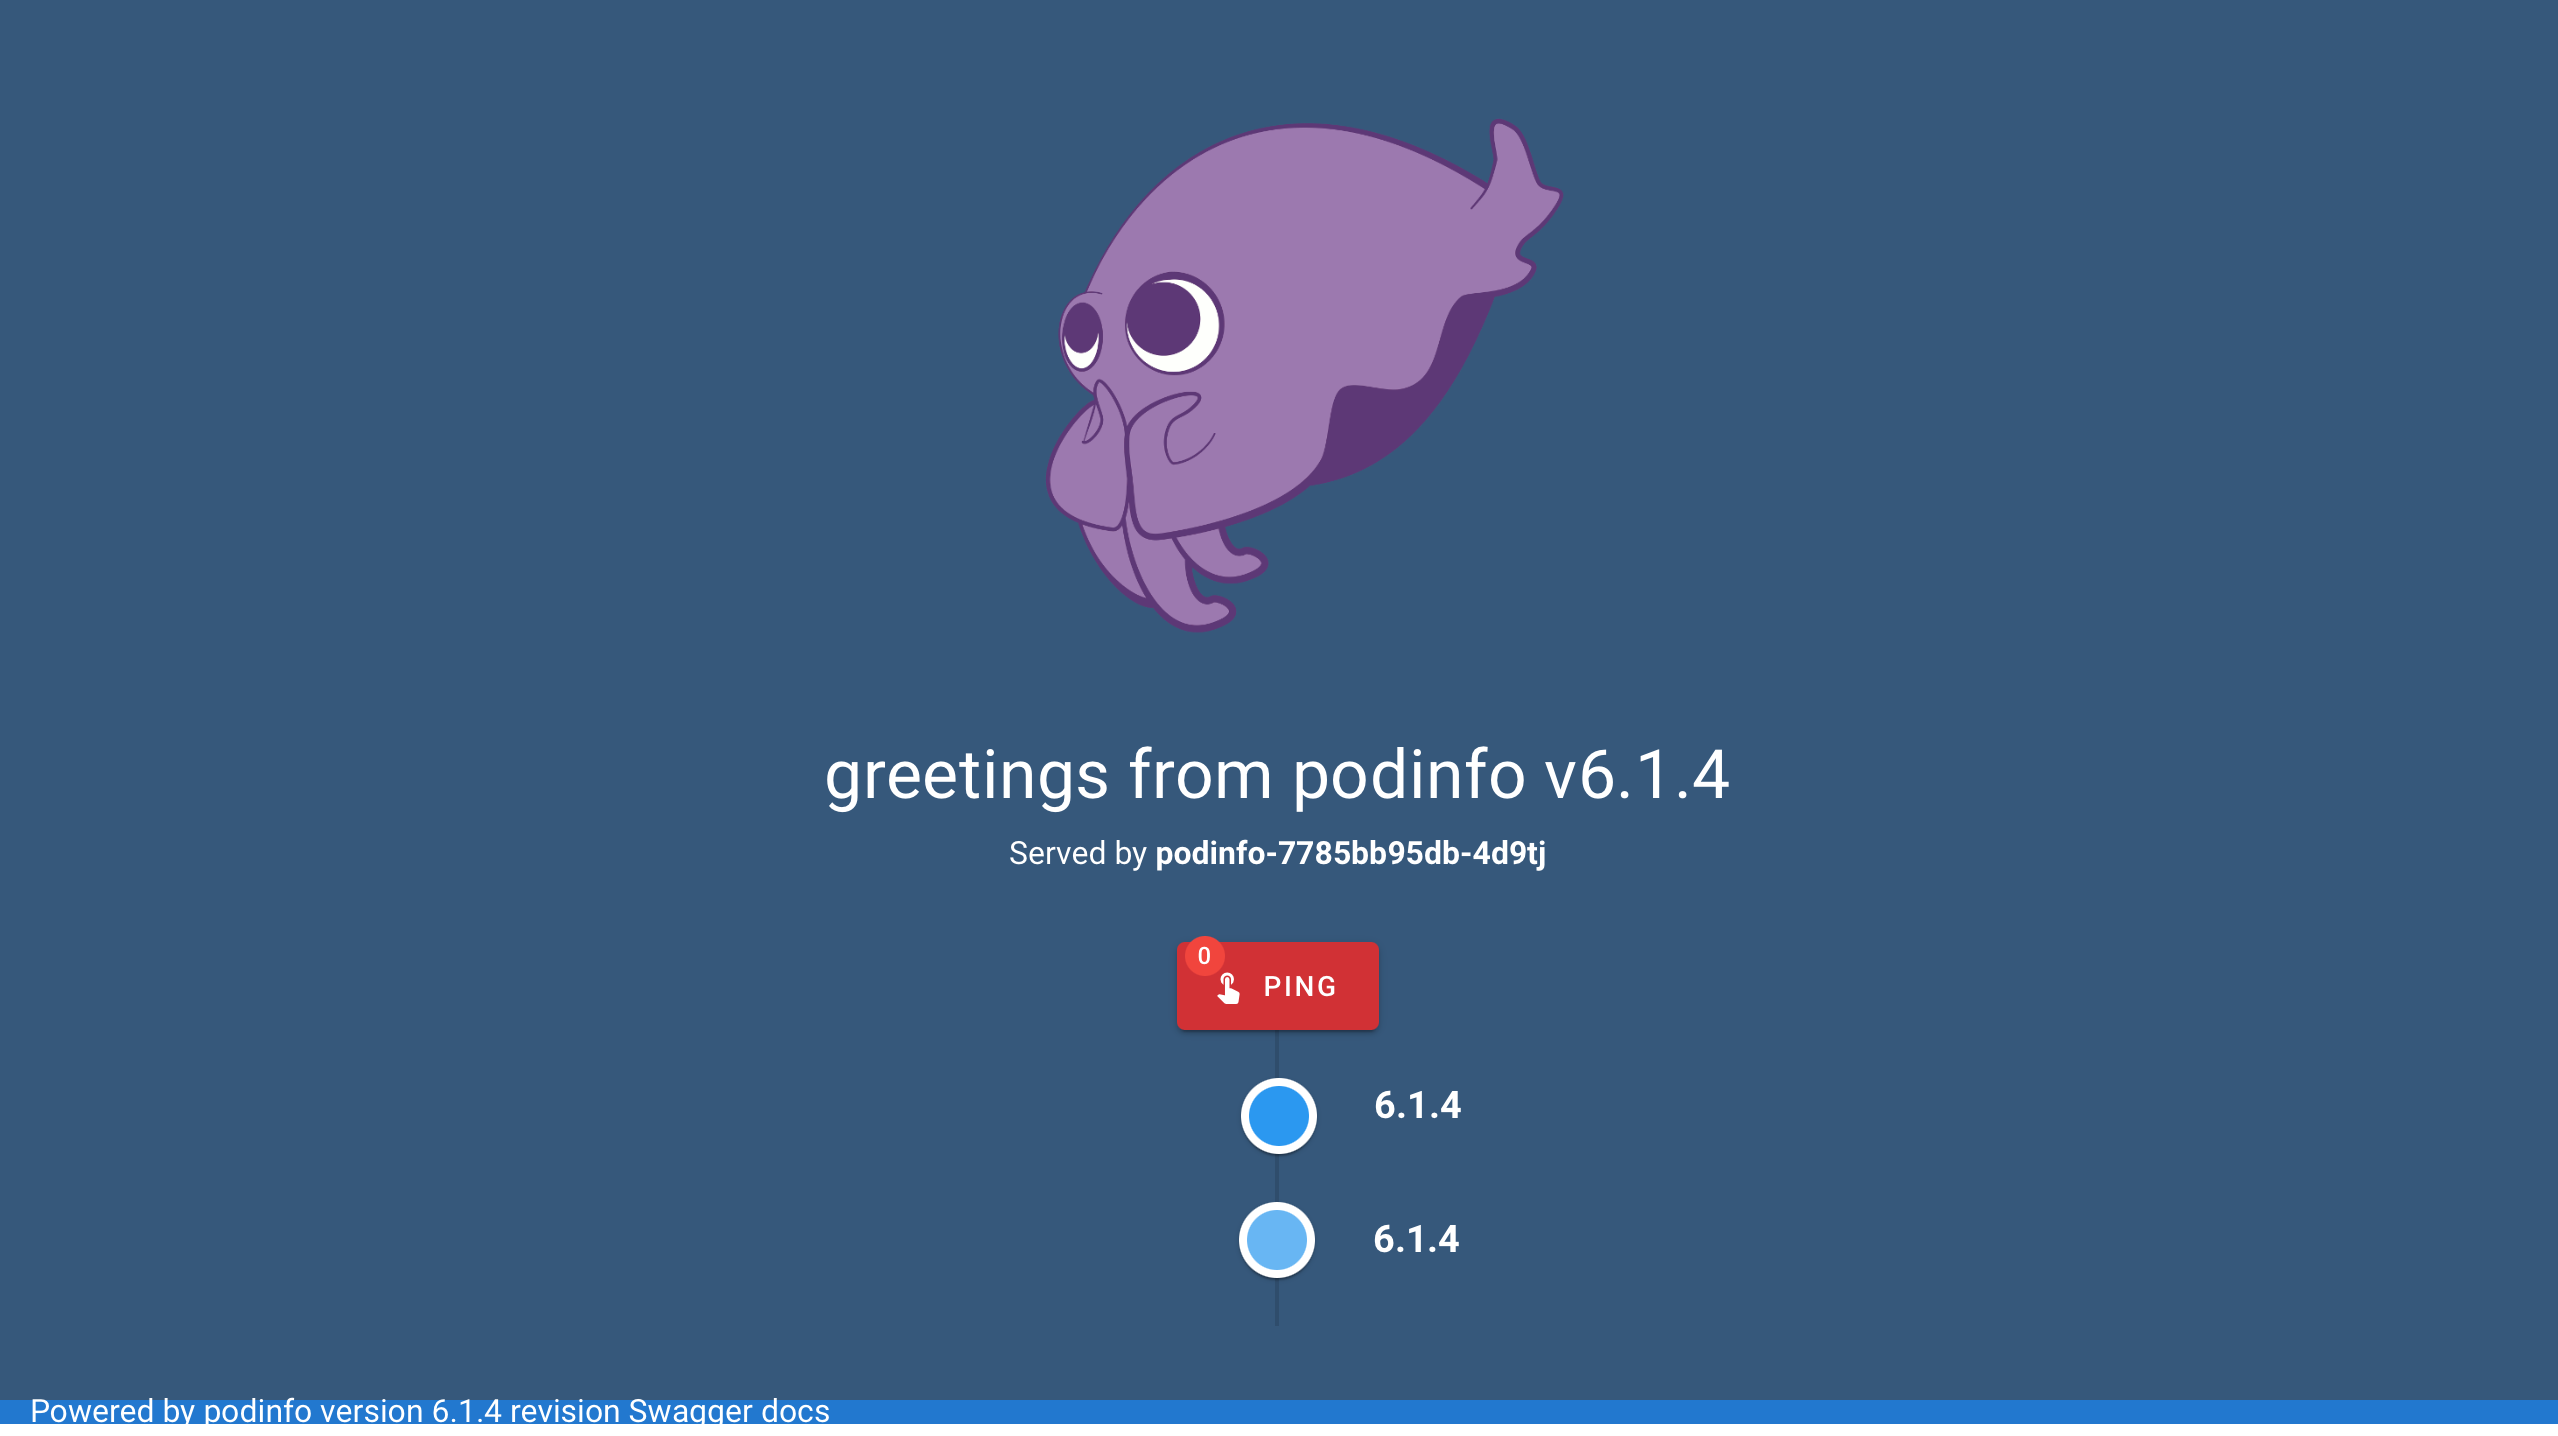
9. Finally, open your favorite web browser and navigate to any of the following endpoints:
- http://localhost:8080 (local) – If you’re running a local Kubernetes cluster on your computer
- http://<SERVER_IP>:8080 (cloud) – If you’re running a Kubernetes cluster on a VM provisioned with a cloud provider. Replace <SERVER_IP> with your server’s actual IP address.
If all goes well, you’ll get the following web UI.
Conclusion
In this tutorial, you’ve learned how to set up CI/CD with Flux to automatically apply an NGINX ingress controller service and deployment to your cluster in your namespace. You’ve also touched on extending Flux’s capabilities with Helm Operator using GitOps principles to deploy an application.
Why not take this newfound knowledge up a notch by deploying and retrieving more complex configurations in multiple namespaces?


