


Do you have some physical Windows devices that you dream about virtualizing and getting rid of the clunk, but you have no idea how to best approach that? Wonder no more, dear reader. In this article, you will learn more about Disk2vhd by Sysinternals: a tried, tested, and free way to convert physical machines or disks to their virtual equivalents.
In this article, you will convert a physical Windows system by creating a virtualized copy of the disk. Eager to go virtual? Dive in!
Prerequisites
This tutorial will be a hands-on demonstration. To follow along, be sure you have the following:
- A Physical Windows device. The examples will run on a Windows 10 device.
Disk2vhd has been recorded to work on Windows 11. If your physical disk contains a working Windows 11 installation, this tutorial will still serve you well.
- Enough free disk space to save the disk you are going to convert. Disk2vhd will help you identify exactly how much space is needed. At a minimum, you will need as much space as is in use on the physical disk
- Any Running Hypervisor. Oracle VirtualBox v6.1.22 is used in the examples. Other hypervisors, like Hyper-V, or KVM, will also serve you fine.
A user account with administrative access.
Installing and Running Disk2vhd
Your first step is to install Disk2vhd if you haven’t already. For the tasks to come you will need a user with administrative access and physical access to the Windows device. The disk you want to convert needs to be connected and online.
Head over to Microsoft’s Sysinternals page and download a copy of Disk2vhd. At the time of writing this article, the latest version available, and the one the examples will be based on, was version 2.02. The download will be a zip archive containing various versions of the program.
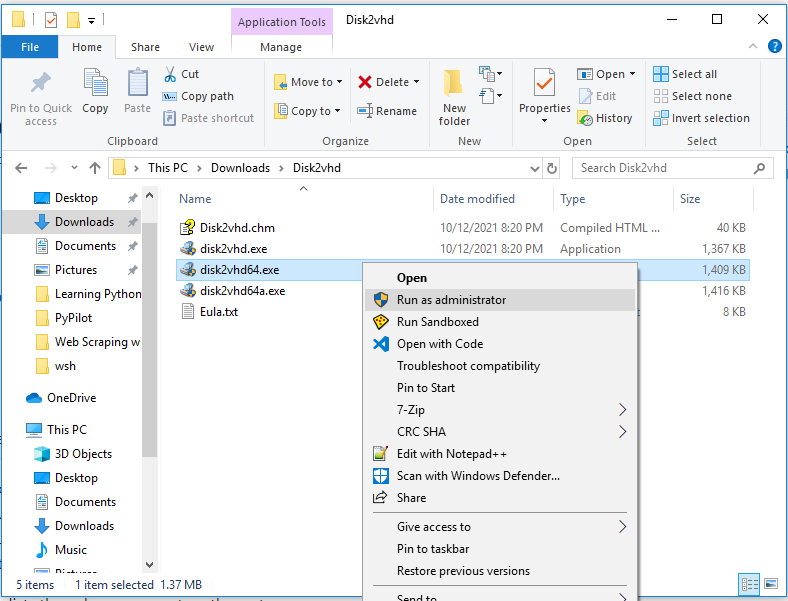
Right-click on the most appropriate version for your device and select Run as administrator as seen below.
Converting a Physical Disk to a Virtual Disk
Now that you have a working and running copy of Disk2vhd, is time to virtualize your Windows 10 boot disk. The selected disk will be the C:\ drive on the machine used as an example.
For the sake of brevity, this article will be limited to converting a boot disk (a disk that has a working copy of Windows) to a virtual hard disk. But Disk2vhd is not limited to converting boot disks.
Your first task is to select the right flags for the disk you are about to create:
- Check the Prepare for use in Virtual PC flag if you intend to make the disk compatible with the deprecated Microsoft Virtual PC.
- Check Use Vhdx if you prefer the resulting virtual disk to be of the vhdx format instead of a regular vhd file.
VHDX is an improved version of the VHD format, but it is limited in vendor support when compared to VHD. VHDX boasts better performance and a much higher maximum disk size when compared to VHD (64TB as opposed to 2TB). Since both formats are ultimately from Microsoft, it makes sense to defer to VHDX in cases where Hyper-V will be used as the hypervisor. VHD can be used where cross-compatibility with other hypervisors is important.
- Check Use Volume Shadow Copy if you are working on a running system and do not want to interfere with the state of the system. This option aims to enable you to have a smoother conversion process. You will not need to be concerned about file-in-use popups or inconsistencies in the system state. If you do not check this option, you will directly copy the files from the live volume, instead of copying files from the shadow copy.
Shadow copies are essentially point-in-time read-only snapshots of volumes that can be used for consistent disk copy operations. Programs that rely on the technology can make safe copies of the files even while applications are in use.
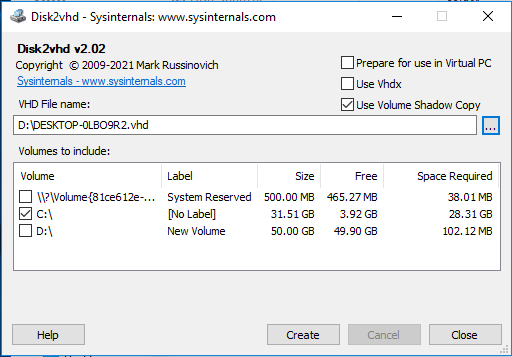
If you are following along, your options should look like the screenshot below.

You are not selecting the VHDX because VirtualBox cannot fully handle VHDX disks. To avoid over-extending the tutorial by trying to convert from one disk format to the other, the output format is set to VHD.
2. Now it is time to select the output file. Pick the name of the output VHD file, including its full path and extension. The output file in the example will have the same name as the device name, as you can see below.

3. You will now select the volumes you want to virtualize. The disk in this tutorial is Master Boot Record (MBR) based, so you select the only volume needed, as shown below. Be sure to reserve at least as much space free on the destination drive as the Space Required column specifies.
For a GUID Partition Table(GPT) partitioned disk, you have to copy the EFI System Partition (ESP) volume in addition to the Operating System (OS) volume. The ESP volume contains bootloader files that the system needs to locate and boot an OS properly.
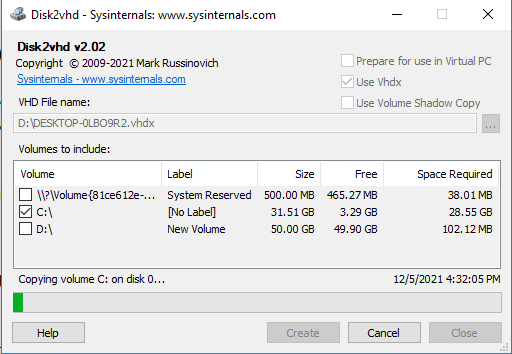
4. With everything in place, you are ready to start the conversion process! Beware that due to the load Disk2vhd puts on a running system, it is not advisable to run it on systems already known for high loads. Click Create to start the conversion and wait until the process is complete.
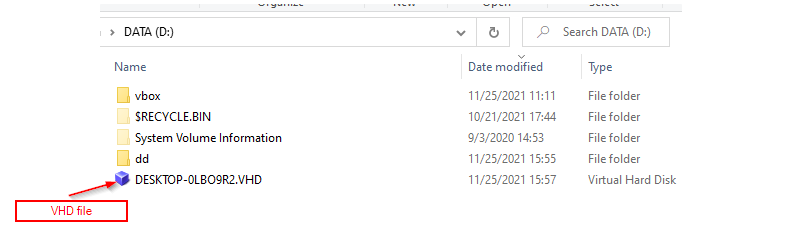
5. Voila! After waiting for the completion of the process, you should now have a VHD file in the folder you specified, as seen in the screenshot below.
Be sure not to mount the resulting VHD directly on the physical machine. Windows uses a signature to identify each connected disk. To avoid a disk signature collision, Windows will change the signature of the virtual disk when you mount it on the same machine as the physical disk. If you create a new VM with the disk, as is in this tutorial, the new VM may be rendered unbootable.
Converting Disks Via The Command-Line
For those who need it for automation or remote usage, Disk2vhd has also a command-line option. The syntax follows:
disk2vhd [-c][-h] <volumes-to-include> <output-vhdfile>- The -h flag is the same as selecting “Prepare for use in Virtual PC” on the graphical user interface(GUI).
- The -c flag will make a direct copy and not a shadow copy
- Volumes are included by specifying their drive letters or using for all.
The example below creates a backup copy of the C:\ drive C on a 64bit machine via a PowerShell session. The output filename will incorporate the backup creation date in the file name with the Get-Date PowerShell cmdlet. Give the file a specific name, to run this code in a non-PowerShell session.
disk2vhd -c c: "\\file-server\Backups\snapshot-$(Get-Date -f yyyy-MM-dd).vhd"The command will create a file akin to the one in the screenshot below upon successful conversion.
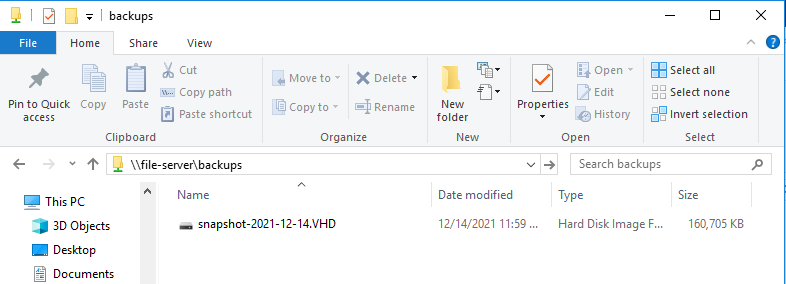
You can couple the command line with a scheduling solution, such as a scheduled task in PowerShell to create a barebones automated backup system.
Creating a Virtual Machine with the Converted Disk
Now that you have a virtual replica of the physical, you will attach the resulting virtual hard disk to check your action results. After booting up the virtual system, you will find it virtually replicates your previous system (pun intended).
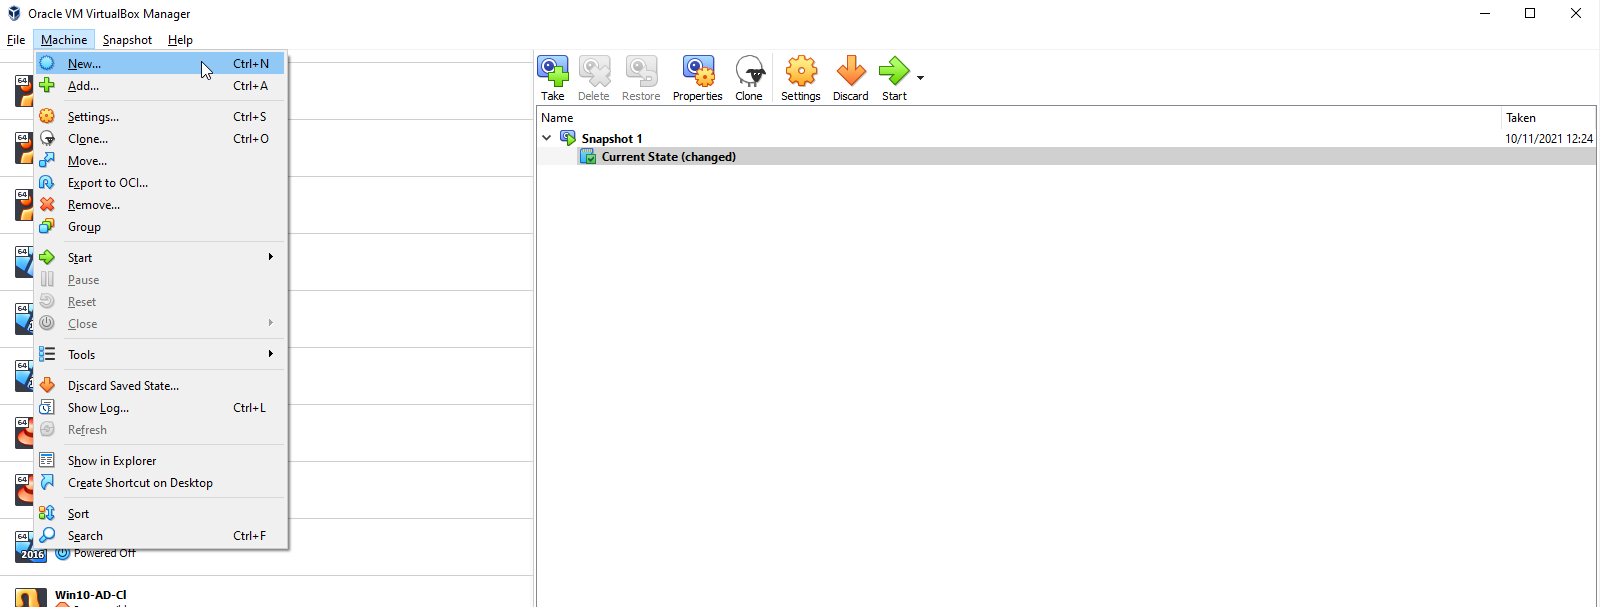
1. Open VirtualBox to follow along and then select New under the Machine menu
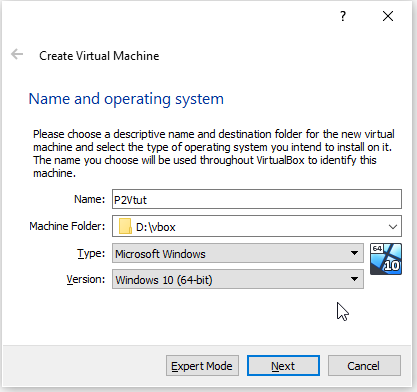
2. Give the machine a name, select a folder to store the files, select the OS Type and Version accordingly, and click Next.
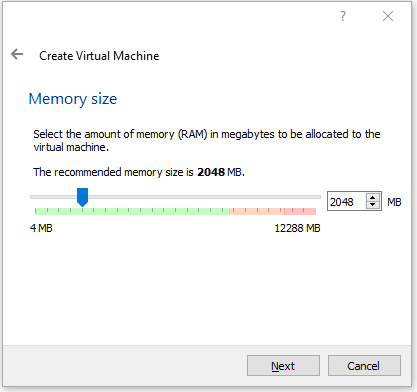
3. Select the memory the system will consume. For your testing purposes, 2 GB of RAM should be enough.
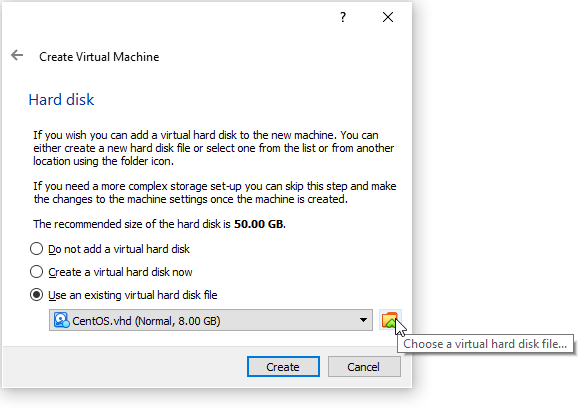
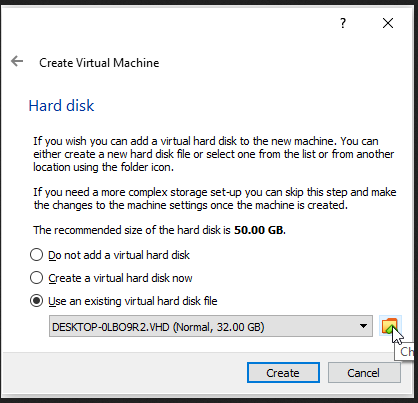
4. Now comes the most crucial part, the Hard disk selection. Select “Use an existing virtual hard disk file” and click the browse icon provided to find the VHD created earlier.
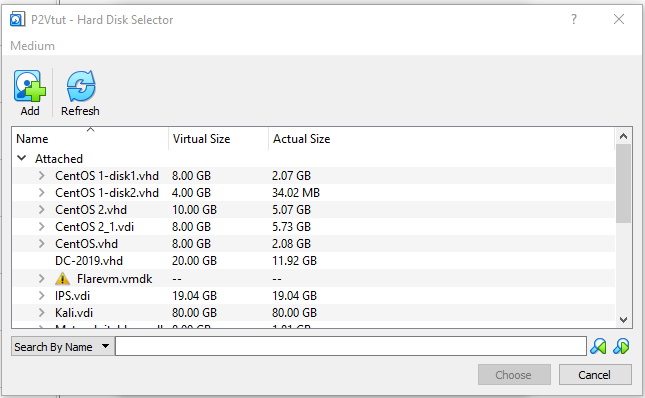
5. The next screen lists know Virtual Box VHDs. Choose Add to include the new VHD in the list of disks known by VirtualBox. This step is necessary before attaching the disk to any VM.
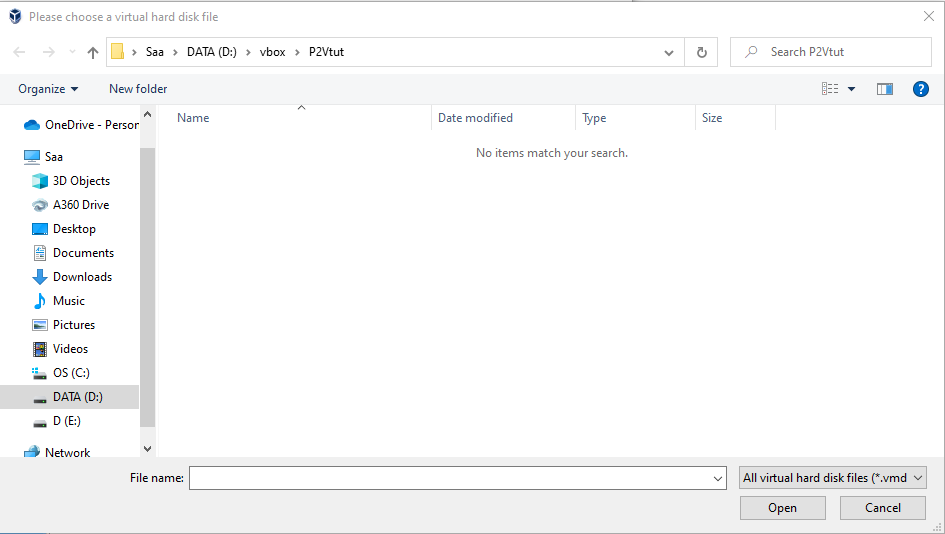
Navigate to the VHD file created in the previous section and select Open.
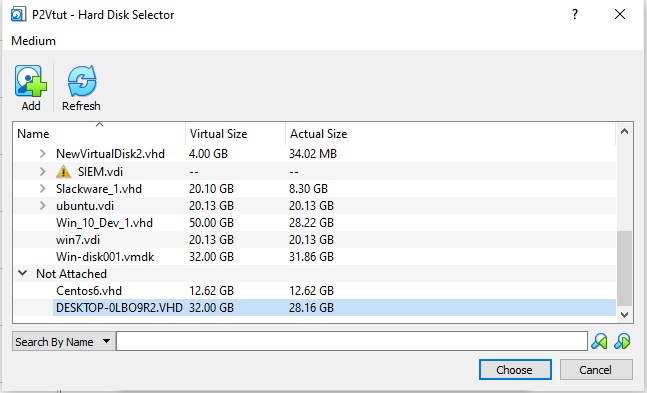
7. VirtualBox lists the VHD as Not Attached. Select the file and click Choose to attach the VHD to the new VM.
8. Click Create .
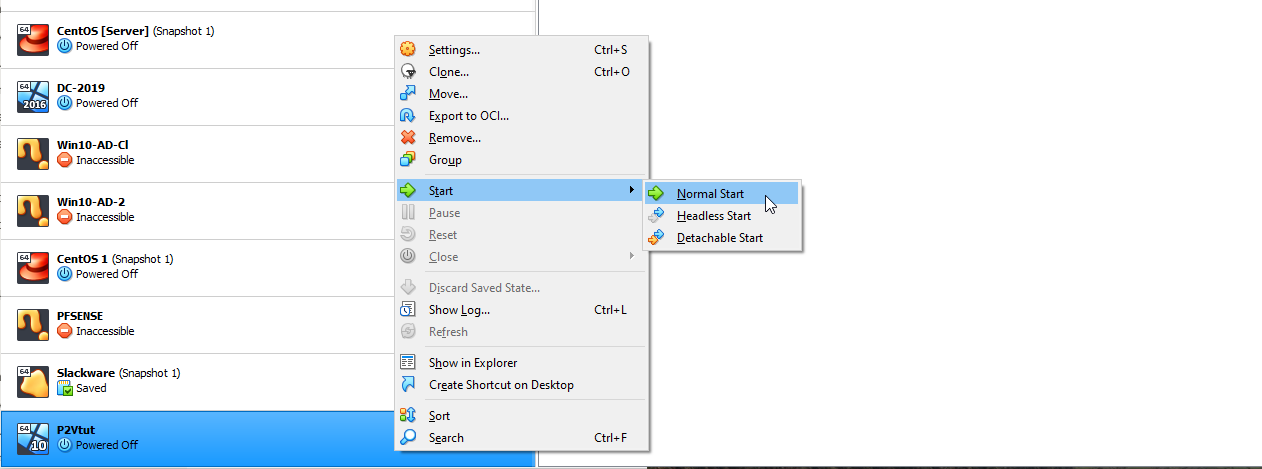
9. You can now start the VM. Select Normal Start as seen below.
10. You should see the same sign-in screen as the physical device.
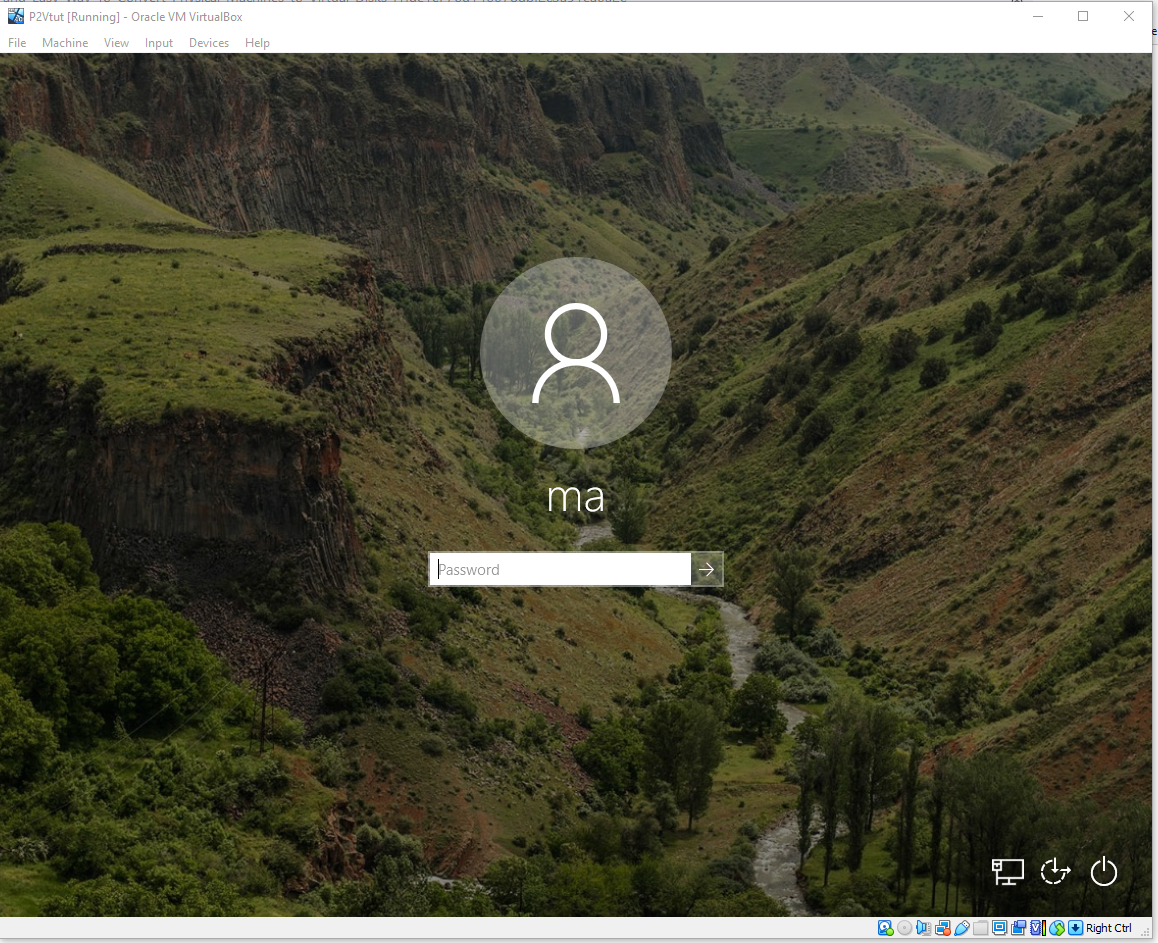
11. After logging in, you will notice that the virtual machine is an exact copy of the physical device, down to the user accounts and installed applications. The virtual machine is the same as the physical one.
Conclusion
Disk2vhd can save you a lot of time whenever you need to virtualize a physical disk, whether it is a live OS or not. By coming this far, you are now ready to virtualize your physical devices and reap the benefits of virtualization.
What are the machines that you are planning to virtualize?


