


You shouldn’t have to babysit all of the file copies; scheduled tasks are perfect for automated file transfers.
Copying files from one place to another is a trivial task no matter how you do it. And there are a number of ways to get the job done: dragging and dropping the file in Windows Explorer, Copy-Item with PowerShell or the simple copy command in DOS.
It’s just a matter of specifying a source and a destination path and setting a few other optional parameters. It’s only when you start copying a lot of files on a frequent basis that you run into problems.
When automating file copies, especially in a Windows environment, your go-to scripting language is going to be Windows PowerShell. If you need to quickly copy one or more files from one destination to another, PowerShell is a great way to do that. Also, not only is it easy to manually kick off PowerShell scripts, but you can also trigger automated file transfers via PowerShell scripts by using Windows scheduled tasks.
In this article, we’ll go over how to perform file automated file transfers using PowerShell by writing a script and creating a scheduled task to kick off that script on a recurring basis. But before we start, I’m going to assume that you have at least PowerShell v4 installed on your computer. Otherwise, the tricks I’m about to show you may not work properly.
Create Your Script for Automated File Transfer
First, you need to create a script to perform file transfers. Let’s call the script CopyFiles.ps1. This script will contain the following code: param(
param(
    [string]$SourcePath,
    [string]$DestinationPath
)

Copy-Item -Path $SourcePath -Destination $DestinationPath -Recurse
As you can see, the script is simple, but it leaves room for lots of customization depending on your environment.
The most complicated part of this automated file transfer script is the param() section. This is a parameter block containing two parameters: SourcePath and DestinationPath. By making both of these values, parameters allow us to pass in different values to our script so we can reuse it. If SourcePath and DestinationPath were actual paths, we’d have to create separate scripts for every different file copy!
Manually kicking off this script will look something like this:
& .\CopyFiles.ps1 -SourcePath C:\Source -DestinationPath \\SERVER\DestinationThis example would copy all files and subfolders in the C:\Source folder to the \\SERVER\Destination shared folder.
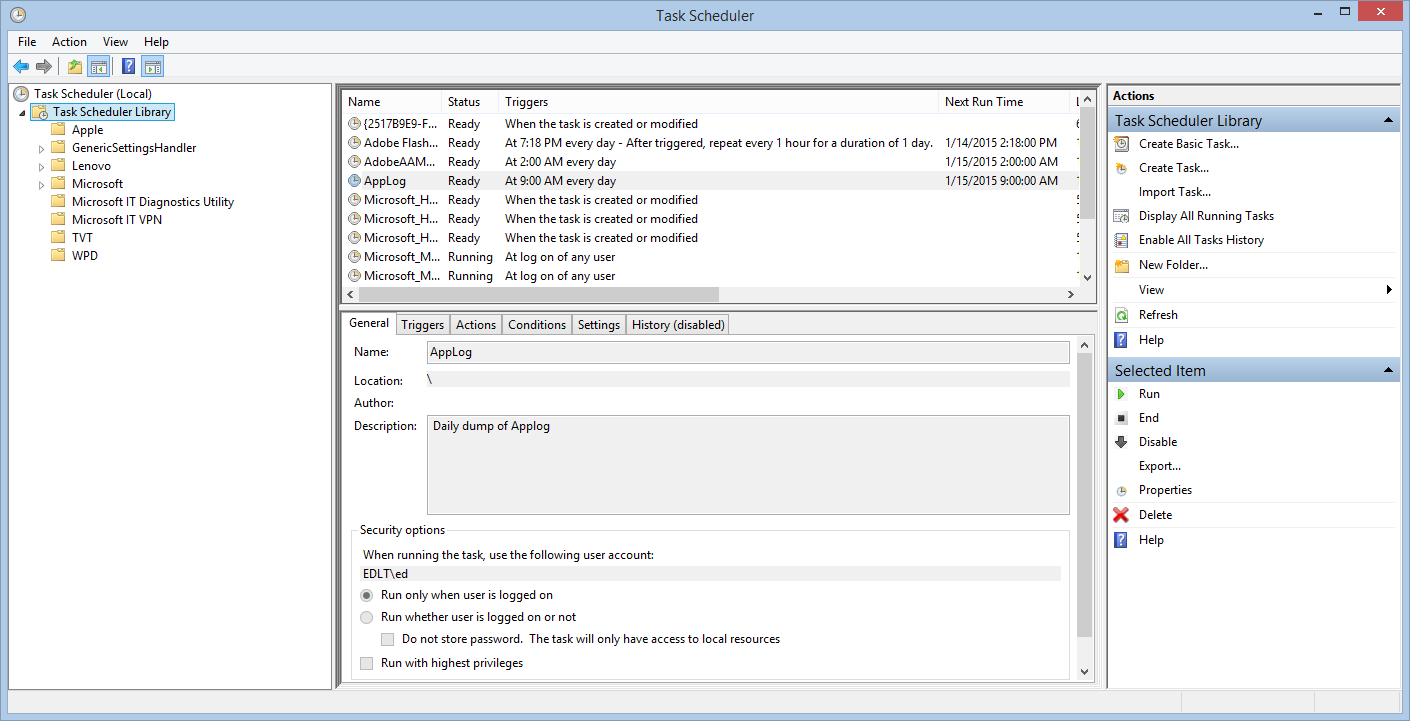
Create a Scheduled Task
Now that you have your CopyFiles.ps1 PowerShell script, head over to the computer where you’d like to kick it off. In this example, we’re going to create a scheduled task to run this script once a day at 3 a.m.
You could create scheduled tasks by running the Task Scheduler GUI and creating one that way, but we’re all about automation here. Let’s learn how to create the scheduled task in PowerShell as well. To do this, you’ll need to complete four rough steps:
- Create the scheduled task action.
- Create the trigger.
- Create the scheduled task in memory.
- Create the scheduled task on the computer.
Here’s what that looks like in practice. First, we’ll create the automated file transfer scheduled task action. This defines the EXE to run along with any arguments. Here, I’m assuming that your script is located at C:\CopyFiles.ps1.
$Action = New-ScheduledTaskAction -Execute

'C:\Windows\System32\WindowsPowerShell\v1.0\powershell.exe' -Argument "-NonInteractive -NoLogo -NoProfile -File 'C:\CopyFiles.ps1' -SourcePath 'C:\Source -DestinationPath '\\SERVER\Destination'"
Next, we’ll create a trigger to kick it off at 3 a.m. every day.
$Trigger = New-ScheduledTaskTrigger -Daily -At '3AM'Next, we’ll create the scheduled task in memory using the action and trigger that we just created.
$Task = New-ScheduledTask -Action $Action -Trigger $Trigger -Settings (New-ScheduledTaskSettingsSet)Finally, we’ll actually create the automated file transfer scheduled task on the system, calling it File Transfer Automation and running it under the local administrator account with the provided password.
$Task | Register-ScheduledTask -TaskName 'File Transfer Automation' -User 'administrator' -Password 'supersecret'This would register the script, and it will now copy all files from your source to the destination every day at 3 a.m.


