


Are you looking for an affordable and reliable way to store, manage, and retrieve digital files? Well, say hello to DigitalOcean Spaces!
DigitalOcean Spaces lets you store your data at any scale. And in this tutorial, you will learn the basic knowledge of storing, managing, and retrieving files with DigitalOcean Spaces.
Discover how to maximize your file storage capabilities without overspending!
Prerequisites
Before diving into DigitalOcean Spaces, make sure that you have the following:
- A DigitalOcean account with active billing enabled – A free trial is sufficient to get started.
- A local machine – This tutorial uses an Ubuntu 20.04 machine.
Creating Buckets via the DigitalOcean Spaces Console
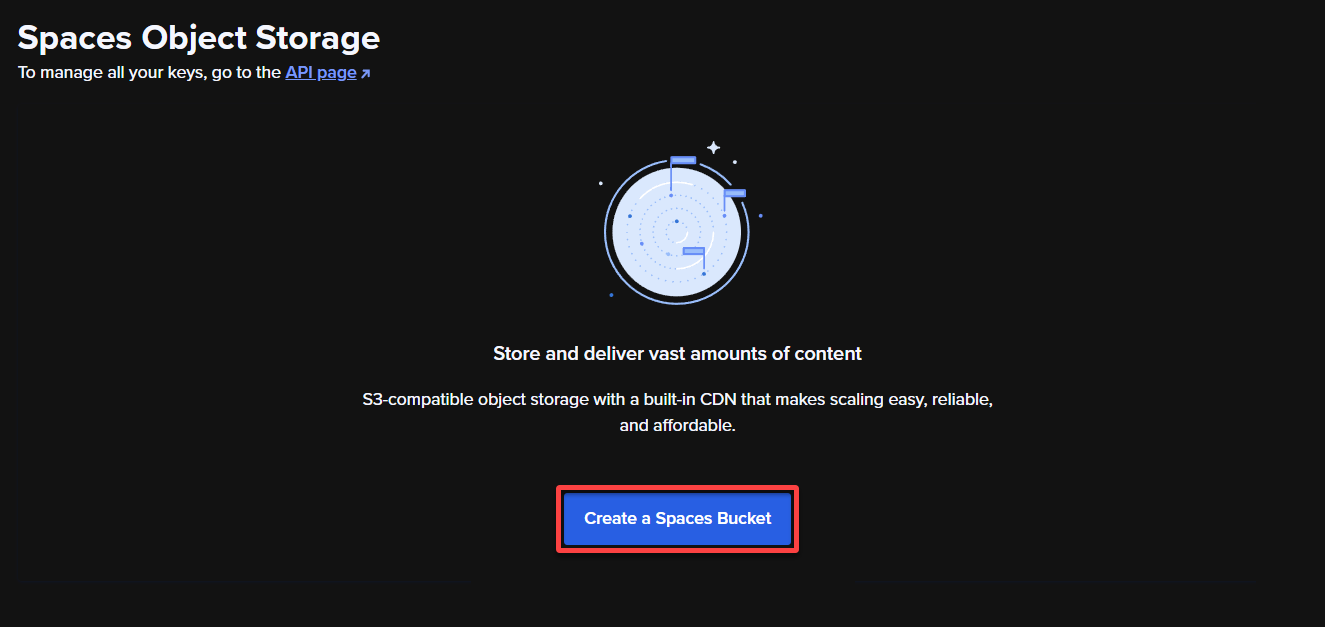
DigitalOcean provides an S3-compatible object storage service called Spaces Object Storage. This service lets you store and serve large volumes of data, such as images, videos, and static website files.
With the Spaces console, a user-friendly web-based UI, you can quickly navigate and manage your Spaces buckets. You can create buckets, upload files, set permissions, and organize your data with just a few clicks.
💡 Designed to be compatible with the Amazon Simple Storage Service (S3) API, you can use existing AWS S3 Software Development Kits (SDKs) and tools to interact with DigitalOcean Spaces. This compatibility lets you quickly migrate applications or leverage existing code that integrates with AWS S3.
To create a Spaces bucket via the DigitalOcean Spaces Console:
1. Open your favorite web browser, and log in to the DigitalOcean Spaces Console.
2. Once logged in, click Create a Spaces Bucket to initiate creating a new bucket. Your browser redirects to a page where you can configure your Spaces bucket (step two).
3. Now, configure the following for your new Spaces bucket:
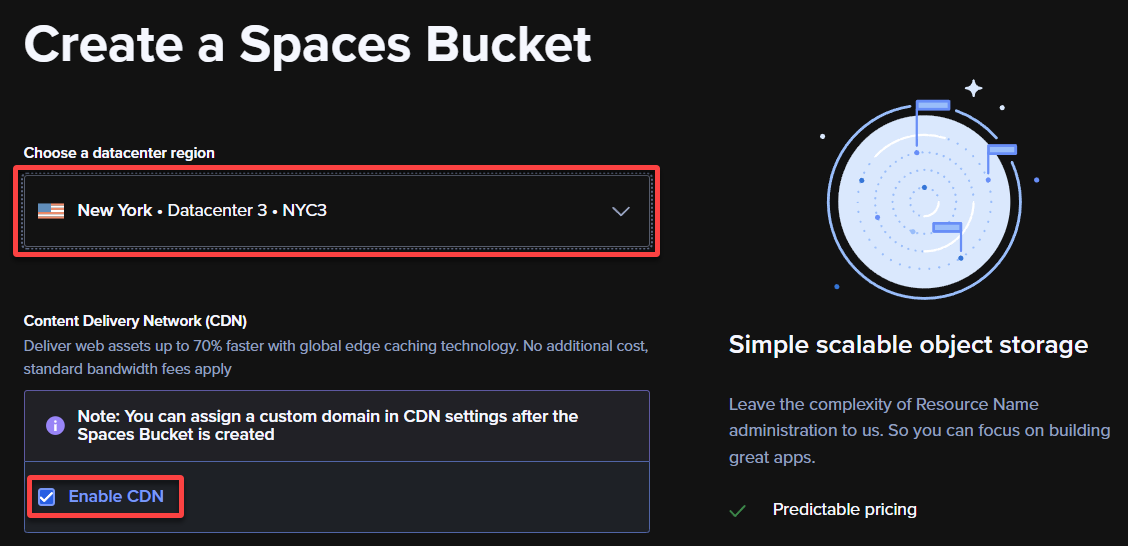
- Choose a datacenter region – Select a region geographically close to your target audience. This option helps reduce latency and improve the overall performance of file transfers for your users.
💡 DigitalOcean has multiple data center regions. These edge locations are geographically distributed and closer to the end users, allowing faster content delivery. At this point, no additional cost is associated with this feature.
- Content Delivery Network (CDN) – Tick the Enable CDN box to enable a CDN for your Space. This feature is optional but highly recommended, as a CDN can speed up file transfers and reduce the amount of traffic on your origin server.
When a user requests content from your Space bucket, the CDN caches and stores copies of that content on servers in multiple edge locations.
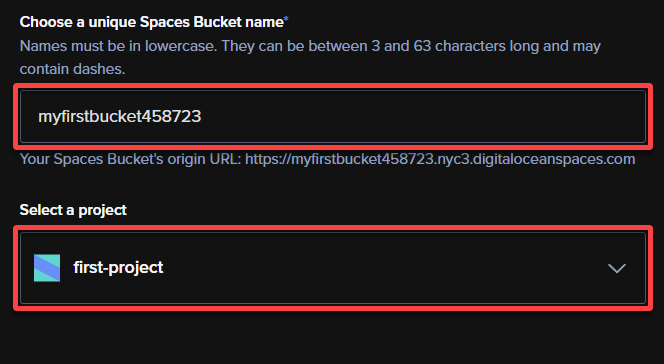
4. Now, provide a bucket name and select a project as follows:
- Choose a unique Spaces Bucket name – Provide a unique name (must be in lowercase) for your Space Bucket (myfirstbucket458723). Choose a concise but descriptive name to represent the purpose or content of the bucket.
- Select a project – Choose the relevant project from the dropdown to track Spaces billing alongside other DigitalOcean services.
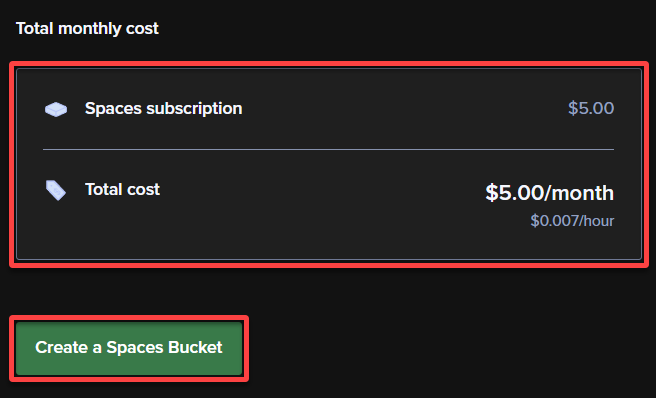
5. Lastly, review the Total monthly cost, as shown below, and click Create a Spaces Bucket to finalize creating your new Spaces bucket.
Uploading and Downloading Objects via the Spaces Console
You have just created your first Spaces bucket, but how do you know it works? Your bucket currently does not serve a purpose until you upload and download content to and from your bucket.
Luckily, DigitalOcean Spaces provides a quick way to upload or download objects from the console.
To upload an object to your Spaces bucket:
1. Select your desired Space Bucket from the Spaces Console (myfirstbucket458723).

2. Next, click Upload under the Files tab, and locate the files you wish to upload to your bucket.

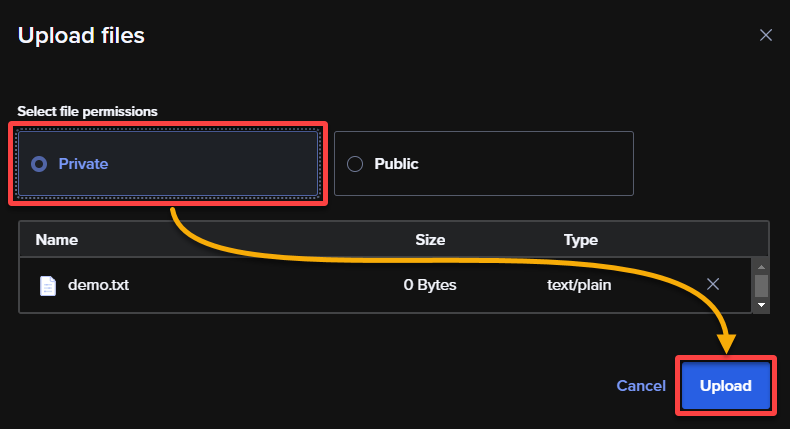
3. After selecting the files to upload, choose their permissions within DigitalOcean Spaces, and click Upload to upload the files to your bucket.
By default, the permissions are set to Private, letting you, as the owner, have sole access to the files. On the contrary, Public permissions allow everyone to view your file content online.
💡 Note that you can always change the access permissions of an object at a later stage as per your requirement.
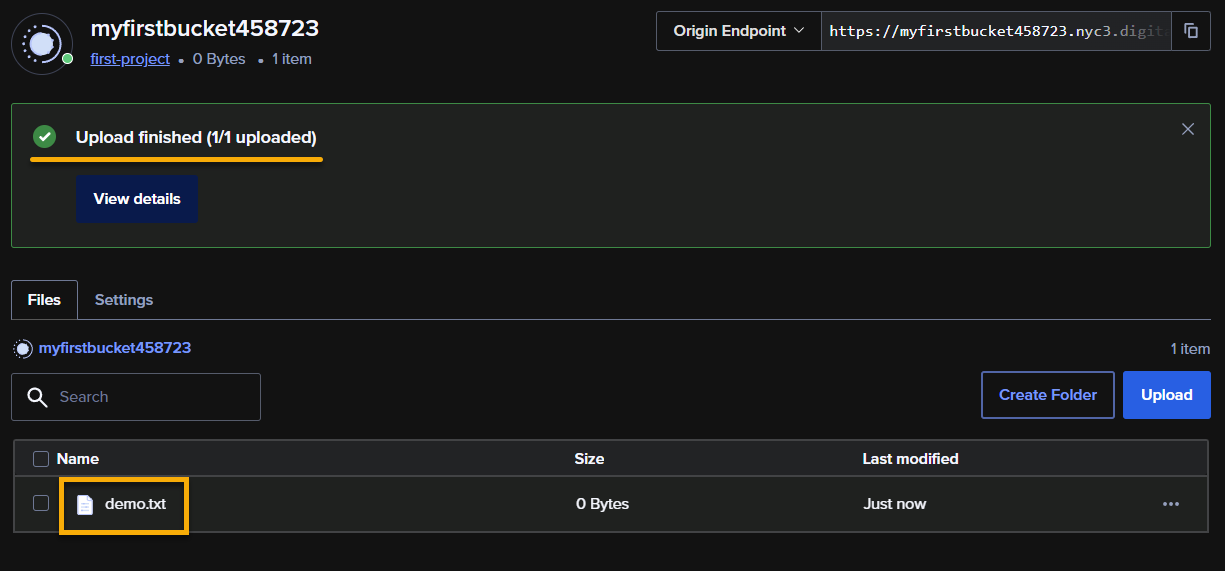
Depending on the object size, the upload process may take time. Once uploaded, you will see the files in your Space bucket, as shown below.
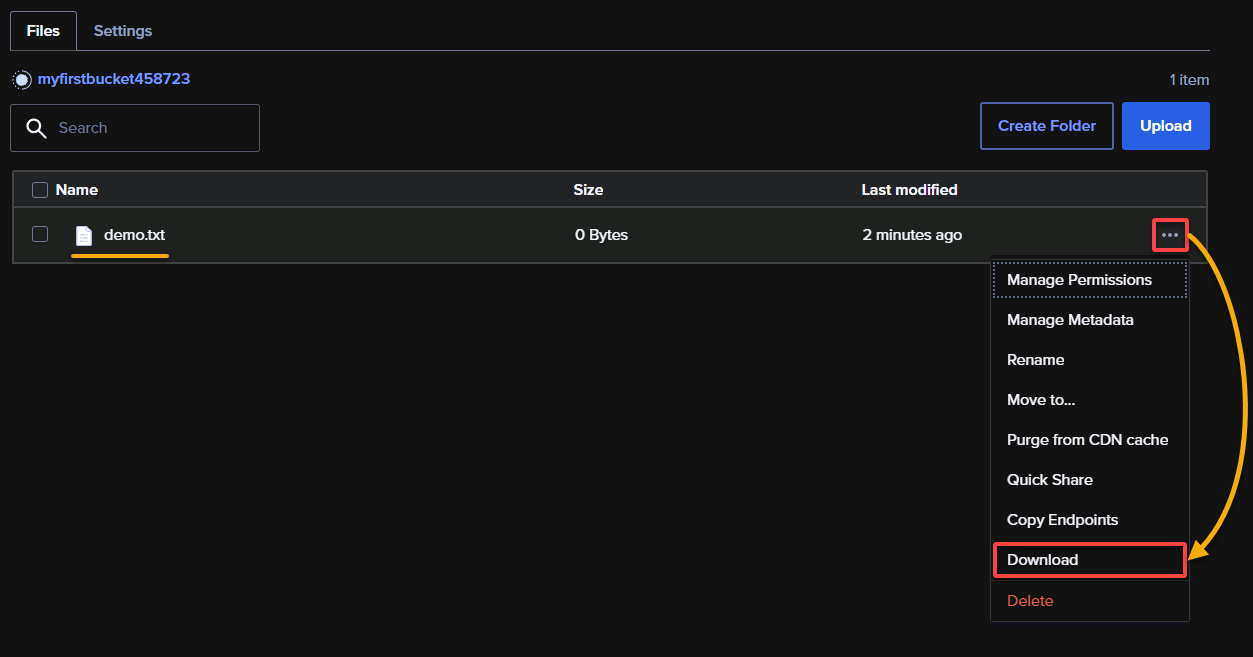
4. Now, click the three-dot icon next to an object and select Download, as shown below, to download the file to your local machine.
Congratulations! You can now quickly upload and download objects to/from DigitalOcean Spaces.
Installing the S3cmd CLI
The Spaces console works excellently if you only create one bucket as necessary. But what if you have to perform back operations on multiple objects or buckets? Worry not. DigitalOcean allows you to perform operations on your buckets via a command-line interface (CLI).
But before you can start creating Space Buckets via the CLI, you must install a compatible CLI utility — S3cmd CLI. This CLI utility is free, works cross-platform, and has built-in support for Spaces.
💡 Unfortunately, at the time of this writing, the doctl CLI, the official DigitalOcean CLI, does not yet include Spaces support.
To install the S3cmd CLI on your system, follow these steps:
1. Execute the following apt update command to update your package index. This command ensures you are working with the latest versions of all packages.
sudo apt update -y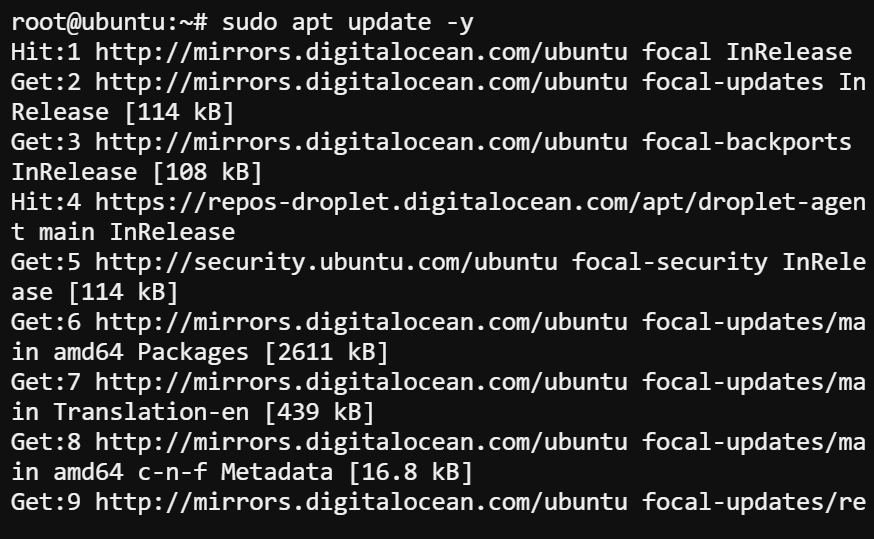
2. Once updated, run the below apt-get install command to install the s3cmd utility.
sudo apt-get install s3cmd -y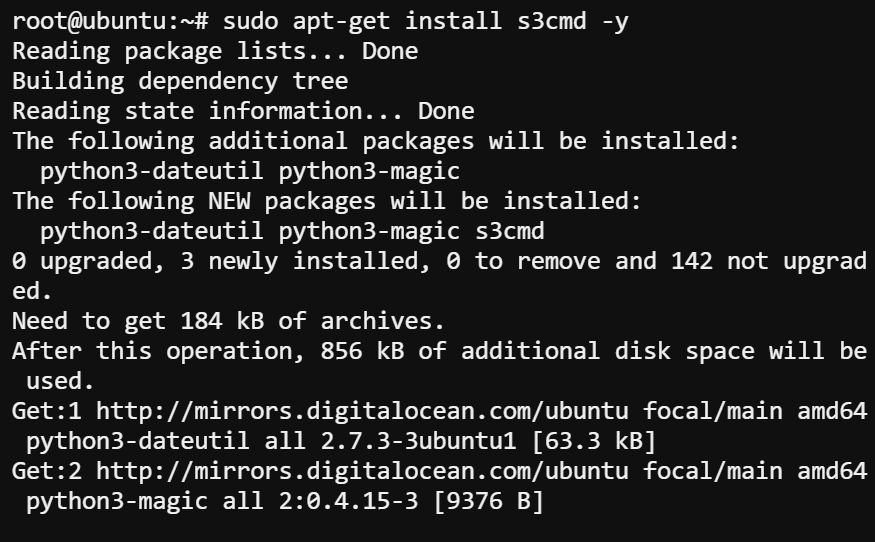
3. Lastly, run the command below to check S3cmd’s installed version.
s3cmd --versionThe output below confirms you have successfully installed the S3cmd CLI.

Retrieving Spaces Access and Secret Keys
With the S3cmd CLI installed you need a way to authenticate and authorize access to your DigitalOcean Spaces resources. You must retrieve your Spaces access and secret keys.
These keys act as credentials to authenticate your requests when interacting with Spaces through the S3cmd CLI. In addition, these keys enable you to perform operations like creating buckets, downloading, uploading, and so on programmatically on your Spaces.
To retrieve your Spaces access and secret keys:
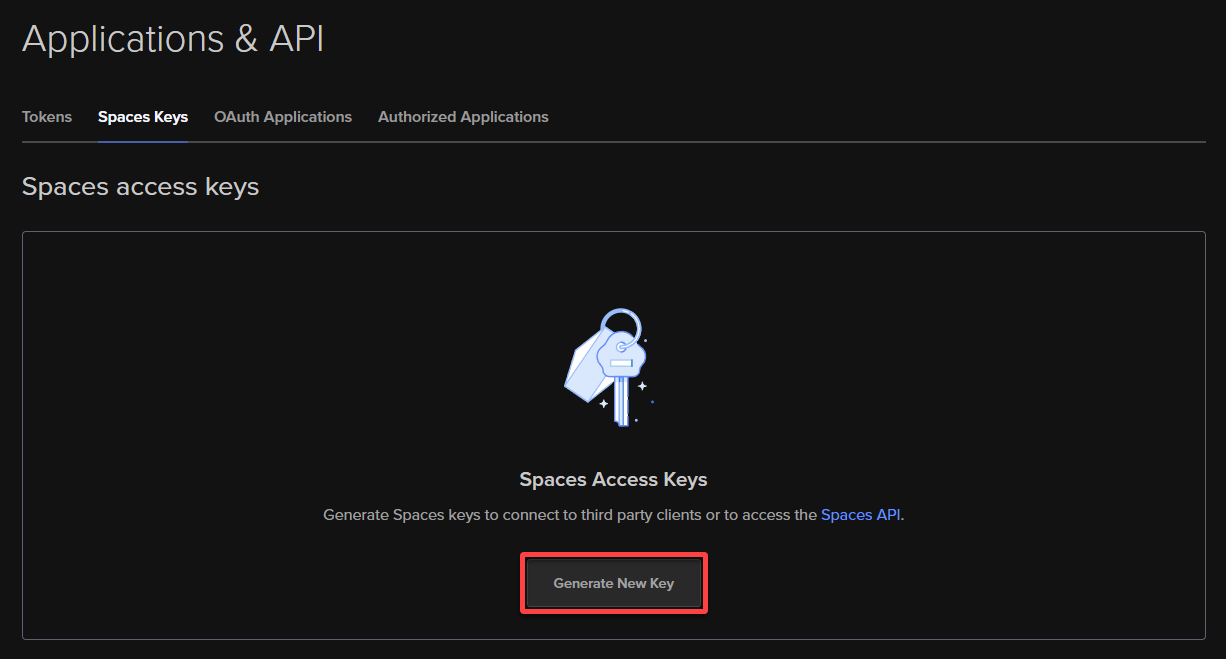
1. Log in to your DigitalOcean console and navigate to the Spaces API page.
2. Next, click Generate New Key to generate a new access and secret key pair.
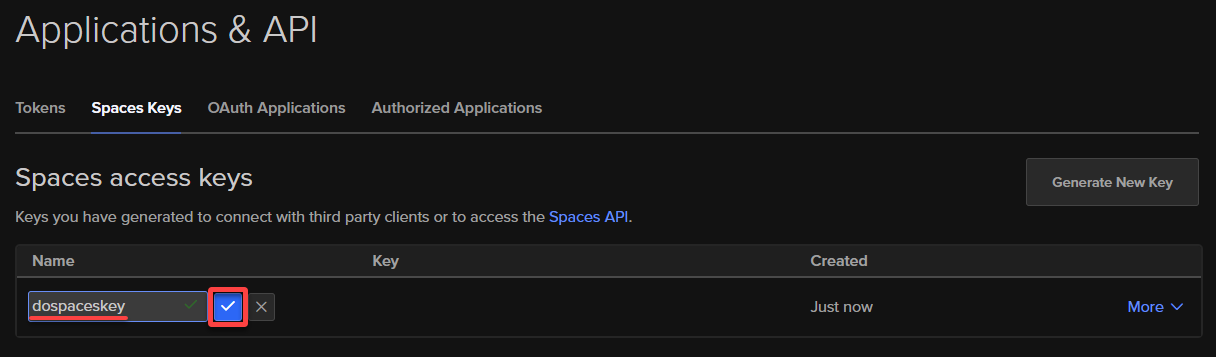
3. Provide a name (i.e., dospaceskey) for the new access key, and click the check icon to save the key pair.
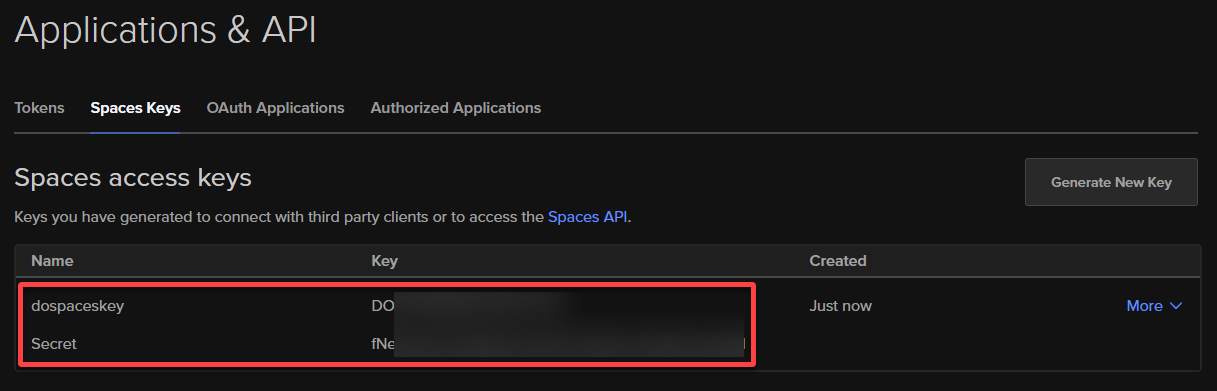
4. Now, copy and save these keys in a secure location, as you will need them when you configure the S3cmd CLI later in this tutorial.
💡 Never publicly share or expose these keys; they provide full access to your DigitalOcean Spaces resources.
Configuring the S3cmd CLI with the Access and Secret Keys
Now that you have your Spaces access and secret keys, you can establish a secure and authenticated connection between the utility and your DigitalOcean Spaces. You must configure the S3cmd CLI using these credentials.
To configure the S3cmd CLI, follow the steps below:
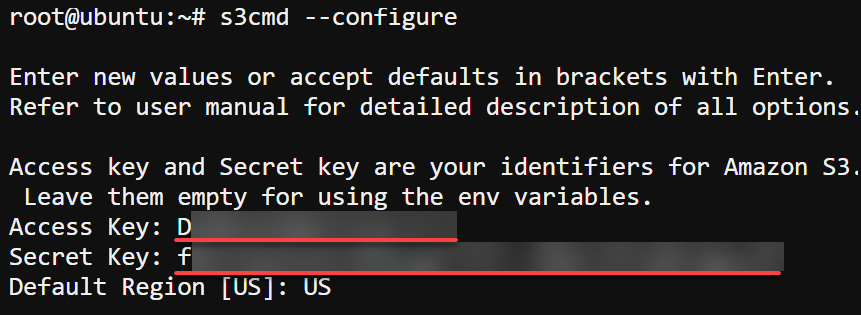
1. Run the s3cmd command to initiate the S3cmd configuration wizard (--configure).
s3cmd --configureProvide the key pairs when prompted and other necessary details, as shown below.
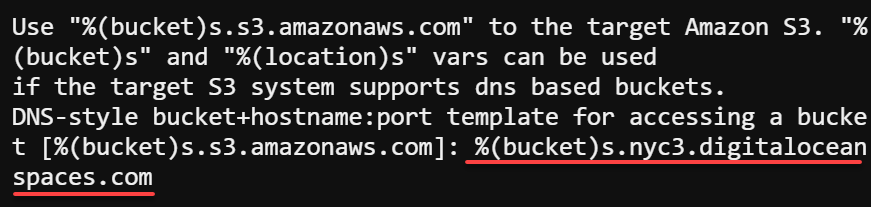
2. Next, provide the endpoint URL of your Spaces based on the region where you want your buckets to be located. The DigitalOcean Spaces endpoint is a specific URL that identifies the location of your Spaces resources within a particular region.
Providing the correct endpoint lets you configure your S3cmd CLI or interact with your DigitalOcean Spaces programmatically.
For example, if your buckets are in the New York 3 (NYC3) region, the Spaces endpoint would be nyc3.digitaloceanspaces.com.

3. Input %(bucket)s.nyc3.digitaloceanspaces.com for the hostname, but replace nyc3 with your actual region.
The %(bucket)s placeholder represents the name of your specific bucket. This placeholder will be replaced with the actual bucket name when creating buckets.
4. Now, leave the Encryption password and the Path to GPG program fields blank and press Enter to accept the default values.
There is no need to set an encryption password since this setting is solely for AWS S3. You will use the HTTPS protocol for DigitalOcean Spaces instead (step five).

5. Type Yes and press Enter to enable the HTTPS protocol.
This encryption ensures that the information transferred remains confidential and secure.

6. Next, provide a proxy server if you are using one.
If not, leave it blank and press Enter. If your network requires an HTTP proxy server, you must enter the name or address of the proxy server when prompted. This information allows your communication to be routed through the proxy server, enabling connectivity to your Spaces.

Type Y and press Enter to test the new configuration.
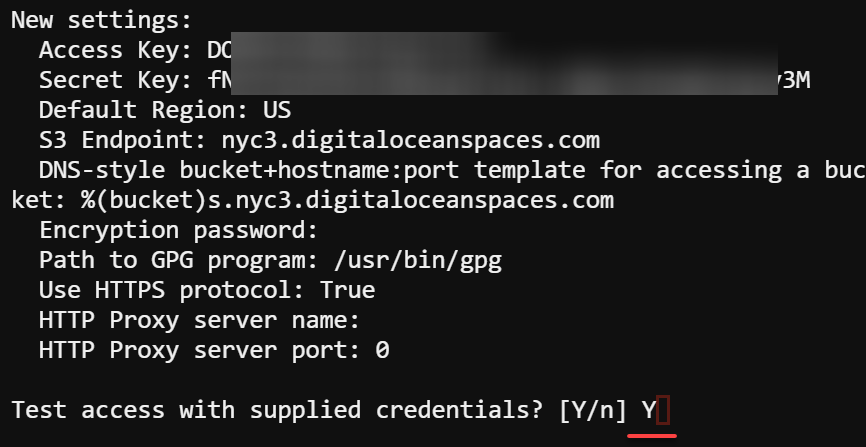
If everything is configured correctly, you will see a similar output below.

7. Lastly, input y and press Enter to save the configuration in your home directory in a configuration file named .s3cfg.
At this point, you have S3cmd configured for use with DigitalOcean Spaces.

Creating Buckets via the S3cmd CLI
With a well-configured S3cmd CLI, you can now access DigitalOcean Spaces to create buckets and interact with your Spaces environment.
Execute the following s3cmd command to create a new bucket (mb). This tutorial’s choice for the bucket name is myclispacesbucket, but you can name it differently.
s3cmd mb s3://myclispacesbucket
Now, run the below command to list (ls) all buckets in your DigitalOcean Spaces environment.
s3cmd lsYou will see the newly-created bucket in the list, as shown below if the creation is successful.

Uploading and Downloading Objects via the S3cmd CLI
Your new Spaces bucket is available, and you are ready to start uploading objects, such as files and folders, to your bucket via the S3cmd CLI.
But can you upload multiple files simultaneously? Yes! With S3cmd CLI, you can also apply permissions to a group of objects or delete multiple objects in one go.
To see how to upload and download objects via the S3cmd CLI:
1. Run the following s3cmd command to upload (put) a file named myclispacesdemo.txt (or any other file) from your local computer to one of your Spaces buckets (myclispacesbucket).
s3cmd put myclispacesdemo.txt s3://myclispacesbucket
2. Next, run the same s3cmd command below with the specified names of the files (separated by spaces) to upload at once.
s3cmd put file1.txt file2.txt file3.txt s3://myclispacesbucket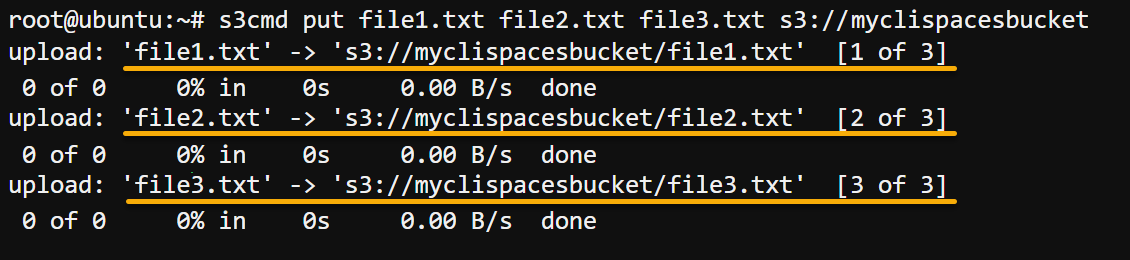
3. Execute the below command to list (ls) all objects (files and folders) in your bucket (s3://myclispacesbucket).
s3cmd ls s3://myclispacesbucketBelow, you can verify all files have been successfully uploaded to your bucket.

4. Once verified, run the command below to download (get) the object named myclispacesdemo.txt from the myclispacesbucket bucket to your local computer as mynewfile.txt.
s3cmd get s3://myclispacesbucket/myclispacesdemo.txt mynewfile.txt
5. Now, run the following command to download all files and folders (--recursive) from your bucket (s3://myclispacesbucket/) to your local machine (/tmp_dir/).
Ensure you replace /tmp_dir/ with your own desired local directory.
s3cmd get --recursive s3://myclispacesbucket/ /tmp_dir/
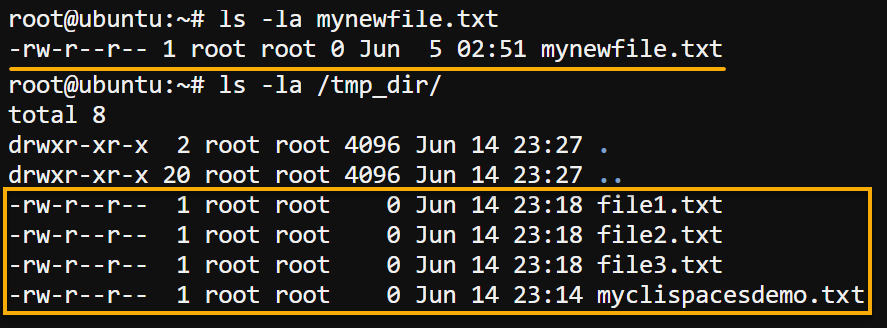
6. Finally, run the ls command below to list the new file on your local computer.
ls -la mynewfile.txt
ls -la /tmp_dir/
The output below shows all files you downloaded exist in your local machine, which verifies the download succeeded.
Conclusion
Throughout this tutorial, you learned about using the Spaces console and S3cmd to interact and manage your DigitalOcean Spaces buckets.
You can now use DigitalOcean Spaces as a powerful solution for storing and managing large objects or files. But what you have seen in this tutorial is just the beginning of what you can do with DigitalOcean Spaces.
Why not up your game and look at some of the other features? For instance, why not learn how to set permissions after creating a bucket or configure versioning?


