


Update (September 2025): ConfigServer Security & Firewall (CSF) shut down on August 31, 2025 after 25+ years of service. The final version (v15.00) was released under GPLv3, so existing installations will continue to work but won’t receive official updates. Community support is available at configserverfirewall.org. For new installations, consider Sentinel Firewall as a maintained fork.
Securing your Linux server with a firewall is crucial to keeping your server and your network safe. But how do you set up a firewall? Consider installing the Config Server Firewall (CSF firewall) if you’re looking for a reliable and efficient way to protect your Linux server.
CSF firewall is a feature-rich option for Linux servers. And in this tutorial, you’ll learn how to install and configure the CSF firewall and see how it works firsthand.
Read on and keep out malicious entities from your server!
Prerequisites
To follow along with the examples in this tutorial, be sure to have the following in place:
- A Linux machine – This demo uses Ubuntu 20.04, but any Linux distributions will work.
- sudo privileges or access to the root account.
Installing CSF Firewall
Before setting up the CSF firewall, you first need to install it on the server. But before you do, be sure to stop and disable any other firewalls on your server.
Having two firewalls running imposes a security risk. Why? If both firewalls are blocking something, you won’t know which one is doing so. Also, firewalls are not compatible by default and can cause your server to crash if you have more than one.
1. Run the following commands to disable the default firewalls you might have on your server.
# Stop the firewalld firewall
sudo systemctl stop firewalld
# Disable the firewalld firewall
sudo systemctl disable firewalld
# Disable the UFW firewall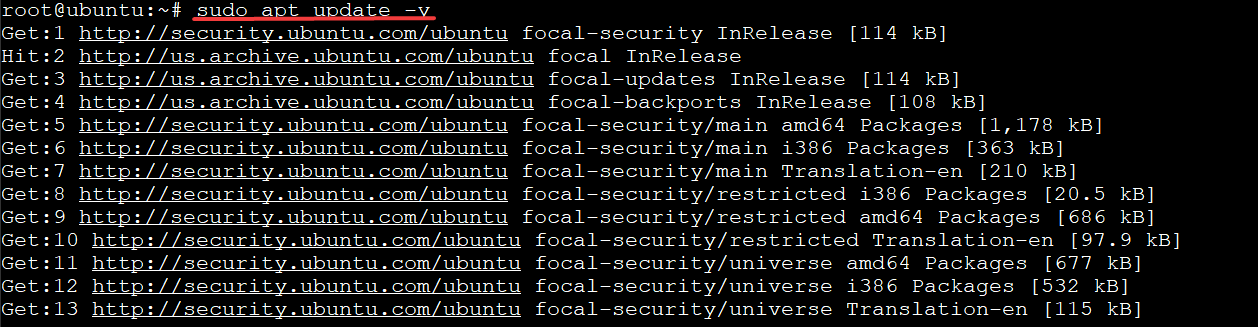
sudo ufw disable2. Next, run the apt update command below to update the index of available packages.
When you run this command, your local computer may connect to the internet and download an update message for each new repository or archive defined in /etc/apt/sources.list file.
sudo apt update -yThe output below shows updating local package files, providing real-time feedback on the progress.
The CSF package is not currently available in Ubuntu repositories, so you have to download the package manually (step three).
3. Run the wget command below to download the csf.tgz package to your current directory.
The csf.tgz package is the main CSF package. This package contains all the rules and modifications necessary to secure your server.
sudo wget http://download.configserver.com/csf.tgz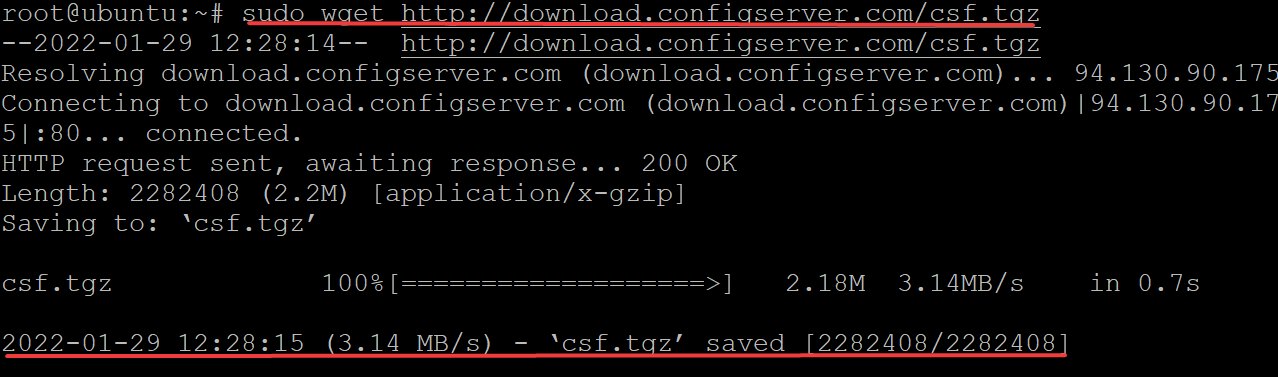
4. Now, run the tar command below to extract your downloaded CSF package. When the command completes, you’ll have a new directory called csf that contains all CSF firewall’s configuration files
- The below flags tell the
tarcommand’s behavior while extracting: - The
xflag tellstarto extract the files. - The
zflag tellstarto use GZIP to decompress the specified file(s). GZIP is a file compression program that uses Lempel-Ziv coding (LZ77) to compress files. - The
fflag tellstarwhich file(s) to extract.
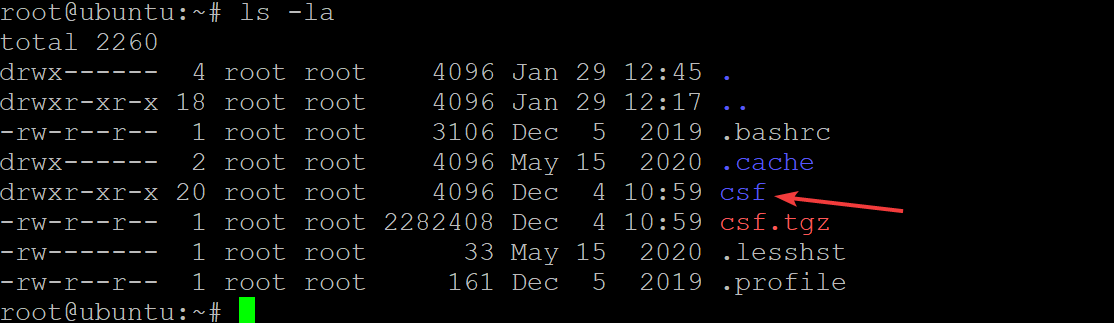
sudo tar -xzf csf.tgz5. Run the ls command below to check if the csf directory exists.
ls -la
You’ll see all files and directories in your home directory, including the csf directory, as shown below. If you don’t see the csf directory, rerun the sudo tar -xzf csf.tgz command.
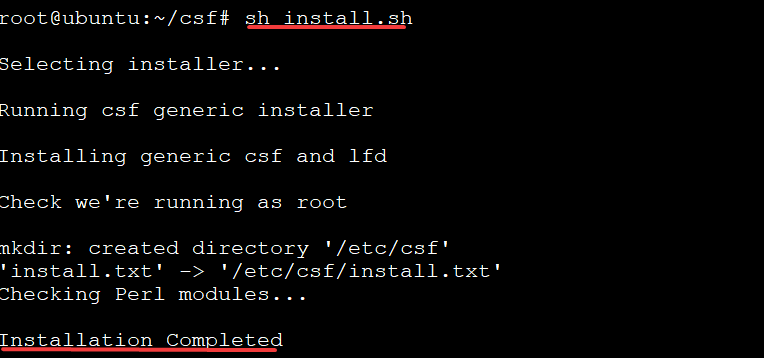
6. Next, run the following commands to move into the csf directory and run the shell script (install.sh) to install CSF on your server. Follow the prompts and enter ‘Y’ when needed during installation.
cd csf
sudo sh install.sh
The shell script will create a CSF start-up script for the CSF daemon and add configurations files to appropriate directories, such as /etc/csf/, /etc/logrotate.d/, and so on. This way, you don’t have to worry about creating all the configuration files and directories by yourself.
7. Run the below command to check if you’ve correctly installed the CSF firewall. This command checks and prints the installed version of the CSF firewall on your server. sudo csf -v
sudo csf -vIf the CSF firewall is installed correctly, you’ll see the CSF firewall’s version number, as shown below. In this demo, the version installed is v14.5 (generic), but yours might be different.
For now, you can ignore the TESTING mode is enabled warning message. You’ll learn how to disable the testing mode later.

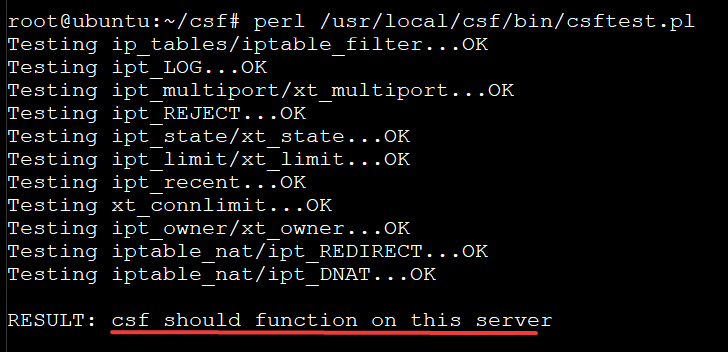
8. Finally, run the perl command below to check all the CSF modules (/usr/local/csf/bin/csftest.pl).
The csftest.pl file is one of the Perl scripts with the CSF package. This Perl script allows you to test your CSF firewall modules to ensure they work correctly before enabling them.
perl /usr/local/csf/bin/csftest.plIf your firewall modules are working correctly, you’ll see an OK status, as shown in the screenshot below.  Checking all the CSF Modules
Configuring the CSF Firewall
Now that you have CSF installed, you can configure it to work with your system by modifying the /etc/csf/csf.conf configuration file for the CSF firewall. This file contains various parameters/directives to choose from for security, logging, and protection.
According to system requirements, you change these parameters. But don’t change them unless you know what you are doing. Changing this file by any means can make your firewall non-functional or even destroy your server’s security if done incorrectly.
Although the comments in the configuration file are minimal, understanding the file structure and idea behind these directives if you are new to CSF configuration comes in handy. And when you’re confident enough, go for creating more complex configurations.
1. Open the /etc/csf/csf.conf file in your preferred editor, then change the TESTING directive value to 0 instead of 1, as shown below. The TESTING directive is used for testing purposes.
Remember that you need sudo access to modify configuration files.
If you set the TESTING directive value to 1, your server will not enforce firewall rules. But if you’re running an active production service that needs protection like SSH (for example), change the TESTING directive value to 0. Doing so allows you to enable protection without interrupting the service.

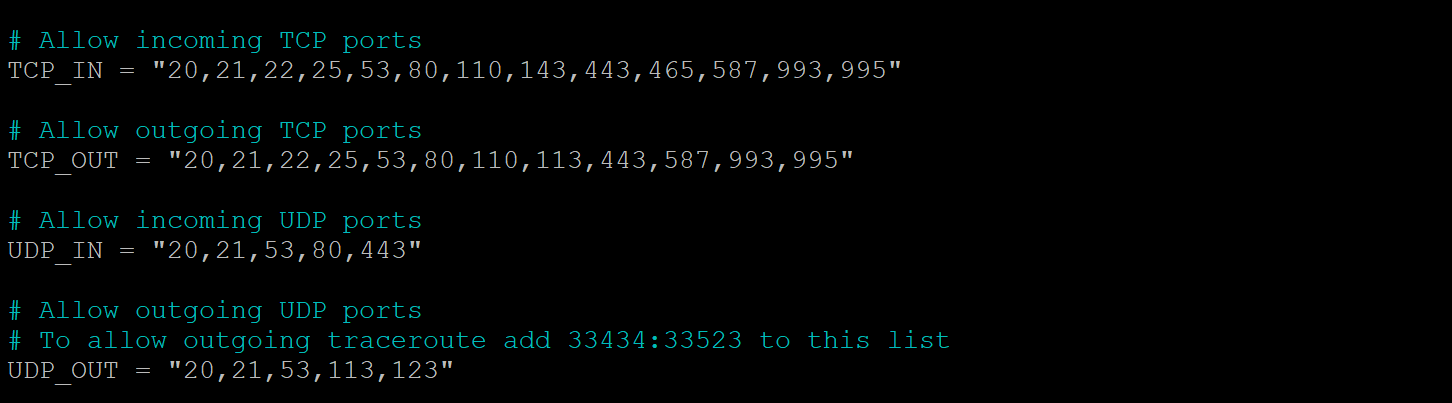
2. Next, define additional TCP and UDP ports to your CSF firewall using TCP_IN, TCP_OUT, UDP_IN, and UDP_OUT directives.
The default list of ports is shown below, generated upon installation. The list includes all commonly used TCP and UDP ports.
Note that the fewer ports you open, your system will become more secure. But you can not close all ports since your server/service interacts with users through ports 80 and 443 for HTTP/HTTPS traffic, 53 for DNS, 22 for SSH login, and so on.
Don’t delete the default port list unless you know what you are doing or have a specific reason to delete the list.
3. Change the ICMP_IN directive to 1 to allow incoming ping to your server so you can use it for testing if your server works and is online.

Define the chosen action CSF takes, as well as how many tries are allowed before taking the firewall takes action, with the following and save the changes:
CSF can monitor the logs for failed login attempts at regular intervals and detect most illicit access attempts. This feature is handy for protecting your services against brute-force attacks by blocking the source IP after a certain number of failed login attempts.
- Change the CONNLIMIT directive’s value to 22;3;80;50. The CONNLIMIT directive allows you to specify the number of allowable concurrent connections to the server on a specific port.
The 22;3;80;500 value allows for 50 concurrent connections on port 80 (http), and another three concurrent connections on port 22 (ssh).

- Change the PORTFLOOD directive’s value to 22;tcp;3;3600. The PORTFLOOD directive limits the number of connections per IP address per time interval.
Below, the 22;tcp;3;3600 value limits the IP for one hour (3600 seconds) if more than three connections have been established on port 22 using the TCP protocol. After the last login attempt, CSF will release the blocked IP once the 3600-second timeframe has passed.

- Next, set the DENY_IP_LIMIT directive’s value to 10. This directive controls how many blocked IP addresses CSF keep in its memory. Once the limit is reached (10), the IP will be rotated. The oldest entries will then be removed, while the newest will be inserted together with the count.
Save the changes and exit the editor once you’re happy with the configuration.
Keeping too many blocks of bad IPs can potentially slow down your server. So you might want to keep the DENY_IP_LIMIT number at a manageable number.

5. Now, run the below command to reload your CSF firewall configuration and apply the changes.
csf -r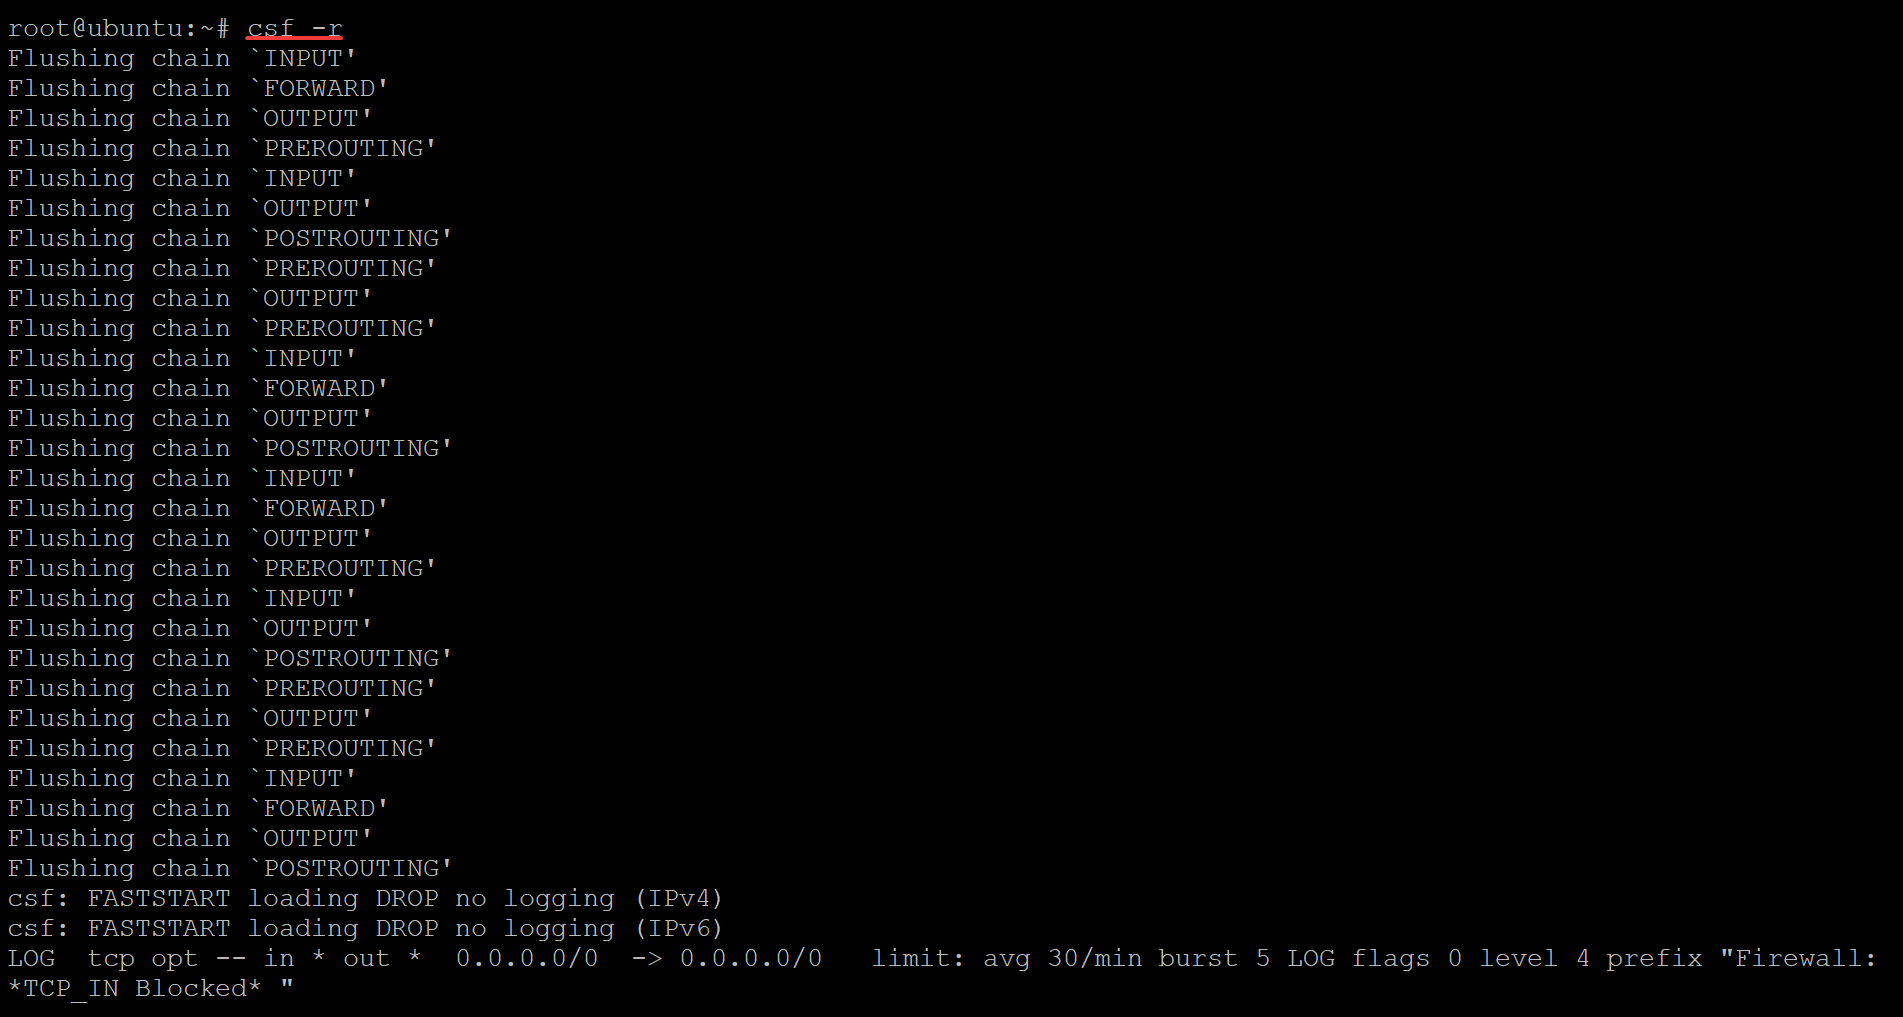
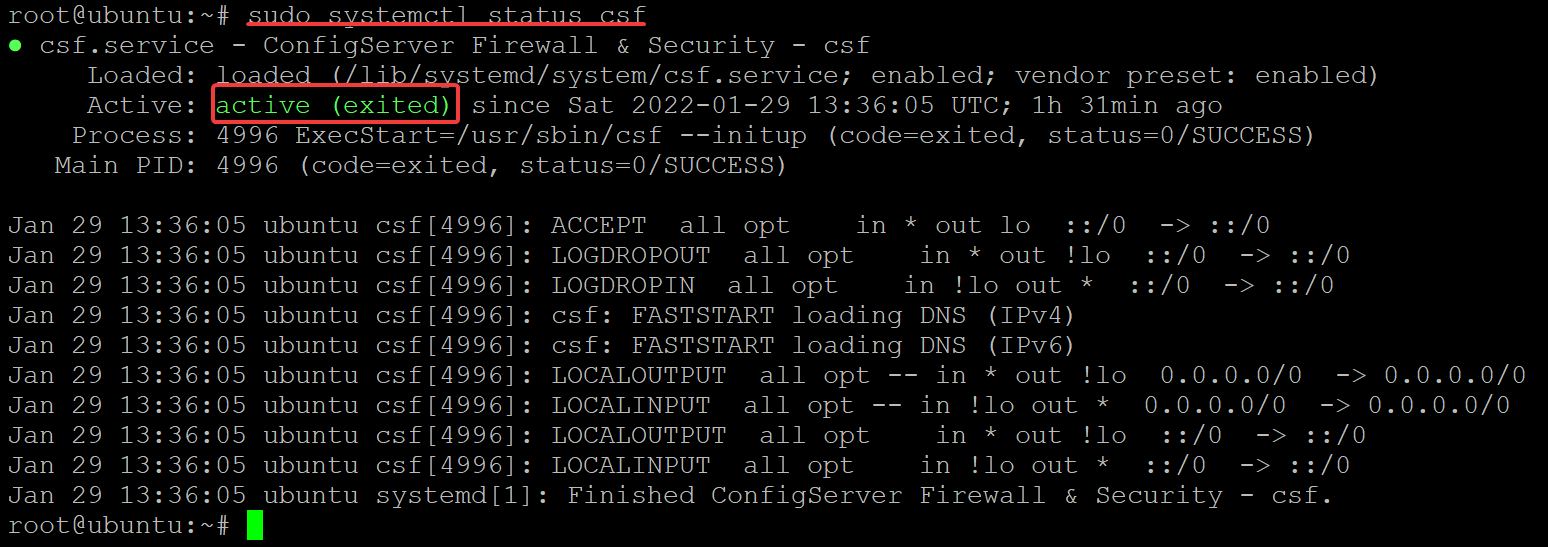
6. Lastly, run the command below to confirm that the CSF firewall is running.
sudo systemctl status csfIf the configuration works correctly, you’ll see an active status. This status indicates the firewall loaded your new rules and then exited. This behavior is typical for oneshot services.
At this point, you’ve configured your CSF firewall to block a limited number of IP addresses.
Blocking and Allowing IP Addresses using CSF Firewall
Now that you have configured the CSF configuration file, the next step to protect your server is blocking or allowing an IP address.
You’ll modify the three configuration files below:
- /etc/csf/csf.allow
- /etc/csf/csf.deny
- /etc/csf/csf.ignore
The most common way to secure your server is by blocking IP addresses, so start by modifying the /etc/csf/csf.deny configuration file.
1. To block an IP address, open the /etc/csf/csf.deny file in your preferred editor, and enter the IP addresses (one per line) to block, as shown below. After adding the IP addresses, save the changes and close the editor.
At this point, CSF will block all traffic from the IP address you added.
Add IP addresses only and not domain names, as all domain name entries will be ignored.

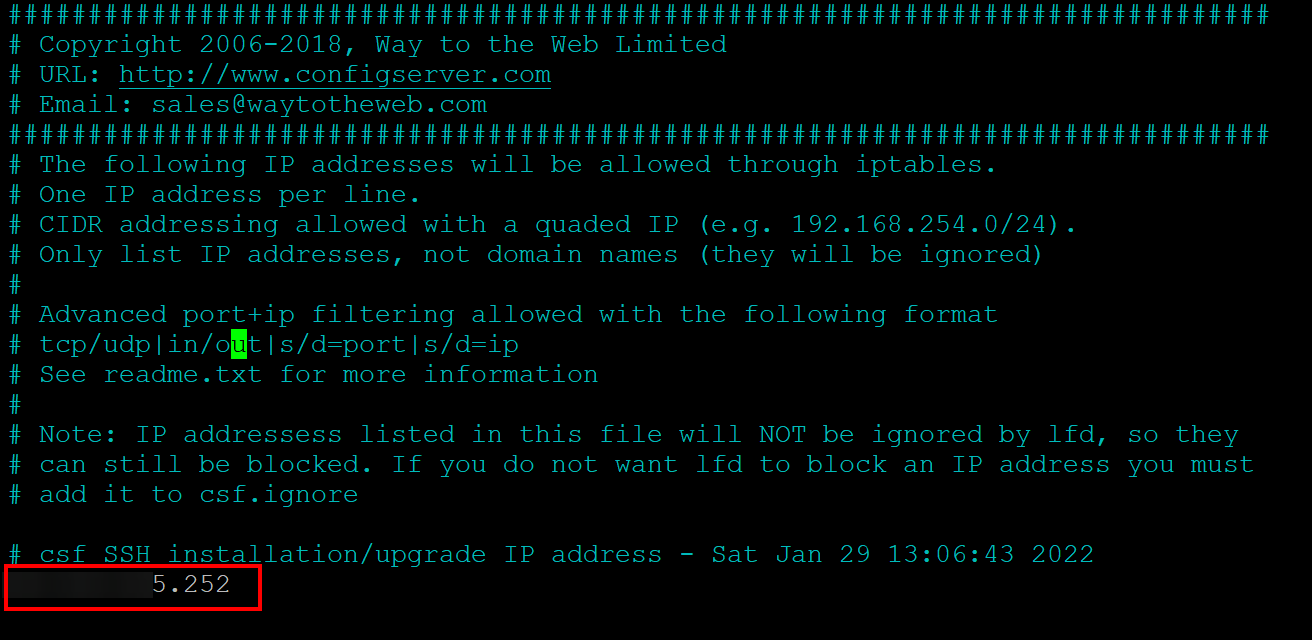
2. Next, open the /etc/csf/csf.allow file to allow IP addresses to be excluded from all your firewall rules. Add the IP addresses (one per line), as shown below, to exclude from your firewall rules, then save changes and close the editor.
The screenshot below is a local IP address that this demo uses to SSH into the server to upgrade CSF.
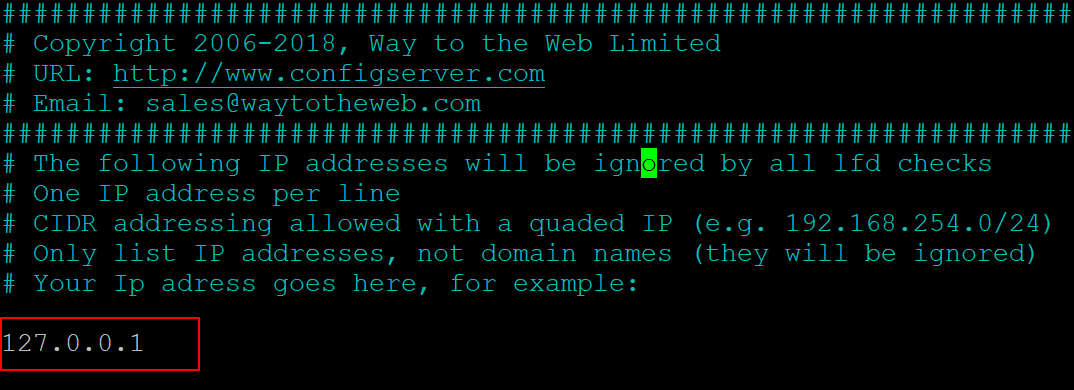
3. Finally, open the /etc/csf/csf.ignore file and add IP addresses (one per line) to allow in your firewall rules. Unlike the csf.allow file, IP addresses in csf.ignore will bypass the firewall rules but will be blocked if listed in the csf.deny file.
Conclusion
In this article, you’ve learned how to install and configure the CSF firewall on an Ubuntu machine. In addition, you’ve touched on securing your server by blocking, allowing, and ignoring IP addresses on your firewall.
At this point, you already have a good knowledge of how to secure your server by limiting the IP addresses allowed to connect to your server. Why not configure your CSF firewall to protect your CSF WHM/cPanel panel with this newfound knowledge?


