

Do you use macOS as your daily driver but wish there was a way to run your favorite Windows programs on it? Don’t worry. There’s hope with Crossover for Mac download.
Crossover lets you run Windows programs on your Mac without the added clunky virtualization software. You can seamlessly install and use Windows programs within your Mac operating system.
Stay tuned! This tutorial will show you how to do a Crossover for Mac download, install, and run Windows programs on your Mac.
Prerequisite
Following this tutorial requires that you have a Mac running any recent version of macOS. This tutorial uses Big Sur for demonstration.
Starting the Crossover for Mac Download
Crossover for Mac is third-party software that doesn’t ship out of the box with macOS. You can download the software from the developer’s website in a few steps.
To set your expectations, Crossover for Mac is not free. But the developer provides a free 14-day full-featured trial, so you can try it before you buy it. Follow the below steps to start the Crossover for Mac download.
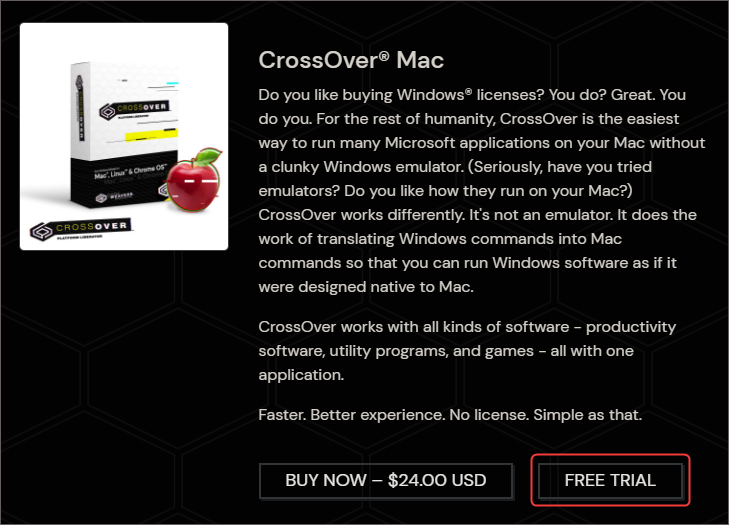
1. Open your web browser and open the Crossover for Mac download page.
2. Scroll down the page and click FREE TRIAL.
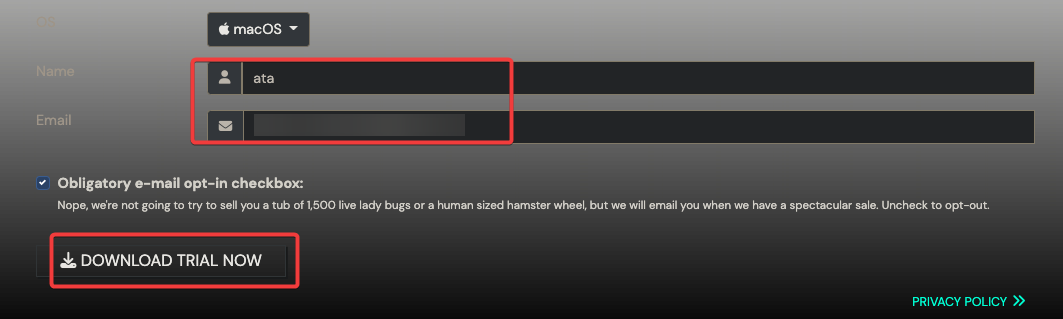
3. Enter your name and email address on the next page and click the DOWNLOAD TRIAL NOW button.
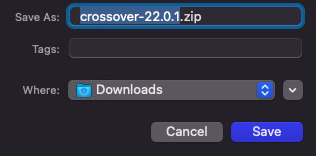
4. Save the Crossover for Mac zip file in your Downloads folders.
Running the Crossover for Mac Download Installer
Now that you’ve finished the Crossover for Mac download, follow the below steps to install it.
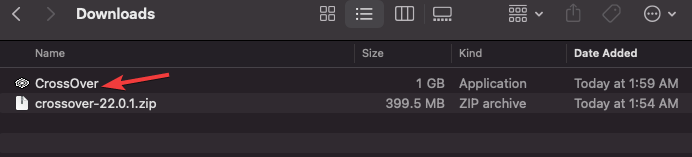
1. Browse for the location of the zip file you downloaded. The filename would be crossover-xx-x-x.zip.
2. Double-click the crossover-xx-x-x.zip and wait for it to unzip.

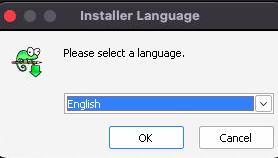
3. Next, double-click the Crossover icon to launch the installer.
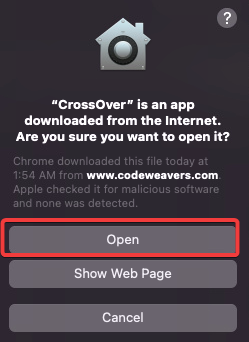
4. You will see a window asking if you’re sure you want to open the file. You’re getting this prompt because the package did not come from the App Store. Click Open to continue.
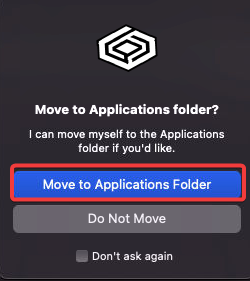
5. A pop-up window asks you to move the Crossover program to the Applications folder. Click Move to applications folder to confirm.
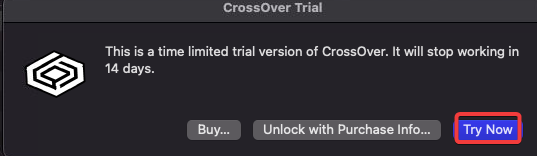
6. On the final screen, click Try Now to start your free trial.
You’ve now installed the Crossover program, and it’s ready to use. You will now see the Crossover for Mac welcome screen, as shown below.
Finding and Installing Windows Applications
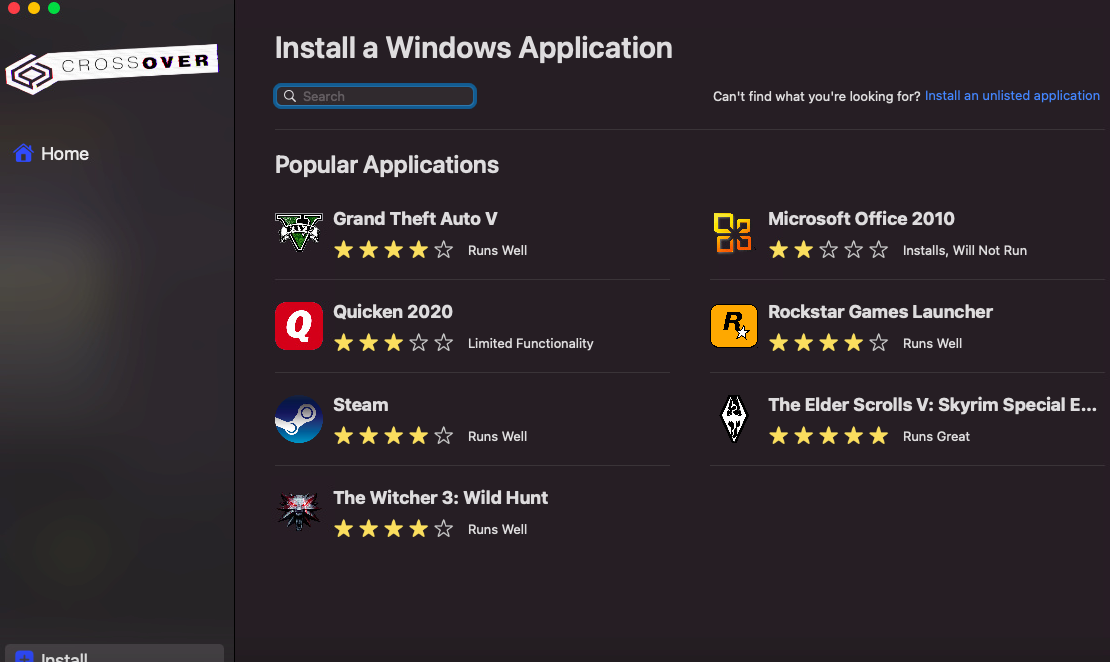
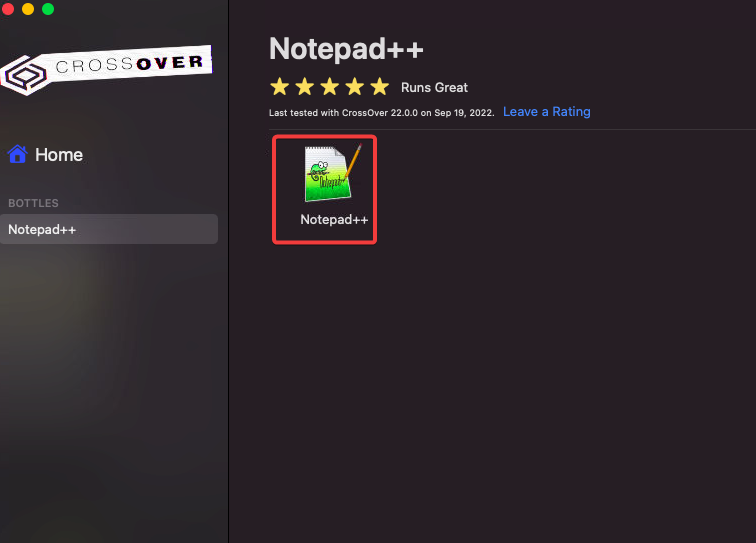
It’s time to see Crossover for Mac in action! The main interface acts as a software catalog where you can search for Windows applications to install. If the application exists, it is considered “listed”.
In a gist, listed applications mean that Crossover has a predetermined profile for installing the application. For example, one listed application in Crossover is Notepad++.
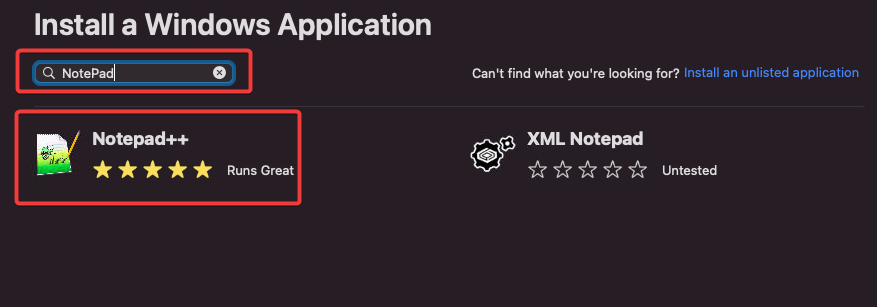
1. Type NotePad into the Search bar and press Enter. A list of programs appears. You can see the star rating right below the program name. These stars indicate the number of users who have given the program a positive rating: the more stars, the better.
2. Click the Notepad++ icon on the results to open the program page.
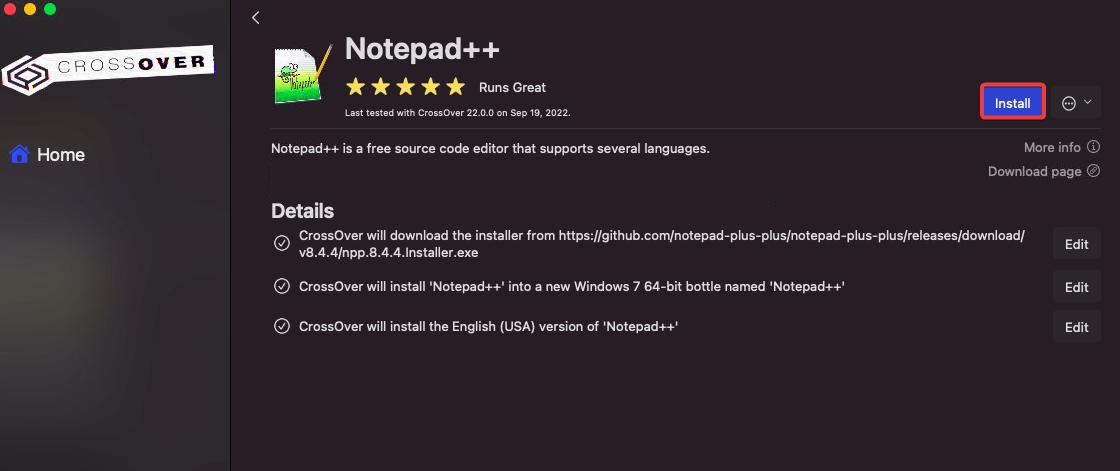
3. A detail page for the program appears. Click the Install button on the right to install the program.
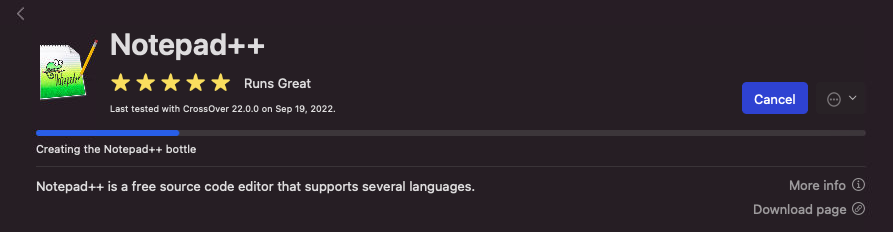
Crossover downloads and creates a bottle for the program.
A bottle is an isolated environment in which Windows programs can run on your Mac. Bottles allow the Windows programs to run without affecting your Mac system files.
Crossover bottle uses Wine, a free open-source compatibility layer that allows Windows programs to run on Unix-like operating systems. But, Crossover enhances the Wine software to make it more user-friendly and stable.
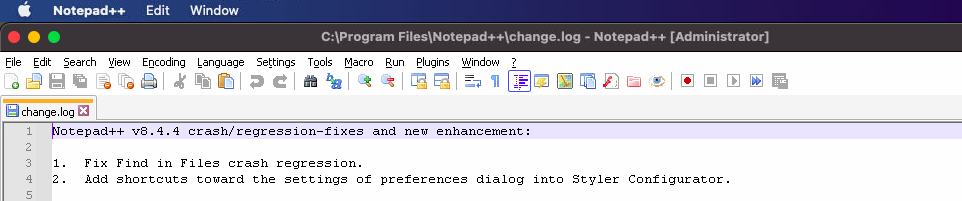
4. Once the Notepad++ installer appears, follow the prompts to install NotePad++ as you would on a Windows computer.
5. You will see the shortcut for Notepad++ when the installation is complete on the main Crossover screen. Click on the shortcut to launch the program.
You can now use NotePad++ seamlessly on your Mac, just as you would on a Windows computer.
Installing an Unlisted Windows Program
Not all Windows programs are listed in Crossover. Many of the more popular programs are, but some less popular ones may not be. You can still install these unlisted programs using Crossover’s Install Unlisted Program feature.
Note that the compatibility when running an unlisted program may not be as good as a listed program. Compatibility or performance issues may be due to Crossover did not get to test and optimize the unlisted program.
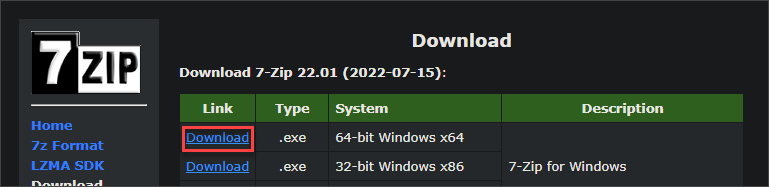
To demonstrate, you will install the program called 7-Zip, an unlisted application in Crossover for Mac.
1. Open your web browser and download the 7-Zip installer website. Save the installer to a convenient location.
2. In Crossover, click the Install an unlisted application link on the right side of the screen.

3. Click Install on the next page.

4. On the next screen, configure the following:
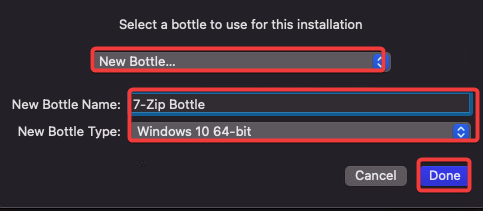
- Select New Bottle from the dropdown.
- New Bottle Name: Enter a name for your bottle, such as 7-Zip Bottle, in this example.
- New Bottle Type: Choose the compatible Windows version for your unlisted application. This example chooses Windows 10 64-bit bottle type.
- Click Done after completing the selections.
5. On the next screen, locate and select the .exe file you downloaded. Click Choose Installer to continue.
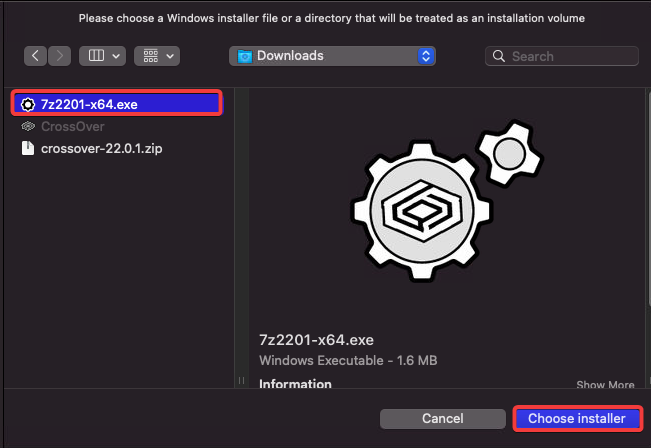
Crossover for Mac will now create a new 7-Zip bottle and put the 7-Zip installer inside it.

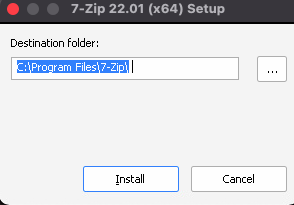
6. The 7-Zip installer will now launch inside the bottle. Follow the prompts to install the program as you would on a Windows computer.
7. Once the installation is complete, you will see a shortcut for 7-Zip on your Crossover screen. Click on the shortcut to launch the program.
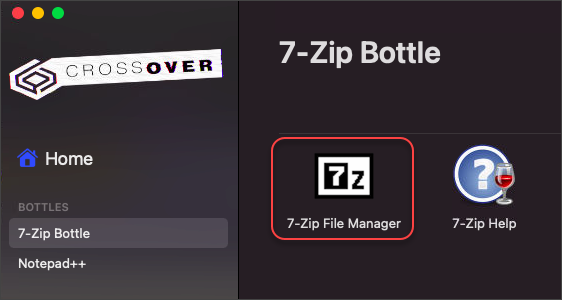
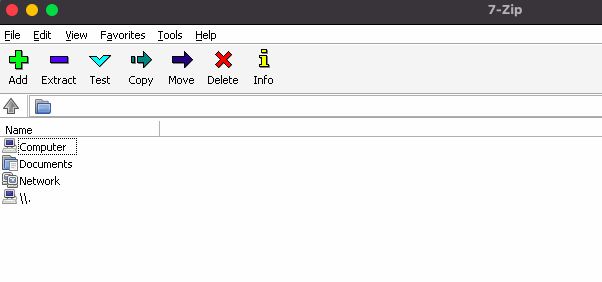
You can now use 7-Zip on your Mac as on a Windows computer.
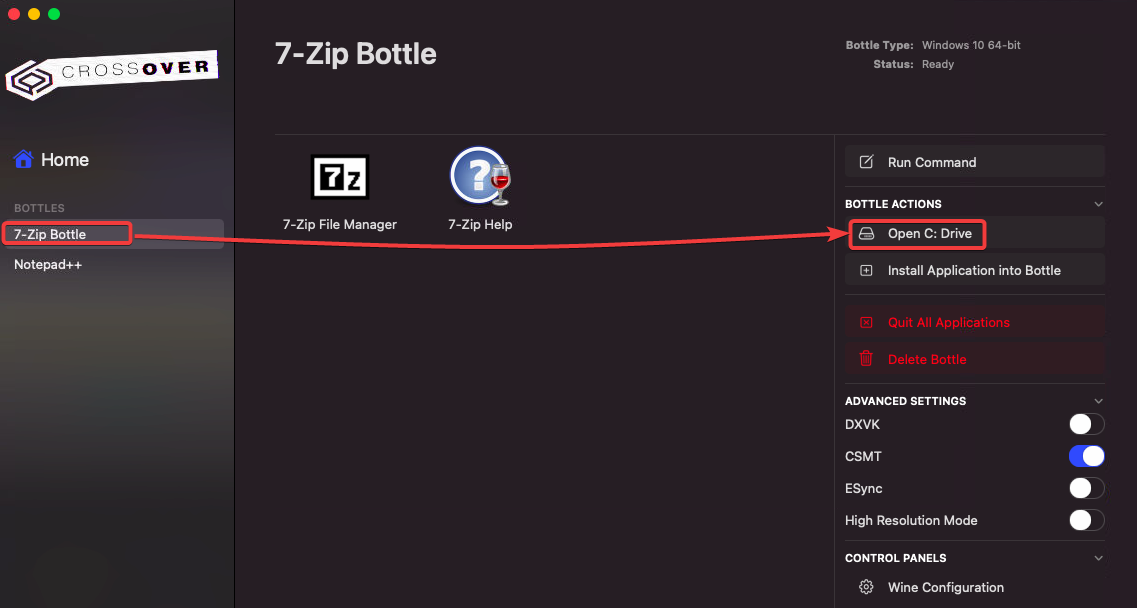
Accessing the Bottle’s Drive
You may need to access the virtual C: drive in your bottle. For example, installing a program requires you to copy files to the bottle’s virtual drive manually.
Like the C: drive in Windows, Crossover installs the Windows programs in it.
To access the drive, click on the bottle on the left side of the screen and then click the Open C: Drive button on the right.
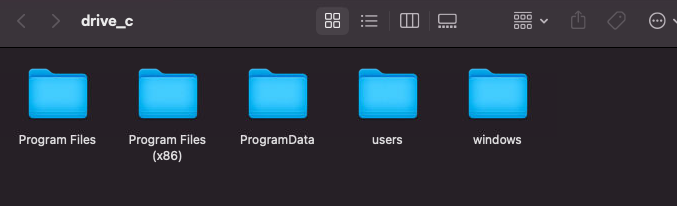
A new Finder window opens with the contents of the virtual C: drive. You can add, delete, and modify files in the drive.
Deleting Unused Bottles
As time passes, you may find that you’re no longer using some of the Windows programs you’ve installed in Crossover. In this case, you can easily remove them by deleting the bottle.
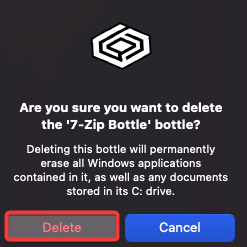
To delete a bottle, click on it on the left side of the screen and then click the Delete Bottle button on the right.
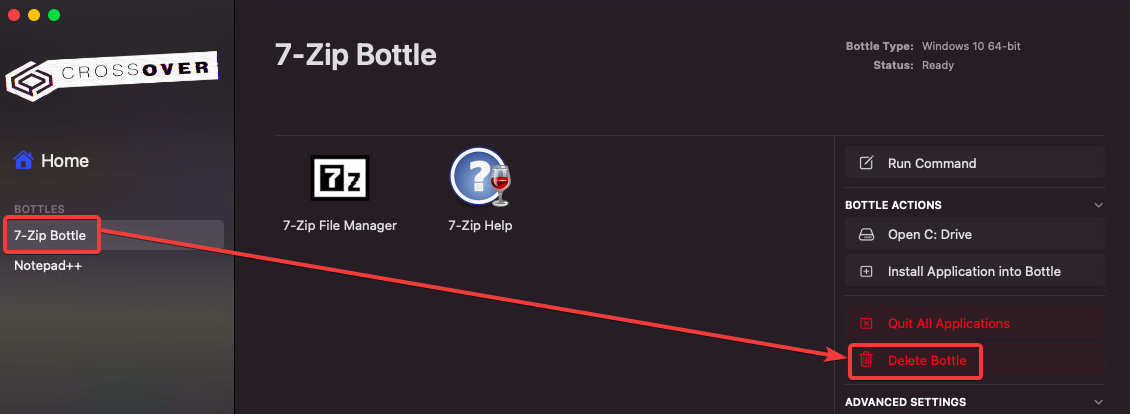
A pop-up window appears asking you to confirm the deletion. Click Delete to proceed.
Conclusion
Running Windows programs on your Mac doesn’t have to be a pain. With Crossover, you can easily install and use popular Windows programs like Microsoft Office, Notepad++, and 7-Zip without dual-booting or running a resource-intensive virtual machine.
This tutorial taught you how to perform a Crossover for Mac download and install. You also installed listed and unlisted applications with little effort and how to access the virtual C: drive.
Finally, you learned how to delete unused bottles when you no longer need them. Give Crossover a try and see how it can make using Windows programs on your Mac a breeze!


