


Are you looking for a solution to deploy a serverless application on a global platform to run as close as possible to the end-user? Let Cloudflare Workers be that solution. Cloudflare Workers is a global content delivery network provider that focuses on the performance and security of your web infrastructure.
In this tutorial, you will learn how to deploy your first serverless application with Cloudflare Workers. Buckle up as you get started with the Cloudflare Workers experience!
Prerequisites
This tutorial comprises hands-on demonstrations. Be sure you have the following in place to follow along:
- Visual Studio Code (VS Code) and this tutorial uses version 1.61.0.
- Node Package Manager installed and this tutorial uses version 16.8.0.
- Cloudflare Wrangler CLI installed and configured, this tutorial uses 1.17.1-rc.
- A Cloudflare Workers account – Note the sub-domain you set upon creating your account.
Installing and Configuring Cloudflare Workers Wrangler
Before you can deploy a serverless application, you need to build one based on a serverless Framework. How? First, you’ll need to install Wrangler, a command-line tool that manages the building, uploading, and publishing of serverless applications.
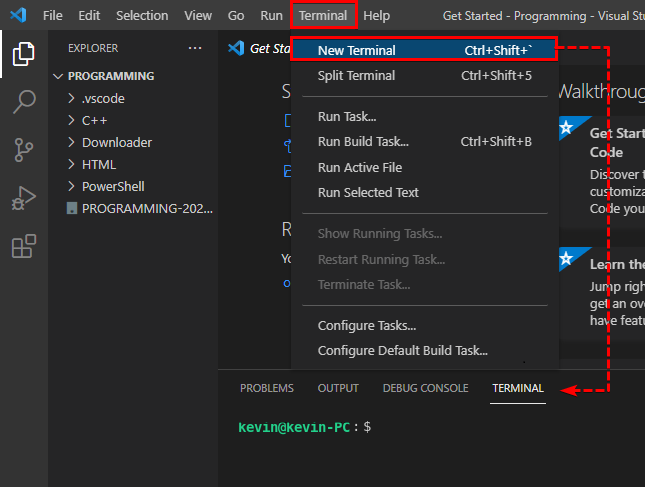
1. Open VS Code from your Desktop, then click on the Terminal menu → New Terminal, below. Doing so opens a terminal at the bottom part of VS Code’s window.
2. Next, run the npm command below to install (i) Cloudflare Wrangler modules (@cloudflare/wrangler) in the global home directory (-g). The -g option eliminates permissions issues that may arise while performing installations.
npm i @cloudflare/wrangler -g
npm i @cloudflare/wrangler -g command should print out this response. 3. Run the command below to confirm you’ve completely installed Wrangler. This command prints out the version of Wrangler installed in your machine.
wrangler --version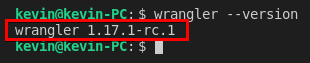
4. Now, run the command below to authenticate your Wrangler installation to Cloudflare Workers. The command opens the Cloudflare login page in your browser.
wrangler login5. Log in to your Cloudflare Workers account, and Cloudflare will provide you with an API token to authenticate the wrangler connection to your Cloudflare account. consent.
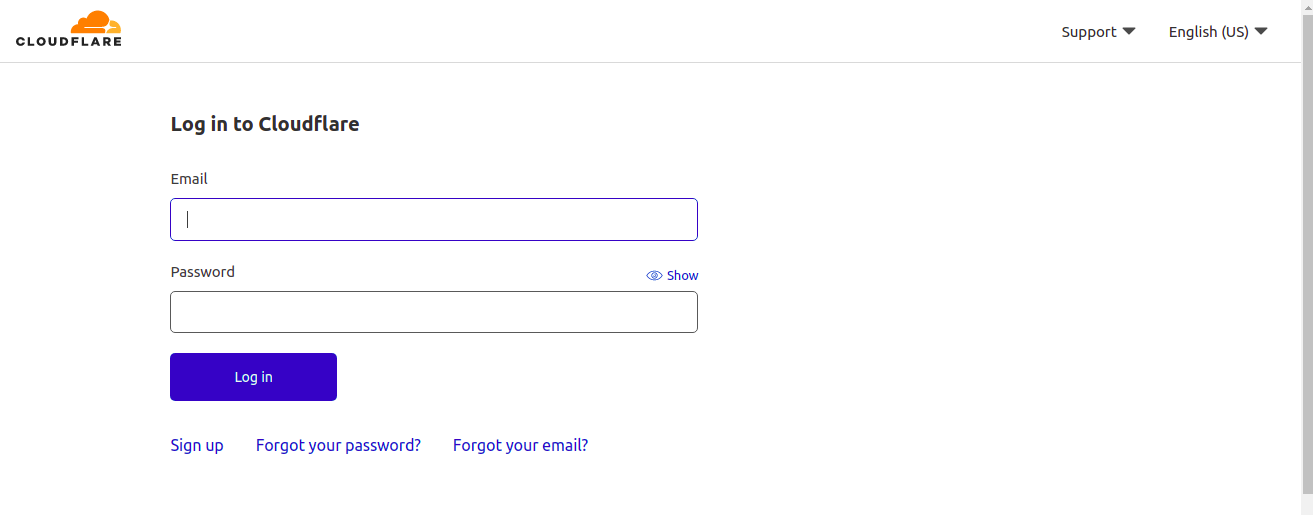
Wrangler login Command prompts you with a Cloudflare Login Page for authentication 6. Finally, run the command below to print out your credentials, which confirms you’ve successfully configured Cloudflare Workers.
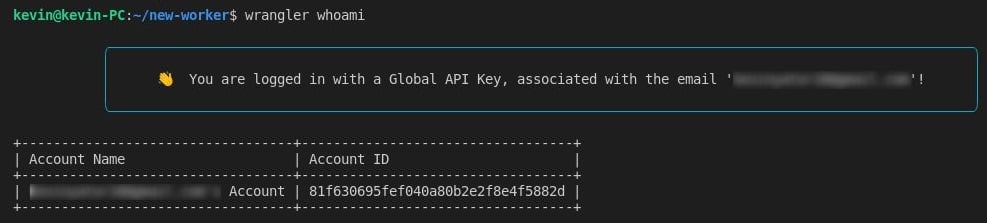
wrangler whoamiBelow, you can see the command prints out a message, which says you are logged in with a Global API key associated with your email, account name, and account ID.
Note the Account Name and Account ID, as you’ll use them as credentials later on to publish the project.
Generating a Cloudflare Workers Project
Now that you’ve set up Cloudflare Workers let’s generate your new Cloudflare Workers project. Cloudflare Workers has Starter templates that contain reusable code snippets built for developers to get started with when building with Workers.
For this demo, you will use the starter template, which allows you to build a JavaScript-based project on top of Cloudflare Workers.
The worker template supports building projects with webpack since it offers multiple deployment targets that you can set in your webpack configuration. Webpack simplifies the process of adding and managing npm dependencies in your project.
1. Run the command below to create a folder called new-worker, which stores the important worker template’s project files pulled from GitHub https://github.com/cloudflare/worker-template.
# Creates a new folder called new-worker
# Pulls the starter template from GitHub,
# and places the important project files in the new-worker folder.
wrangler generate new-worker https://github.com/cloudflare/worker-template

# Change working directory to the new-worker folder
cd new-worker
Below, you can see the project’s file structure inside the ~/new-worker folder.

2. Open the ~/new-worker/index.js file, which acts as an entry point to manage the application’s modules. Inside the file are Worker Runtime APIs, which are functions running in the browser background to intercept and control how Cloudflare handles network requests from you.
The code below is generated by the starter template, which handles the fetch event then prints the Hello World! message by default as a response. The fetch event is the incoming requests from a client to your application,
addEventListener('fetch', event => {
  event.respondWith(handleRequest(event.request))
// this script tells FetchEvent  worker  how to respond to any incoming fetch request.
// the Worker script then returns a response to the user.
})

async function handleRequest(request)
// this function takes an event and context object as input and returns a string.
// the async function takes request provided as the parameter.
// The Worker then receives HTTP requests and responds automatically.
{
  // Prints a plain text that says Hello World!
  return new Response('Hello World!', {
    headers: { 'content-type': 'text/plain' },
  })
}
3. Finally, run the command below to test that the return new Response function in the index.js file prints out the expected response.
wrangler previewAfter building your application, the command automatically opens up a new tab on your browser, as shown below, and displays the response.
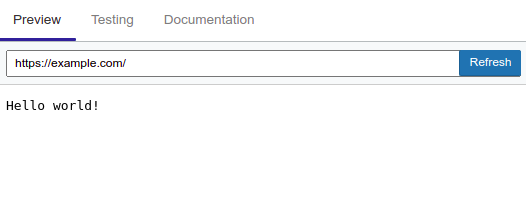
preview Function Works Rendering an HTML Page
Now that the basics of creating a function are out of the way let’s create an HTML template that mimics and displays as a web page instead of just plain text.
1. Create a new file with a name you prefer in the working directory, but for this example, the file is named worker.js. Copy/paste the code below to the worker.js file.
The code below creates a worker that mimics a web page that prints the “Hello there 👋! You’re connected to Cloudflare Workers” message.
const worker = `
//html code to create the new webpage.
<!DOCTYPE html>
<html lang="en">
  <head>
    <meta charset="utf-8" />
    <meta http-equiv="x-ua-compatible" content="ie=edge" />
    <meta name="viewport" content="width=device-width, initial-scale=1" />
    <title>Hello!</title>
    <link rel="stylesheet" href="https://unpkg.com/modern-css-reset/dist/reset.min.css" />
    <style>
    // styling for the new web page.
      body {
        background: #eee;
        display: flex;
        align-items: center;
        justify-content: center;
        min-height: 100vh;
        font-family: sans-serif;
      }
      div.container {
        background: #fff;
        border-radius: 1rem;
        padding: 4rem;
      }
    </style>
  </head>
  <body>
    <div class="container">
      <h1> Hello there 👋! You're connected to Cloudflare Workers </h1>
    </div>
  </body>
</html> `

//This grants access to index.js file when the user calls the worker function.
export default worker
2. Next, open the ~/new-worker/index.js file, then replace the content with the code below.
The code below imports the worker function from the worker.js file you created in step two to be accessed here in the index.js file.
import worker from './worker'
// This imports the worker file, goes ahead to take the HTML you created earlier,
// and make it your new response.
addEventListener('fetch', event => {
event.respondWith(handleRequest(event.request))
//the addEventListener function listens for a fetch request from the worker
//the event.respondWith() method allows you to provide a response to the fetch.
})
async function handleRequest(request) {
return new Response(worker, {
headers: { 'content-type': 'text/html' },
// The async function recieves the new request and
// returns new custom response of text/html type.
})
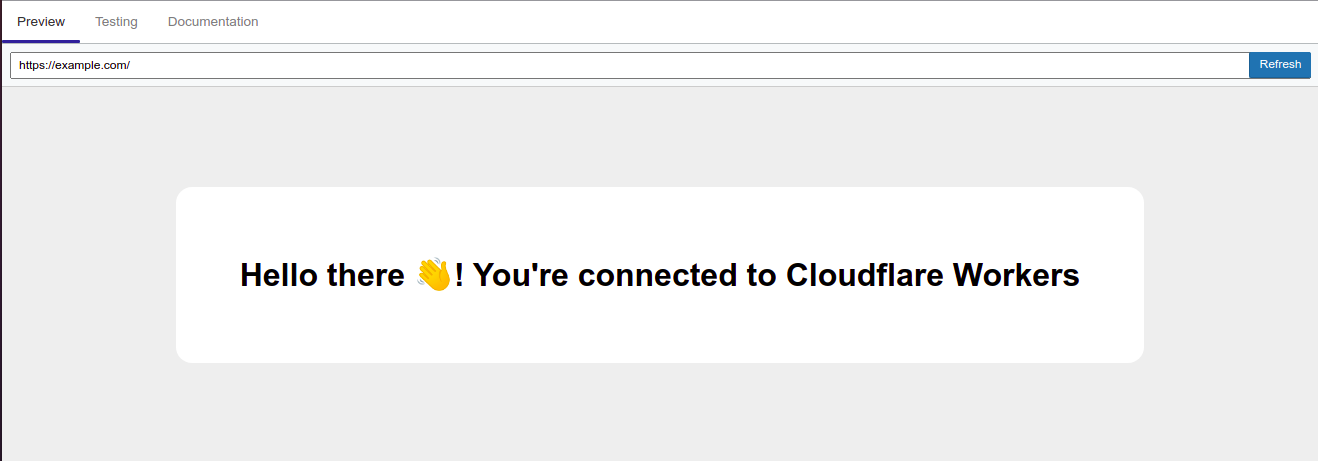
}3. Finally, refresh your browser, and you will see that the body is rendering as an actual HTML page.
More importantly, the worker script (worker.js) returns the content you anticipated as the response, which is the Hello there 👋! You’re connected to Cloudflare Workers message.
Publishing a Serverless Application
Since you’ve confirmed that rendering an HTML page works on your local machine, it’s finally time to deploy a serverless application. But first, you’ll configure the ~/new-worker/wrangler.toml file to define the application’s settings and parameters.
Unlike other cloud computing platforms, Cloudflare doesn’t consume container or virtual machine technology. Instead, Cloudflare Workers runs on V8: Isolates, a JavaScript engine developed for Google Chrome.
1. Open the ~/new-worker/wrangler.toml file, and make the following changes in the file’s content:
- Change the project type from
JavaScripttoWebpack. This change helps import and manage the deployment of freshly-bundled Cloudflare Workers scripts and dependencies within the project. - Put the Account ID you noted in step 6 of the “Installing and Configuring Cloudflare Workers Wrangler CLI” section to the
account_idplaceholder. - The last two fields (
routeandzone_id) are particular to deploying your project. They tell Wrangler that you want to deploy a serverless function to a subdomain in a specific zoneID.
For now, leave them blank because you will not use the zoneID feature in your project and proceed with publication.
name = "new-worker"
type = "webpack"

account_id = "81f630695fef040a80b2e2f8e4f5882d"
workers_dev = true
route = ""
zone_id = ""
2. Run the dev command, a Wrangler built-in worker script, to visualize how your project will look in the production environment. The command automatically opens up a new URL on your browser and shows the response you configured in the ~/new-worker/worker.js file.
wrangler dev3. Now run the wrangler publish command below to build, upload and publish your function on workers.dev, the domain created earlier when you signed up for the Cloudflare account.
wrangler publishNote the new URL to access your application as follows. Replace project-name with your project’s name and sub-domain with the subdomain you chose when you created your Cloudflare account.
project-name.sub-domain.workers.dev
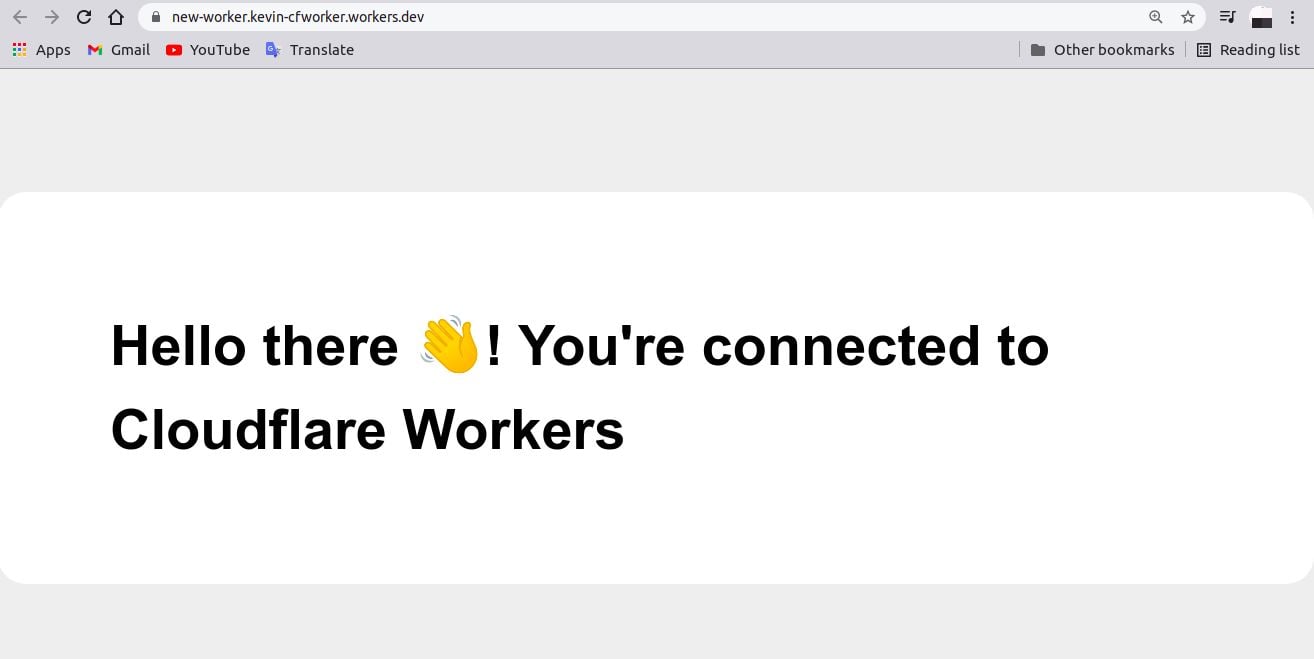
For example: new-worker.kevin-cfworker.workers.devOpen the link in your browser, as shown below, to access your serverless application in the production environment.
Below, you can see the page looks the same as it did locally in step three of the “Rendering an HTML Page” section. If you see the Hello there 👋! You’re connected to Cloudflare Workers message on your browser, and then you’re all set!
Conclusion
In this tutorial, you’ve built and deployed a serverless application to Cloudflare Workers. Throughout the process of building the application, you’ve learned how to configure the application settings and responses to your liking.
As a next step, why not look into implementing VPN tunneling via Cloudflare WARP client to secure the network traffic of end-user within the network?


