


Fast and performant websites are hard to create. The time that server processing, network delivery, and client rendering takes too often results in a slow website. Cloudflare Pages solves this problem by delivering your site close to the client from their hundreds of data centers around the world.
Not a reader? Watch this related video tutorial!By serving each request from the closest data center, Cloudflare Pages decreases both the server processing and network delivery times, resulting in fast websites regardless of location. In this article, learn how to deploy your first website with Cloudflare Pages!
Prerequisites
To follow along with the Cloudflare Pages tutorial, you need the following.
- An existing Cloudflare account.
- A GitHub account with a repository containing the website to deploy to Cloudflare Pages.
- The Git command-line client installed, necessary for the command-line examples shown.
Cloudflare Pages supports static sites, which are sites that run entirely client-side in the browser. Frameworks built on server-side technologies such as PHP, like WordPress, are not supported with Cloudflare Pages.
Creating a Cloudflare Pages Project
Before Cloudflare Pages can deploy a site, you must first connect the GitHub repository to Cloudflare Pages and configure the Cloudflare Pages site for deployment. Follow along below to get started!
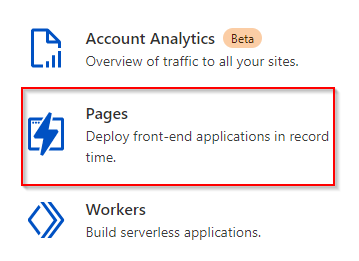
1. Login to your Cloudflare account and click the Pages link on the right-hand side navigation.
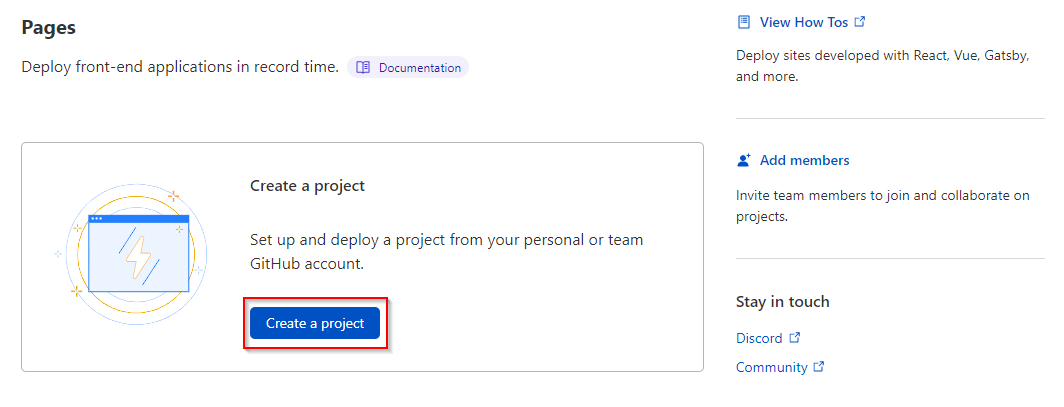
2. Next, click the Create a Project button to start the Cloudflare Pages wizard.
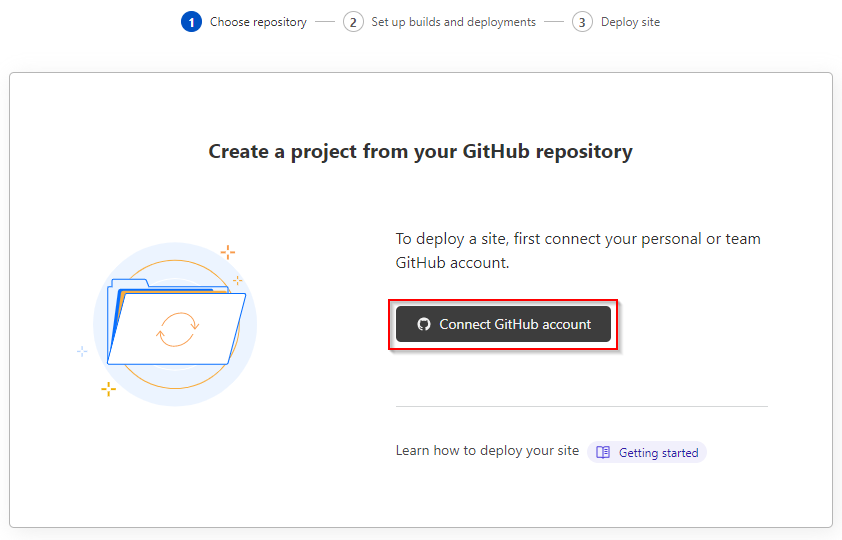
3. Click the Connect GitHub account button to authorize Cloudflare Pages as an Installed GitHub application able to access your repositories. Starting the connect GitHub account wizard.
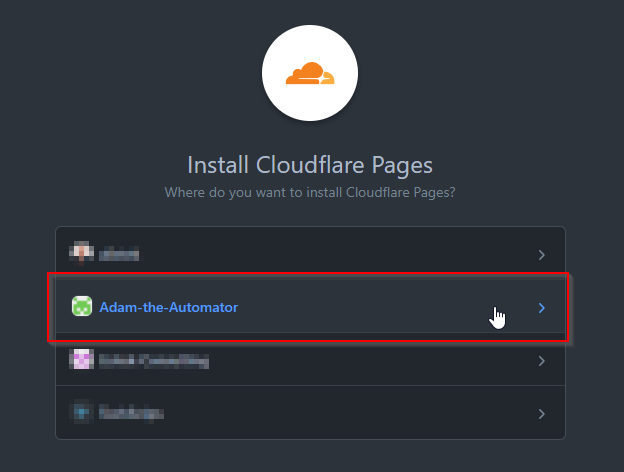
4. Next, provide the GitHub account that contains the repo you’ll be using to deploy to Cloudflare Pages.
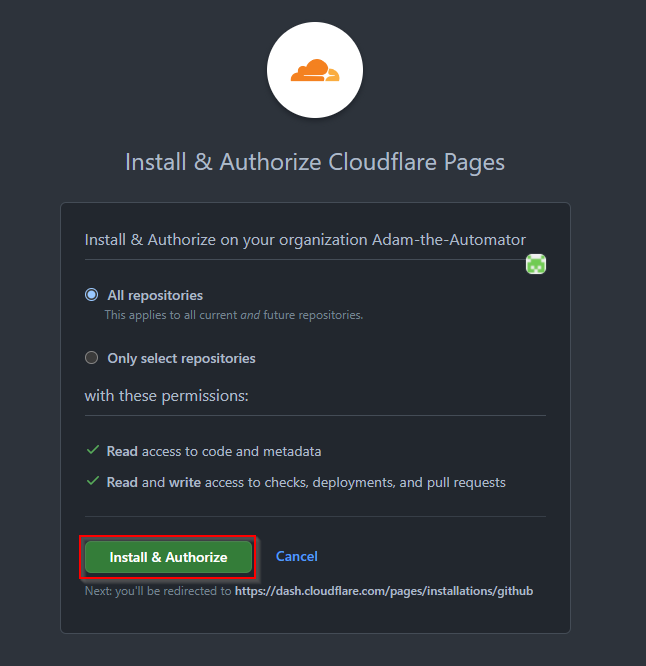
5. Choose to authorize a specific repository or access to all repositories in your GitHub account. In this tutorial, all repositories are authorized for use. Click the Install & Authorize button to complete the connection between Cloudflare Pages and GitHub.
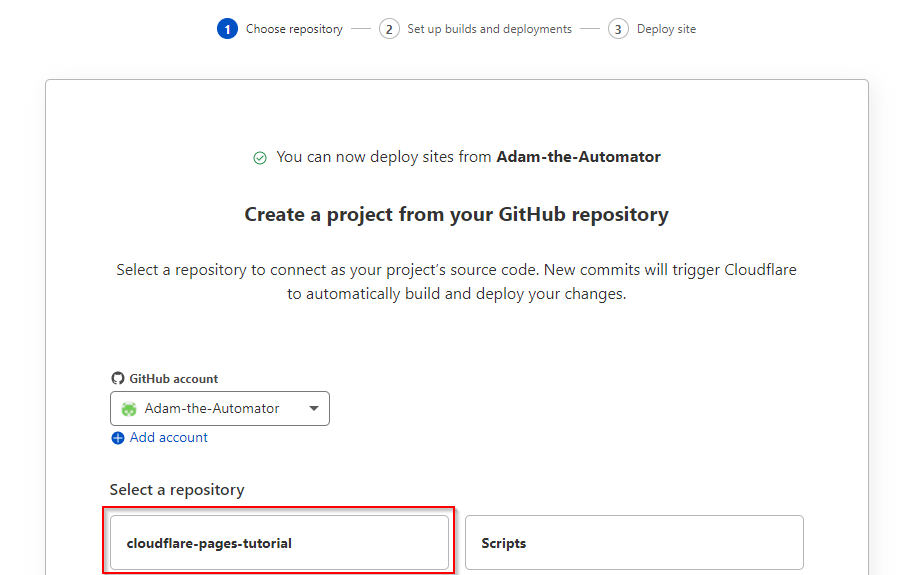
6. After authorization, all repositories available to Cloudflare Pages will be shown from the connected GitHub account. Select the repository to deploy from. Here you may connect additional GitHub accounts as necessary if you want to give Cloudflare access to other repos.
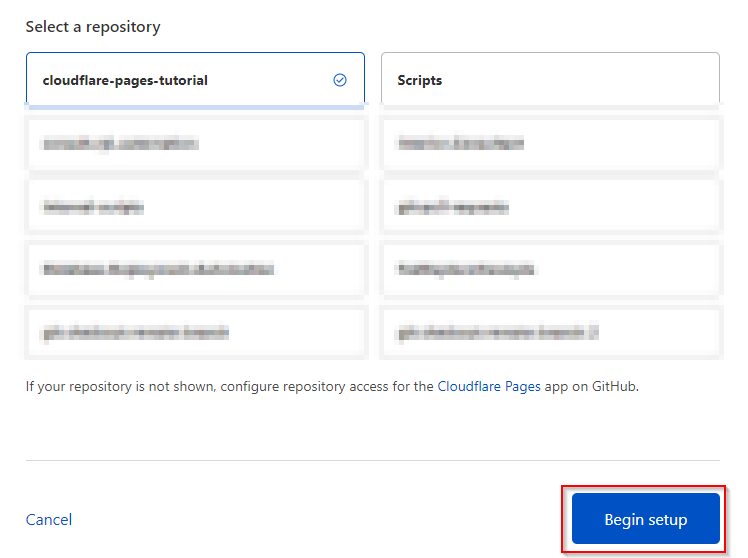
7. Click Begin Setup to configure the site for deployment.
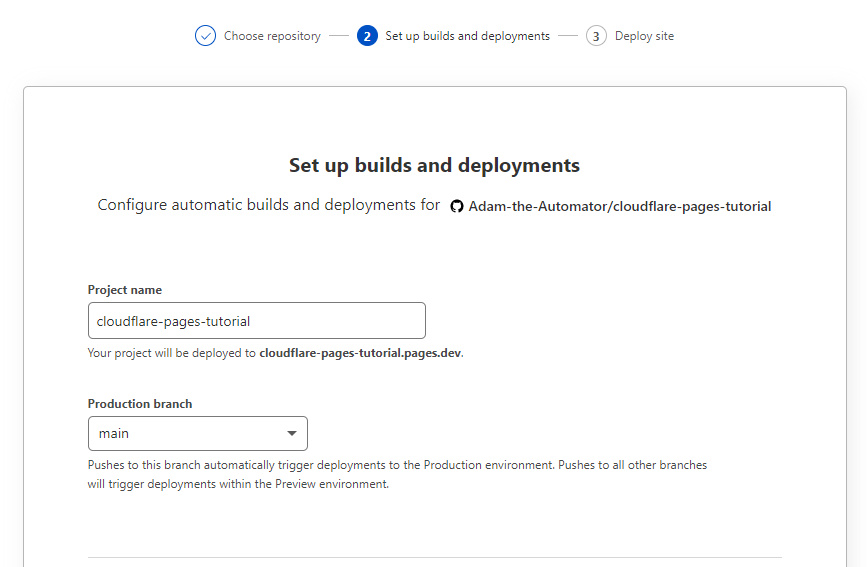
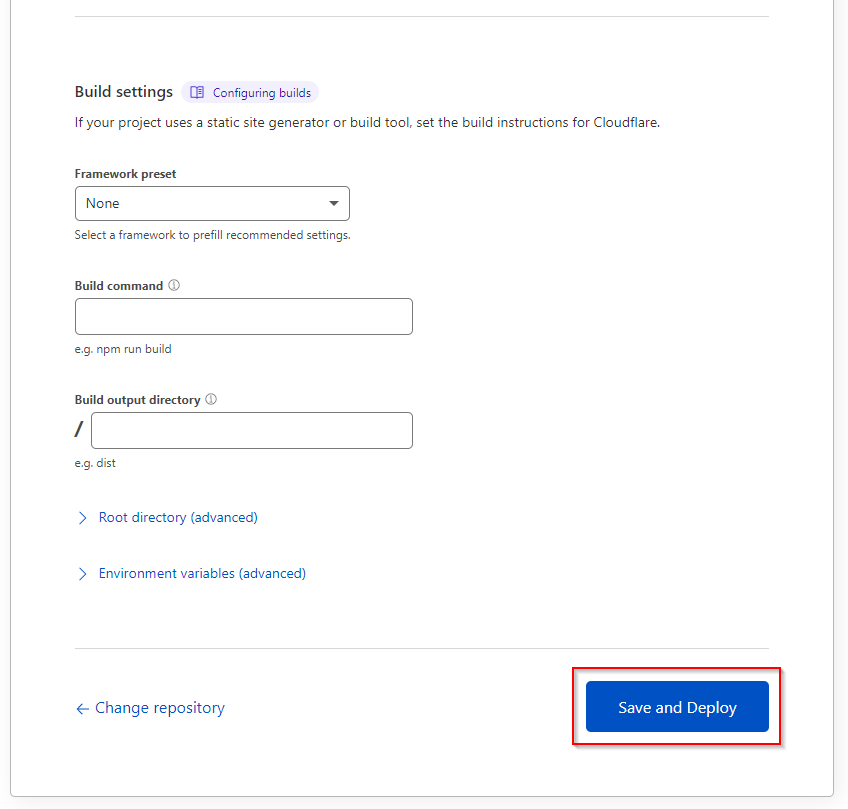
8. Enter the Cloudflare Pages project name, which defaults to the name of the GitHub repository, and the Git branch to deploy from, which is typically main. The screenshot below is keeping all defaults.
9. As this tutorial only deploys a static site, there is no need to select a framework or build command. Finally, click the Save and Deploy button.
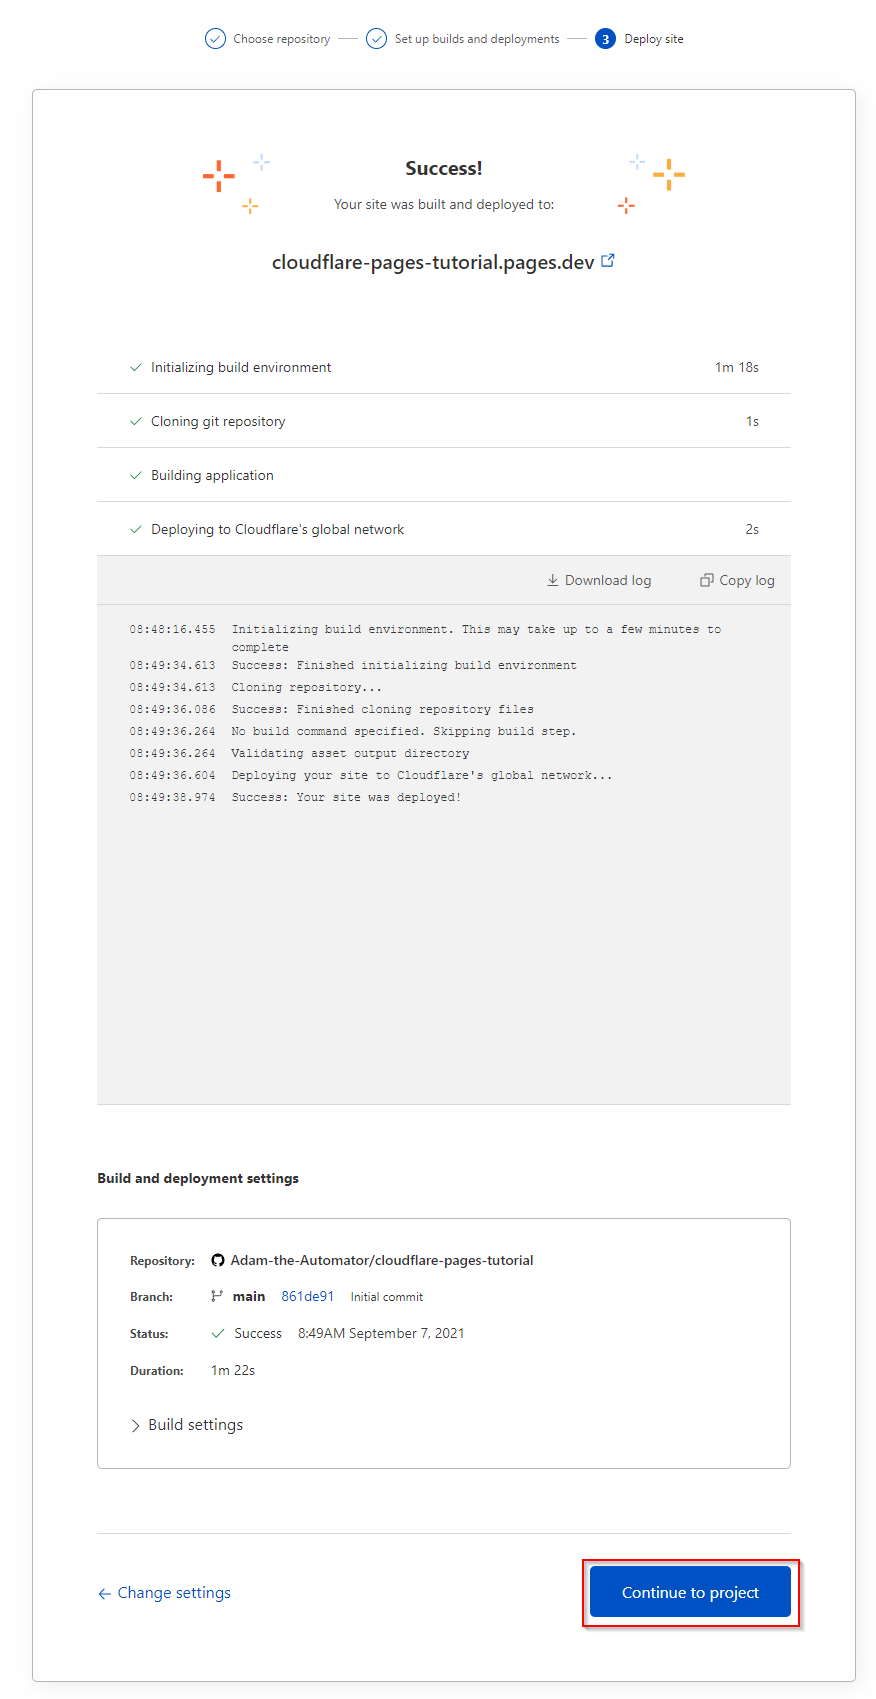
10. Once the Save and Deploy button is clicked, Cloudflare Pages will initiate the first deployment based on your configuration. Finally, click the Continue to Project button after a successful deployment.
Deploying HTML Content From GitHub to Cloudflare Pages
Although the project deployed successfully, any attempt to visit the site will result in a 404 (page not found) error message. In this tutorial, no HTML content has been added to the GitHub repository yet.
If your repository already contains HTML content, then your site will be immediately accessible after deployment.
There are two ways to add content to a GitHub repository. Typically, a developer will use the Git version control command-line commands to add, commit, and publish a file to a repository. You may also use the GitHub web interface to add a file directly to the repository.
If you aren’t familiar with Git, that’s ok! In a Git repository, you first add a file that you want to track versions of. Next, you commit, or record, the changes to the repository, which is the newly added file in this case. Finally, as the repository is stored in GitHub, and not locally, you push the changes to GitHub.
Both the command-line and web approach result in a Git repository commit which triggers a Cloudflare Pages deployment. This tutorial outlines the typical developer-oriented approach using the command-line as shown below.
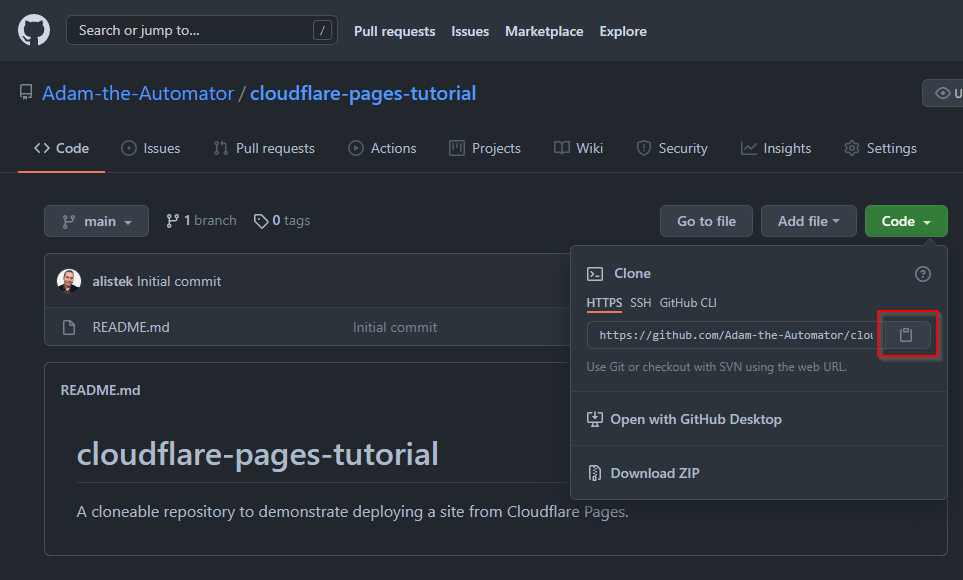
1. Before adding a file to the GitHub repository, you must get the URL of the repository to clone, or copy to your local system. Navigate to your repository in GitHub, click the Code drop-down, and click the Copy to Clipboard button next to the HTTPS URL.
2. Open a command-line client and navigate to a directory to store your repository. Here, the directory C:\Articles is used. Change the current directory with the command cd C:\Articles. Once in the directory, clone the GitHub repository with the command git clone
You do not need to create the folder, the
git clonecommand does this for you.

3. Next, open the repository folder in your favorite code editor, Visual Studio Code is shown in this tutorial. Create and save a new file, named index.html with the following content.
<!doctype html>
<html class="no-js" lang="">
	<head>
	  <meta charset="utf-8">
	  <title></title>
	</head>
	<body>
	  <h1>Hello world! This site is served from Cloudflare Pages.</h1>
	</body>
</html>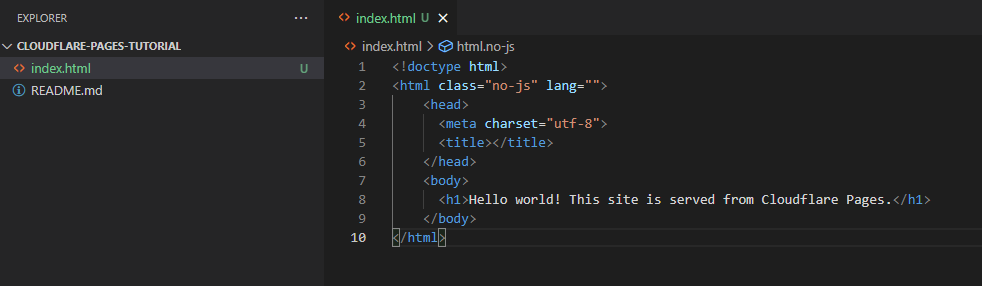
4. Back on the command-line, run the following GIT commands to add the file, commit the changes, and push the changes to GitHub.
# Make sure you are in the repository directory
cd cloudflare-pages-tutorial
# Add just the index.html file
git add index.html
# Record the changes with a required commit message
git commit -m 'Adding the index.html file'
# Push the changes from the main repository, the default, to GitHub, known as the origin by default
git push origin main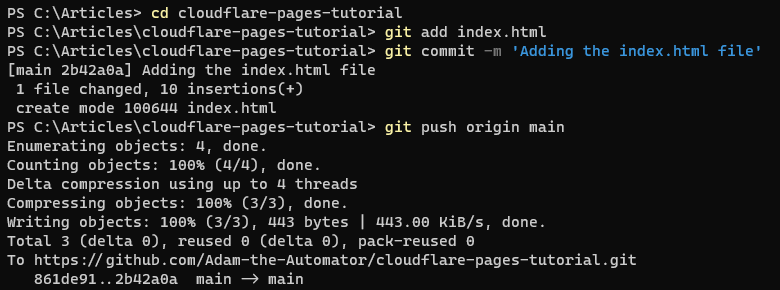
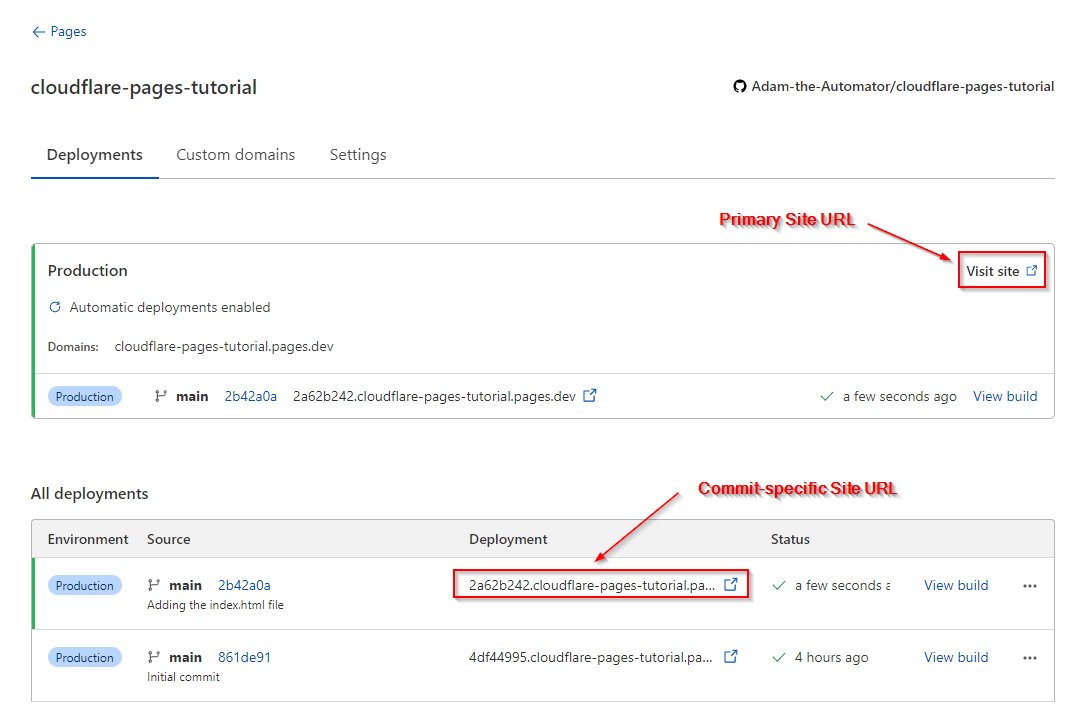
5. As soon as the changes are pushed to GitHub, Cloudflare Pages is notified and a new deployment starts. Once completed, click Visit site to view the primary site URL or view a commit-specific deployment linked under each deployment, useful for viewing per-commit changes over time.

Adding a Custom Domain for a Cloudflare Pages Project
Now that you have successfully created a Cloudflare Pages project and deployed a static site, you may find that the generated URL is not very memorable. You may have a domain already in Cloudflare that you wish to use with Cloudflare Pages. In this tutorial, a sub-domain is used to show how to add a custom domain for your site.
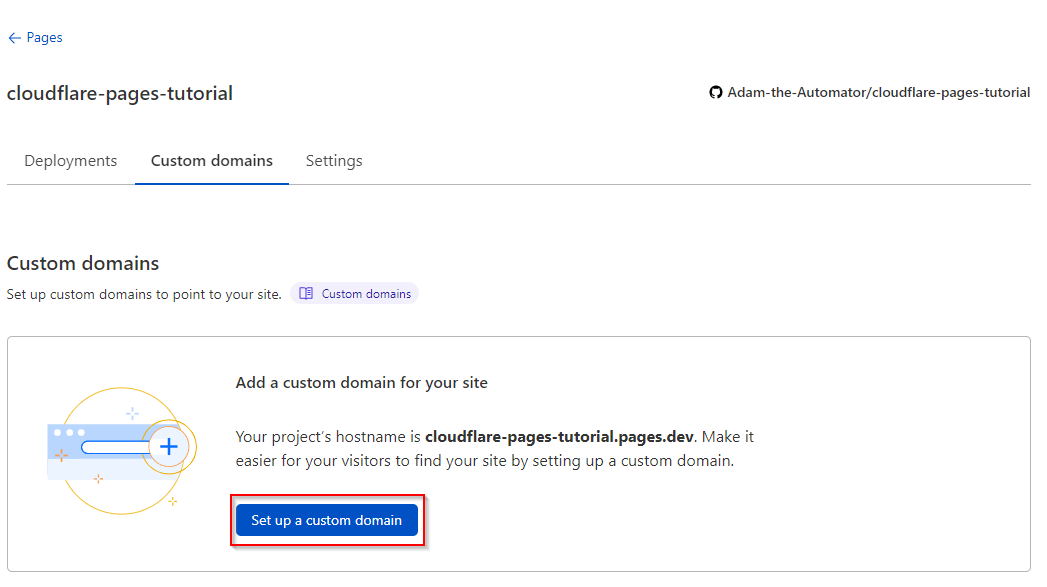
1. In the same Cloudflare Pages project dashboard, navigate to Custom domains and click the Set up a custom domain button.
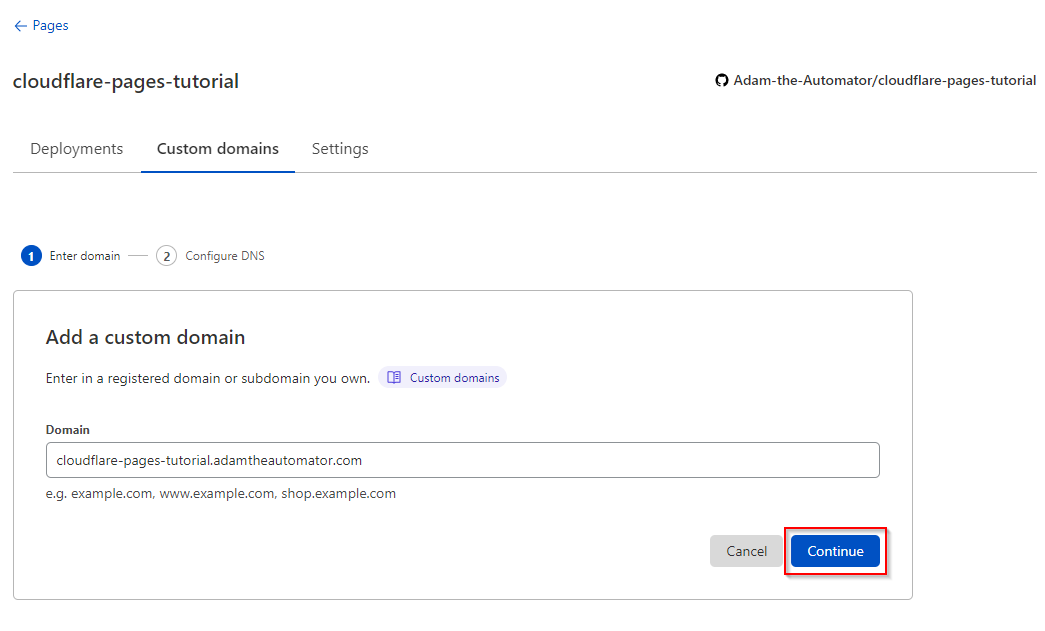
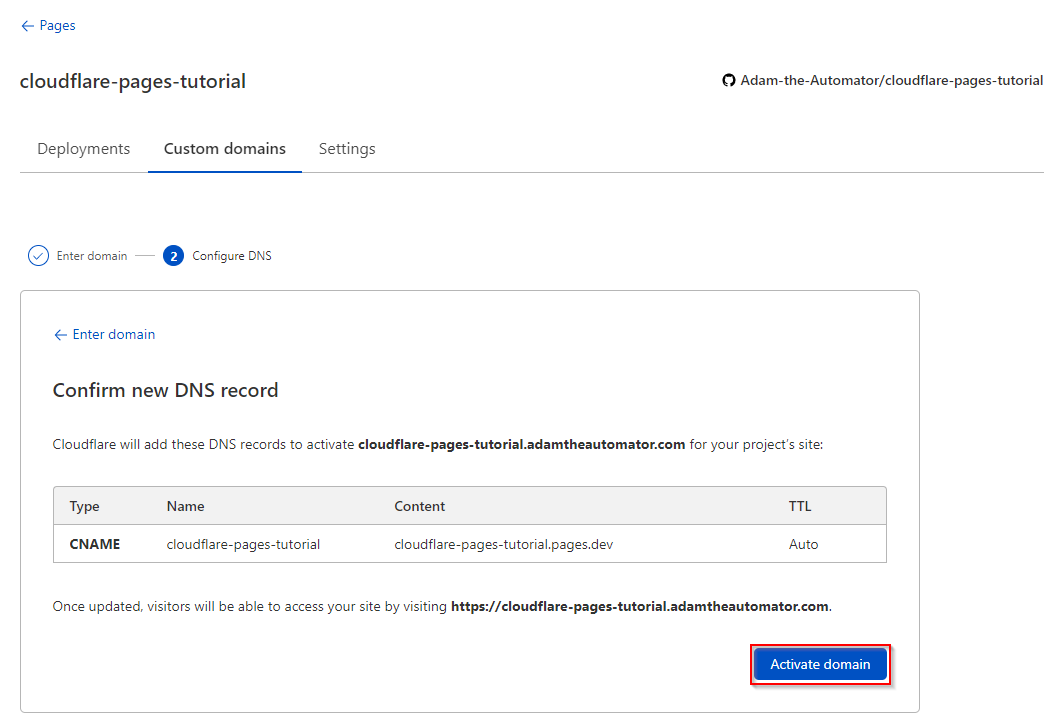
2. Enter the domain, or sub-domain to use with the specific Cloudflare Pages project. Here, cloudflare-pages-tutorial.adamtheautomator.com is used. Once entered, click the Continue button.
3. Review the expected changes and click on Activate domain, once you are ready to proceed.
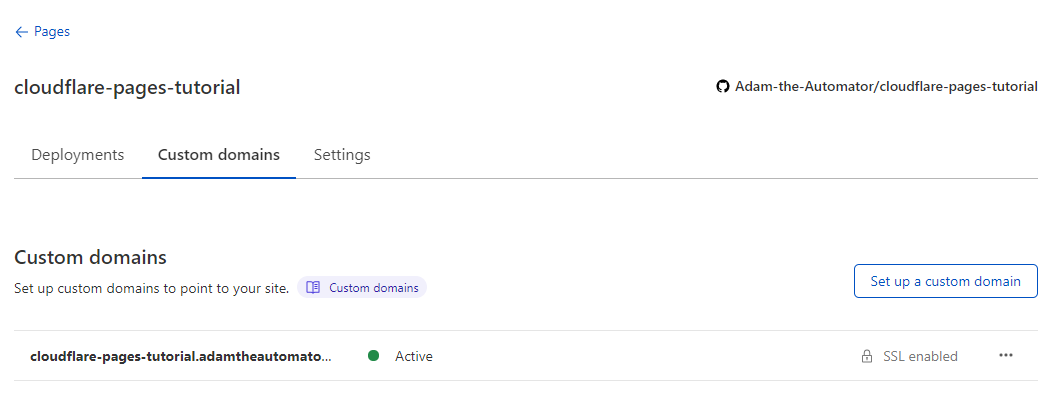
4. Once the changes have been successfully deployed, you will see the status reflected on the Custom domains tab, and the site is now available from the custom domain with SSL enabled.
You may initially see a gray “Inactive (Error)” status while the changes are applying. This typically resolves in 30 seconds to a minute.
Conclusion
Cloudflare Pages enables the serving of static websites from hundreds of locations, close to the client, around the world without a traditional hosting server. Tightly integrated with Git version control, every change is tracked with previews available for each commit. What can you build with Cloudflare Pages today?


