


In the past, VPN tunnels have been challenging to set up and hard for folks to use. The Cloudflare WARP client is a fast and modern VPN, built on top of the secure WireGuard protocol and free for everyone to use, consumer or business alike.
In this article, you will learn how to use the Cloudflare WARP client and see how the Cloudflare WARP client is built for more than just consumer use. Cloudflare Teams, a zero-trust secure web gateway, leverages the WARP client to secure the network traffic of end-user systems to an internal system as well as the internet.
Prerequisites
To follow along with the Cloudflare Teams enrollment, you need an existing Cloudflare Teams account set up. To use PowerShell commands, any recent version of PowerShell will work, and 7.1 is used in this article. In addition, all steps in this article are performed on a recent version of Windows 10.
Installing the Cloudflare WARP client
The Cloudflare WARP client is cross-platform with installation instructions for multiple different operating systems. In this article, you’re going to install the Windows OS installation of the Cloudflare WARP, but also available for mobile via the Google Play Store as well. Read on to learn how to get started!
First, download the latest version of the Windows x64 client, which for this article is 1.5.461.0. Next, run the downloaded package and install with defaults.
Starting a VPN Connection with the Cloudflare WARP Client
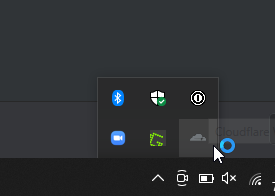
Now that you have installed the Cloudflare WARP client, the installation program will make a system tray icon available to control the Cloudflare WARP client. To start the VPN connection, follow the steps below.
1. Click on the Cloudflare WARP client contained within the system tray.
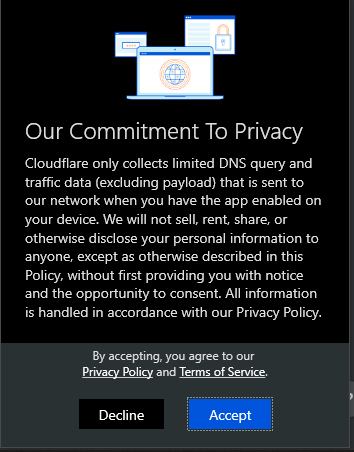
2. Now, click Next on the “What is WARP?” and Accept on the “Our Commitment to Privacy” screens. This screen appears the first time you use Cloudflare WARP.

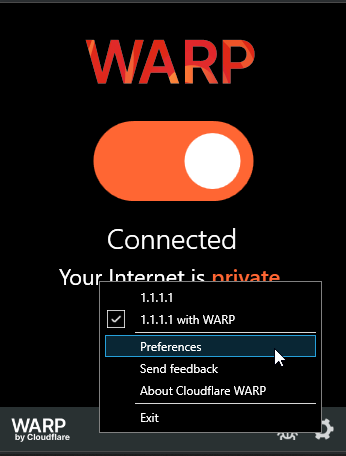
3. Click the toggle button to enable a secure VPN connection and connect to the Cloudflare network. This is disconnected by default.

4. Finally, verify the VPN is connected by using PowerShell to check the IP the world is seeing your traffic come from. Invoke the Invoke-RESTMethod command to query the ipify.org service. As shown below, the IP is different after the Cloudflare WARP VPN has been enabled.
Invoke-RESTMethod -URI 'https://api.ipify.org?format=json' | Select-Object -ExpandProperty IP
Configuring the Cloudflare WARP Client
Now that you have installed the client, more advanced installation scenarios are possible with configuration options in the Cloudflare WARP client. Access the Cloudflare WARP client preferences by clicking on the gear icon and choosing the Preferences menu item.
Connection Options
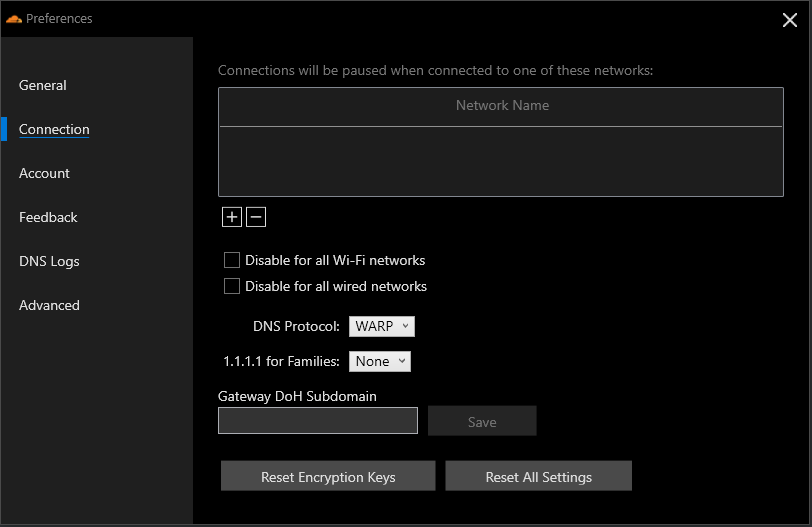
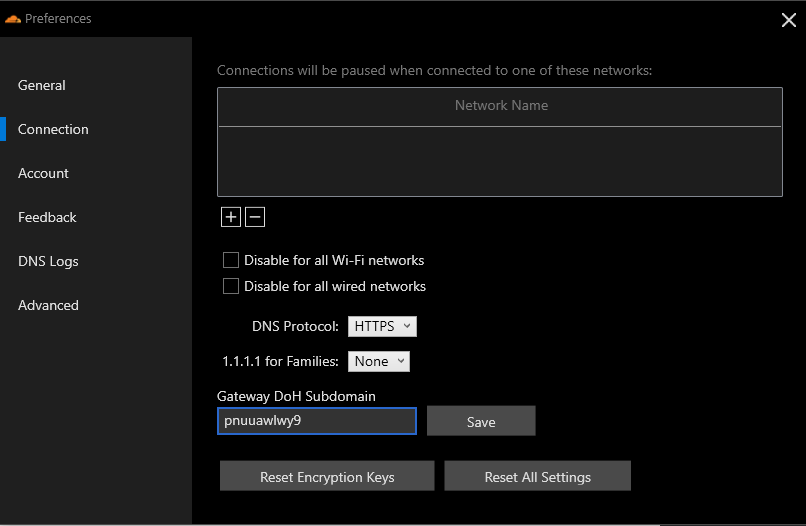
Several preferences screens offer information only, such as General, but others allow configuration. Customize client behavior by clicking on the Connection pane. Here you can explicitly add Wi-Fi networks, under the Network Name section, to pause the VPN connection intended to keep traffic from leaving the VPN when connected or even set to disable the WARP client for all Wi-Fi or wired networks.
In addition, you may customize the DNS Protocol option used in Cloudflare WARP and how 1.1.1.1 for Families DNS service option behaves, an option that allows for blocking content such as malware sites. The DNS Protocol option tells Cloudflare WARP which method to use to route DNS requests.
The Gateway DoH Subdomain option is intended for use with Cloudflare Teams. The Gateway DoH Subdomain is a value specific to an account value to route all DNS requests for filtering against user-specified filter policies.
Configuring Split Networks
By default, when the Cloudflare WARP client is active, all traffic is sent over the VPN tunnel. There may be times when you may not want to send all traffic over the Cloudflare network. Within the Cloudflare WARP client, you can define certain routes that will not proxy traffic through the VPN.
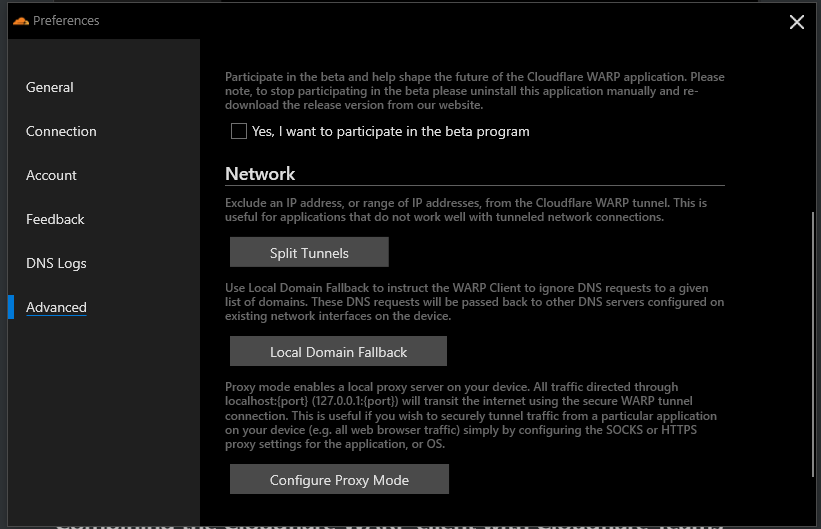
Navigate to the Advanced → Split Tunnels section of the Preferences dialog to modify excluded IP addresses or routes.
Several default routes are already configured, but if you have a specific route to exclude, click the plus button to enter a specific route.

Defining Local Domain Fallback Entries
Much like the internet route option, you may also specify specific domains that will be excluded from the Cloudflare WARP VPN, known as Local Domain Fallback entries. When excluded, these domains will fall back to using the local DNS resolvers on the system. The excluded domain may be a local intranet site or a corporate network.
Add either entry by navigating to the Advanced → Local Domain Fallback and clicking on the plus button to enter a domain and optional description.

Configuring Proxy Mode
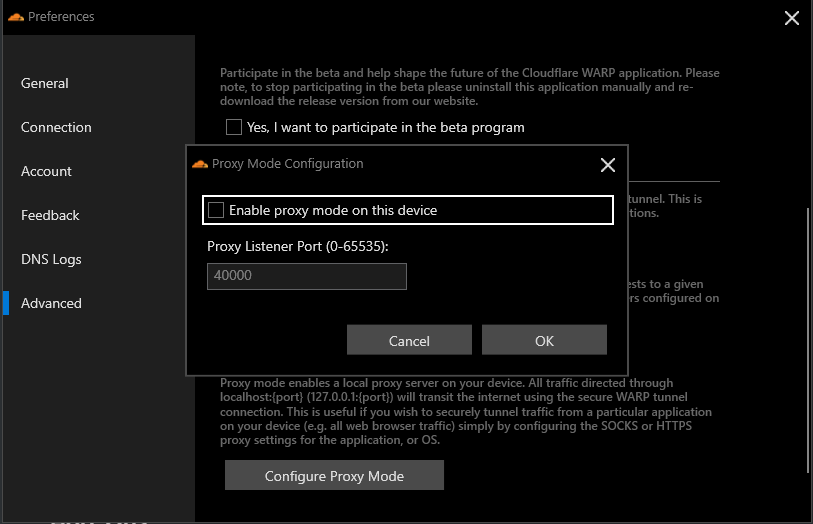
The final advanced feature is the ability for Cloudflare WARP to act as a local proxy server. Perhaps you only want a specific application to route its traffic through the Cloudflare WARP VPN; with the local proxy server option, you can do just that.
The format defines a local proxy server. localhost:port (default port is 4000), that a SOCKS or HTTPS client may be configured to connect to and send traffic over.
Combining the Cloudflare WARP client with Cloudflare Teams
If you are a user of Cloudflare Teams, you may enhance the VPN connection via the Cloudflare WARP client to extend to filtering all DNS queries via Cloudflare Gateway DoH and HTTP filtering. There are three steps to make DNS and HTTP filtering work with Cloudflare Teams.
- Install the root Cloudflare certificate to allow Cloudflare to inspect and filter SSL traffic.
- Configure the Gateway DoH Subdomain, a value specific to an account to route DNS requests for filtering.
- Configure a device registration to connect a given device to a Cloudflare Teams account.
Let’s dive in and see how to combine these two tools.
Installing the Root Cloudflare Certificate
As a prerequisite to enabling HTTP filtering for Cloudflare Teams over the Cloudflare WARP client, you must first download, install, and trust the Cloudflare Root certificate to allow Cloudflare to inspect and filter SSL traffic. Follow along below to install the certificate on Windows 10.
1. First, download the root CA certificate.
2. Next, double-click on the certificate to start the installation.
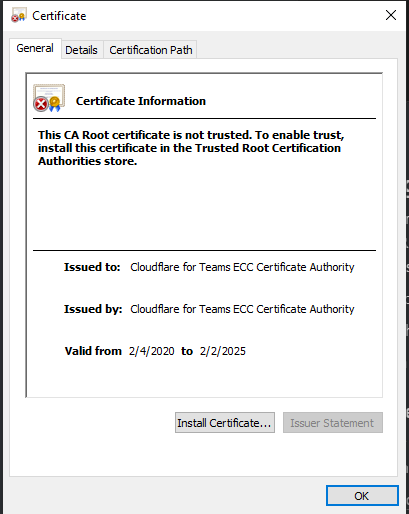
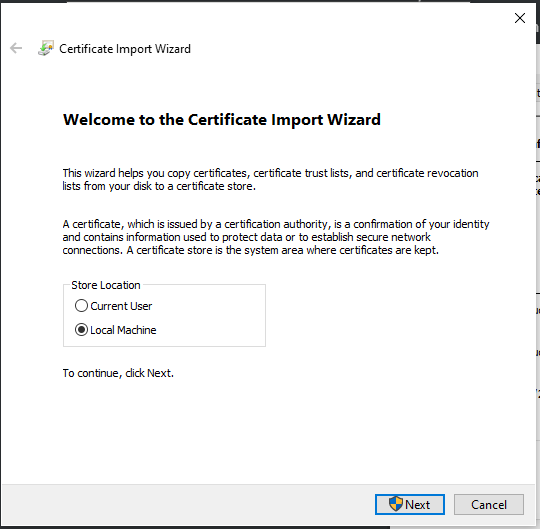
3. First, click on Install Certificate and then choose Local Machine, to import the certificate for use with all users on the system.
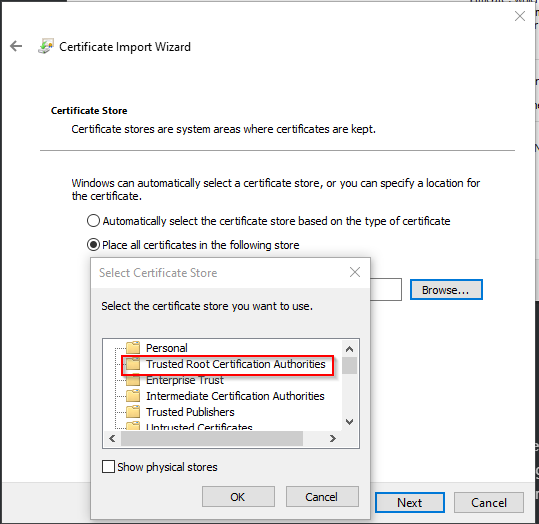
4. Choose the option for “Place all certificates in the following store,” choose the Trusted Root Certificate Authorities and click OK.
As the Cloudflare root CA certificate is not intended for public use, your system will not trust this certificate by default. Installing the certificate will inform your system to trust this traffic.
5. Finally, click Finish to complete the certificate import.
Configuring a DNS over HTTPS (DoH) Subdomain
To allow the WARP client to use DNS filtering within Cloudflare Teams, you need to locate the DoH subdomain within Cloudflare Teams, which gives your system a Cloudflare account specific location to filter DNS traffic against. To do so, follow the steps below.
1. First, login via a web browser to the Cloudflare Teams dashboard.
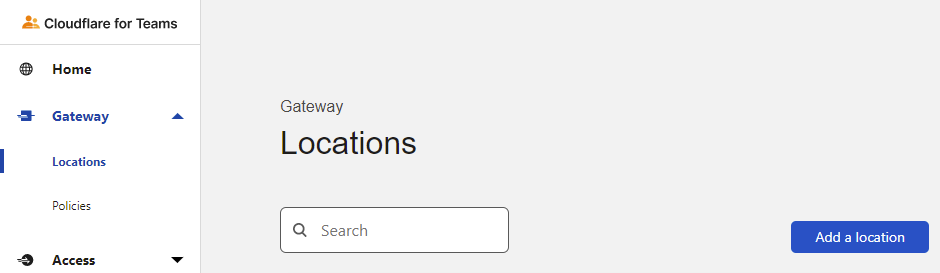
2. Next, navigate to Gateway → Locations and click on Add Location. The location is a descriptive name for a set of DNS and HTTP filtering policies.
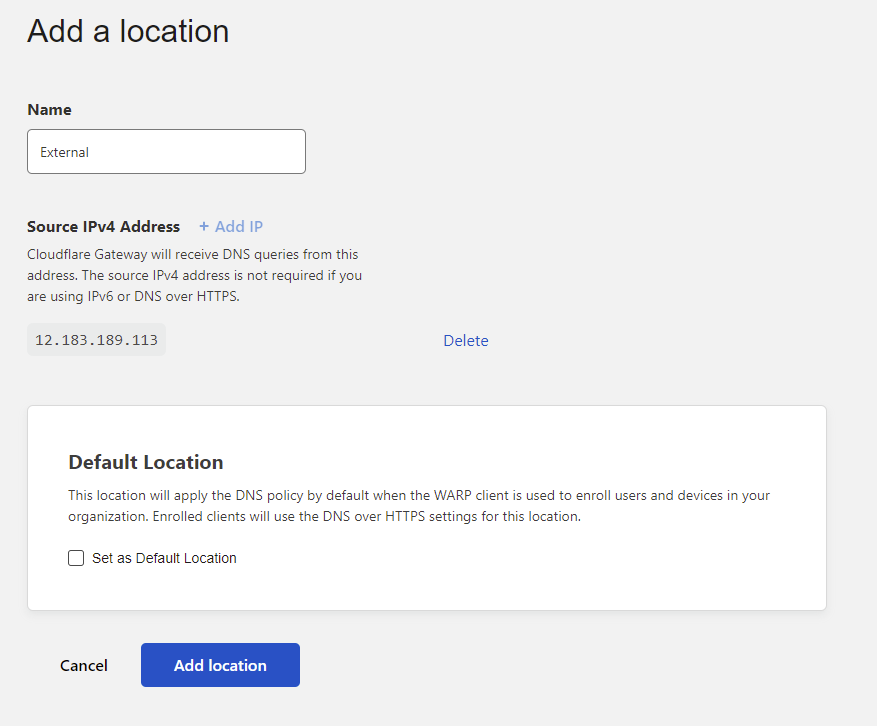
3. Name your location, set to External as an example in this article, and click Add Location.
4. Copy the highlighted subdomain section and click Done to add the location. The copied text will then be used in the Cloudflare WARP client.
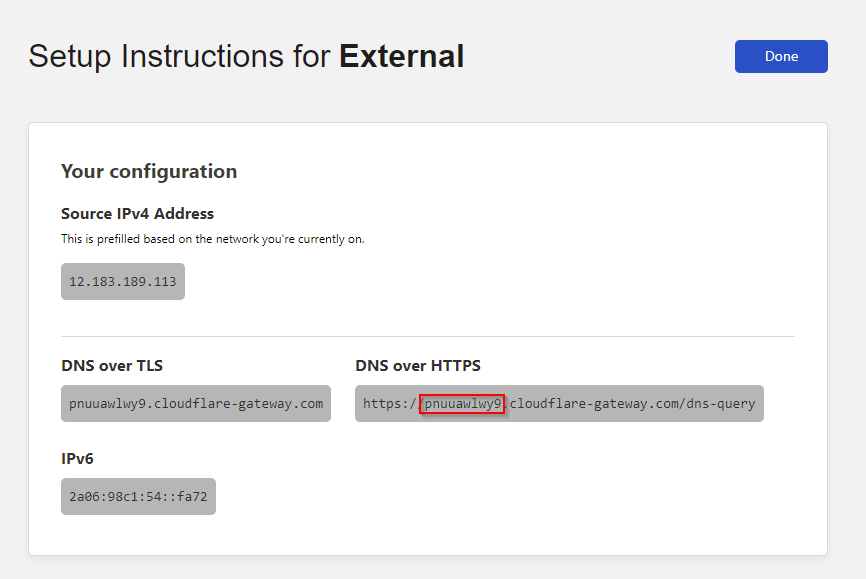
5. Within the Cloudflare WARP client preferences Connection pane, enter the newly setup location DoH subdomain and click Save.
Enrolling the Cloudflare WARP Client in Cloudflare Teams
The final step for configuring the Cloudflare WARP client for Cloudflare Teams is via device registration and enrollment. The registration and enrollment step ensures that you are in explicit control of what devices are filtered.
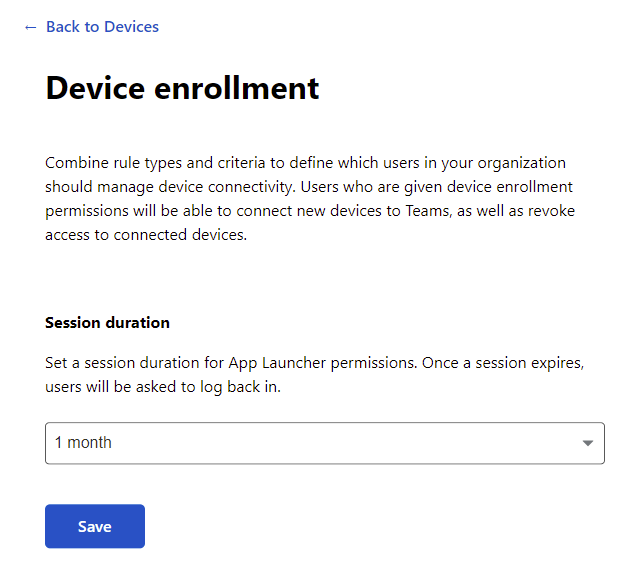
Creating a Device Enrollment Policy
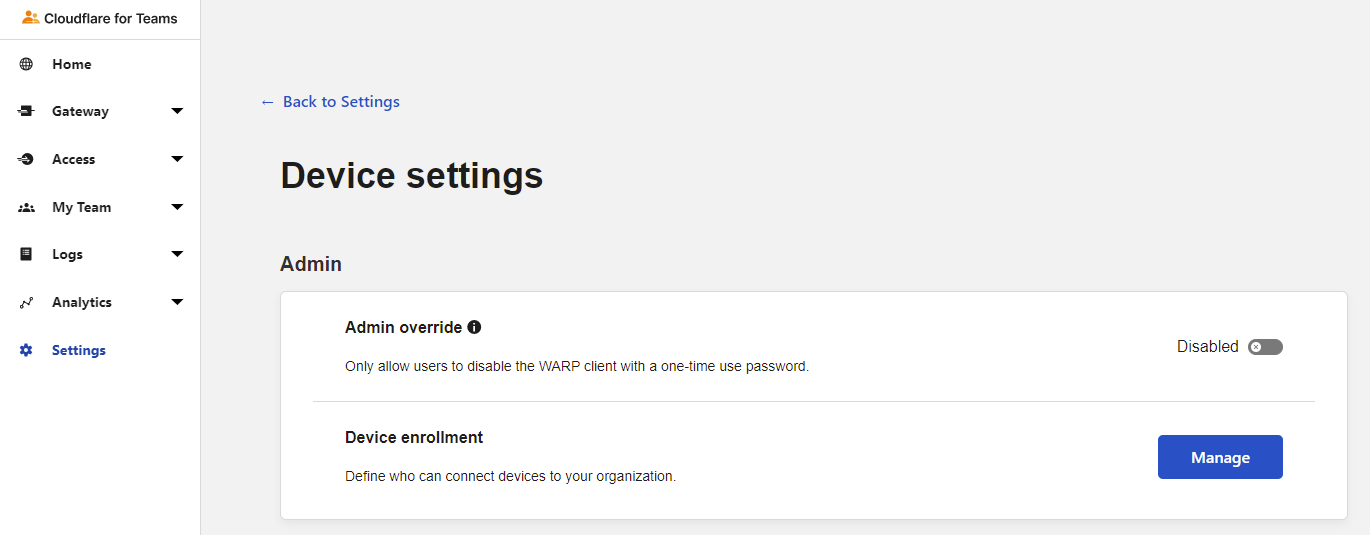
1. Open the Cloudflare Team dashboard and navigate to Settings → Devices. Click on Manage under Device Enrollment.
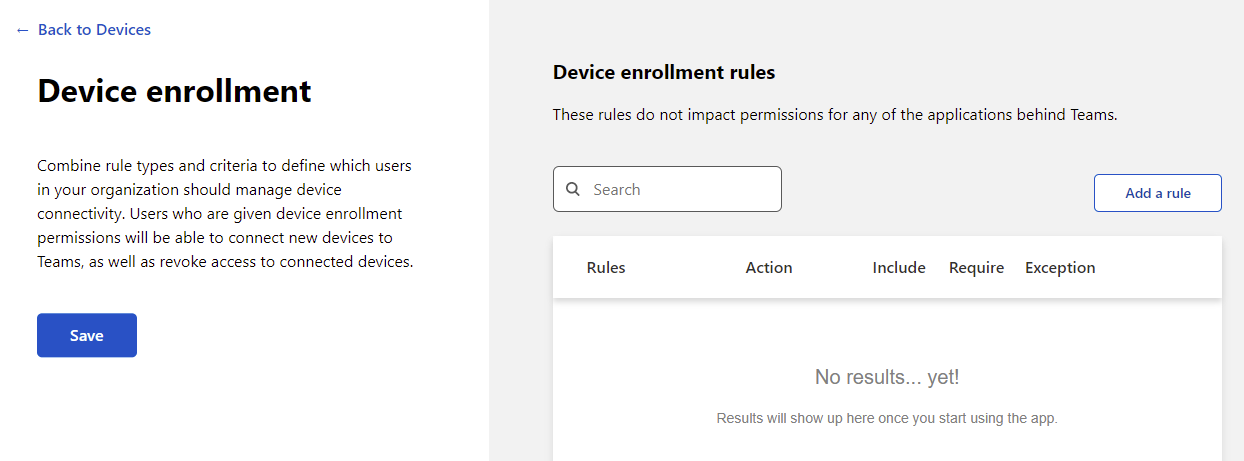
2. Click on Add Rule.
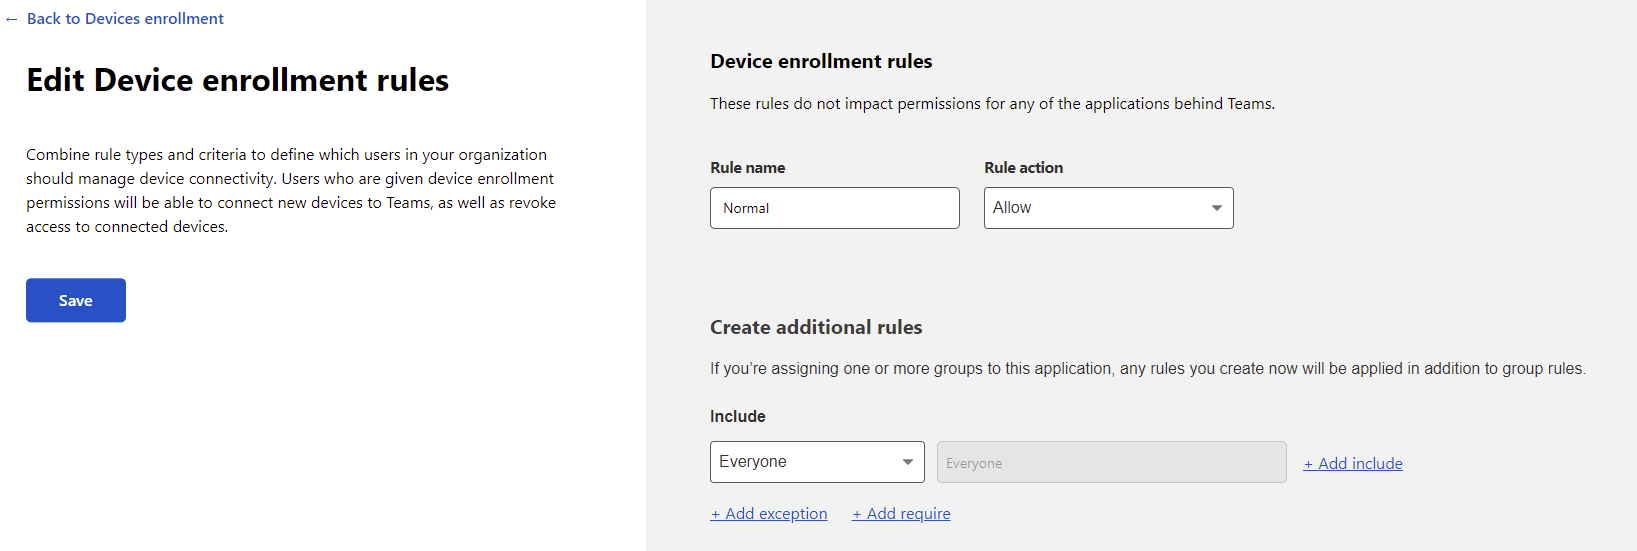
3. Create an Allow device rule with an include set to Everyone. By setting this rule to everyone, any device explicitly registered will be allowed without meeting additional conditions such as a specific country. All other values are set to their defaults and finally, click on Save.
4. Set a Session Duration before requiring a login, here it is set to 1 month but set yours to an appropriate length, the maximum, and click Save.
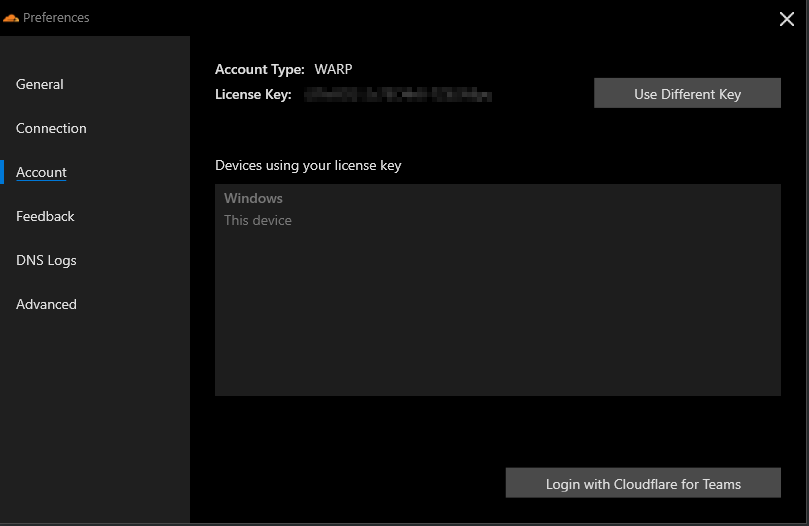
Registering the Cloudflare WARP Client
With the location defined and enrollment policies defined, you must register the device with Cloudflare Teams to start using the DNS and HTTP filtering abilities.
1. Open the Cloudflare WARP client preferences and navigate to the Account page. Once there, click on the Login with Cloudflare for Teams button.
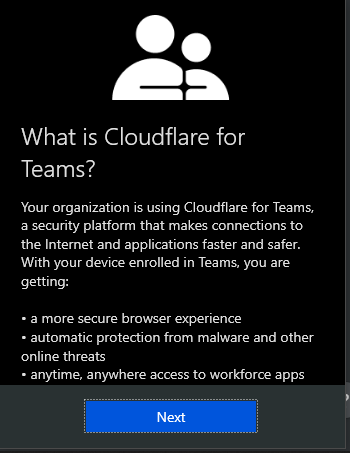
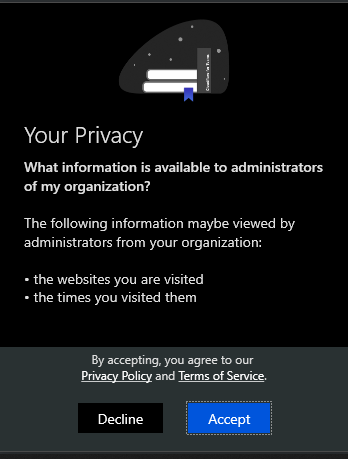
2. Click Next on the overview prompt and Accept on the Privacy prompt.
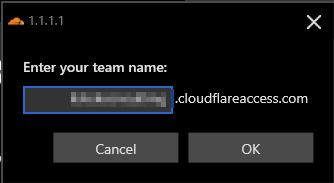
3. Enter the Cloudflare Teams account name. You can find the account name on the Cloudflare Teams dashboard, Settings → General Settings → Team domain.
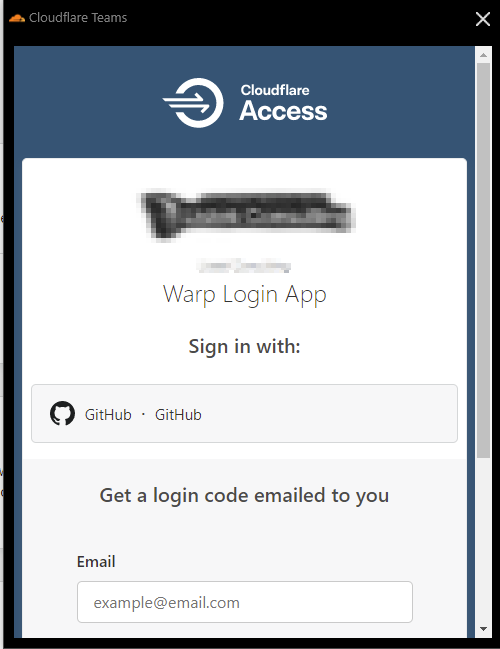
4. Sign in to register your device with Cloudflare for Teams.
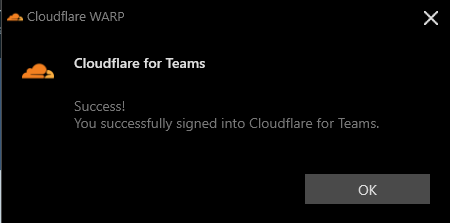
5. If the sign-in was successful, you will see a success message. If so, click OK to dismiss.
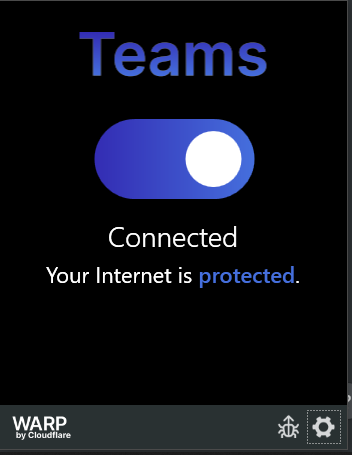
Finally, the Cloudflare WARP client will have a different look to note that it is now connected to Teams rather than the WARP network by itself, as shown below.
Conclusion
The Cloudflare WARP client makes securing an internet connection quick with minimal configuration. By focusing on speed and portability, a powerful cross-platform VPN connection allows you to secure your connection with less of a performance hit to the overhead of the connection.
What will you use Cloudflare WARP to secure?


