


Writing a PowerShell script and running it on your computer is a breeze if the problem you’re solving is simple. But what happens when you need to run it on a schedule (when your computer is off), integrate it with a larger automation workflow, or require a lot more horsepower than your tired, ol’ Dell laptop?
The answer? Azure Functions!
By leveraging the serverless computing platform Azure Functions, you can build professional, robust problem-solving PowerShell scripts in the cloud for free! Let me show you how.
This tutorial is #1 in a two-part series. This tutorial will start from the beginning by showing you how to get VS Code set up and how to create your first Azure function for running PowerShell.
If you’d like to skip ahead, check out How to Execute PowerShell Azure Functions with HTTP Triggers.
Prerequisites
This tutorial is intended to be a reader walkthrough. You’ll be building a real-world example of running PowerShell in the cloud to learn how Azure Functions work with PowerShell. If you intend to follow along, you’ll need the following:
- A Microsoft Azure subscription. A subscription is free, and so is everything you’ll be doing in Azure Functions
- Access to an Azure account with rights to create and execute an Azure function.
- Visual Studio (VS) Code – Although you can write PowerShell in the browser, you’ll never do this in the real-world building a real solution. You’ll do everything in VS Code for this tutorial.
- The PowerShell extension for VS Code installed
This tutorial is best for those with a little Azure Function experience and PowerShell. You won’t learn how to write PowerShell and will be expected to know of Azure Functions and just a little bit of what they’re capable of. If you’d like an introduction to Azure Functions, check out Jeff Brown’s excellent ATA Learning tutorial.
Project Summary
This series of tutorials combine to form a mini-project. You’ll build, from scratch, a small solution requiring a single Azure function, all from within VS Code. For this project, you’ll:
- Set up VS Code
- Create an Azure Function for running PowerShell that will execute from an HTTP event call like a webhook
- Execute a simple PowerShell script by HTTP endpoint just like an API
If you follow this two-part series, you’ll know the basics of creating and executing your first Azure function that runs any PowerShell script in the cloud!
Install the Azure Functions VS Code Extension
VS Code has an extension that allows you to create and manage Azure Functions without leaving VS Code. Let’s get that set up first.
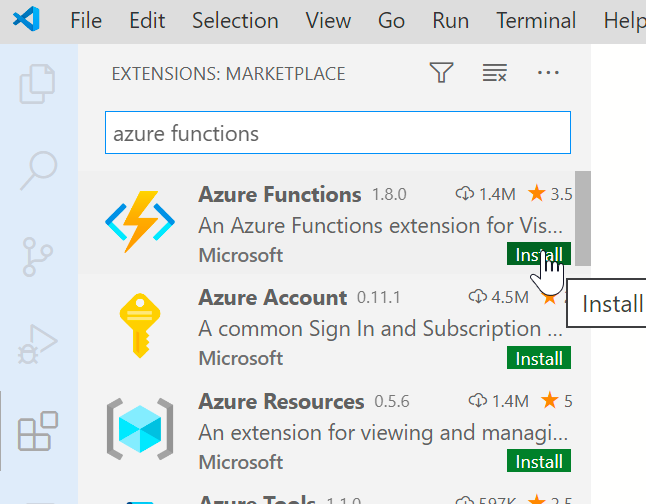
Open VS Code, click on the Extension icons, type azure functions in the search box, and click on Install. This action will install the Azure Functions extension and any dependent extensions like Azure Account and Azure Resources.
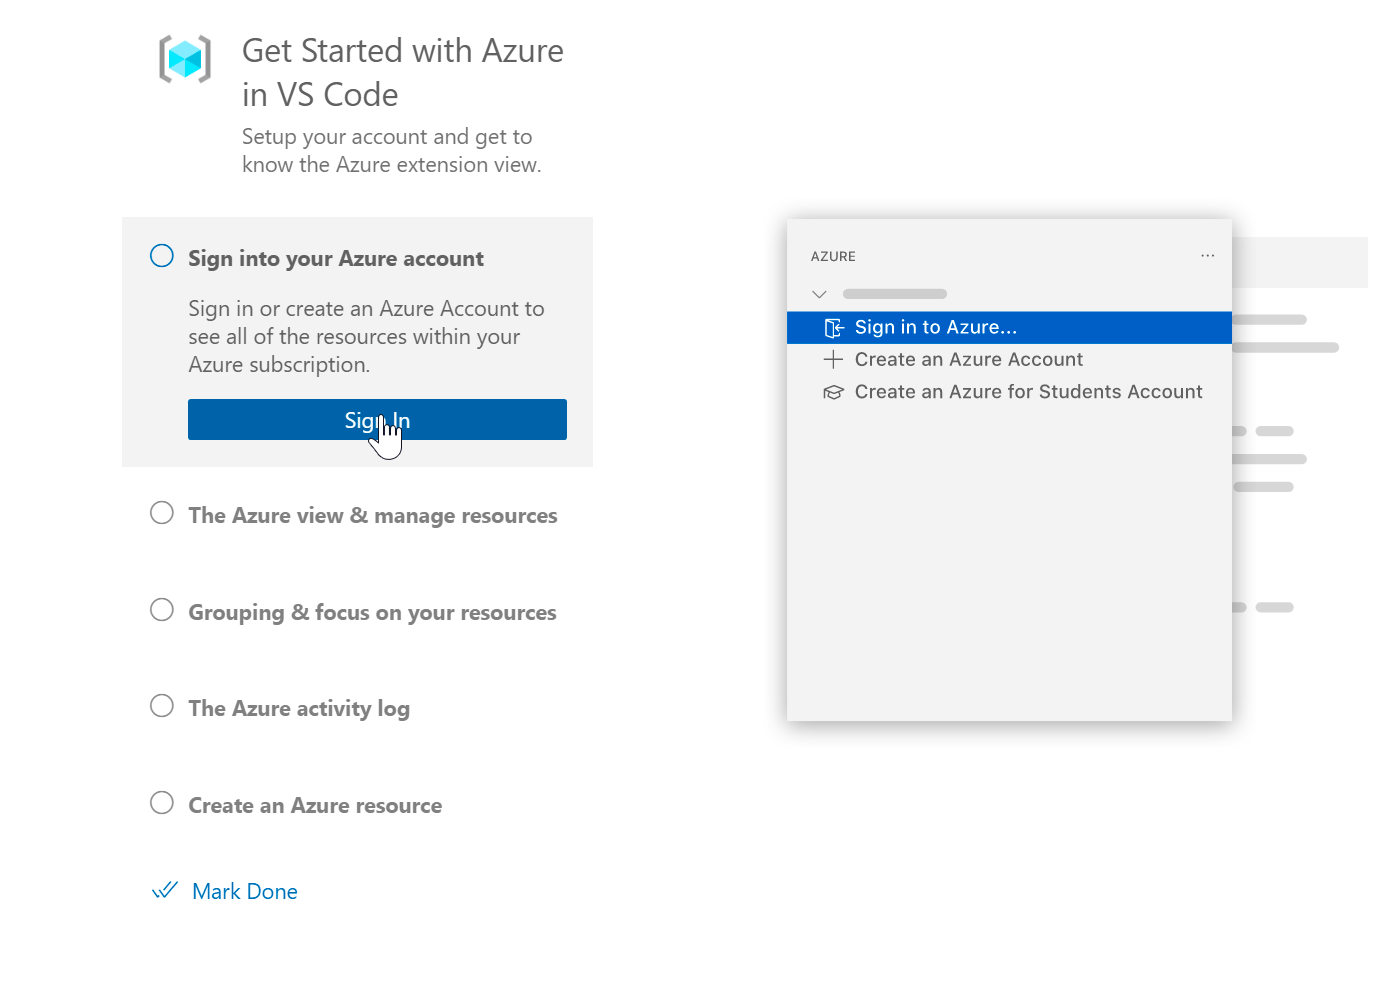
If you don’t have any other Azure extension installed, VS Code will ask you to sign into Azure. Click the Sign In button to provide your Azure account username and password.
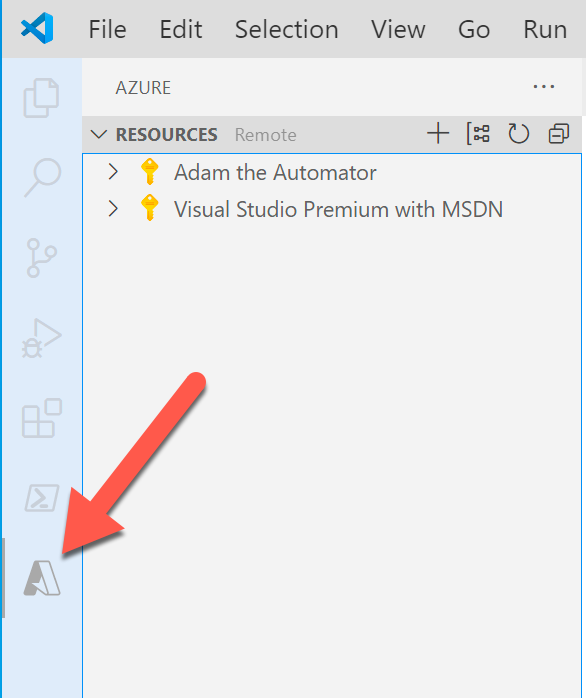
Once signed in, you should see an Azure icon along the left side with a list of all your Azure subscriptions.
Create the Azure Function App
Once you’ve installed the Azure Functions extension, it’s time to create the function app.
All functions are built inside Azure Function apps as a means of grouping like functions together that will scale together.
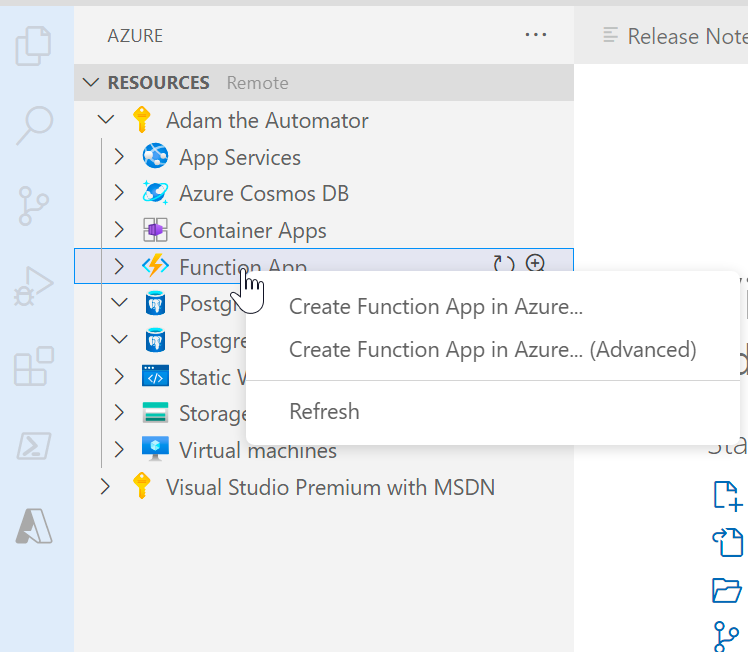
1. Click on the Azure icon along the left side and expand the subscription you’d like to create the function in. You’ll see a few resource categories, one of them being Function App.
2. Right-click on Function App and click on Create Function App in Azure… (Advanced). Choosing the “Advanced” option here is unnecessary but allows us to explain a little bit about each option before creation.
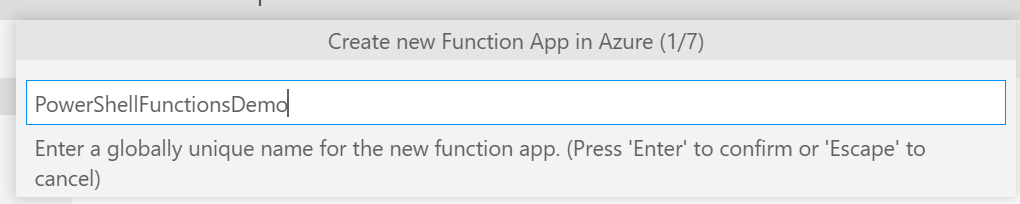
3. Assign your function a globally unique name. This tutorial will call the function PowerShellFunctionsDemo.
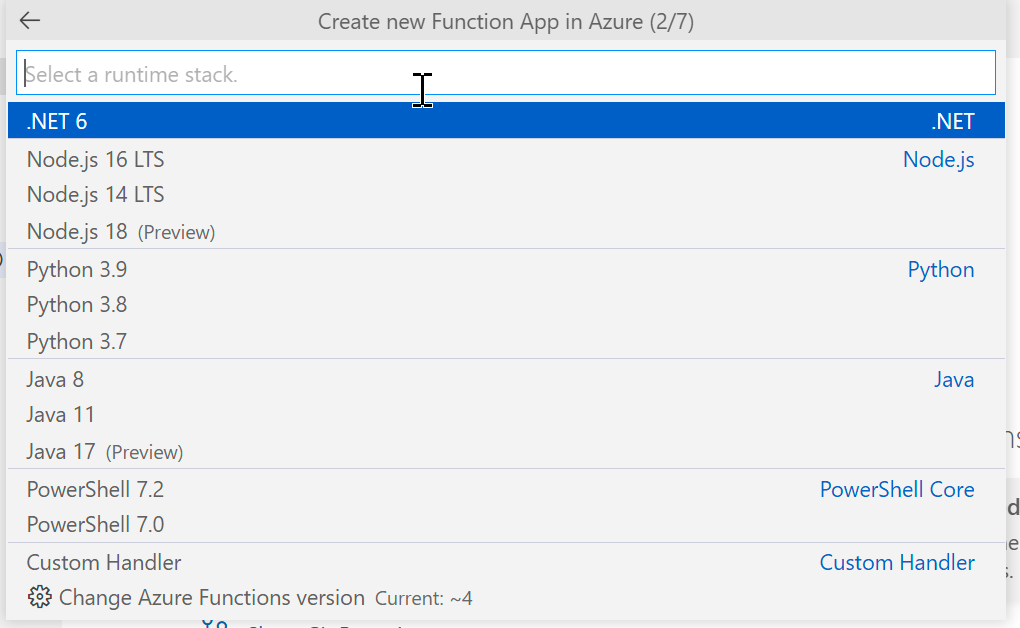
4. Next, provide the runtime stack. All functions inside of a function app will execute using the same runtime. For this example, choose PowerShell 7.2 because all of the code we’ll be executing will be PowerShell code.
5. Select an operating system (OS). If you need some Windows-specific functionality, choose Windows here otherwise, choose Linux for speed. For this tutorial, choose Linux.

6. Select the resource group to create the Function app into or create a new one. This tutorial will use the PowerShellAzFunctionsDemo resource group.
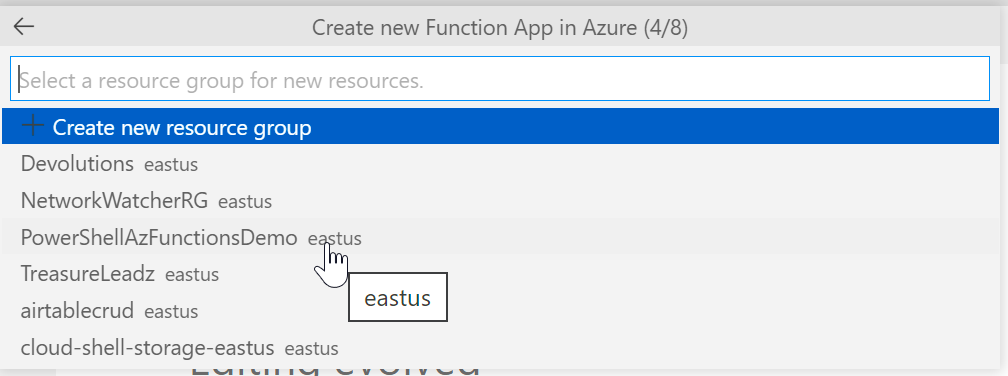
An Azure Function app depends on other resources that Azure will create inside of this resource group.
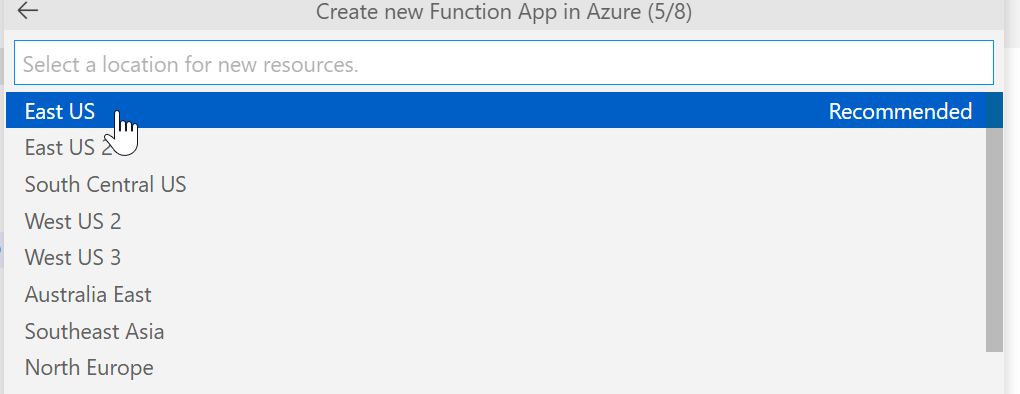
7. Choose your desired region.
8. Choose a hosting plan. This tutorial will use Consumption as it’s free up to 1M executions. In a production environment, if you need:
- Resource-intensive applications
- Code needs to run longer than 10 minutes
- Custom software or configuration
You’ll need to investigate the Premium or App Service Plan options.

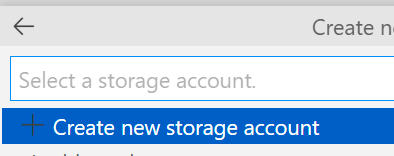
9. Create a new storage account or choose an existing one. The tutorial will create a new storage account called psazfunctionsdemo since the storage account name has a maximum of 24 characters and can only be lowercase.
Azure Function apps use a storage account to store code. Even though you will be billed for storage use, the amount is only a few cents/month since the code will just be PowerShell code.
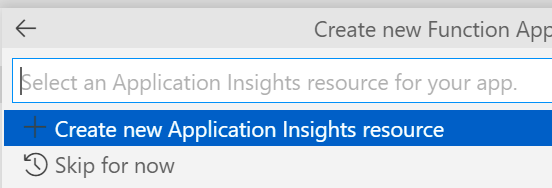
10. Select an Application Insights resource (if you have one), create a new one, or skip this step. For this tutorial, click on Create new Application Insights resource to enable Application Insights on the function app.
Microsoft recommends using Application Insights to send function logs for better visibility and to store them but is not required.
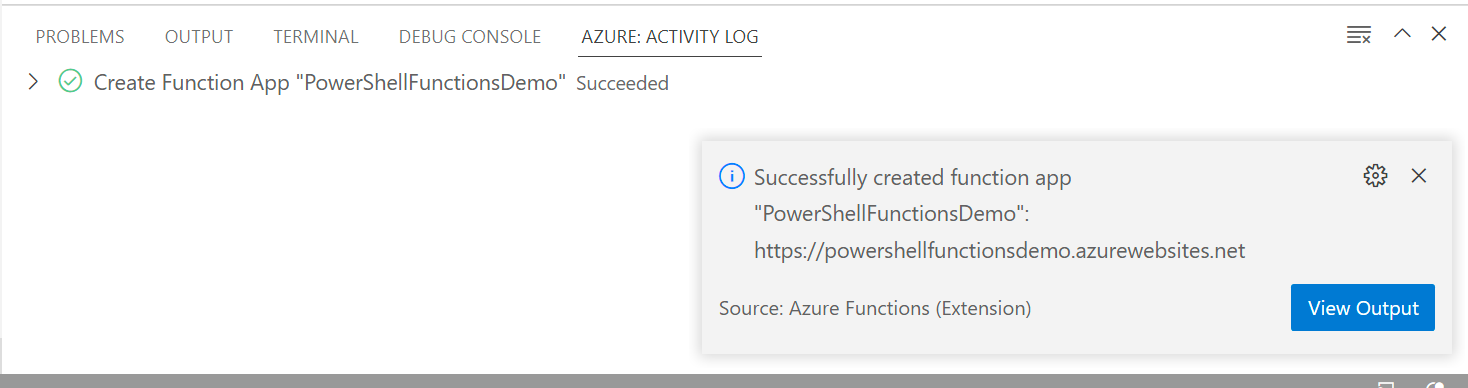
Once you’ve answered all of the questions, VS Code will reach out to Azure and begin building the Function app. You should see the progress in the Azure Activity Log.
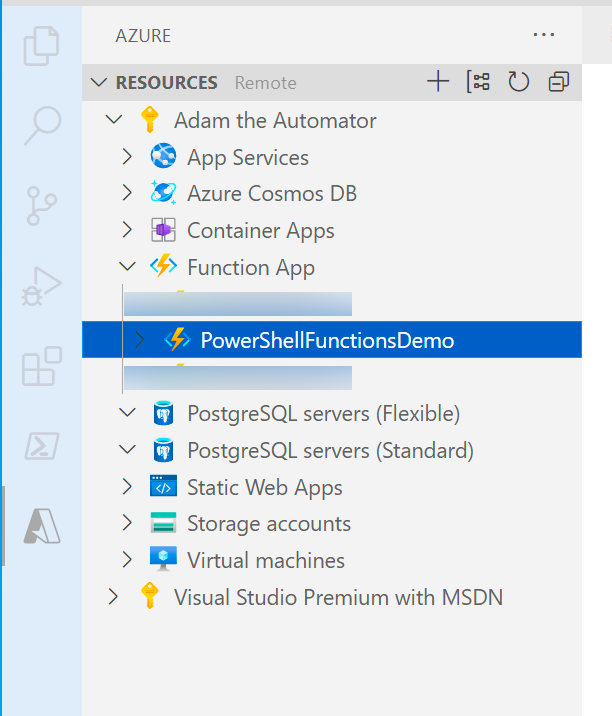
Click on the Function App in the Azure resource explorer again and you should now see your function app!
Once you’ve answered all of the questions, VS Code will reach out to Azure and begin building the Function app. You should see the progress in the Azure Activity Log.
Click on the Function App in the Azure resource explorer again and you should now see your function app!
Create a PowerShell Azure Function
At this point, you’d think you could right-click on the Function app just created and choose something like New Function, but you’d be mistaken! To create a function inside a Function app, you’ll need to create a Workspace first.
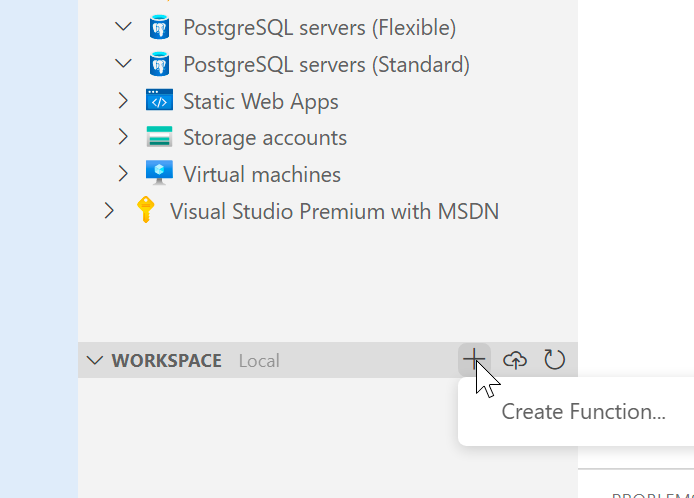
1. To create a workspace, click on the + on the WORKSPACE title bar and click on Create Function, as shown below.
2. Click on Create new project as VS Code will force you first to create a project to hold the function.
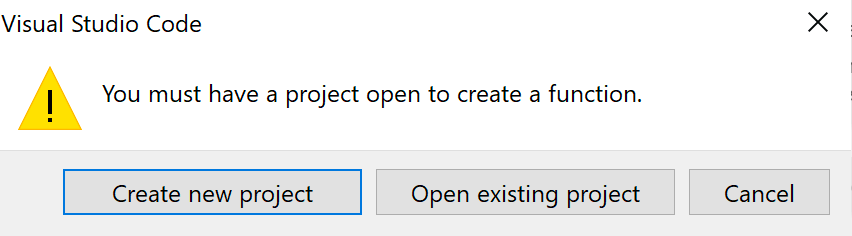
A project is VS Code’s way of storing functions inside a Function app. Azure doesn’t know anything about this project as the “project” will only be referenced in your local VS Code instance.
3. Select a folder somewhere on your computer to store the project and all of the files that will be associated with your function.
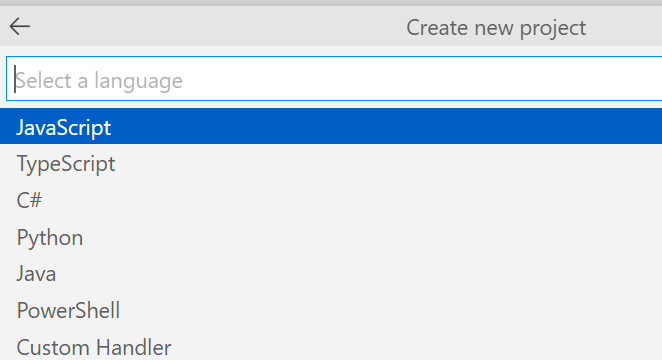
4. After you select the folder, choose PowerShell as the type of project.
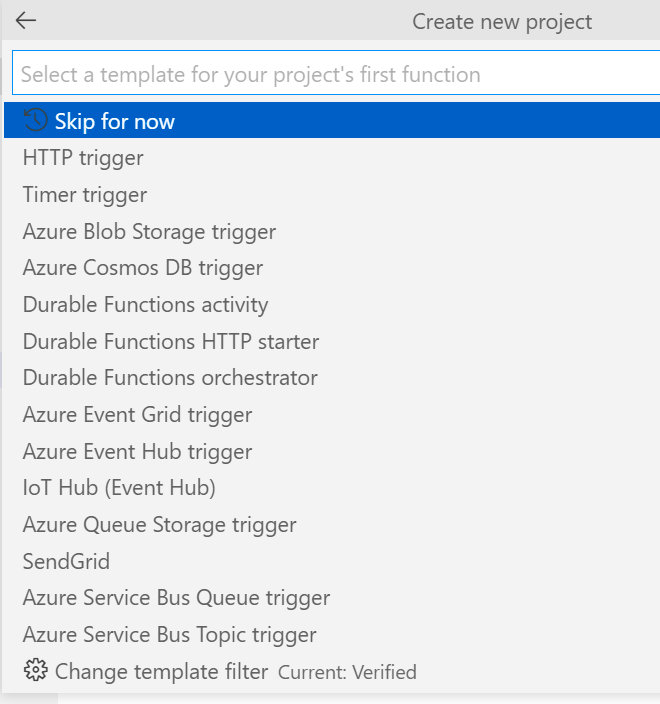
5. Now choose a trigger. Azure Functions require a trigger or means of execution for every function. A trigger is used as an event to know when to execute, in this case, a PowerShell script.
This tutorial will show you to execute a PowerShell script based on an HTTP call, so choose HTTP trigger.
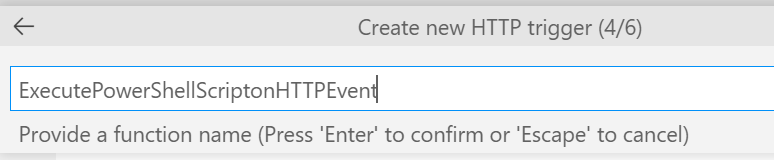
6. Give the function a description name.
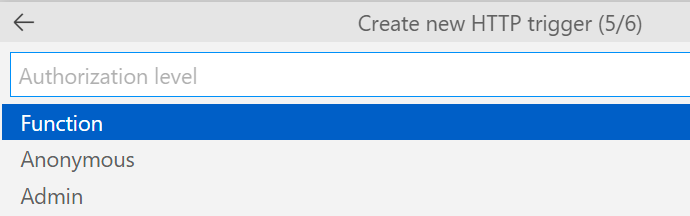
7. Provide an Authorization level of Function for this tutorial. The function authorization level will require authentication before the HTTP trigger will execute.
You can call Azure functions with HTTP triggers anonymously. An explanation of authorization levels is out of scope for this tutorial but if you’re interested, check out the blog post, Azure Functions HTTP – Authorization Levels, or if you want a deep dive, the Microsoft docs.
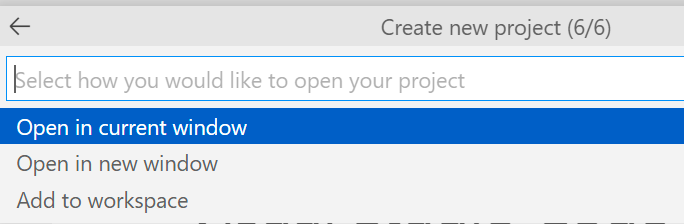
8. Finally, tell VS Code how to open your project. For this tutorial, choose Open in current window.
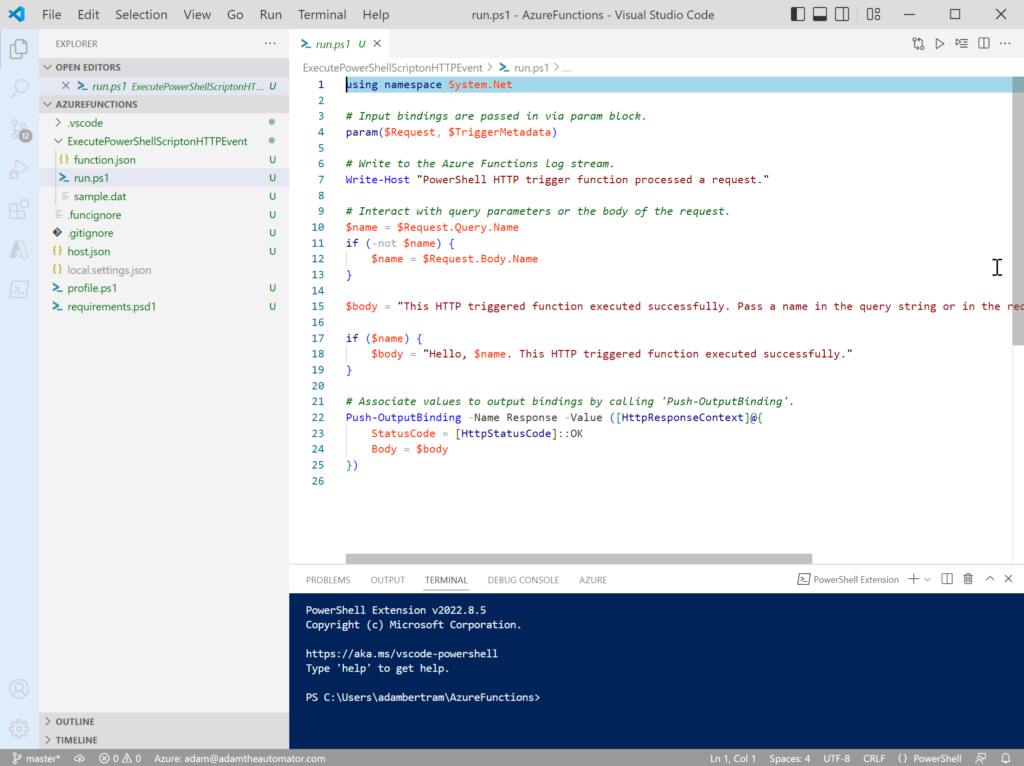
VS Code will now present you with a fresh template to start building your function!
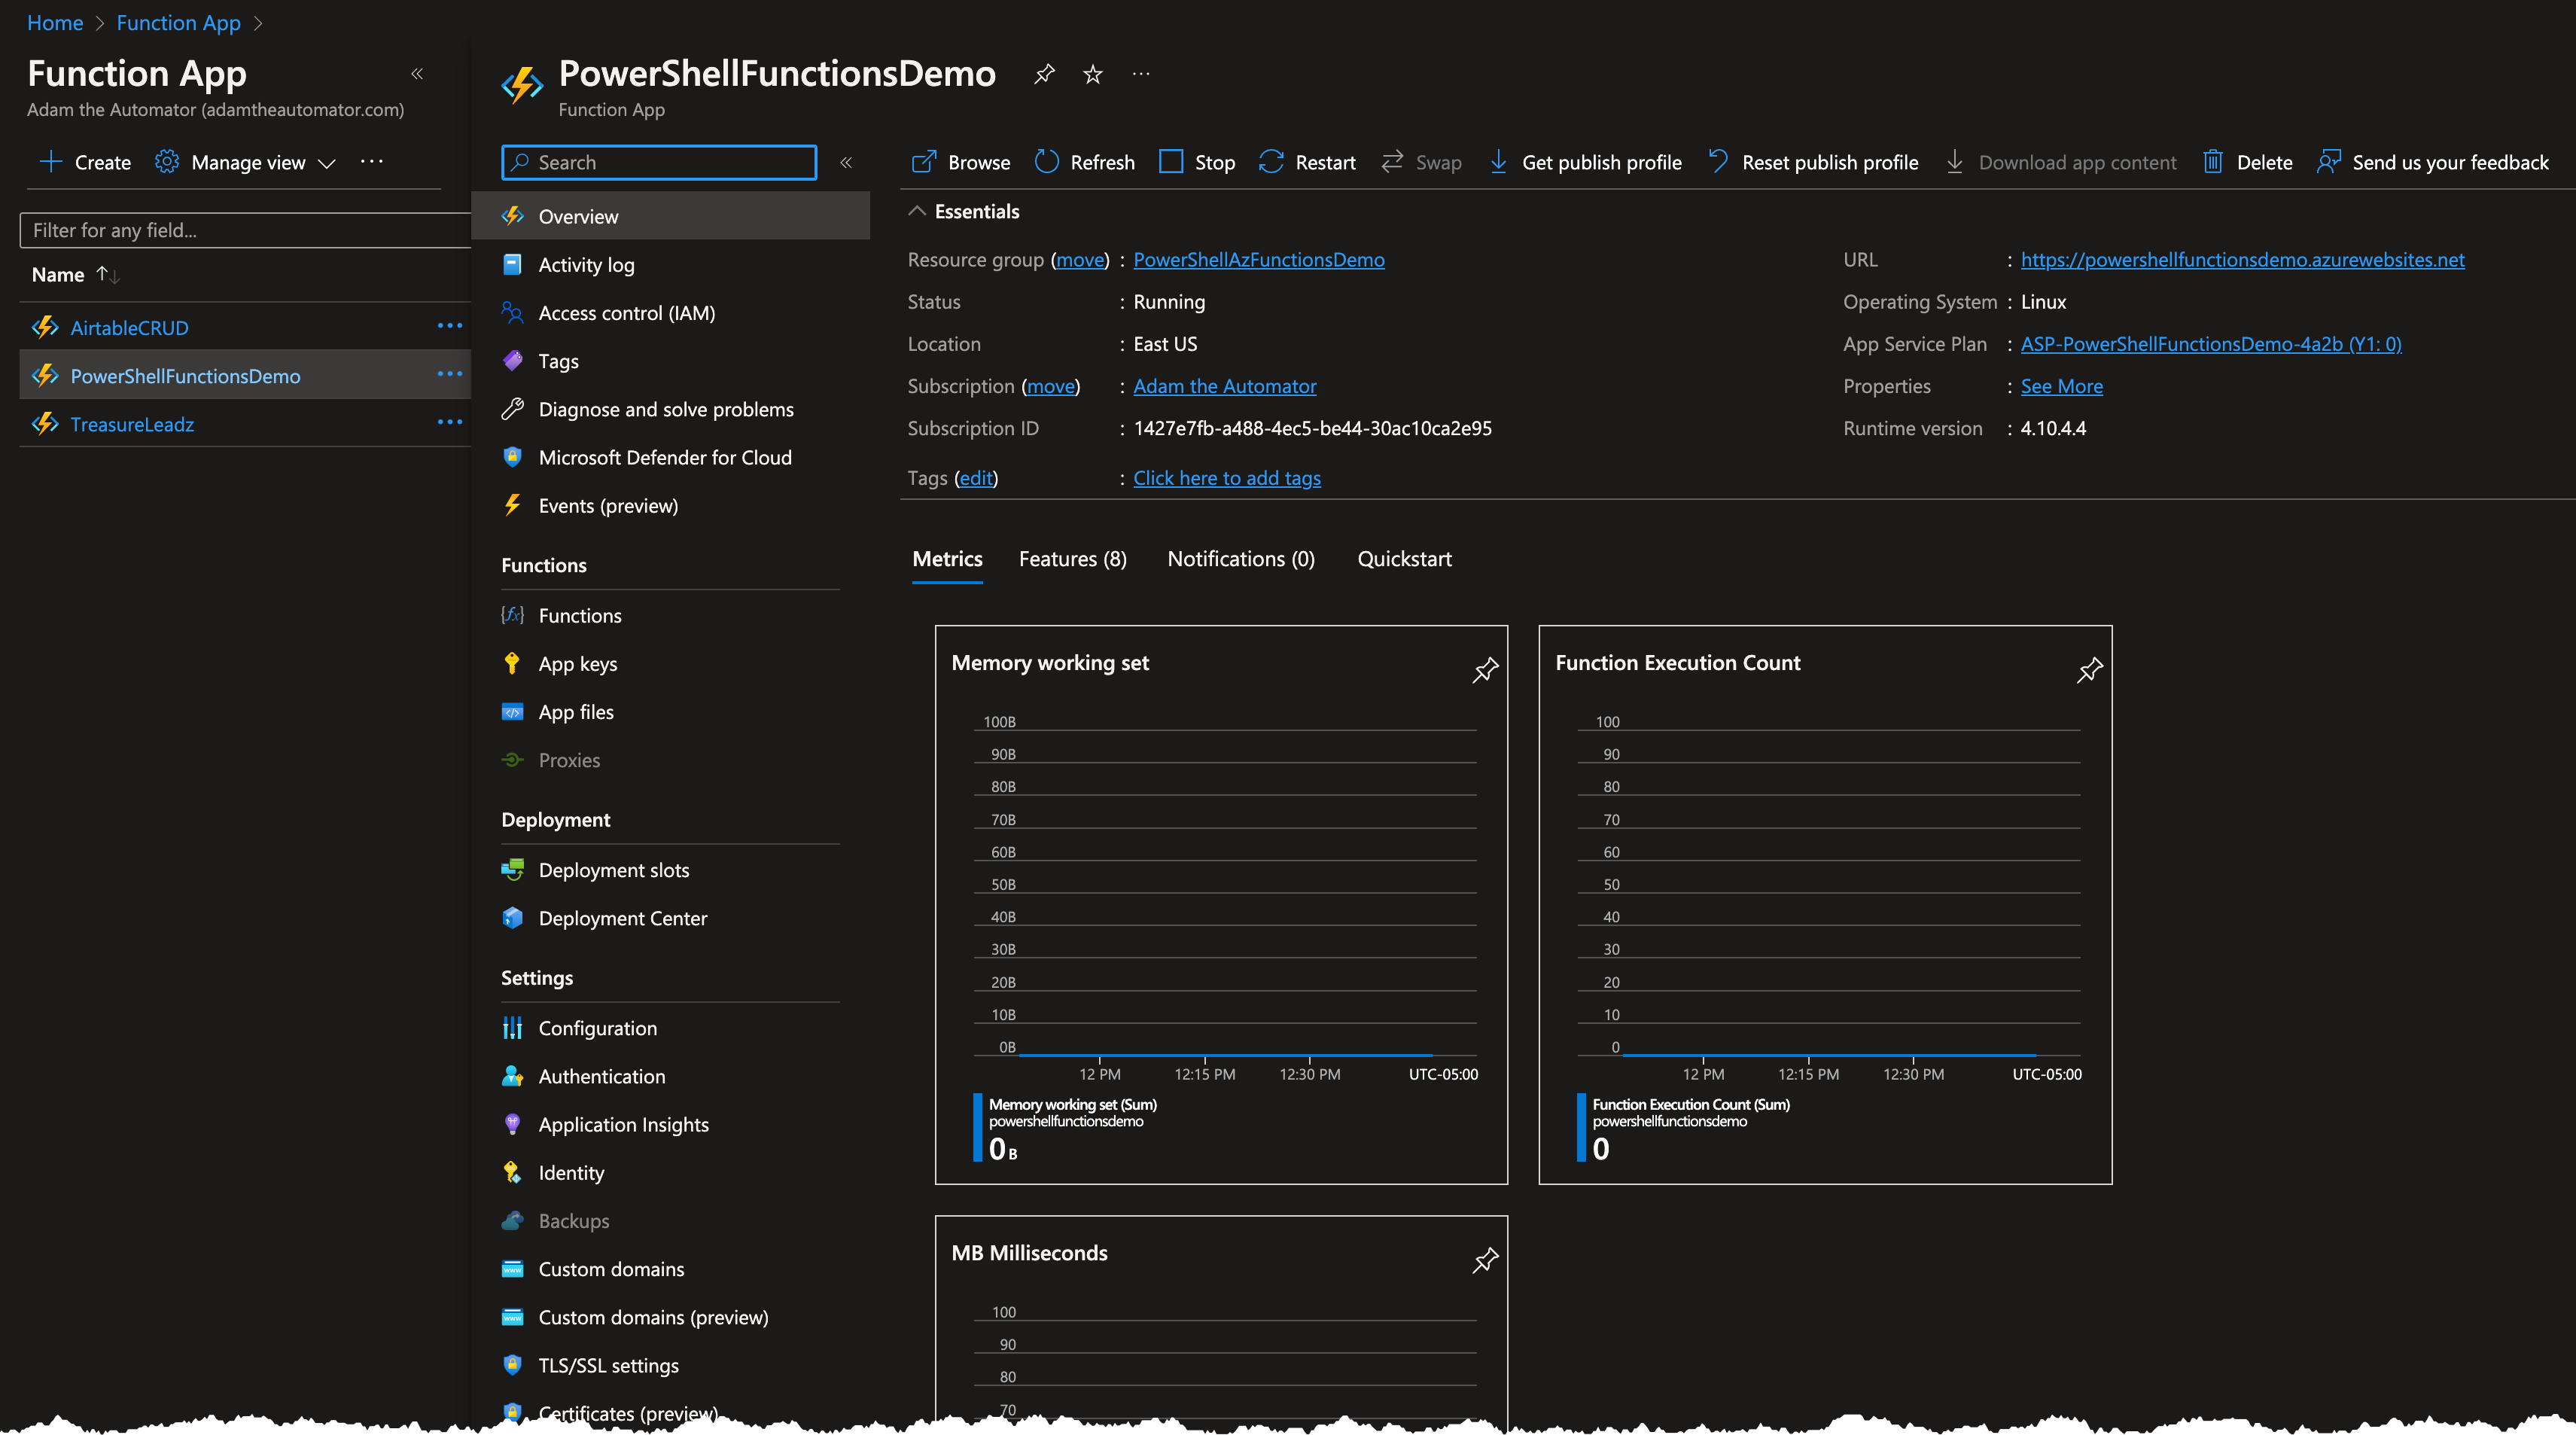
You’ll now see a shiny new Azure function app when logging into the Azure Portal.
Deploy an Azure Function
You might think you’re done at this point, but you’re not! VS Code deployed a new Azure Function app for you, but the function is still just a combination of folders and files on your local PC. Just like using version control, you must now deploy that function to the function app.
To deploy your newly created function to Azure:
1. Click on the Azure icon, then on the cloud with an arrow pointing up inside the WORKSPACE title bar as shown below.
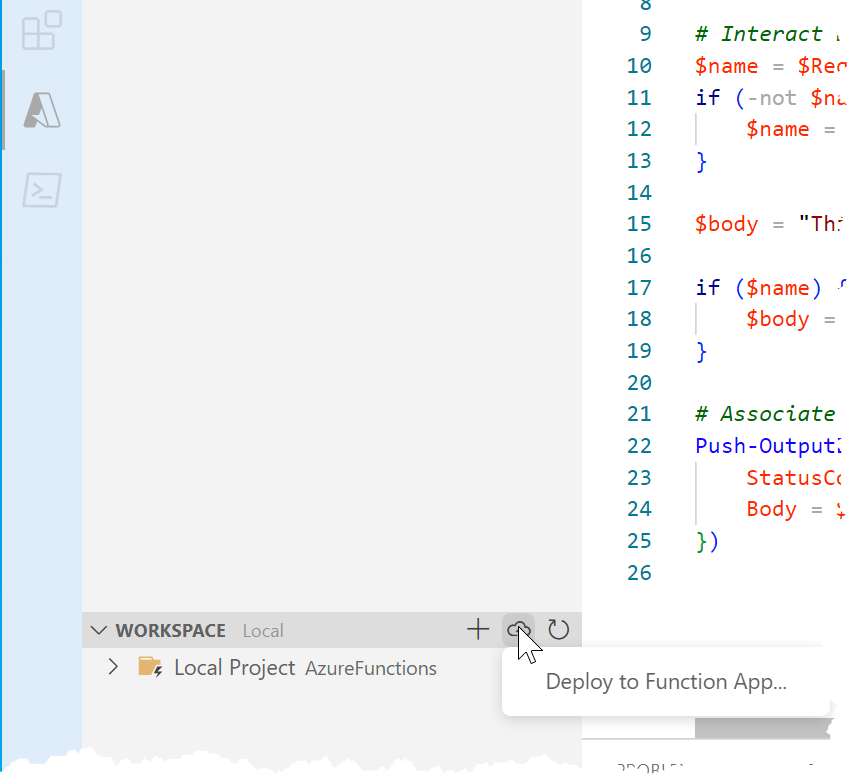
2. Click on Deploy to Function App….
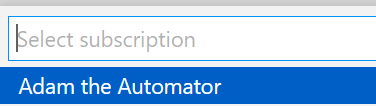
3. Choose the subscription that you created the Azure function app in.
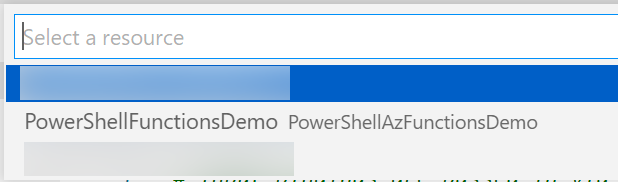
4. Choose the Azure function app to deploy it to.
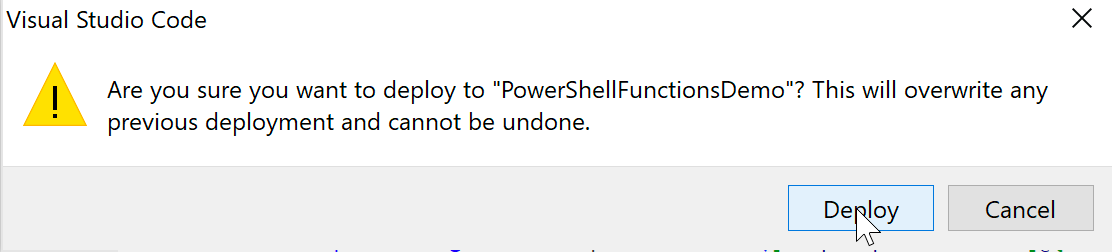
5. Click Deploy to confirm the function deployment and VS Code will immediately begin packaging up the function and sending to Azure.
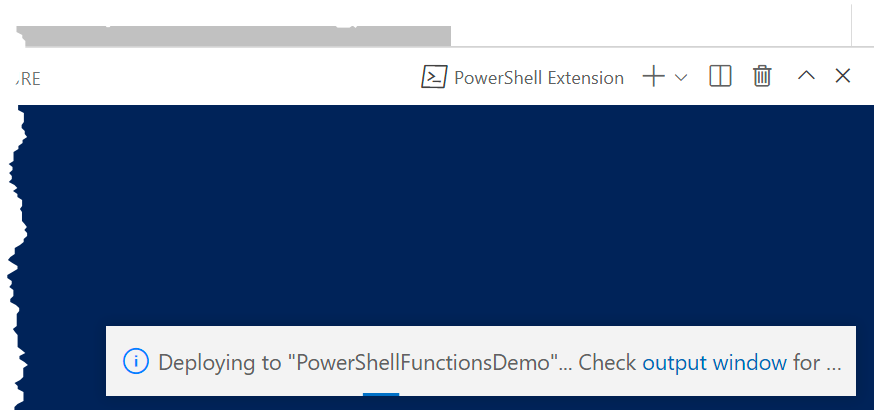
While the function is deploying, you’ll see a simple progress bar at the bottom, as shown below.
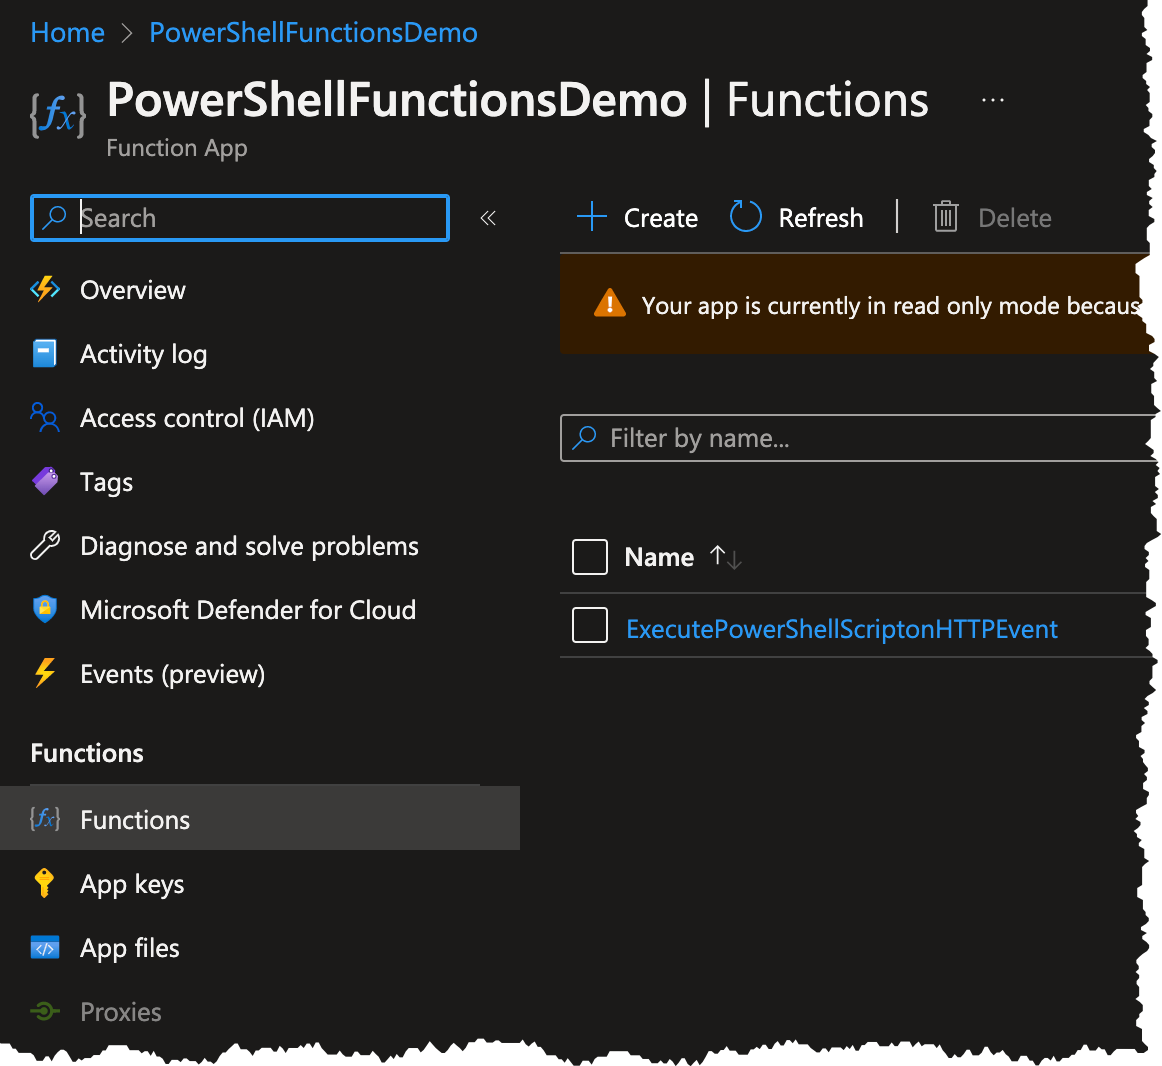
Now navigate to the Azure Portal, and you’ll see the function created inside of the function app.
Summary
You’re on your way to building an Azure Function in PowerShell. This tutorial was step one in the process, which included getting all of the initial prerequisites out of the way and creating an Azure function template.
The next tutorial in this series will focus on executing and testing the Azure function.


